Harpy Demi-ronde Flat
Sculpted for the Bash Models range of flats in 2008
After sculpting the Sparky and Orc demi-ronde flats, I was rather enjoying pushing putty about. There is a certain satisfaction in making something that is just your own, and just on the off-chance that someone else might like to have a go at painting any of them, I made the conscious decision to produce moulds so reproduction castings could be made.
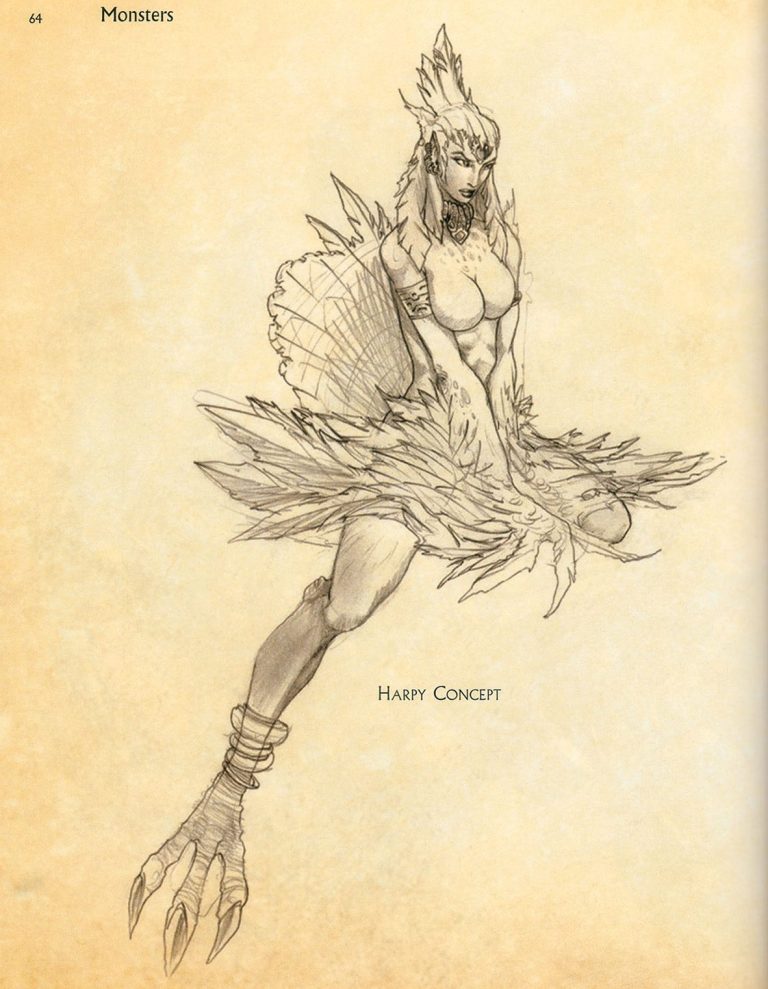
One of my other interests is collecting fantasy artwork books, and browsing through them for inspirations, I’d come across this one from Boris Vallejo – See photo #1
I thought “That’s a cool drawing, why’s a completed picture never been done ?” although there is something similar in one of his books, but it features two female figures.
But could I sculpt something vaguely similar ?
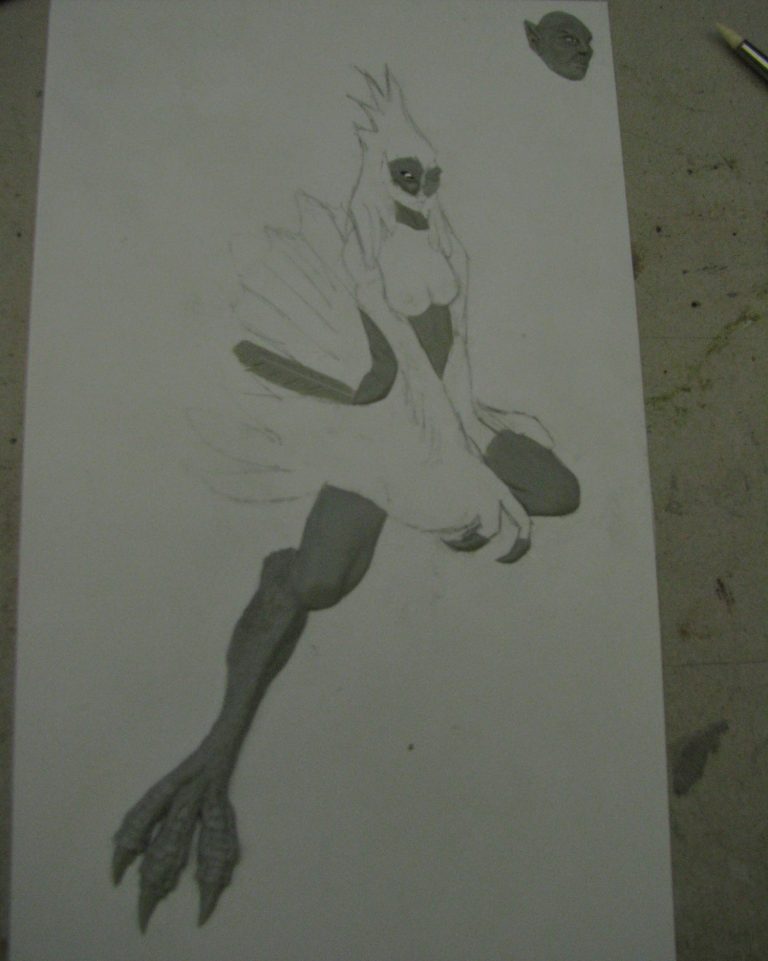
Well, I thought I’d have a go, and photo #2 shows the beginnings of this, having traced out the design roughly and transferred that onto a sheet of plasticard, I began adding Magic Sculpts putty to fill out the design.
Obviously these are old photos that I’ve dug out of a box in the loft, and the in process shots cannot be retaken, so unfortunately the pictures are a little dark. However, they do show what’s going on, and that the putty is being added to different sections of the model, rather than working, say, from top to bottom.
I think this method comes from working in a design studio, and the experience gained there for splitting colours / patterns up for transferral onto print screens.
The workings in this case being what parts of the design will be further away from the viewer, and those that will be closer.
Photo #3 shows a close up of the face and body being developed. I used stretched plastic sprue for the spines of the feathers, it gives a straight line and can be stretched out to the thickness required.
I’d decided that the face on my version wanted to appear more avian, so I gave it a larger nose and very slanted eyes. Smaller details like the creases in the skin at the armpit were added while the putty was still soft, and whilst it might well get covered by the hair on the right side of the face, I still added the tendons in the neck, just in case the hair didn’t fall over them.
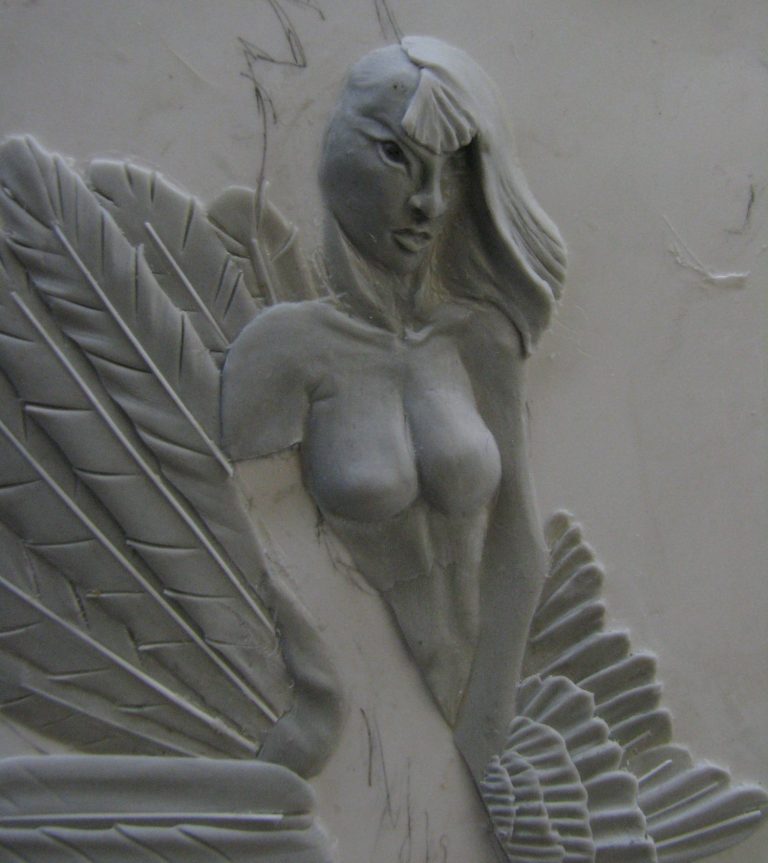
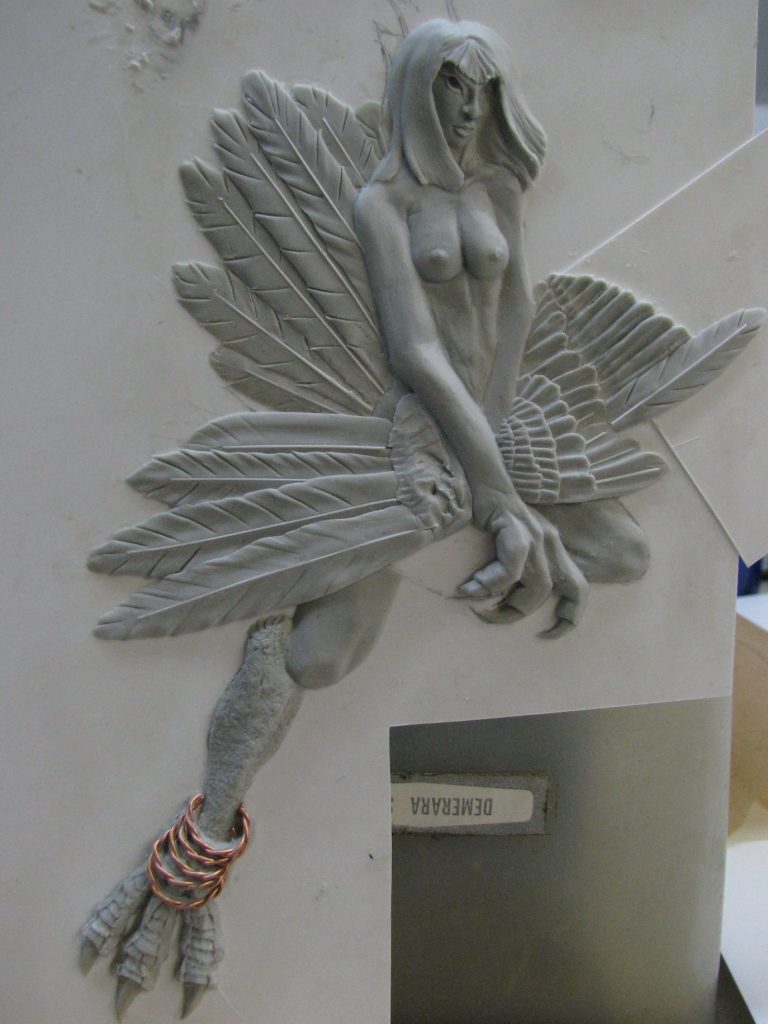
Photo #4 shows a lot more sculpting completed and the addition of a second piece of plasticard to the right side of the flat. This was to accommodate the longer feathers that I’ve begun sculpting on that side, the first one of which is completed.
The hair – once sculpted, did in fact cover most of the neck and some of the clavicle, but it was best to have the detail underneath sculpted on, just in case.
The smaller feathers at her left wrist are still to be completed, these would match the ones that have been done on her left arm.
In photo #5 we’re back to a close up of the face, the extra hair on the right of her head is smoother and has less detail sculpted in. My thoughts here being that I actually prefer to paint the hair detail in, and anyone that likes the hair to have recessed detail would be able to carve that in with the tip of a sharp scalpel.
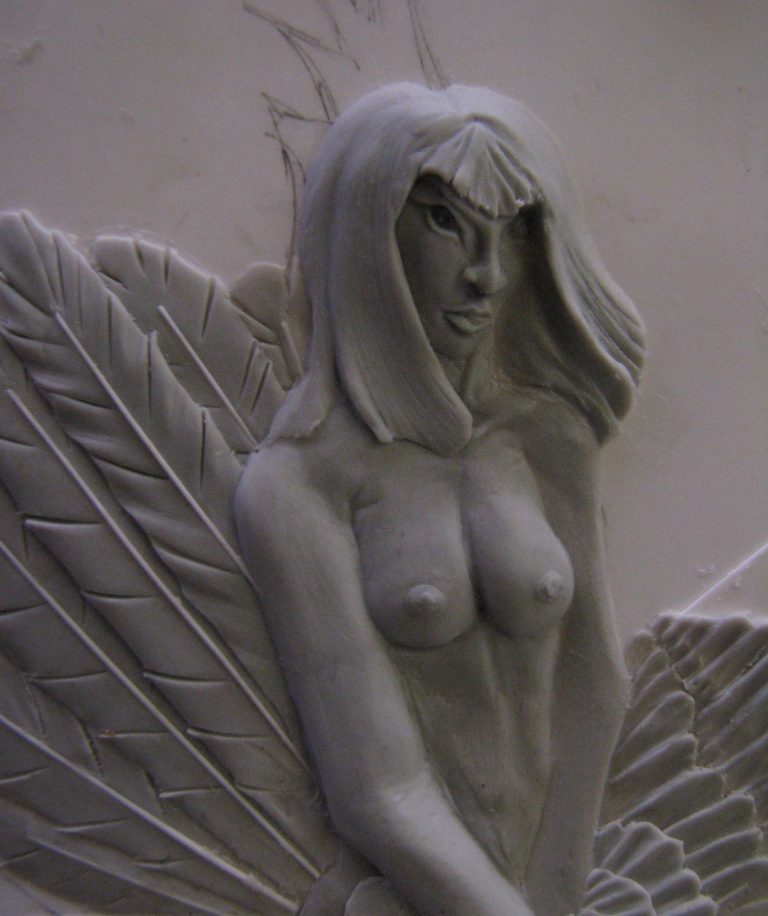
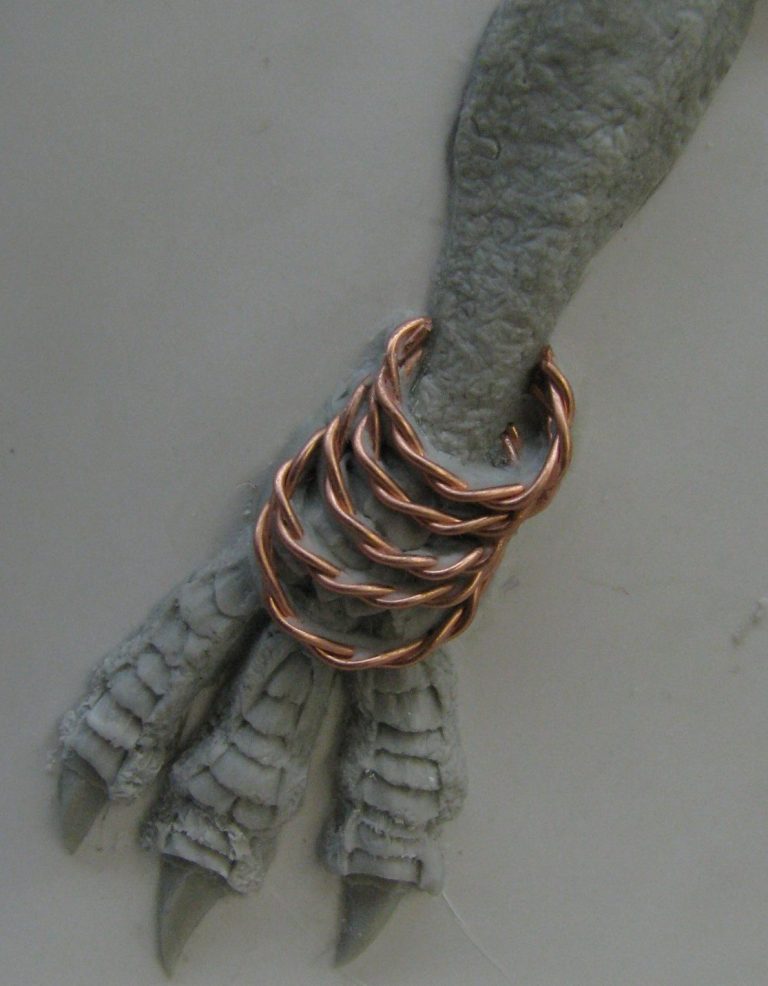
Photo #6 A sculptor has to think about how to reproduce textures and a wide variety of items. The bangle-like hoops around her right ankle were only hinted at in the sketch, and my idea here was to produce several loops in thin copper wire, cut them so they had a break in each loop, and fasten them in place so they appeared to go behind the sculpted leg.
There is a problem with this in that the wire would consist of two lines of wire twisted together, and these would have very slight gaps between the separate strands of wire, and other gaps between them and the sculpted leg.
That would be solved by adding very soft putty over the wire once it was glued in place, and then removing as much as possible so that it was just left in the deeper recesses.
Oh, the reason for this is to that the rubber used to make the mould is so good at reproducing details that it will pick up everything including fingerprints left in the putty. Which is great for very fine textures and detail, but it also means that the liquid rubber will find any gaps and flow into them. This will create tears in the soft rubber once cured and the master sculpture is being removed, and that’s not what anyone wants.
Photo #7, again apologies for the darkness of the shot, shows the completed master sculpture, I was quite tired of doing feathers by now, although I was pleased with how they had turned out.
At the top right of the picture, there’s a couple of blobs of putty. This is just excess putty that was nearly cured and too hard to use for anything on the Harpy.
I’ve sculpted a couple of goblin faces that I have no idea where they’ve gone now, but I though they might come in useful for a future project. It seemed a shame to throw the putty in the bin at the time.
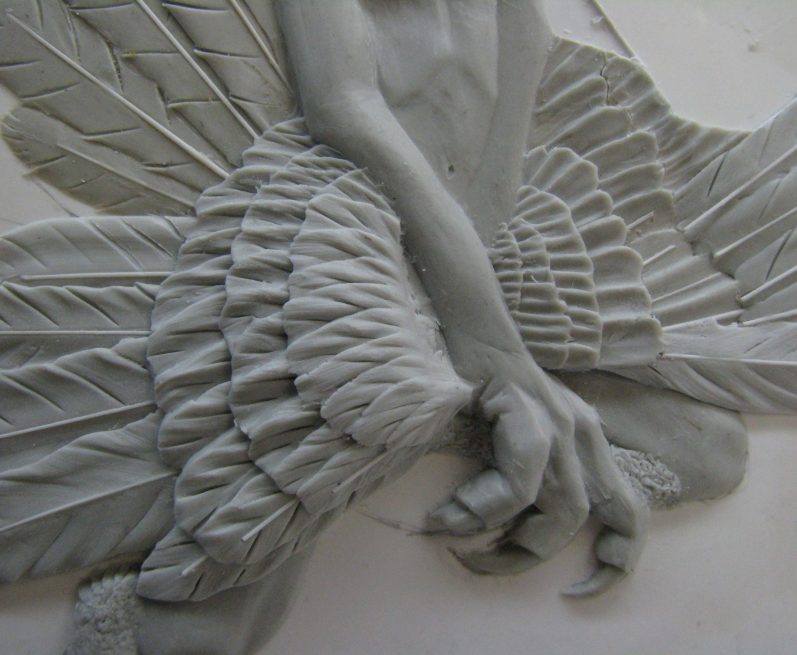
Photo #8 shows a close up of the hand / claw at the end of her right arm. Just to one side of it, I’ve sculpted a rough area that is the top of the left leg where the knee flows into the bird-like lower leg.
The detail added to the feathers on her left arm is a lot lighter than on the right arm.
To one extent I was becoming disenchanted with the detail I’d got on the right arm, thinking that it might be preferred to paint the details on, and also that the feathers would appear smoother as they were slightly angled away from the viewer.
With all the areas completed, the final addition of putty were left to cure, and then a flat area created – an old chopping board if memory serves – and then a “wall” of plasticine was pressed down onto the board and made high enough to contain the liquid RTV rubber that would make up the mould itself.
Photo #9 The flat was fastened temporarily to the board with some double-sided tape, and the two parts of the RTV rubber mixed, degassed in a vacuum chamber and then poured carefully over the master sculpt.
The RTV rubber will usually cure overnight, probably only takes about five hours actually, but I usually leave it for a full twenty-four hours before trying to separate the master sculpt from the mould.
I decided to make a few castings, selecting one to paint and attaching it to a wood block with some Blu-tac. As with all my figure projects, I primed the casting with a thin mix of Isopropyl Alcohol and some flesh coloured acrylic, the paint being in the mix simply to show me where I’d painted.
Once dry several more layers of the flesh colour were added, allowing each to dry before adding the next coat.
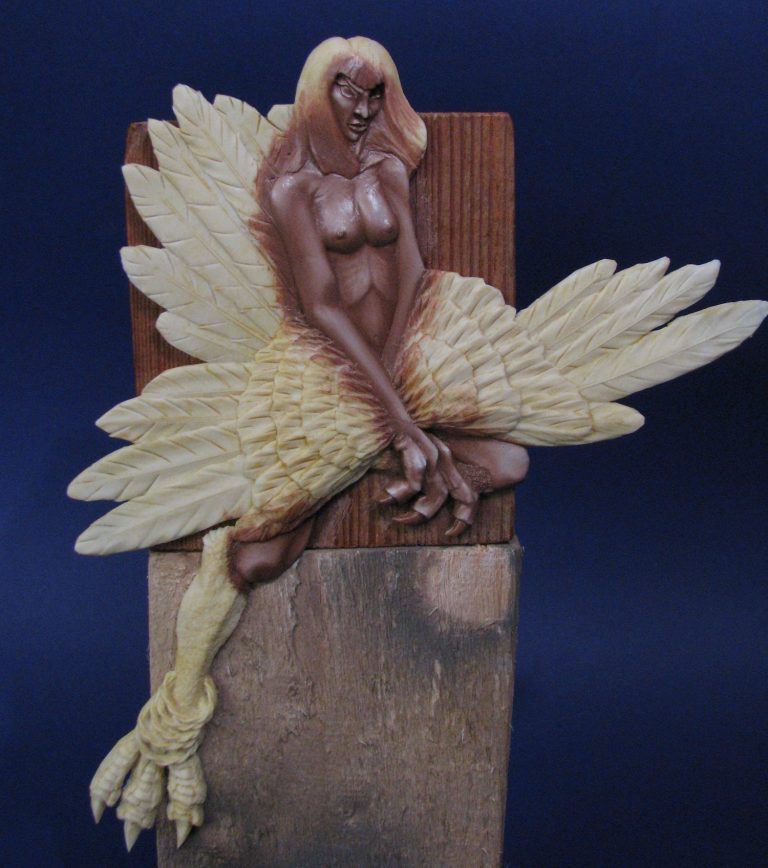
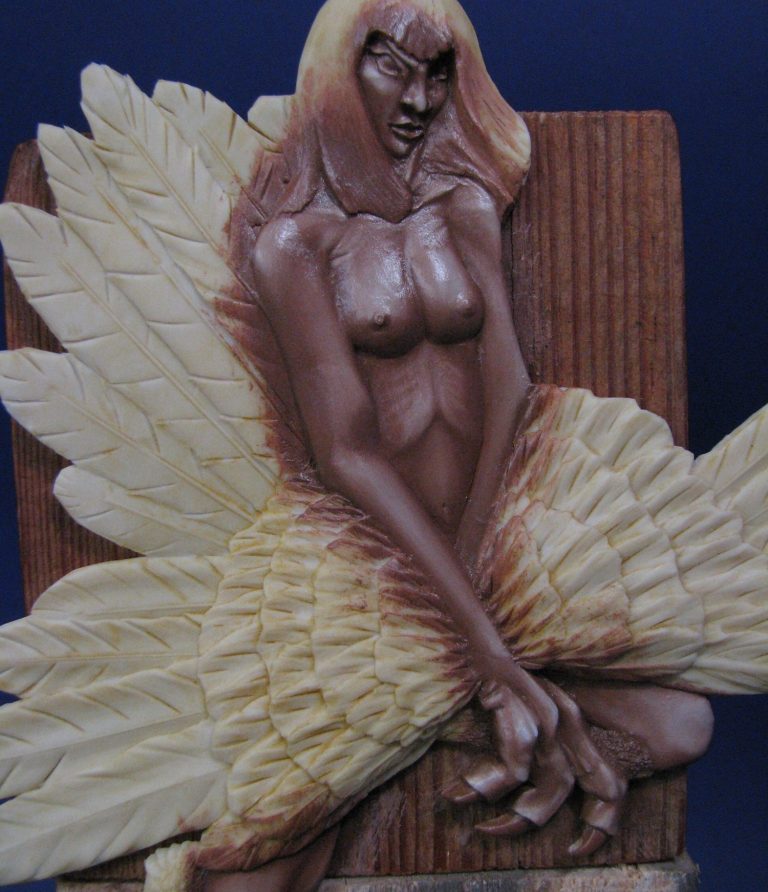
Photo #10 shows the result of adding oil colours to the flesh areas, the colours used being Mars Brown mixed with a small amount of Titanium White and blocking in all of the flesh areas with this, and then adding some Mars Brown on it’s own to be belended in to create the deeper shadows.
Titanium White was added to build up highlights, and this particular shot shows the paint still wet and shiny. It will dry fairly matt, and will remain in the drying cabinet for around forty-eight hours to allow the drying to complete.
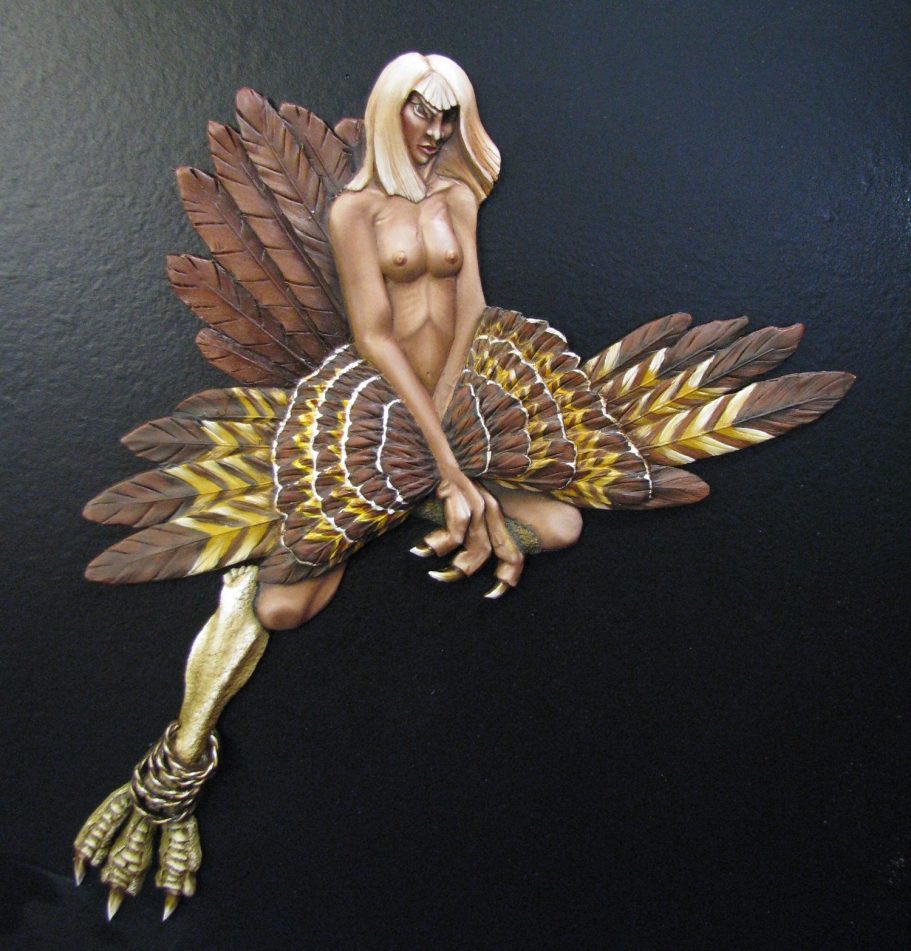
And with the magic of article writing, photo #11 shows the paint having dried fully and as I promised, the surface has a matt or semi-matt finish.
I added the eyes at this stage too, painting the whites of the eye with an “off white” acrylic mixed from some Skull White, a spot of blue and a spot of red to make an oyster sort of colour.
The iris is painted on with brown oils, adding some Light Red to the lower half, then some Mars Black for the pupil. A catchlight of Titanium White was added to give the appearance of the eye being wet.
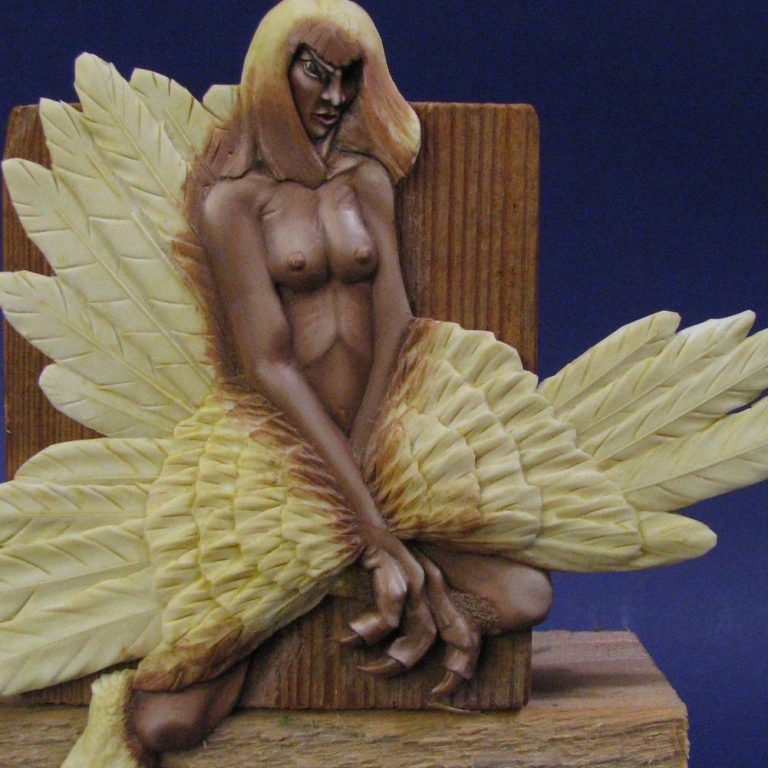
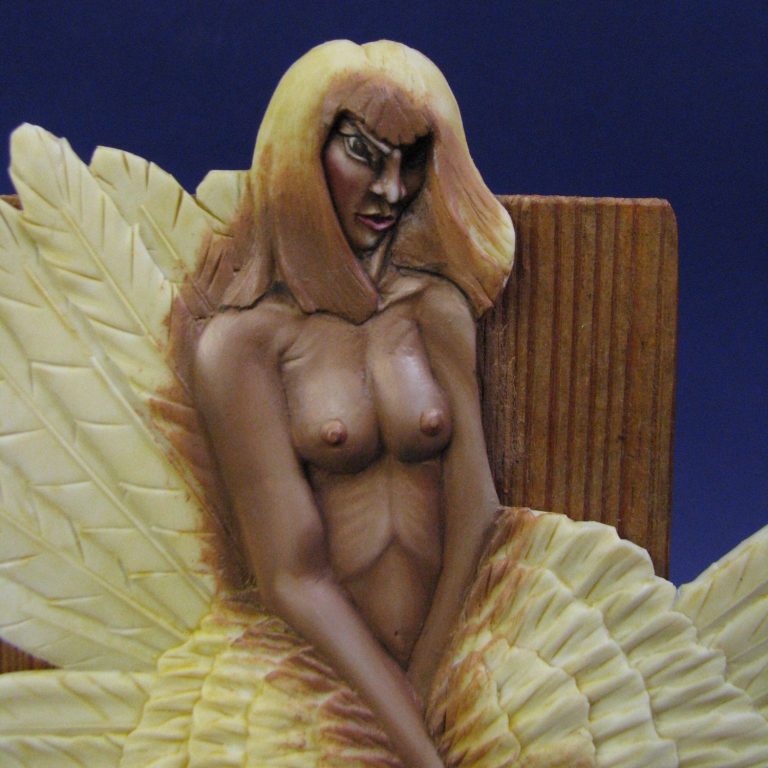
Photo #12 shows a close-up of the upper body, although the painting hasn’t moved on from the previous shot.
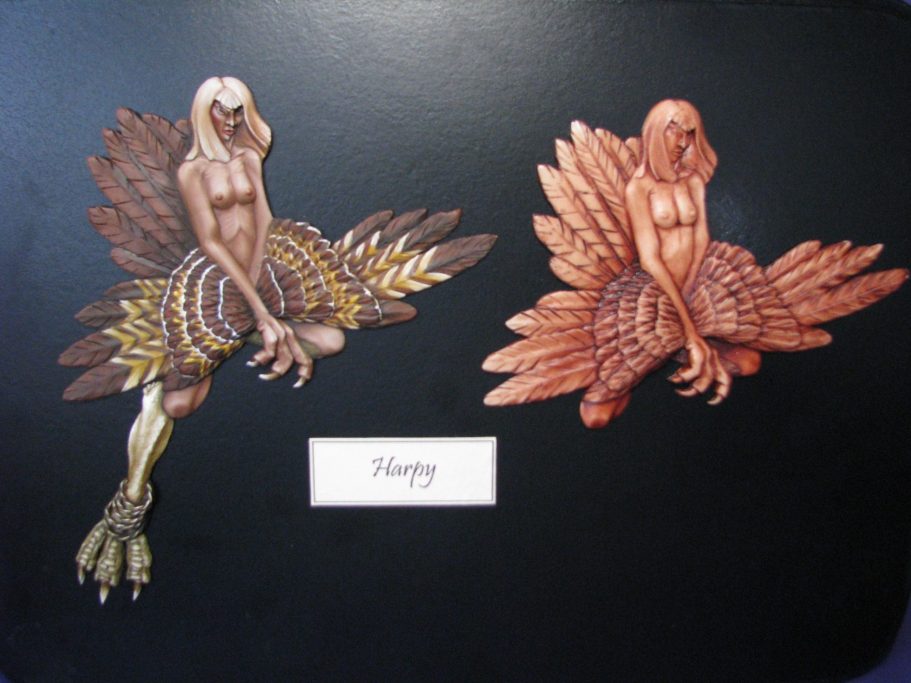
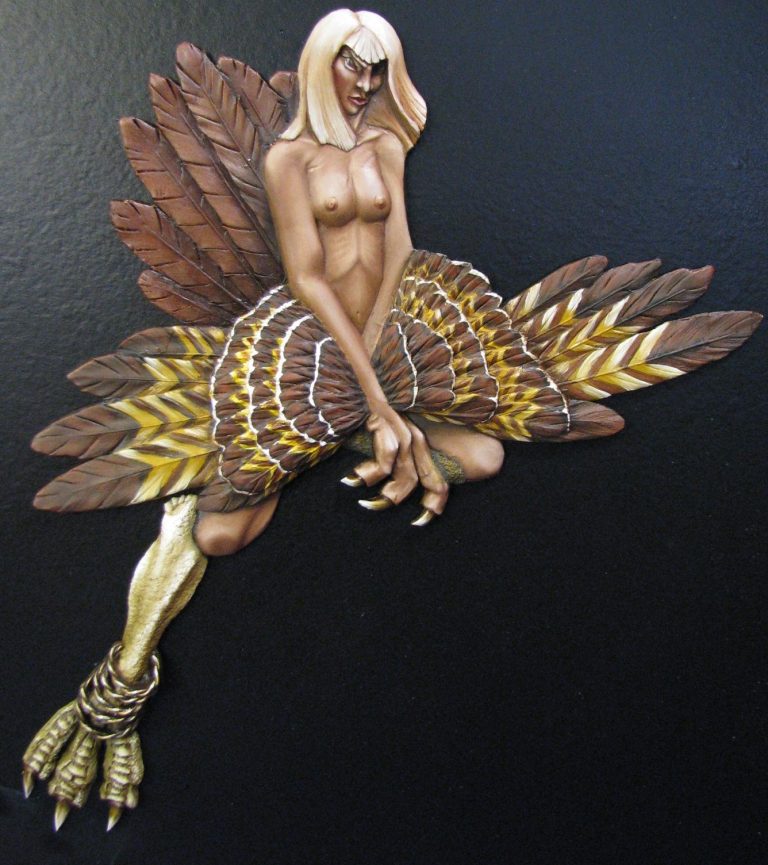
The final photo shows the completed flat, and next to it the same flat but with the lower part of the right leg removed so she appears to be kneeling down.
The feathers were painted with their lower portions being Mars Yellow gradually lightened by additions of Titanium White towards the outer edges, and then Mars Brown and Light Red used on the outer halves of each feather. I decided to keep the tail feathers all brown to break up the sections and hopefully push that section of the flat towards the background. Not sure if this worked though.
The second flat has just been coated with Burnt Sienna oils and the excess paint wiped away with a soft cloth. This was simply to allow the details to be more visible when I was at shows with a trade stand.
Final word.
I was pleased with this sculpt at the time, it was only my third attempt at sculpting a demi-ronde flat. It’s a lot bigger and much more involved that either the Sparky or Orc flats, and although the face is nowhere near as pretty as the original sketch, I wanted her to be a little bit sharper or evil looking.
As a learning process for both sculpting, mould making and casting I felt it was useful, the fact I made one flat and then turned it into a second option was a bit of “thinking outside of the box” and would be put to good use in future projects.
So overall, a decent process, plenty of learning taking place, and the outcome fairly pleasing, considering the time I produced it in the winter of 2008.
Both versions of the Harpy are still available and can be found at the links below.
We need your consent to load the translations
We use a third-party service to translate the website content that may collect data about your activity. Please review the details in the privacy policy and accept the service to view the translations.