1/144 Aircraft
Revell plastic kits – Russian Sukhoi
SU-47 and American F19 Stealth
Assembled and painted in 2025
Having decided that 1/48th scale was the one for me, and that after doing a couple of 1/72nd scale aircraft kits that were OK if a little less than pleasing in some cases, the mad idea of attempting something much smaller crossed my mind.
I’d had an idea for several Saab Viggens, but as they’re nearly as expensive as 1/72nd scale kits, I thought I’d have a practice on something else first.
I’ve done both the Sukhoi and Stealth before, although the Sukhoi was one of the successful 1/72nd projects and nearly as big as the Stealth is in 1/48th, finding that Revell do both aircraft in 1/144th scale was almost a no-brainer to have them as practice pieces.
The kits
These are quite simplified compared to the larger scale kits and although the box art seems to be very similar, the boxes are much smaller.
The main difference I noticed on the F19 Stealth was that the shrouds off intakes seem to be missing, but otherwise the construction is simple, with the fuselage being divided laterally on both kits, the cockpit on the Sukhoi is a separate tub, and the Stealth is integrated into the upper fuselage.


The Sukhoi is a larger aircraft in comparison to the X19, so there’s a few more parts with separate wings and tail sections, while the Stealth simply has the two tail sections separated from the fuselage.
Both aircraft come with separate wheel bay doors and very fine wheels and struts, the Stealth comes with an open bomb bay with two rockets which can be installed, although the bomb bay and wheel well doors can be fastened in a closed position.
The Sukhoi cockpit is slightly more detailed – it’s got a separate joystick – but no pilots are supplied.
The glazing appears a little thick, but that really is down to moulding limitations, and once in place it looks OK.
Initially I’d opted to have both aircraft set on the ground, so glued the doors in an open position, however later on, and after stealing an idea off my friend Mario Delgado, I changed my mind, removed all the doors and glued them in a closed position.

Painting.
Was Henry Ford involved in this ?
“Any colour so long as it’s black” seems to be the option, so a quick spray of grey primer, and once dry some Gloss Black spray, both Halfords aerosol cans, and allow twenty four hours to dry.
The decals are somewhat better on the Sukhoi, while the X19 Stealth’s are slightly out of register. It probably wouldn’t matter on a larger scale plane, but in this scale it really does need to be spot on.
As I’ve done the Stealth already in 1/48th scale I was surprised by the amount and placement of decals, and to be honest I didn’t apply a lot of the really small ones, because they’re not even given for the larger scale version, so why trouble putting them on this one.
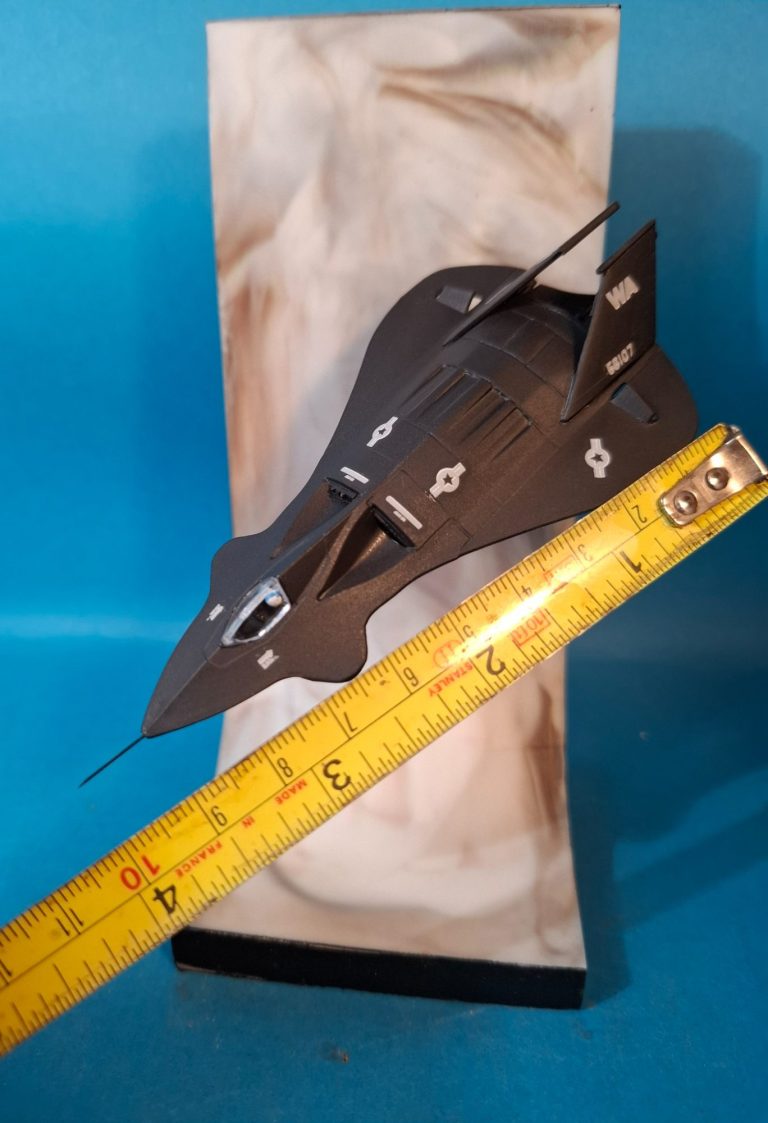
Photo’s #1 and #2 show the Sukhoi at this stage, and photos #3 and #4 show the Stealth.
I used a large paper clip as a holder for when painting the stealth, and wedged a paintbrush handle into the nose of the Sukhoi to serve the same purpose.
Worth noting is that the decals on the Sukhoi wing and tail tips are a little long, these can be trimmed with a sharp scalpel once they’ve had time to dry.
I used Micro Sol and Micro Set to help the decals form to shape, and once everything was dry sprayed on a couple of thin coats of Mr Models Matt Varnish.


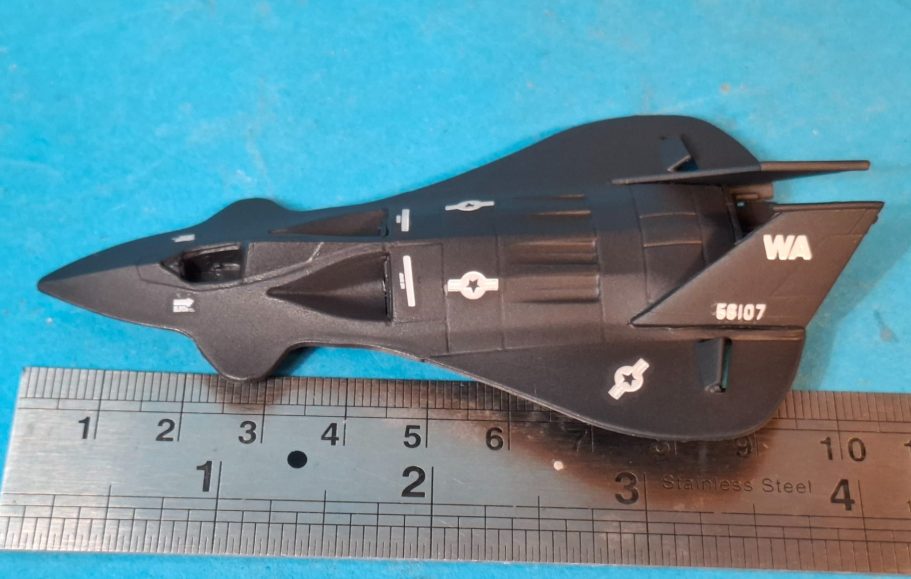
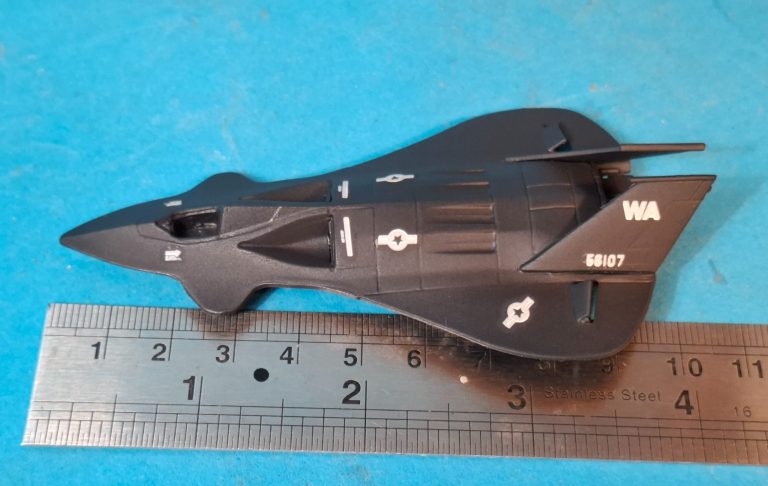
Photo #5 gives an idea of size of these aircraft, the Stealth being just over four inches ( 10cm ) long.
There’s a very slight silvering around the edges of this aircraft’s decals, it’s not much, but it is there, although the Sukhoi decals didn’t seem to suffer from this.
Pilots.
There aren’t any supplied in the kit, and they’d be pretty tiny if they were, but as I’d elected to have both aircraft “in flight” I thought I’d better find a way of making some.
Photo #6 shows the solution I came up with, which was a piece of black plastic sprue that had been stretched a little by heating it with a cigarette lighter, then the stretched part was cut and the severed end put near to the lighter flame again which remelts the plastic and causes it first to form a dome ( useful for making rivets ) and then it folds back on itself and forms a small globe.
Sometimes the plastic catches fire ( so be a little cautious ) although this again will cause the plastic to form a globe and it’s easily blown out with a sharp exhalation.


Photo #7, so OK the last shot probably made you wonder what the heck I was going to do next, well this picture shows that with the careful application of some white acrylic paint, and a little stripe of blue, you have a pilot’s helmet. Leave the sprue unpainted at the front, and the shiny black plastic becomes his visor.
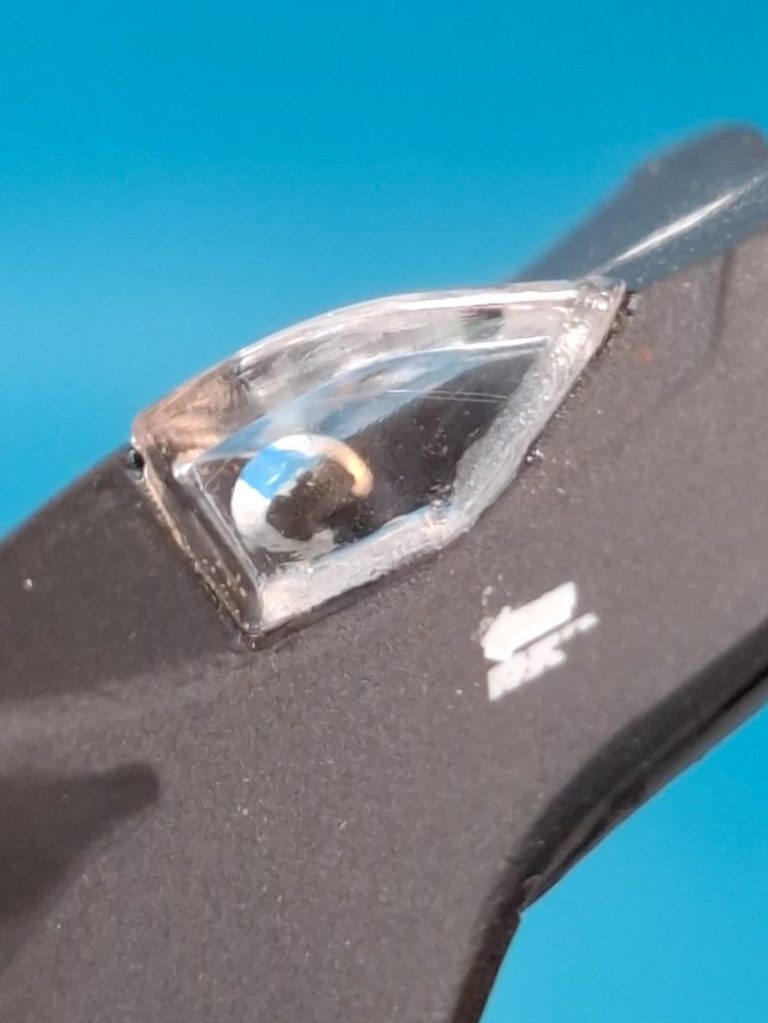
Photo #8, if you snip off the sprue at an appropriate point, you have an almost invisible body that can be glued into the seat, and hey presto, our little pilot is ready for action.
Not convinced yet ?
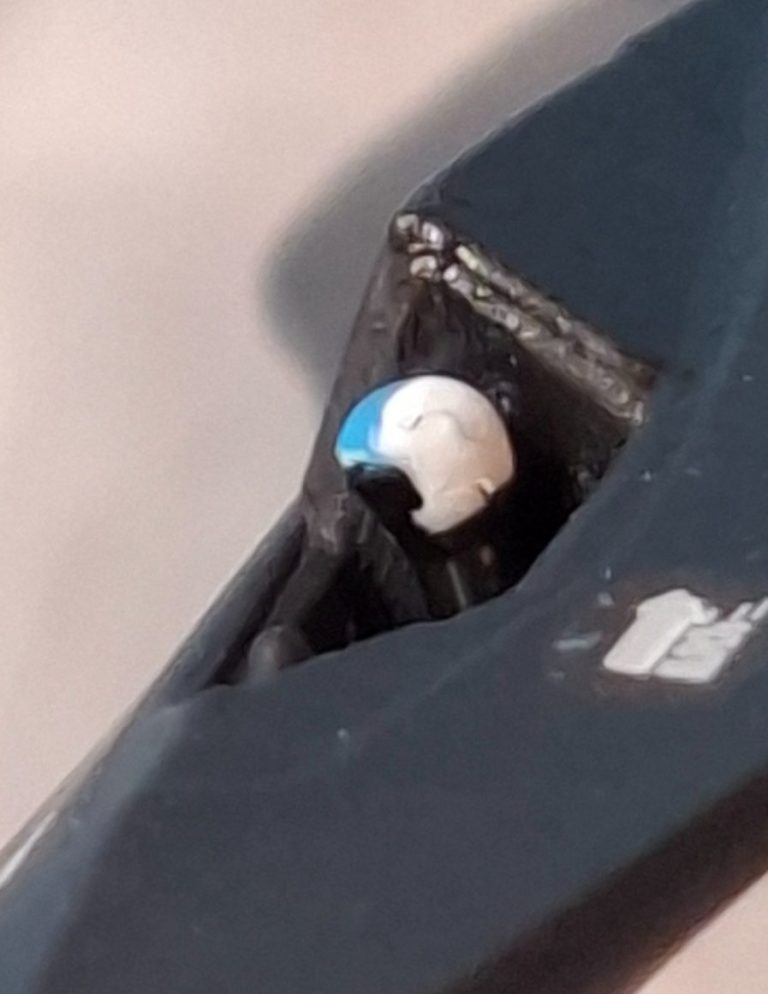
Photo #9 and the cockpit glazing is fastened in place and I think it works pretty well considering. If you really wanted to go for broke, then I suppose a thinner bit of sprue could be added, with similar treatment to the end for a hand waving….. I’ll leave you to ponder that and perhaps have a go yourselves.
Basing
So quite some time ago people started using display bases with a curved upright back, very effective for either a space scene or clouds, or even having a painted scenic back added.
I made a couple of masters to allow me to make moulds – one 50mm square on the base and then ones like the ones shown here which are 70mm square on the base.
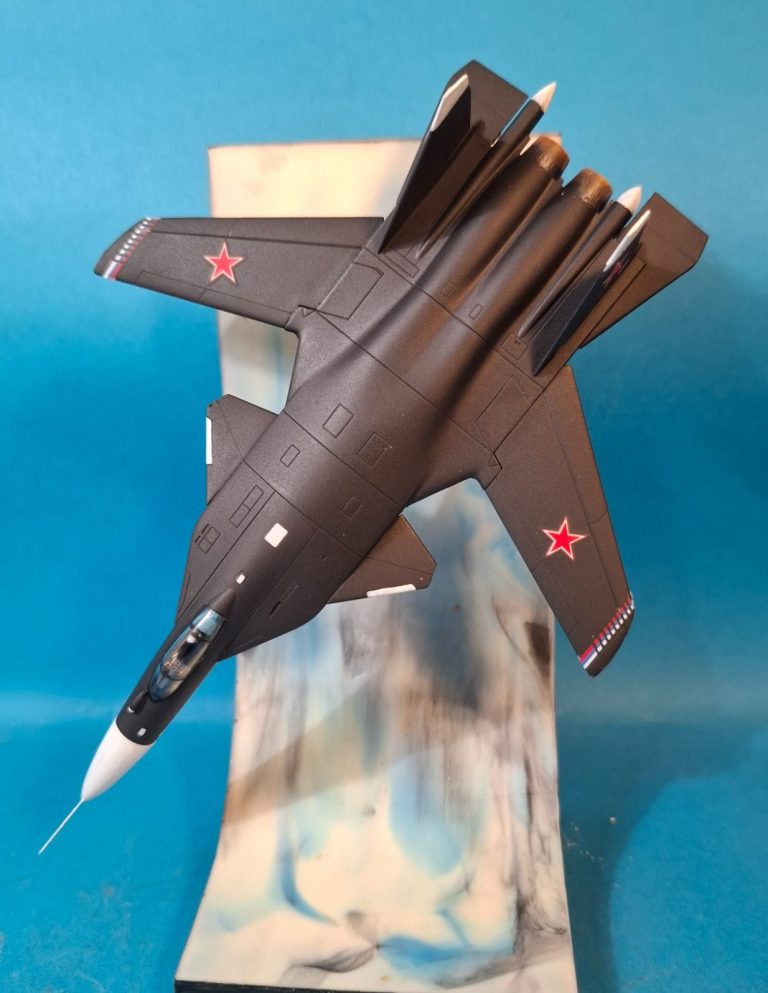
Unlike a lot of companies I didn’t use grey resin, but made a marble effect on most of mine, and these two are black and blue marbling which could I suppose ( or hope ) look like a cloudy, possibly stormy sky.
Photo #10 - holes were drilled into the underside of each aircraft, and also into the upright face of the bases and I used short lengths of clear sprue to join aircraft to base ( yes I have a box of waste sprue that I keep to one side of the bench, just for such things ).
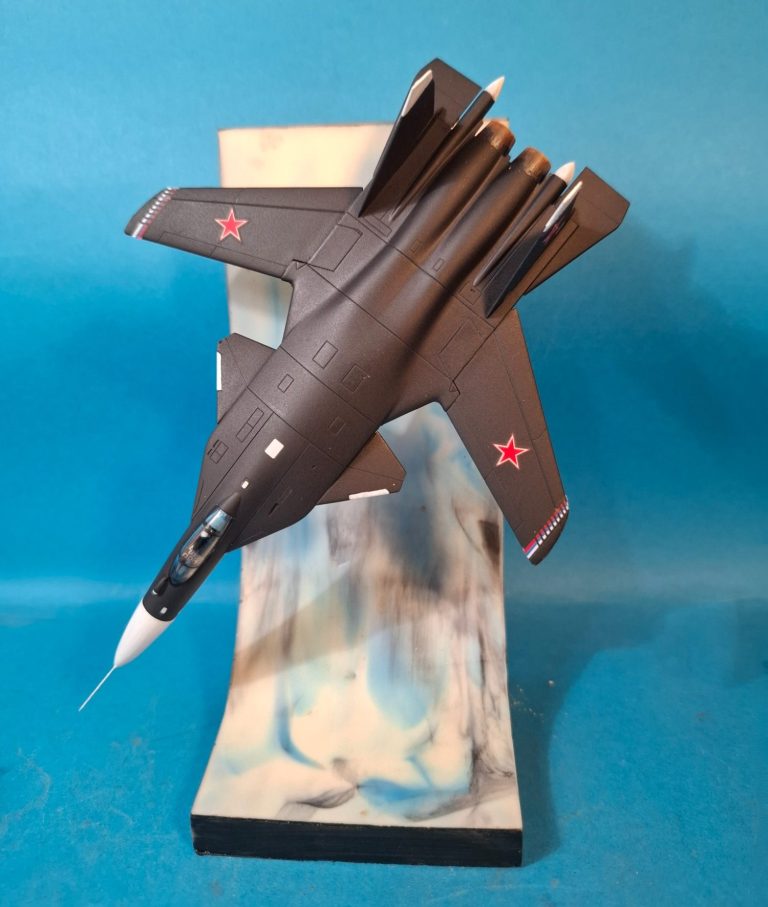
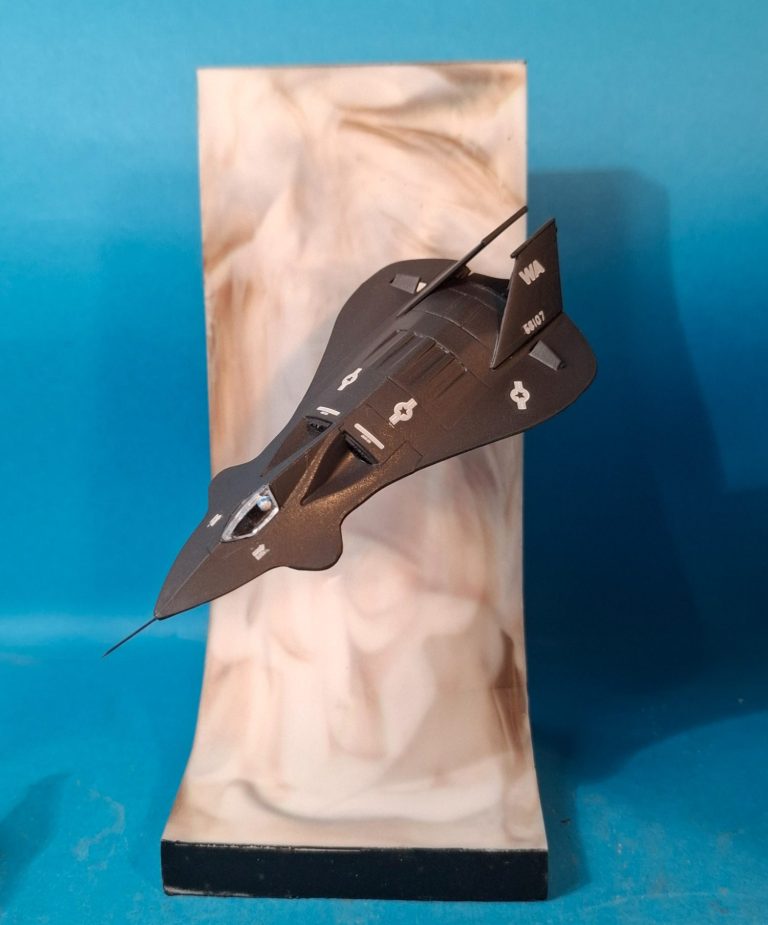
I did the Sukhoi first – wish I hadn’t, as it’s the better of t he two aircraft kits – and to my mind I got the angle wrong. It’s diving too steeply, and so on the Stealth I altered the angle that the sprue is fastened into both the base and the aircraft, which I think works a lot better – photo #11.
So a few more shots of the Stealth at the end of the article to show it from different angles and I really just need to source a 70mm square wood plinth to mount it on.
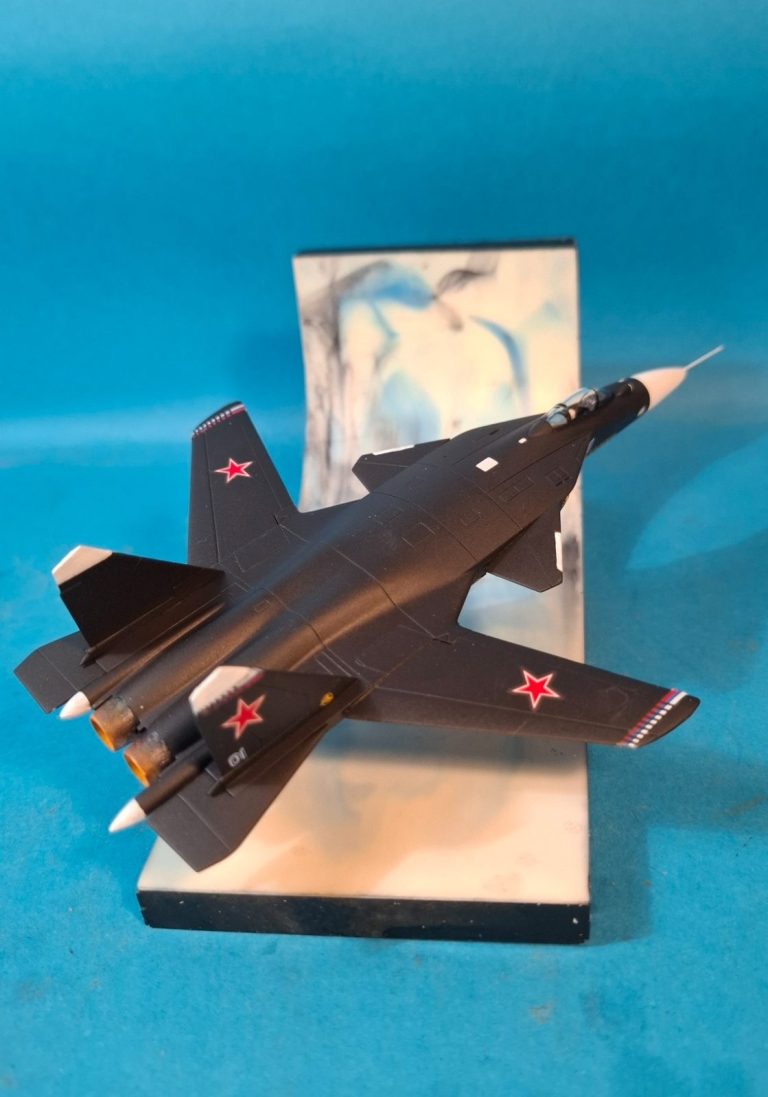
As sometimes happens in modelling, and possibly life in general, we have “happy little accidents” that whilst unintended, harm nothing and no-one, but make us look at something in a different light to make us view it differently.
Whilst photographing the Stealth I knocked over the Sukhoi, and it landed on the base’s back face, no damage done – Phew ! – and looked a whole lot better…..
So why not display it like that ?
Well, why not indeed ?
So I did.
And finding a suitable MDF plinth that I’d painted with Gloss Black Hammerite paint, I glued the base onto it, drilled a hole and added a screw to further strengthen the join, and added a nameplate.
The finishing touches were to paint the nose of the Sukhoi white and add part of an Acupuncture needle to the nose of each to act as a pitot tube. The advantage of the acupuncture needles is that they are very flexible, so they don’t bend like brass “accessory” ones do, and are very thin.
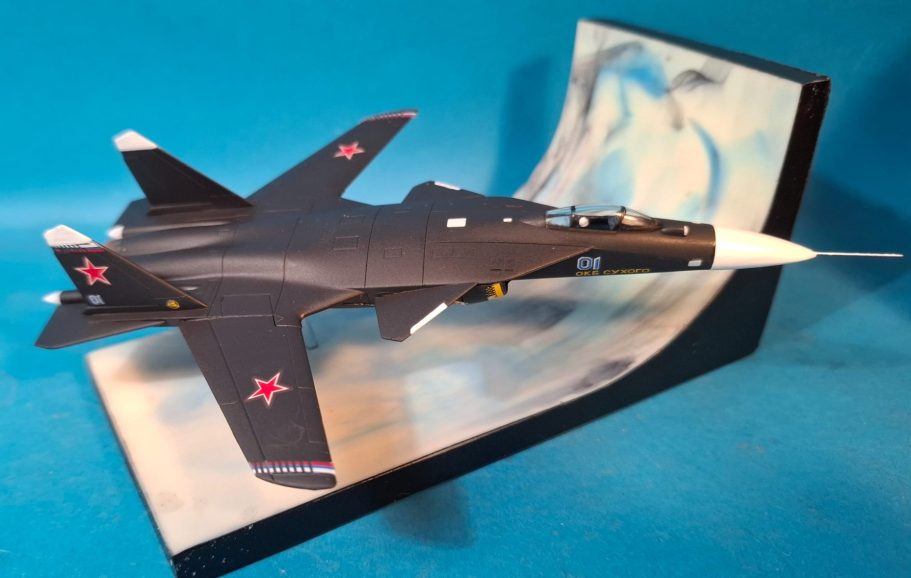
Final thoughts.
Of the two models, purely the kits that is, I much prefer the Sukhoi.
It appears to me that Revel have taken more care in making the moulds and on overall production on this kit than the Stealth, which seems to almost be an afterthought as far as details and parts are concerned.
On the good side, both kits have recessed panel lines and the fit of parts, whilst better on the Sukhoi, is still very good on both aircraft.

Yes, a little bit of sanding is necessary on the lateral joint of both airframes, but it’s not much and is easily done.
Obviously there’s not a great deal of choice in this scale for similar aircraft being produced by different companies, so it really is a case of if you like “X” then you’ll have to either have company “A’s” offering, or scratch-build it yourself.
And in some cases scratch-building is the only option – at the time of writing I can’t find a 1/144th scale Saab Draken, although there must be one somewhere ?
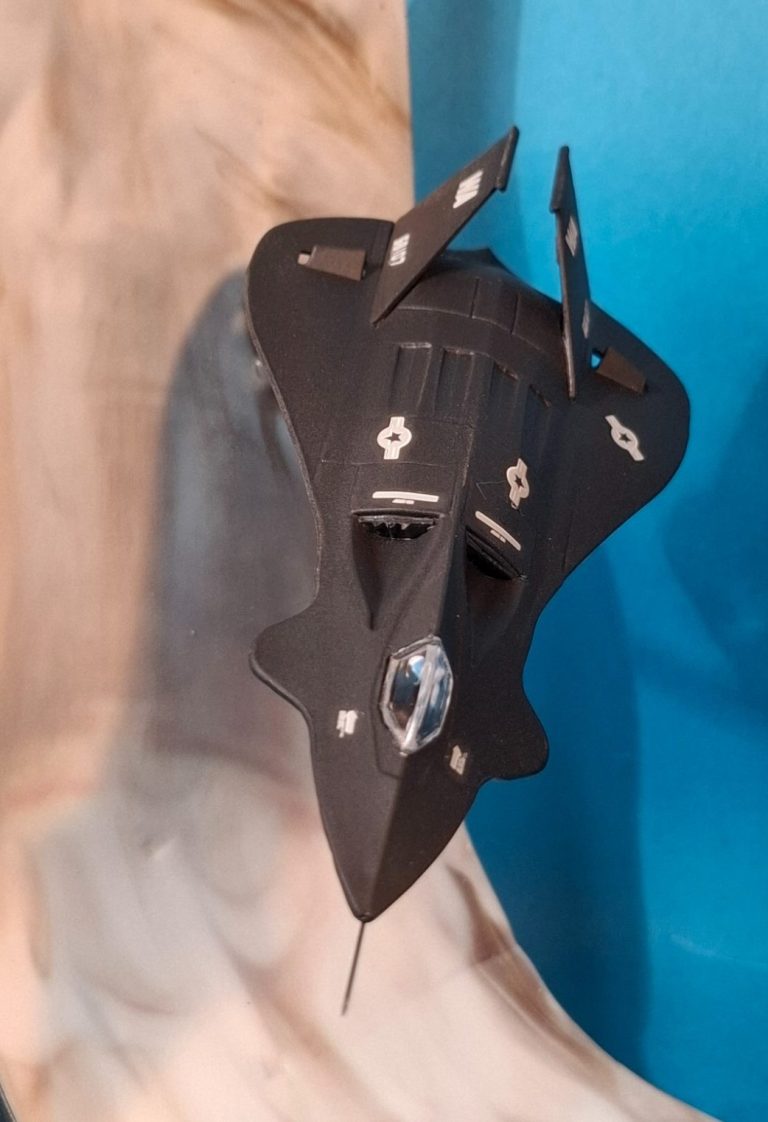
But as far as there little kits go, I can be pretty sure I can recommend them, if you like the subject matter, and it might be worth looking at others in this scale if you have limited amounts of display space, particularly with reference to larger aircraft like a B52 for example.
