Painting a Leather Scabbard with oils
Continuing the “How To” series dealing with oils, here’s how I paint a leather scabbard. The method can be adapted to use darker or lighter colours, and also to paint other leather objects – belts, bags etc – but I’ll use a 120mm sword scabbard as an example
I think this one might well be a component from a Verlinden kit, why that would matter…. Um, I don’t know. It’s simply a larger canvas to work on, the same method can be used on smaller scales, just tighten up the brushwork, and use smaller brushes for the details.
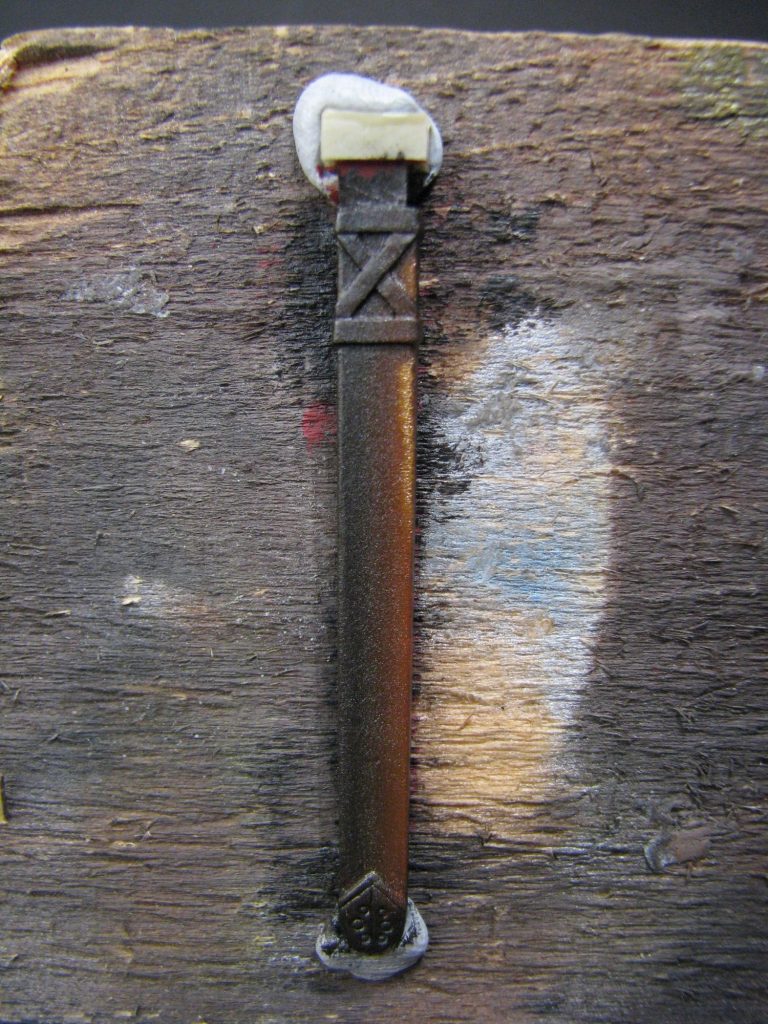
So, photo #1 shows the bare casting, no clean up necessary on most Verlinden parts other than the mould plug at the top, which for this demo, I’ll just leave in place.
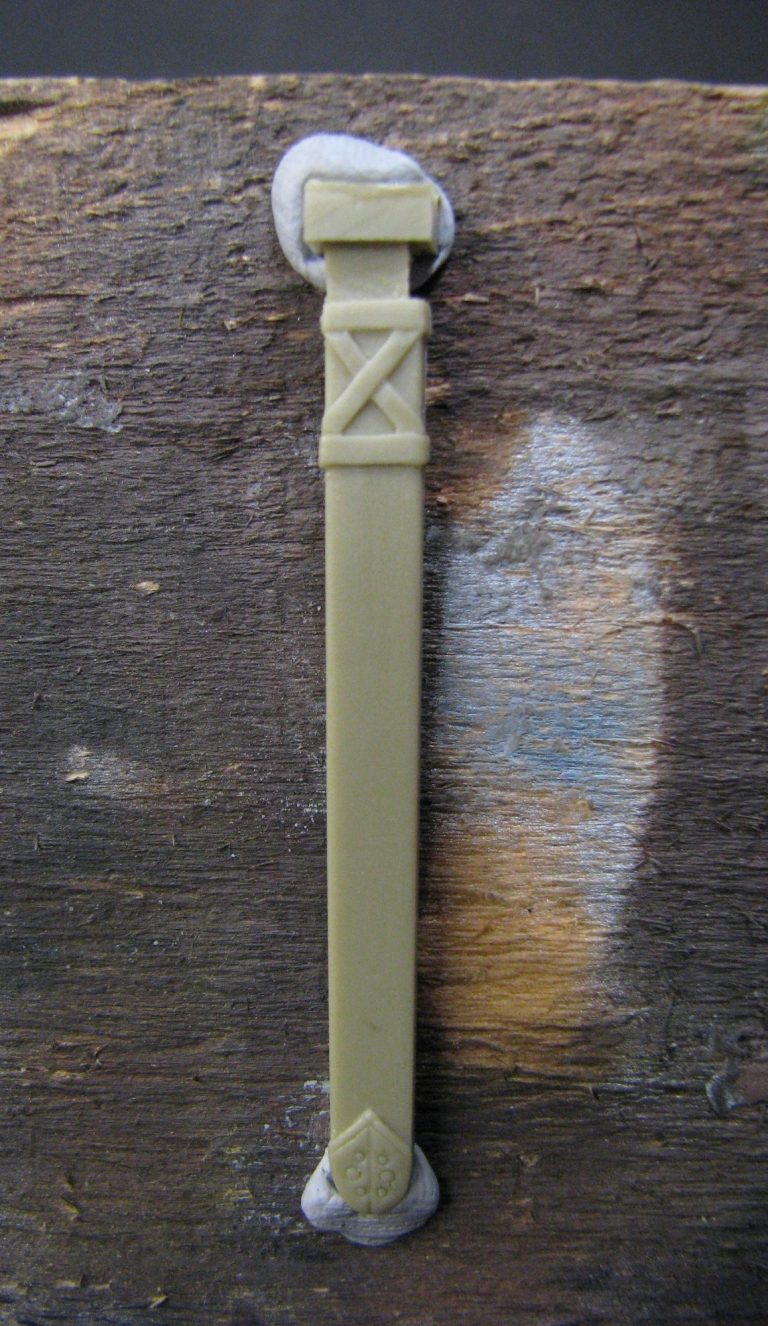
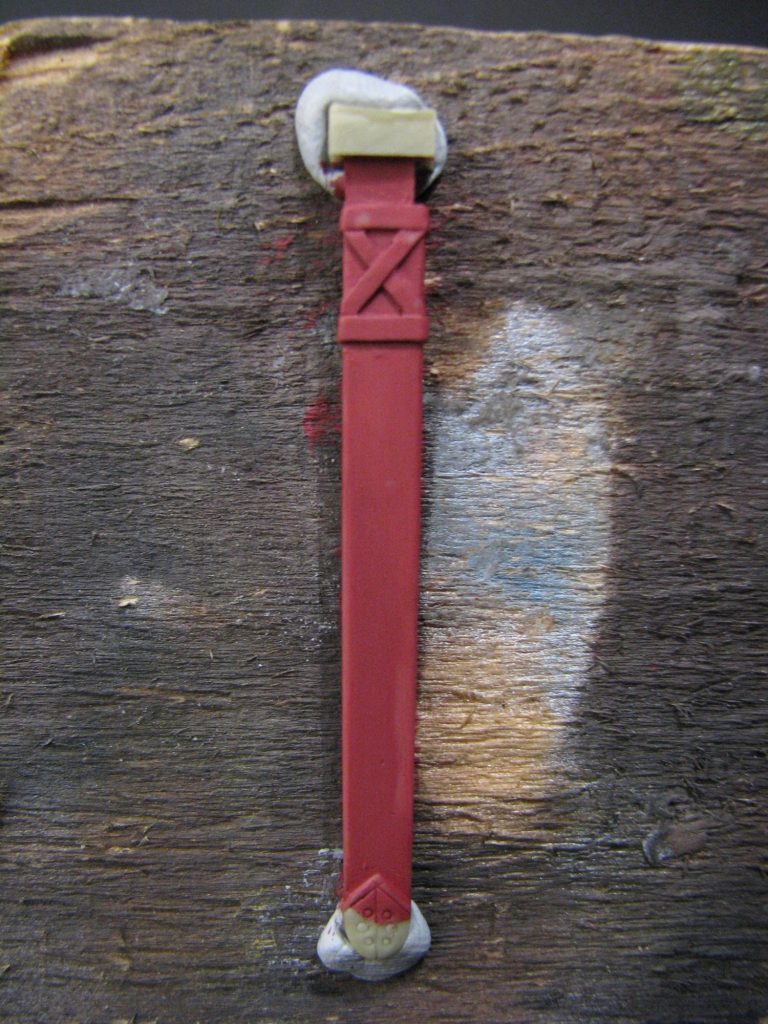
Photo #2 I’ve primed the piece with Isopropyl Alcohol and a small amount of paint as usual, then added a couple of coats of GH Swamp Brown – but any brown will do.
Photo #3 and the first later of oils goes on, this is a mix of Mars Black and Mars Brown, but Ivory Black and Burnt Sienna would do as a dark brown mix, or indeed just some Vandyke Brown – whichever is handy.
Once the paint is covering all the details, stipple it lightly with a large soft brush to remove any brush marks.
Again, I’m relying on the fact that you know now to wipe the brushes regularly on a soft cloth to remove excess paint and prevent migration of pigment. So I won’t need to repeat that part of the process. If you’re not aware of that, then please read the article on painting a 54mm face.
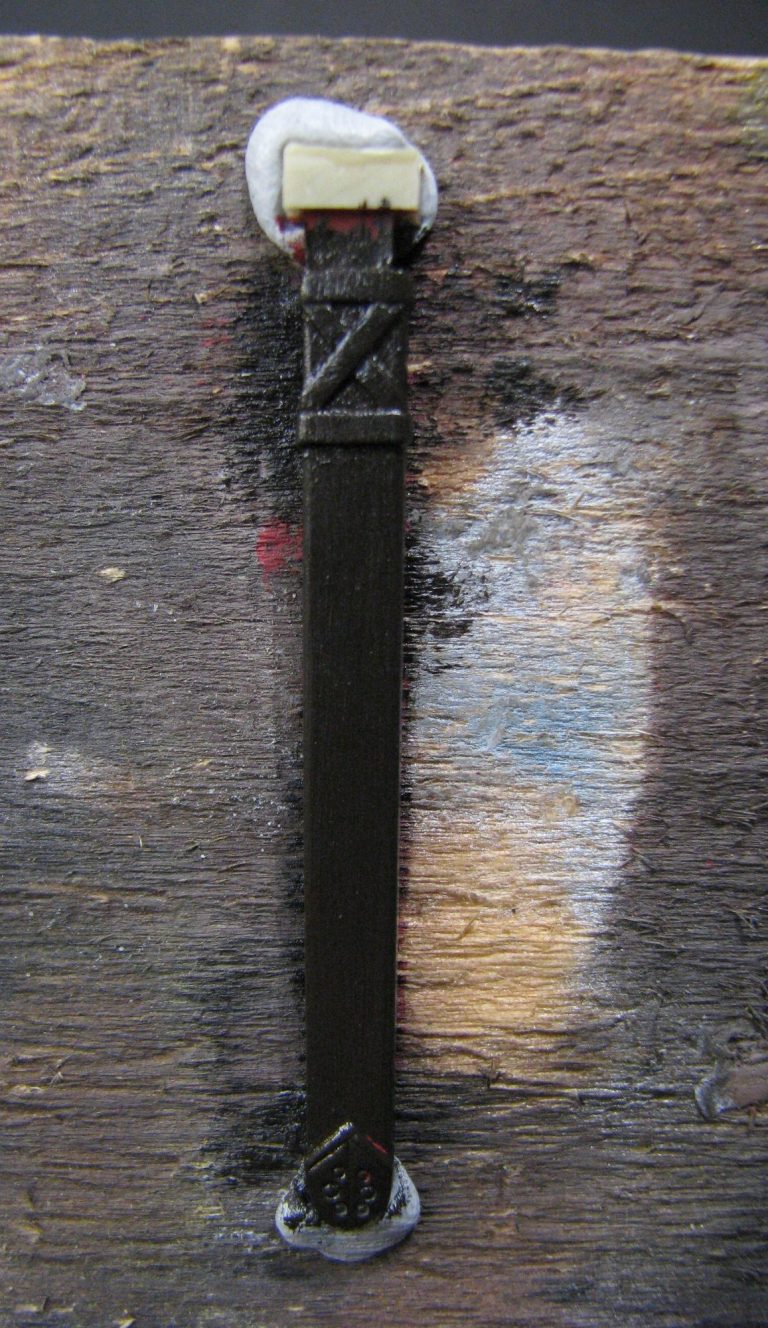
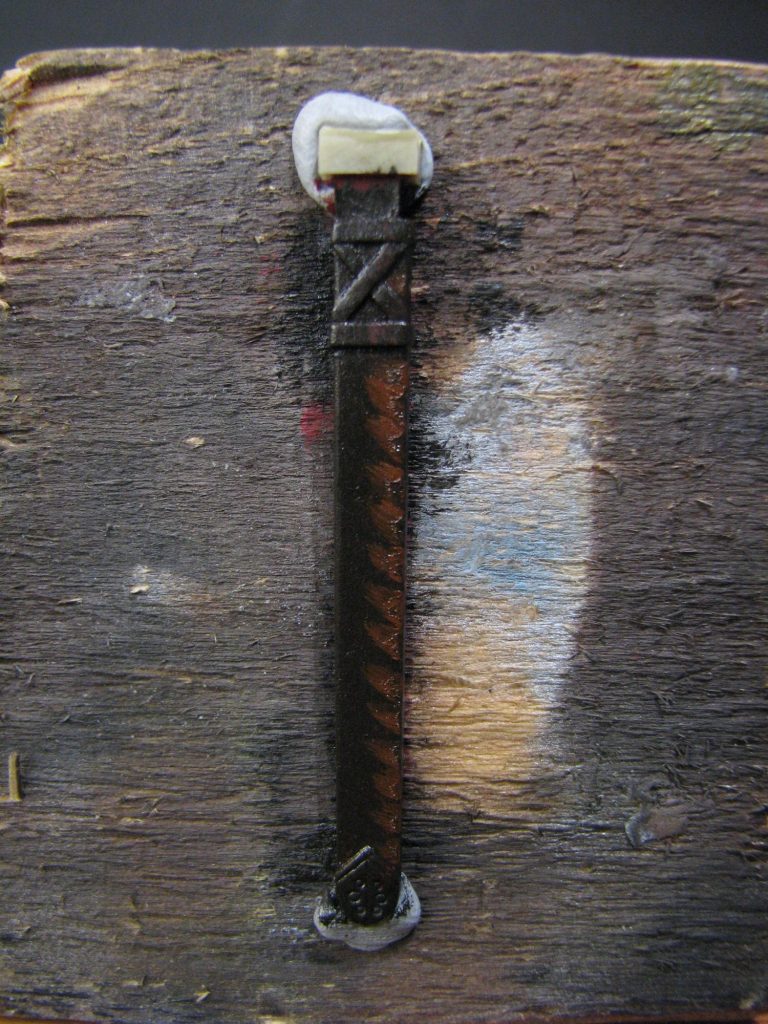
Photo #4 and lines of mars Brown ( Or Burnt Sienna ) have been added along one side of the scabbard. At this point I should mention that the scabbard would not be hanging straight down in this case, but hanging at an angle and the right side of the scabbard as you look at it will gain a greater highlight, whilst the left will be in relative shadow.
Photo #5 and a clean soft brush is used to blend the brown in with that stippling action. I think this shot shows the slight texture that the stippling gives quite well, The fact that the lighter brown has blended in to almost, and I do stress almost, unbroken line is OK, Oh, and for the moment we’re ignoring the smaller belts at the top of the scabbard, just forget they’re there for the time being.
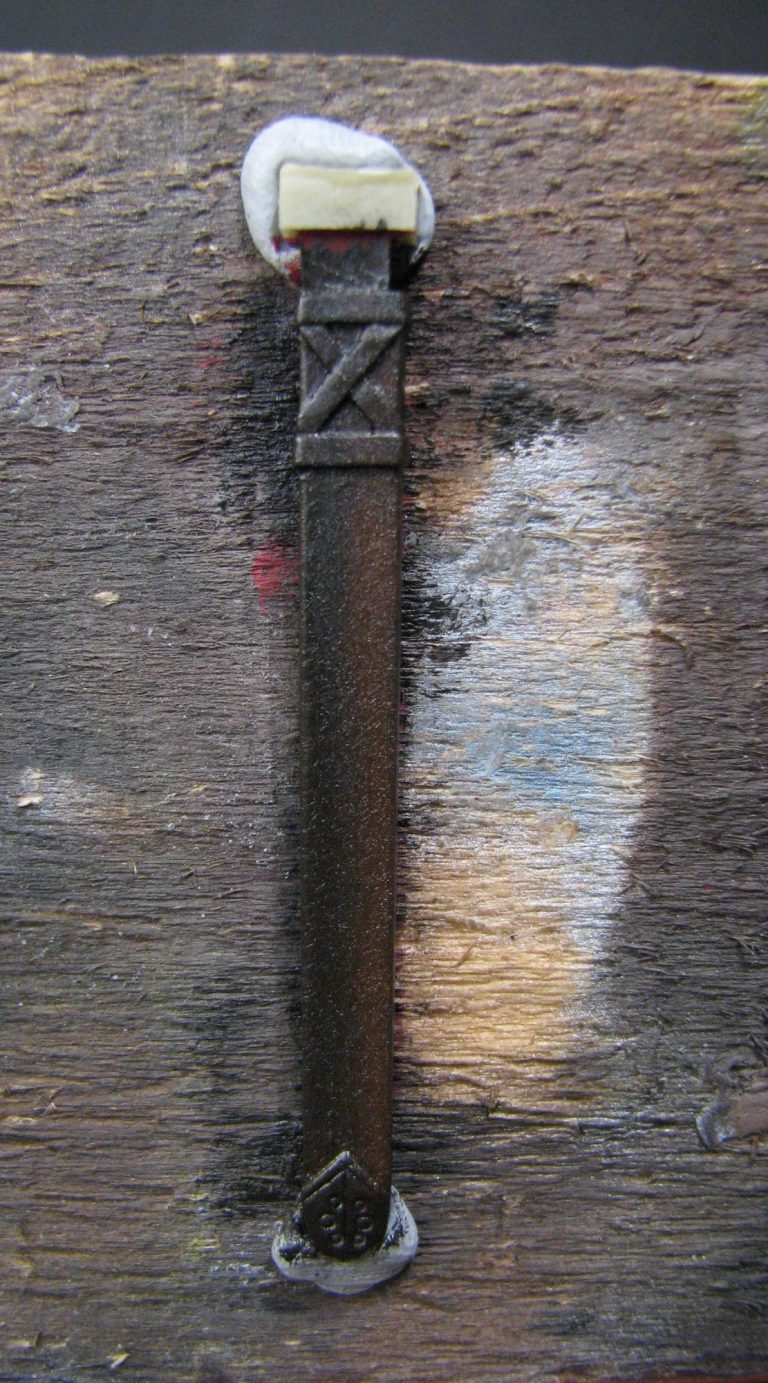
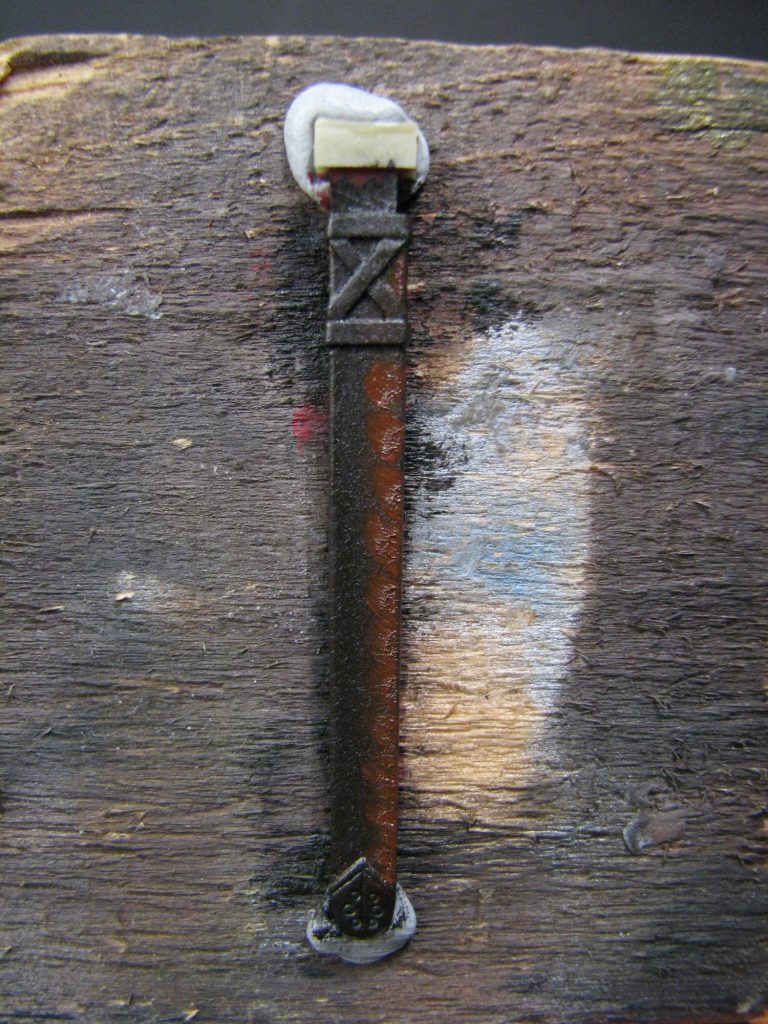
Photo #6 More of the same brown added, but this time the additions are a bit smaller and more spaced out.
Photo #7 and again blending them in. The lighter paint is migrating across the scabbard a bit, but that’s OK as it’s building the mid-tones towards the middle of the piece.
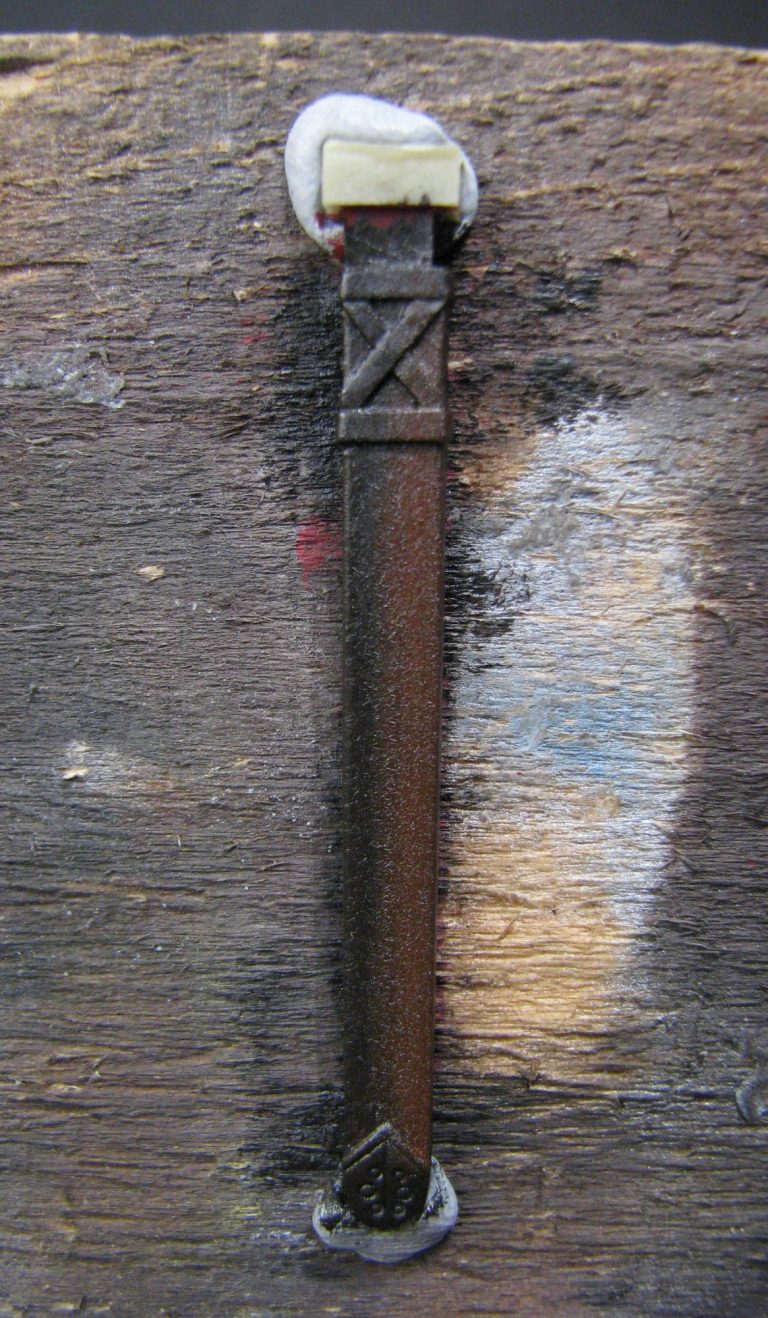
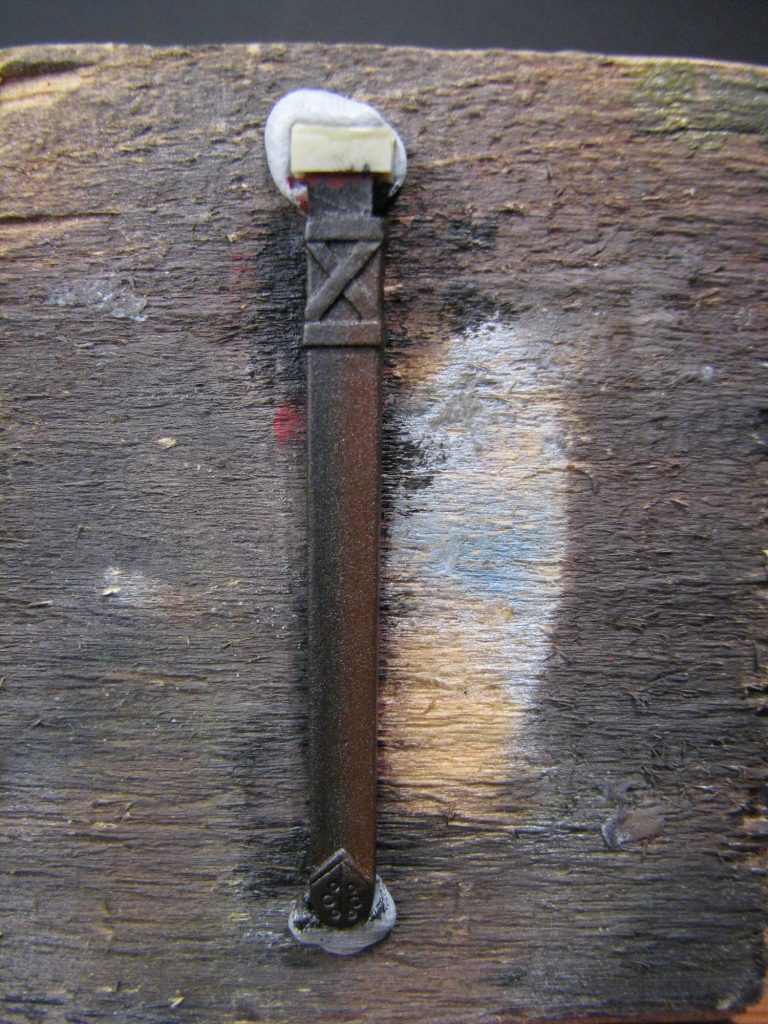
Photo #8 It doesn’t look like much more has been done in this shot, but I’ve softened the edge between the darker and lighter colour, and if you want a new looking scabbard, then you could stop at this point, add the details to the small belts at the top and let the scabbard dry.
Photo #9 But I don’t want to do that, So I’ve added a colour called Light Red which is a deceptively named rust coloured oil paint. This is added in a much narrower line down that right hand edge.
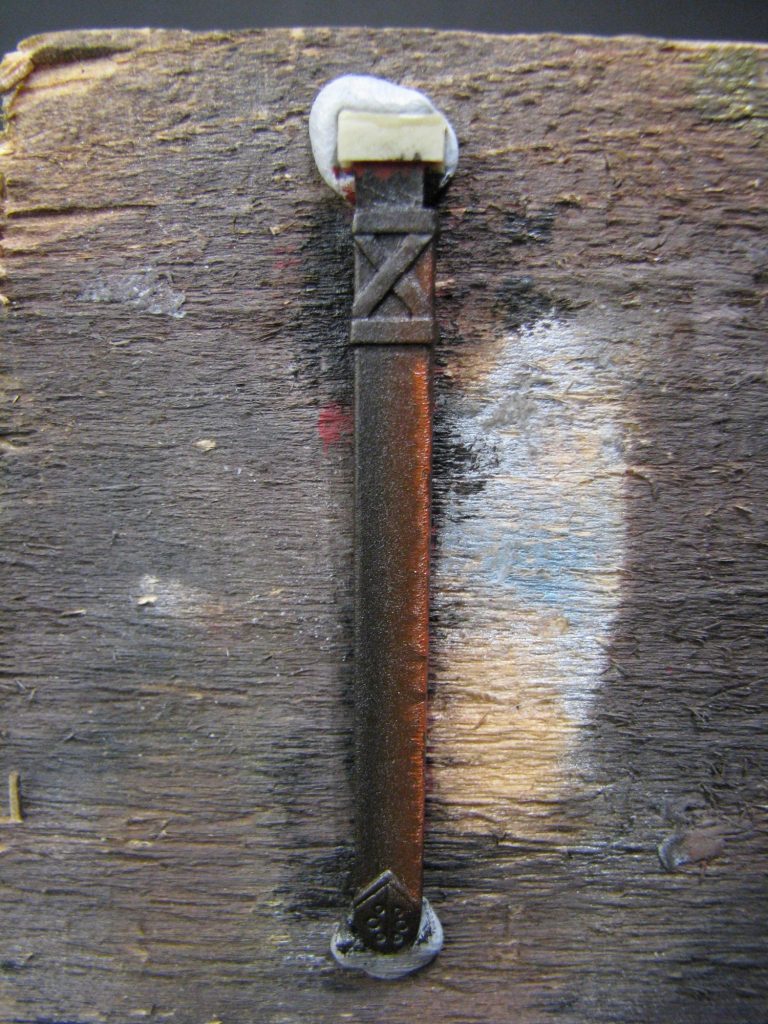
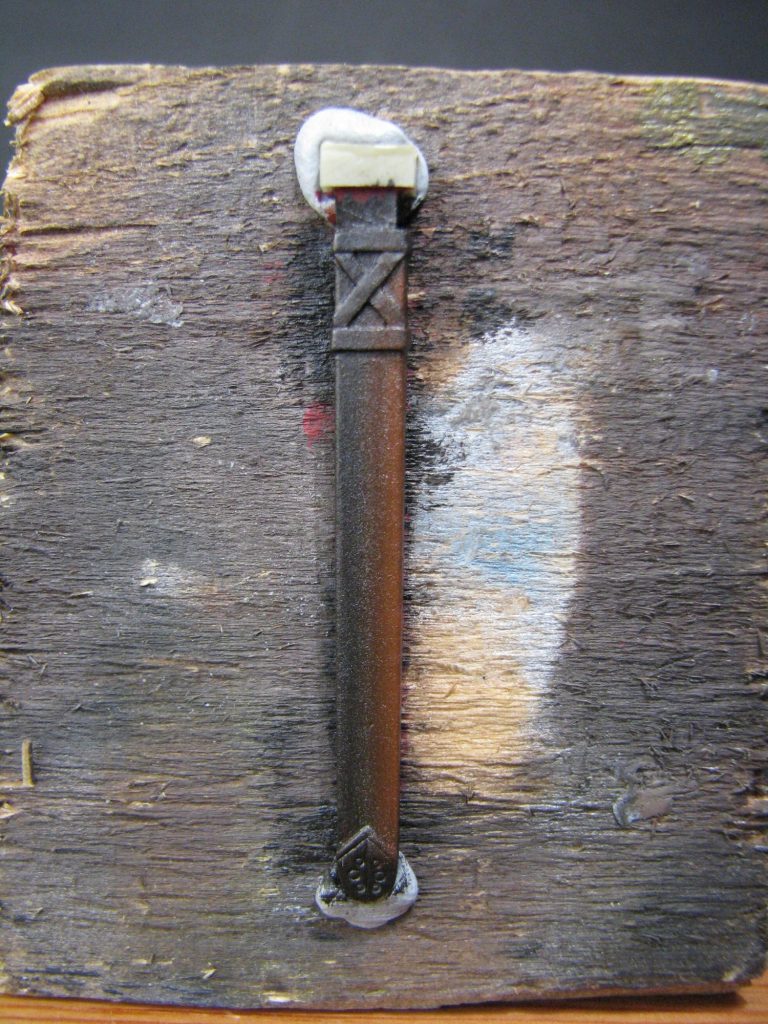
Photo #10 And then like the last few stages, a clean soft brush blends the lighter paint in to the surrounding area.
Photo #11 Now even more of the Light Red is added, again in a slightly thinner band than the last time,
And in Photo #12 it is blended in and just to speed things up a little I’ve added a little Mars Yellow ( Yellow Ochre is a good substitute ) just down the right hand edge from the top to about half way down. Note at this point that a small amount of the yellow had been added in between the cross of the leather belts at the top.
Photo #13 and that yellow has been blended in. The darker colours are quite strong pigments, so the yellow hasn’t had all that much effect,…. But more can be added.

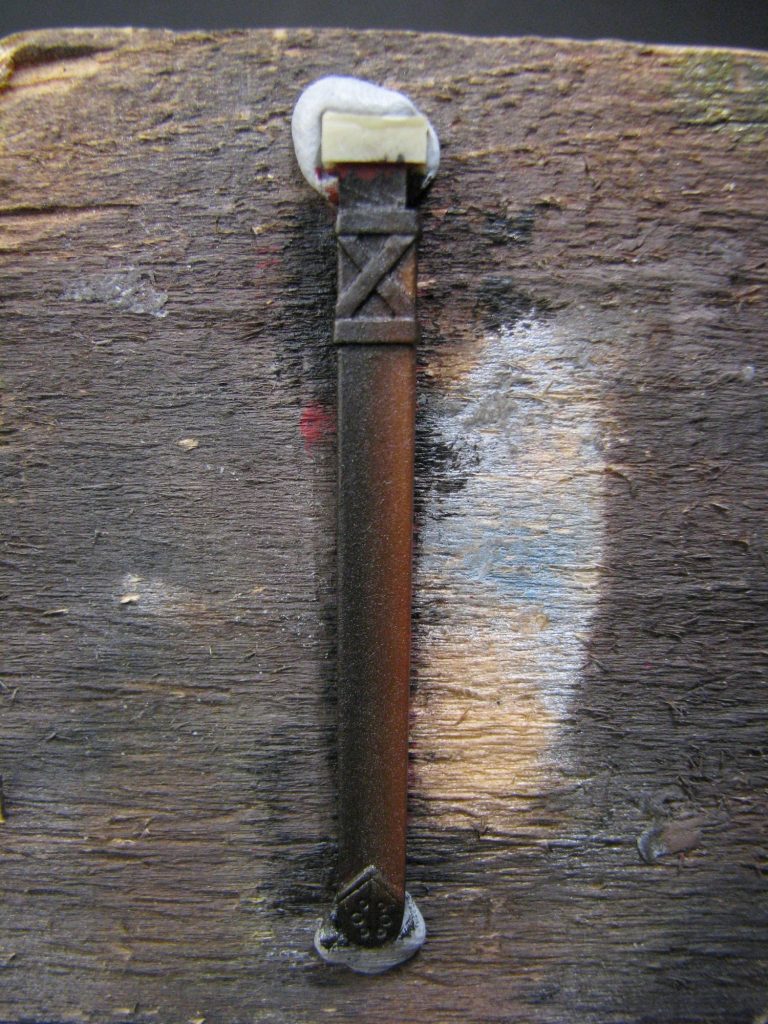
Photo #14 I’ve done a little more blending to smooth out the transitions here, and added a small amount of the yellow to bring the upper right hand half a little brighter.
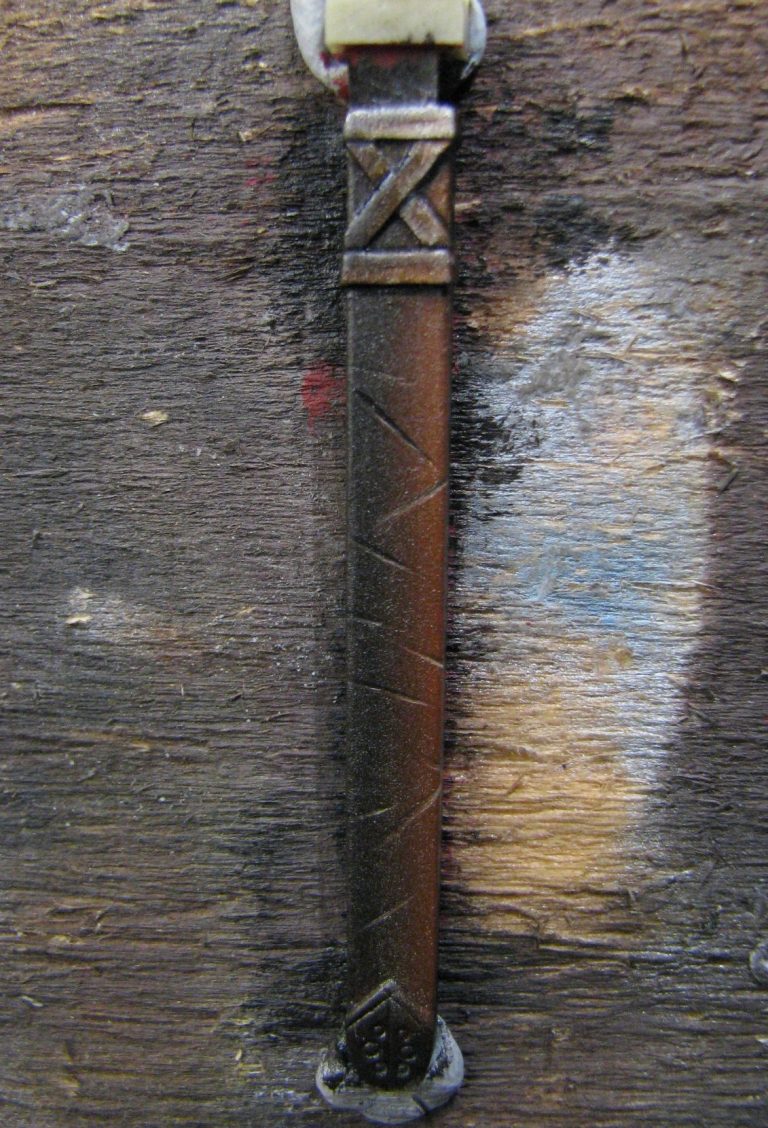
Photo #15 this is roughly the angle that the scabbard would hang at on the model, and whilst the shadows are a little dark, more of the Mars Brown ( or Burnt Sienna ) could be added on the lower edge to dial back the darker paint.
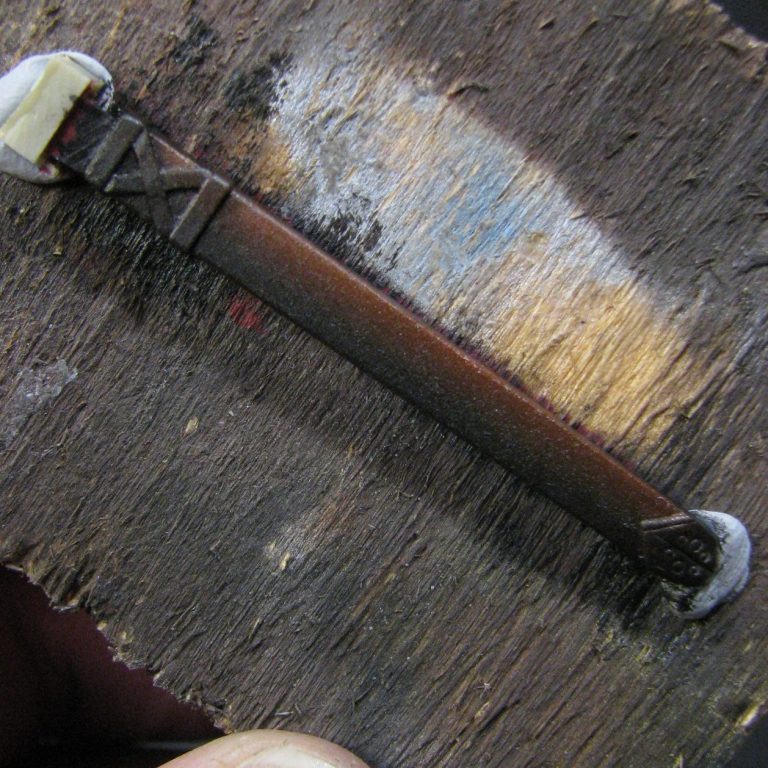
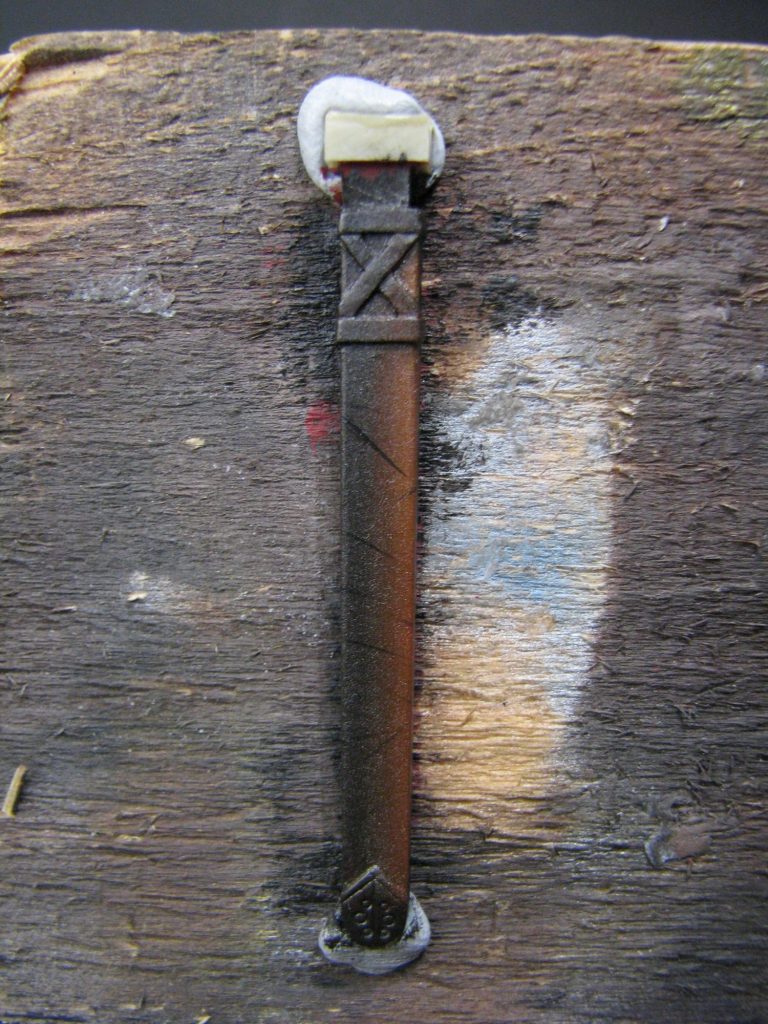
Photo #16 shows the beginnings of painted on damage. Fine lines of the dark brown oil colour are painted on as shown.
Photo #17 and then lighter colour – Buff Titanium ( or a mix of Titanium White and Yellow Ochre ) is added beneath each of the dark lines.
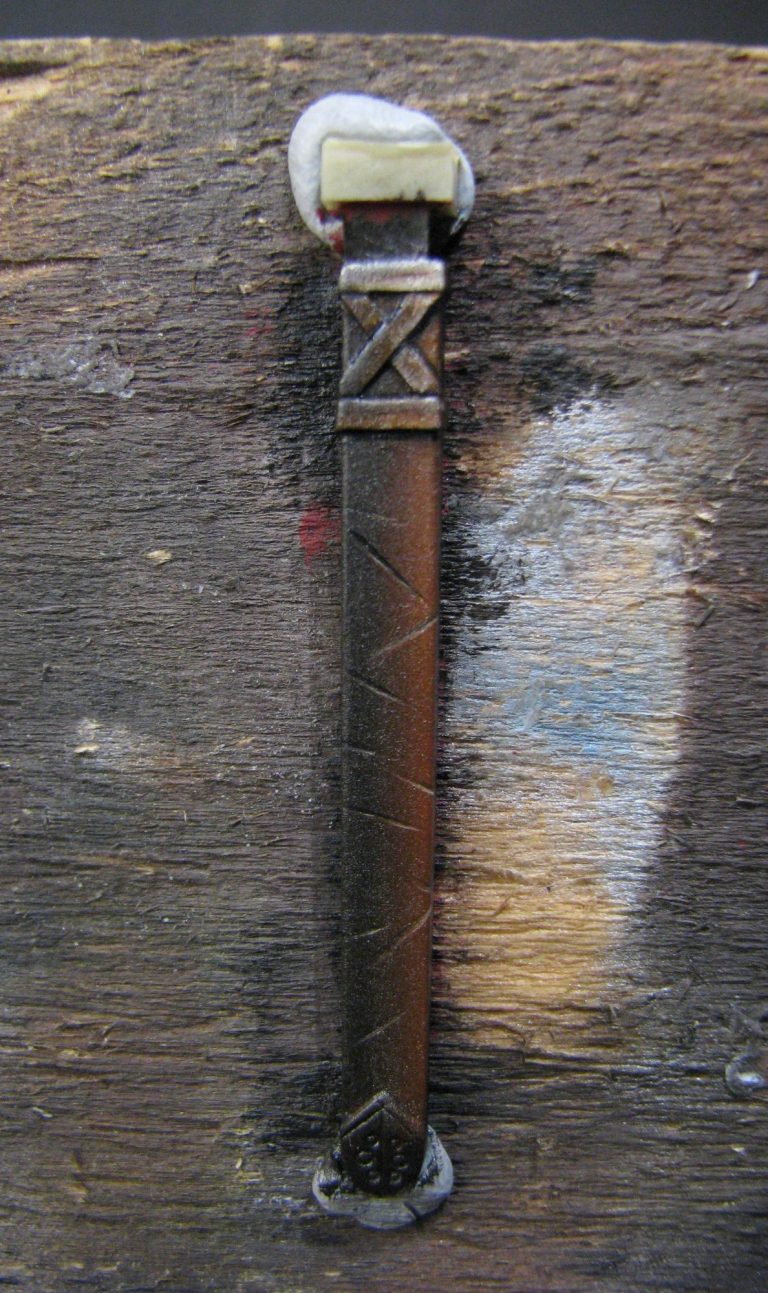
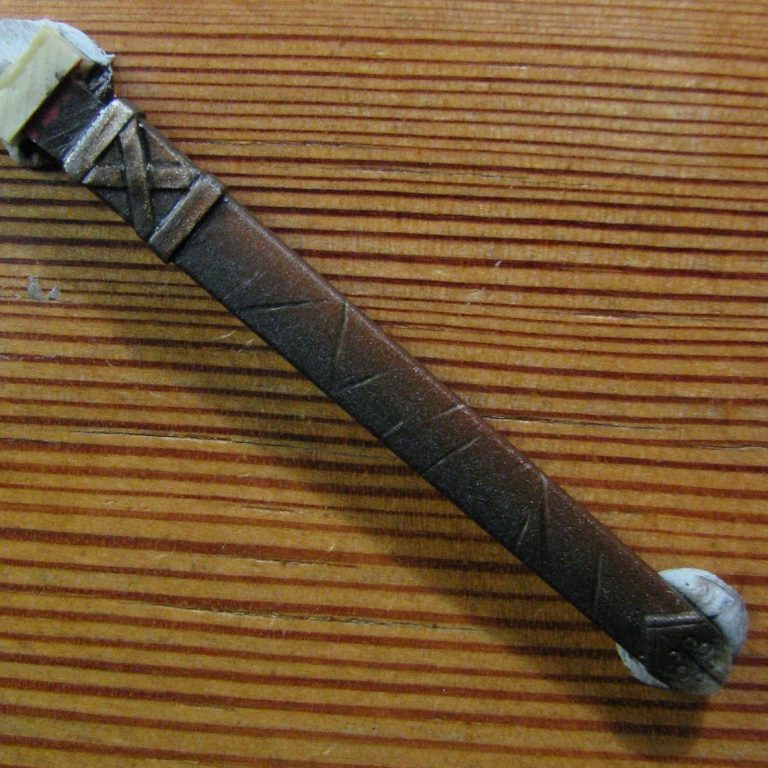
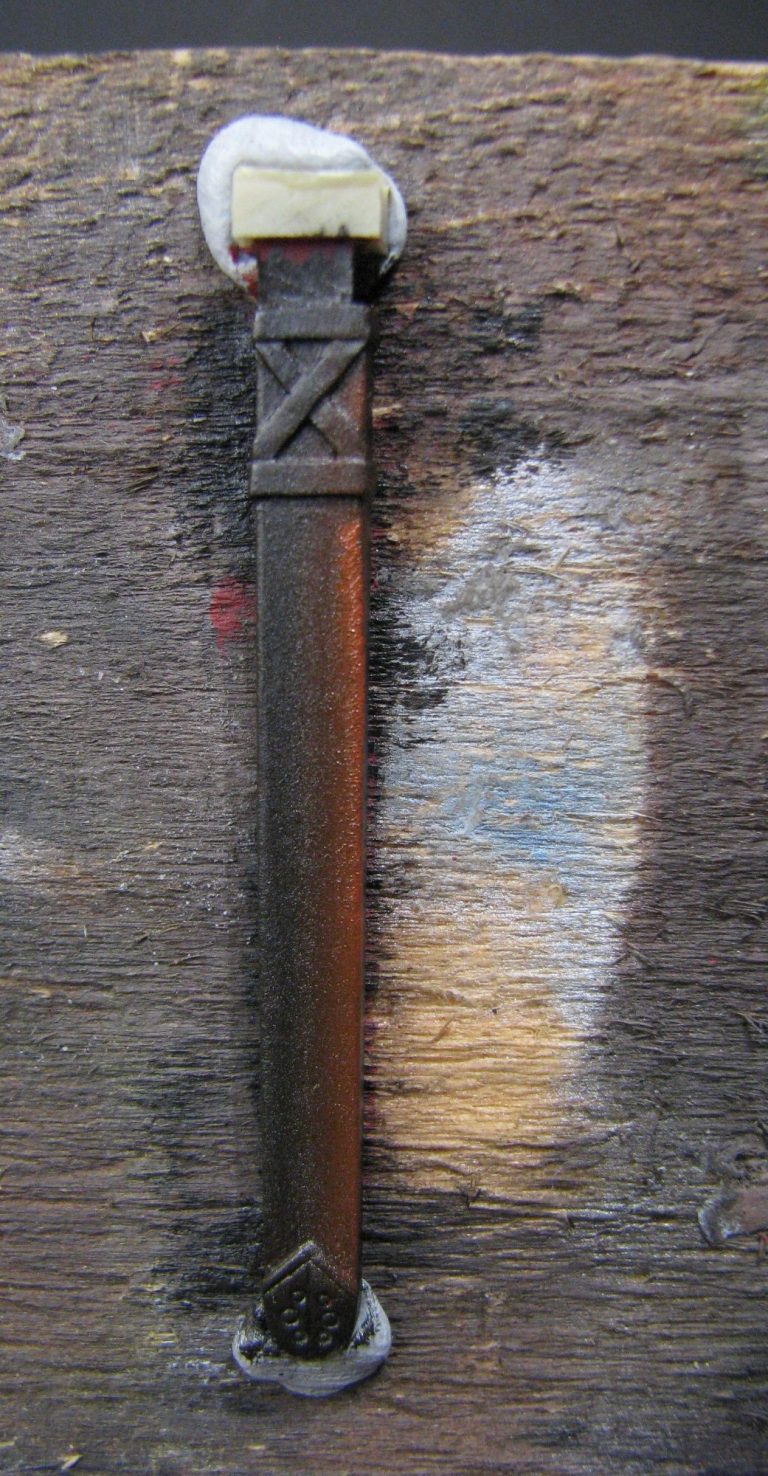
Photo #18 shows the finished piece with the narrow belt supports painted in and on a clean background.
As mentioned, lighter colours could be used to paint the leather, but the method would be the same. If the scabbard is to hang vertically, or as near to vertical as makes no matter, then I would tend to have the darker area in the centre of the scabbard, and each of the edges lightened to reflect heavier wear and tear.
Cetero oporteat sensibus his eu. Has ex vidisse perpetua, vis partem mollis mandamus at. Ea nam legere mentitum prodesset, no quo lucilius liberavisse, te oratio debitis omittantur eos. Sea ea iusto detracto, ut scripta sapientem suavitate cum, nam deleniti perpetua intellegam an. Ei per officiis detraxit probatus, vim at graecis tincidunt.
Cetero oporteat sensibus his eu. Has ex vidisse perpetua, vis partem mollis mandamus at. Ea nam legere mentitum prodesset, no quo lucilius liberavisse, te oratio debitis omittantur eos. Sea ea iusto detracto, ut scripta sapientem suavitate cum, nam deleniti perpetua intellegam an. Ei per officiis detraxit probatus, vim at graecis tincidunt.
We need your consent to load the translations
We use a third-party service to translate the website content that may collect data about your activity. Please review the details in the privacy policy and accept the service to view the translations.