Yellow Draken. Saab Draken in Finnish Livery
Hasegawa 1/48th scale plastic kit
Assembled and painted in 2025
I’ve given a bit of history about the Saab Draken in a previous article, regarding the design and success of the fighter jet, so I’ll be brief here on this particular colourscheme.
The Swedish aircraft was a very successful design, and several countries bought jets for their own air forces, either as front line fighter planes, or for use in a reconnaissance roll.
The recon aircraft had a different nose to the standard Draken in order to hold five cameras, these replaced the radar assembly, but I’ll go into details of that when I make a conversion.
So at the moment I’m rather fascinated by the different liveries some of these aircraft carried, and in particular the very bright and colourful ones applied as celebrations marking different milestones or changes.
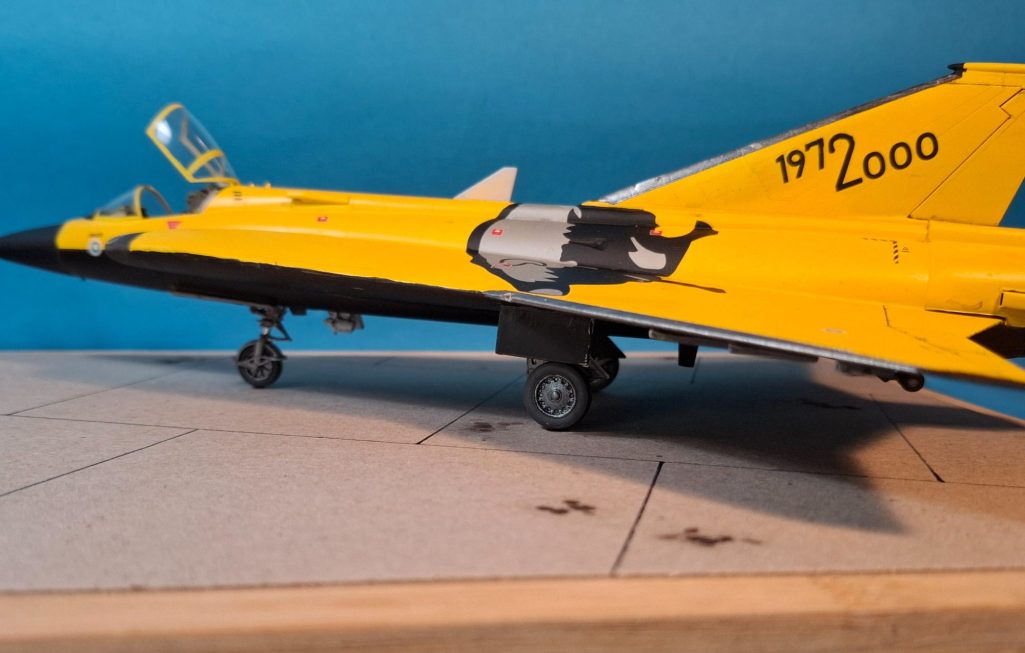
The Austrians used two aircraft to celebrate a thousand years of Austria’s existence, and this Yellow livery is an aircraft in Finnish service celebrating the Draken’s service to Finland from 1972 to 2000.
A fantastic bright yellow – most model painter’s nightmare !
The kit
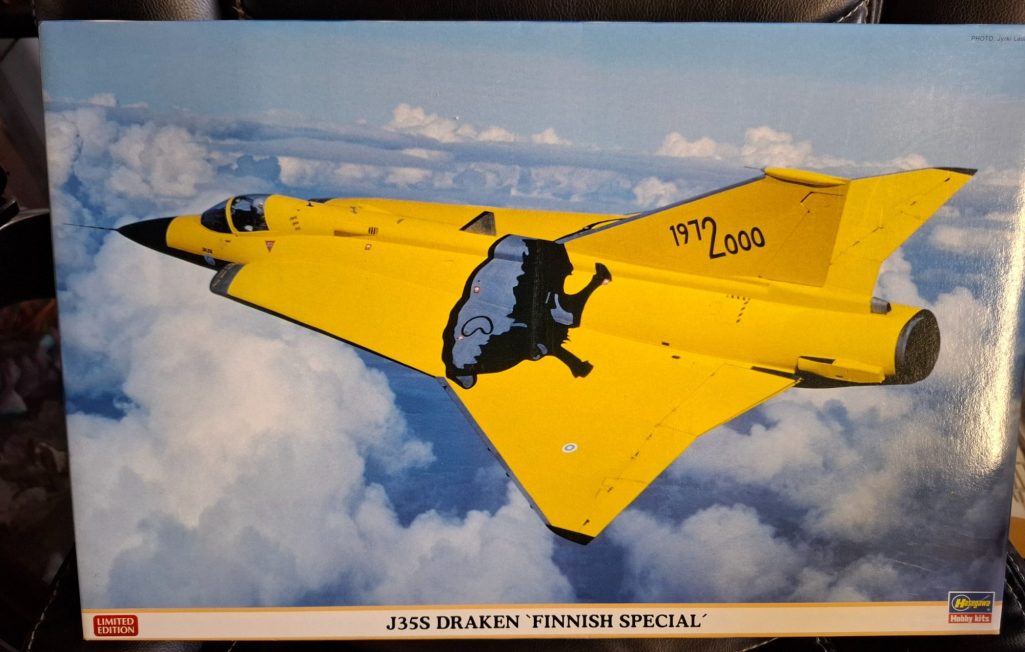
Photo #1 shows the box art from the Hasegawa kit, a 1/48th scale offering based on the original boxing of the Saab Draken, but with additional decals to give this particular colour scheme.
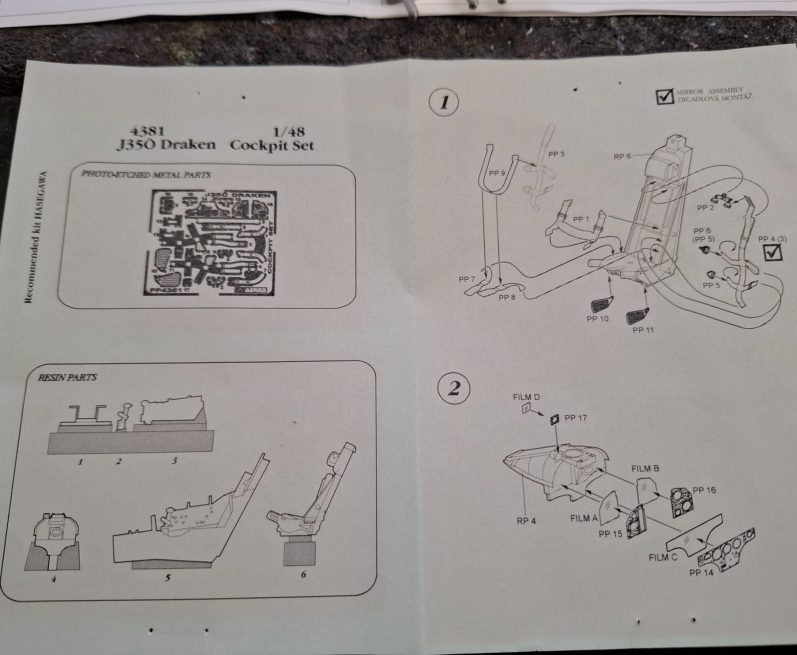
Photos #2 and #3 show the instruction sheet for the only additional parts I added, which was the Aires cockpit update set.
It’s a resin, coloured acetate and photo etch set that adds a lot to the model’s appearance when viewed up close, and is a little more complex than I’m used to, I’ll freely admit.
However, it does go together relatively easily, although were the separate buckles really all that necessary ?
I admit that I swore a few times fastening the seat belts to the buckles, and although the belts come pre coloured, by the time my ham-fisted, gorilla fingered hands had completed gluing them all in place, an amount of repainting was required.
I think I need more practice on such items as this, but they do look a lot better than the kit parts when installed.
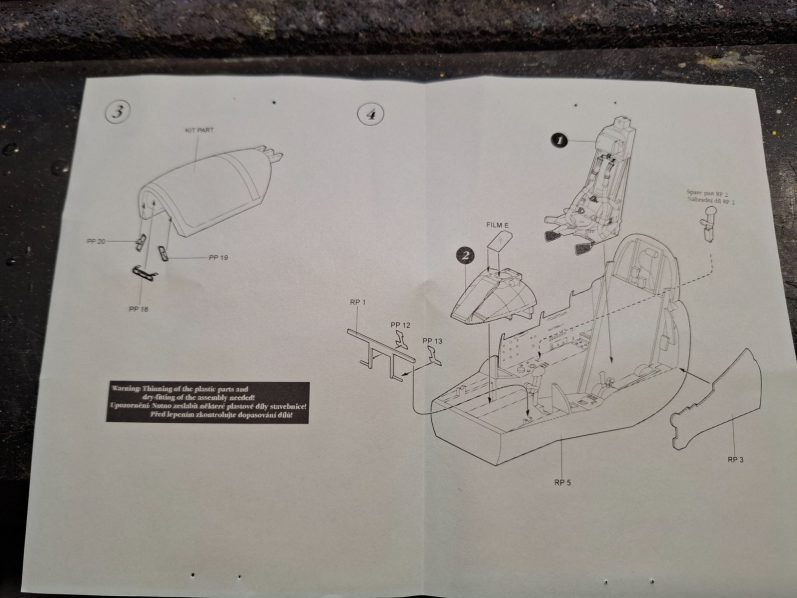

Photo #4 and the cockpit has all been assembled, painted with references taken from the very good source book - Saab 35 Draken ( Flying with the European Air Forces ) by Fredrik Edvardsen.
Once dry it could all be installed into the upper fuselage half, the rest of the parts added inside the upper and lower halves as per the kit instructions and the two joined together.
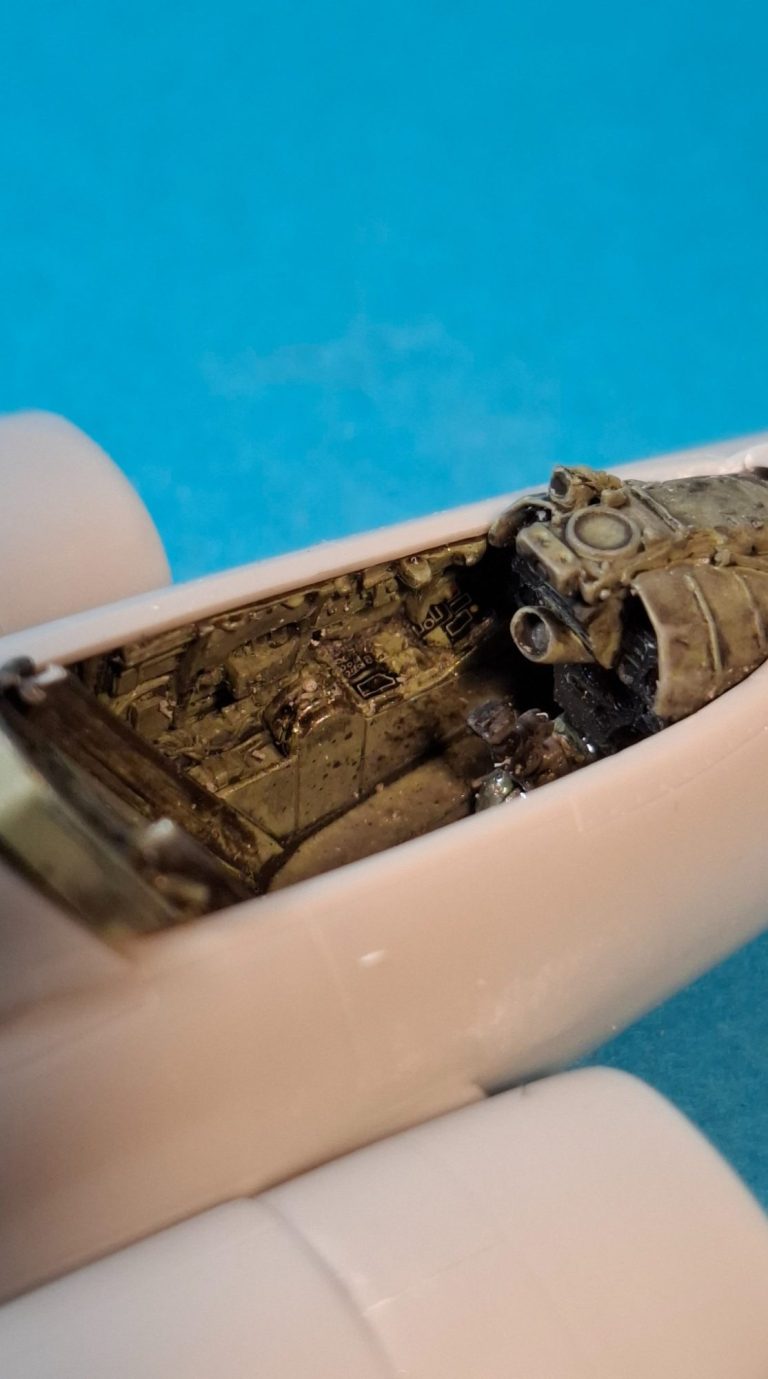
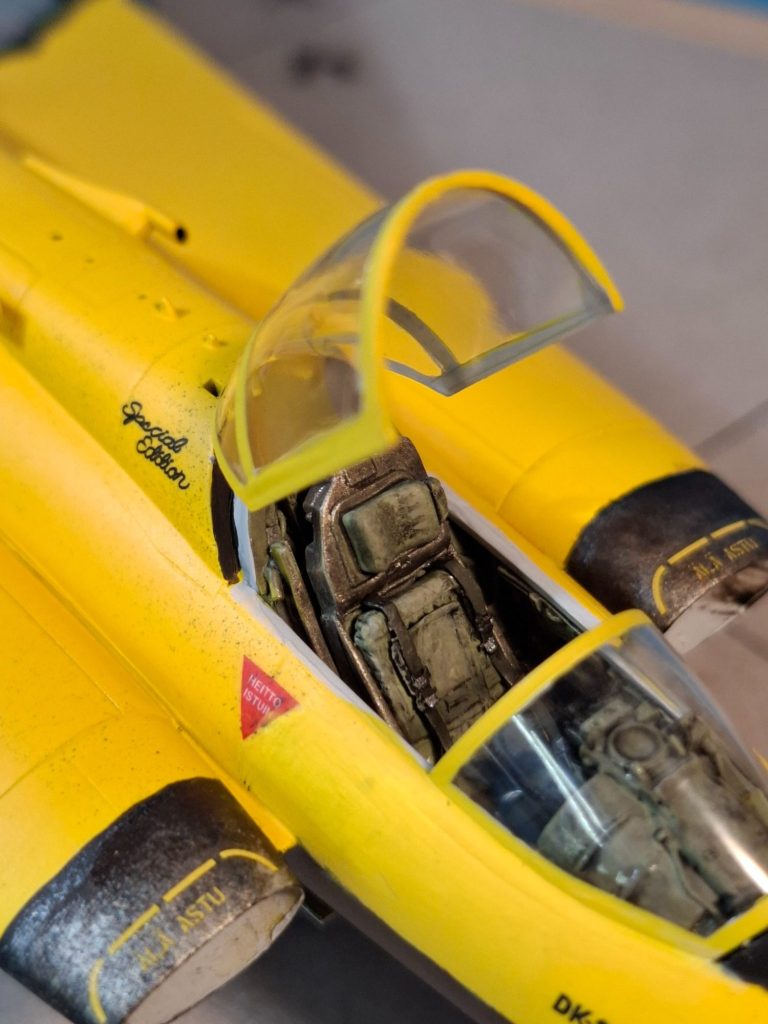
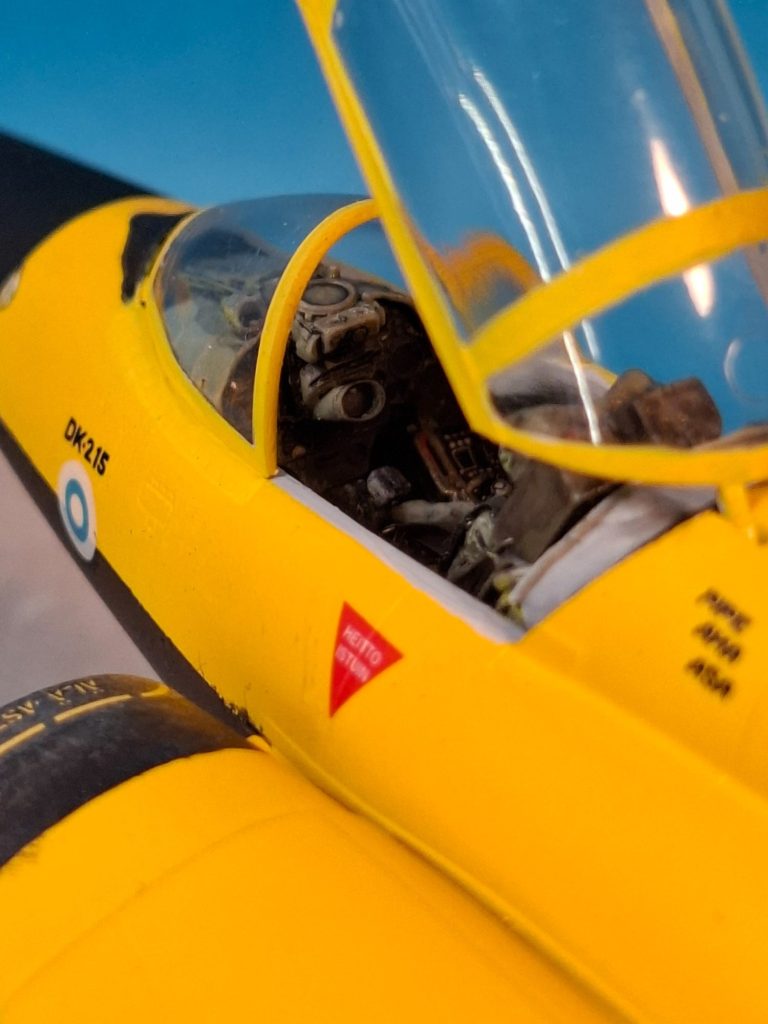
Photos #5 and #6 show close-ups of the inside of the cockpit. It looks pleasingly busy and is much more a reflection of the Aires kit parts than my painting.
I’ve left the seat out at this point, simply because that component is a little delicate and I thought that it would be easier to mask off the cockpit without it in place.
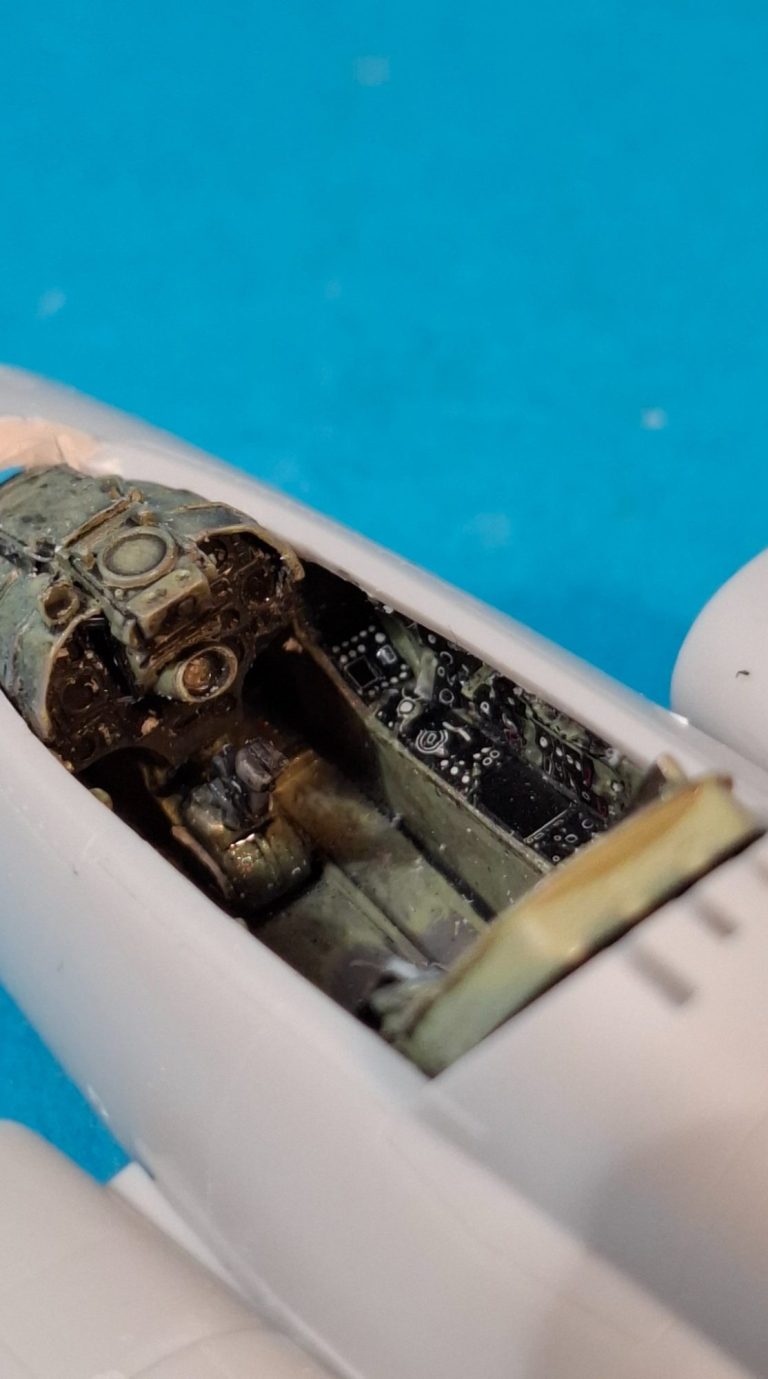
Photo #7 shows the ejection seat, with it’s seat belts – there’s a lot of ‘em – but still requiting some paint to cover up where the “pre-paint” has flaked off.
Looking at the colouration of the seat and cockpit as a whole, the viewer can relate more to the times that this aircraft was designed and produced in, rather than the sweeping dart-like and futuristic shape of the airframe itself. There’s a lot of olive green on the inside panels, some small amount of grey and quite a few black buttons and gear handles.
The seat is olive green with very dark green seatbelts, the only bright colour is the red of the ejector seat handles at the sides of where the Pilot’s knees would be. I painted them, but I don’t think they’re visible with the seat in place.
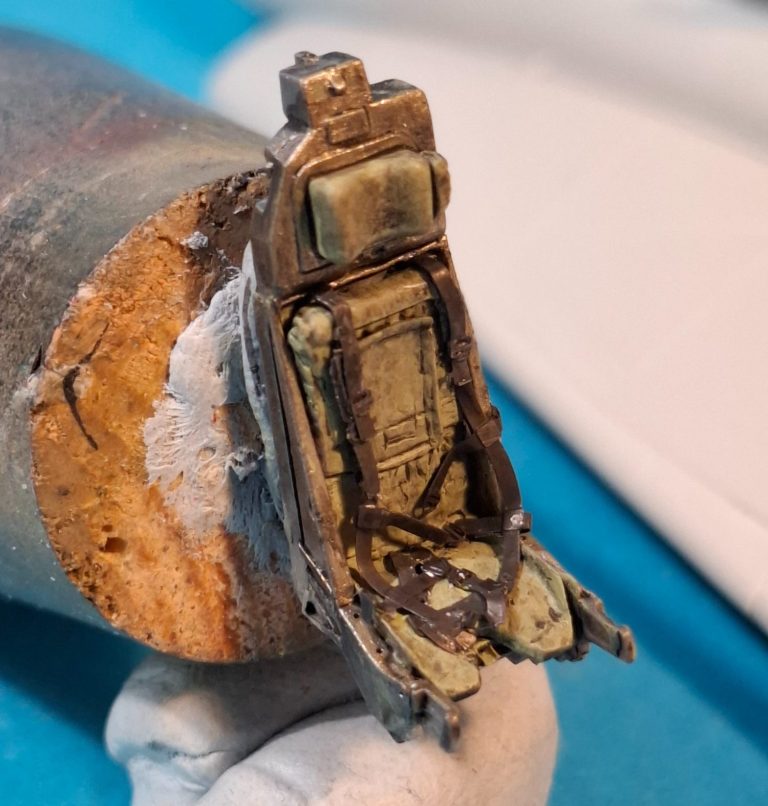
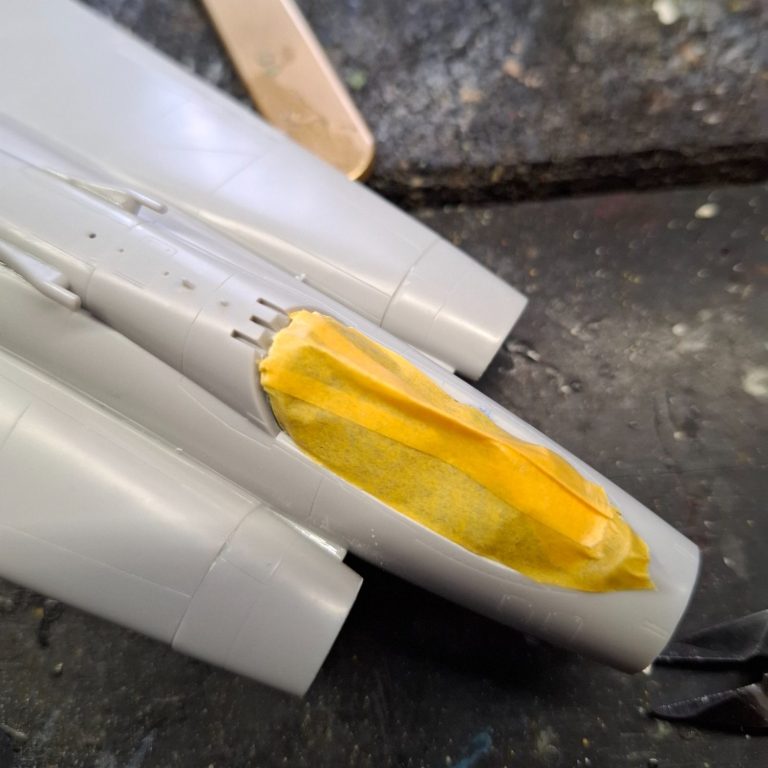
Photo #8 and the cockpit is masked off with some pieces of Tamiya tape.
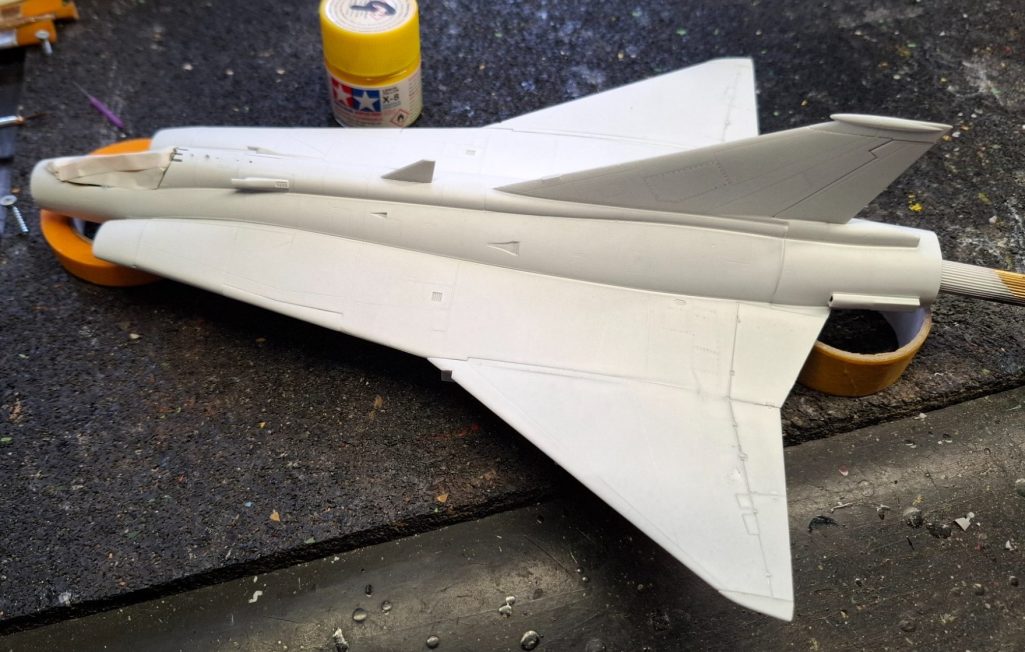
Photo #9 and the problem of a bright yellow finish is being tackled. In this case with three misting coats of a white primer.
That resulted in a nice solid white over the whole of the aircraft, although a little redundant for the underside – which would end up black, but the solid white would provide a good base for the yellow that followed.
Of note at this juncture, I left off the nose cone, as this would be black, and I left out the tail end of the jet engine, because this could be slotted in later and would be easier to paint if it wasn’t fastened in to the exhaust.
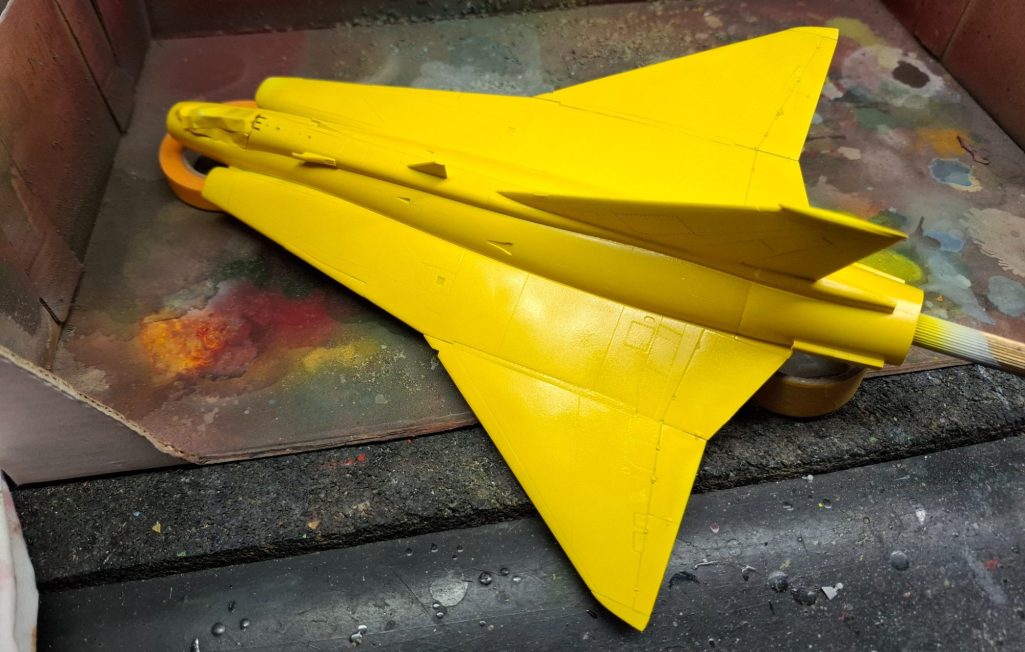
Photo #10 and it’s all gone yellow. Tamiya X8 Gloss Yellow in fact.
I thinned the paint down a little with some Isopropyl Alcohol, and sprayed the whole of the upper aircraft with several thin applications of this colour, again aiming to build up a solid overall colour.
I didn’t pre-shade panel lines, this a display aircraft and would pick up very little weathering to the paint scheme.
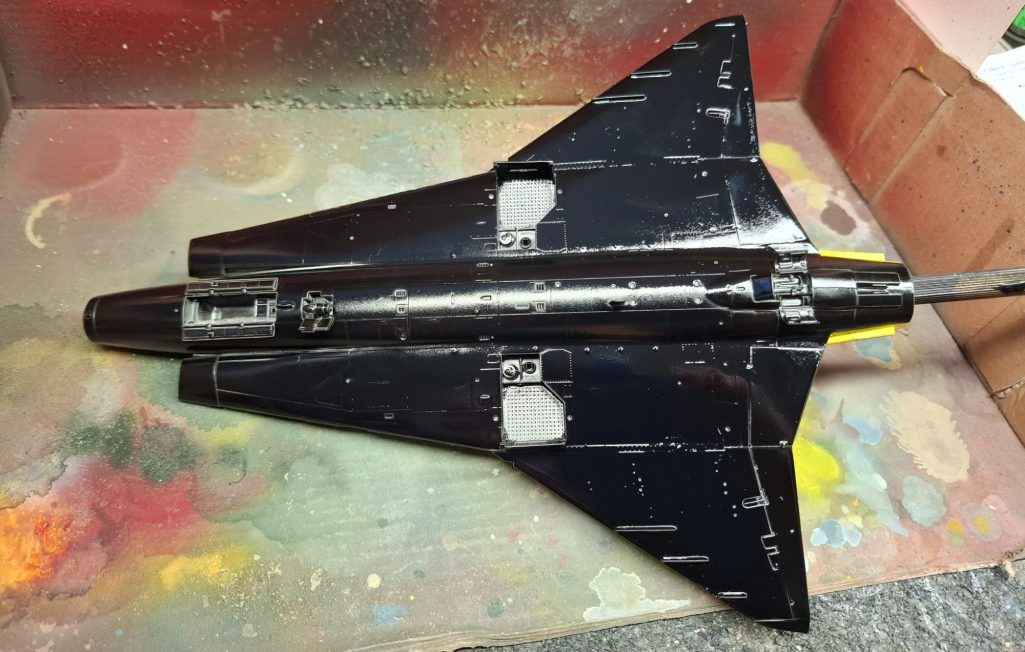
Photo #11 show the underside of the jet, this time painted with a Halfords Gloss Black, which is showing off just how glossy it is even when fully dry.
I masked off the sides of the fuselage at front and back with tape, and also added a line of it down the sides of the forward delta section of the wing as this has a more rounded frontal profile.
As with the yellow upper surfaces, the black was applied in several fine misting passes to help prevent runs and pooling of the paint.
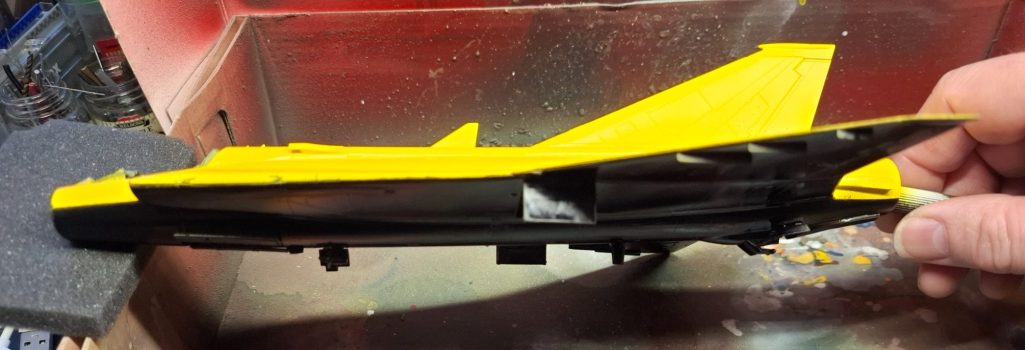
Photo #12 shows the glaring contrast between upper and lower paint schemes
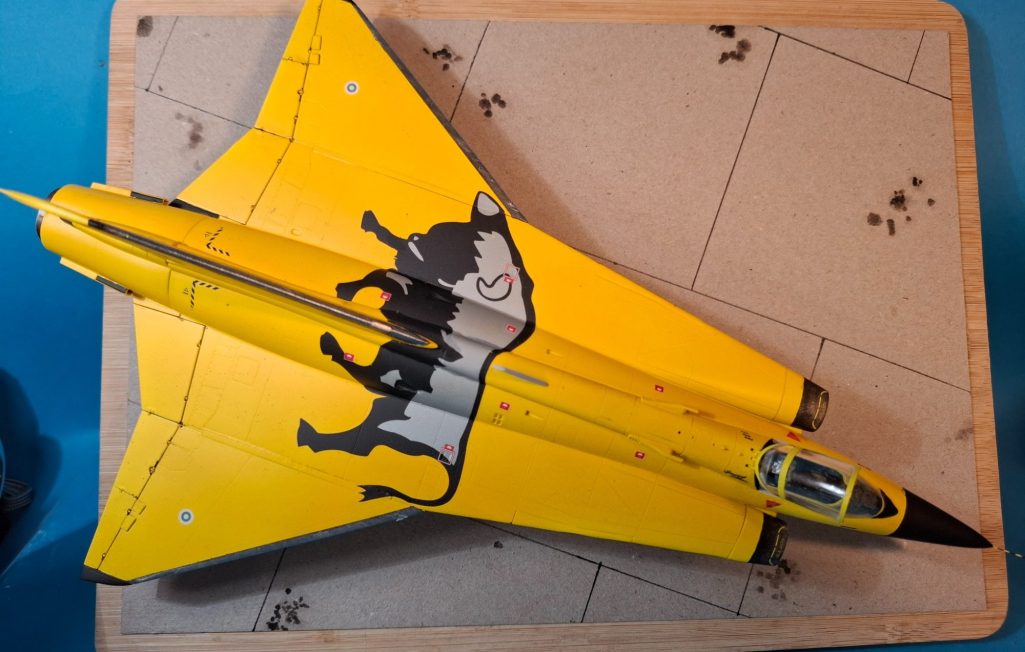
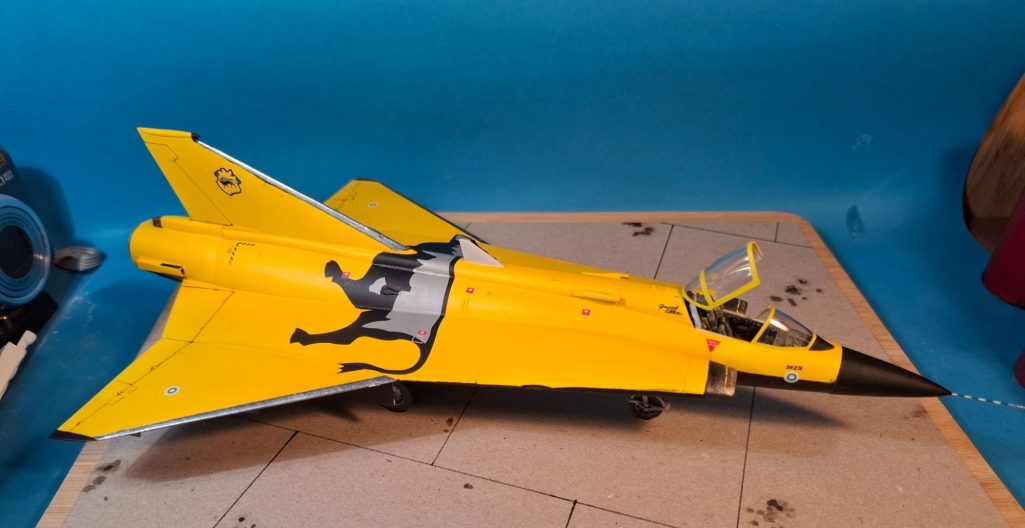
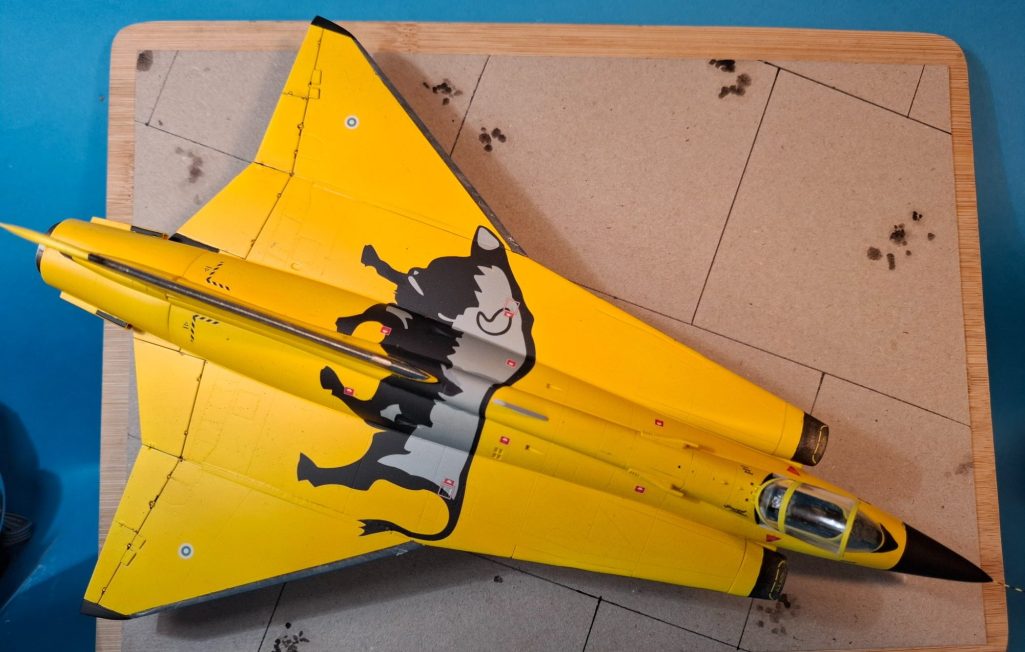
Photo #13 and I’ve begun applying the decals, the largest of which is the stylised bull over the upper mid-section.
I used a scalpel to cut the carrier film from inside the “V” where the decal snuggles up to the vertical fin, although it’s not a perfect fit and I did need to add a small amount of black paint to the fuselage after the decal had dried to bring the design up flush with the vertical fin. You can see the slight gap in this shot.
I’ve also painted the intake nozzles black in preparation for adding metallic colours to them. I’d removed the masking I used to do this, although I’d have to re-apply it before adding more paint.
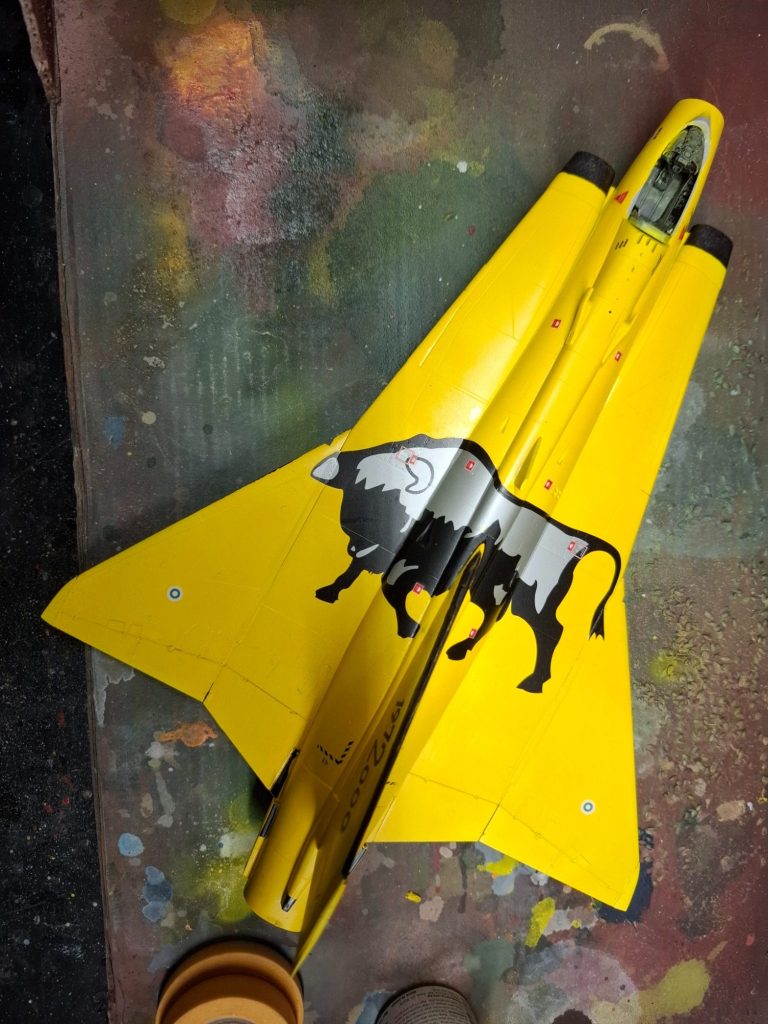
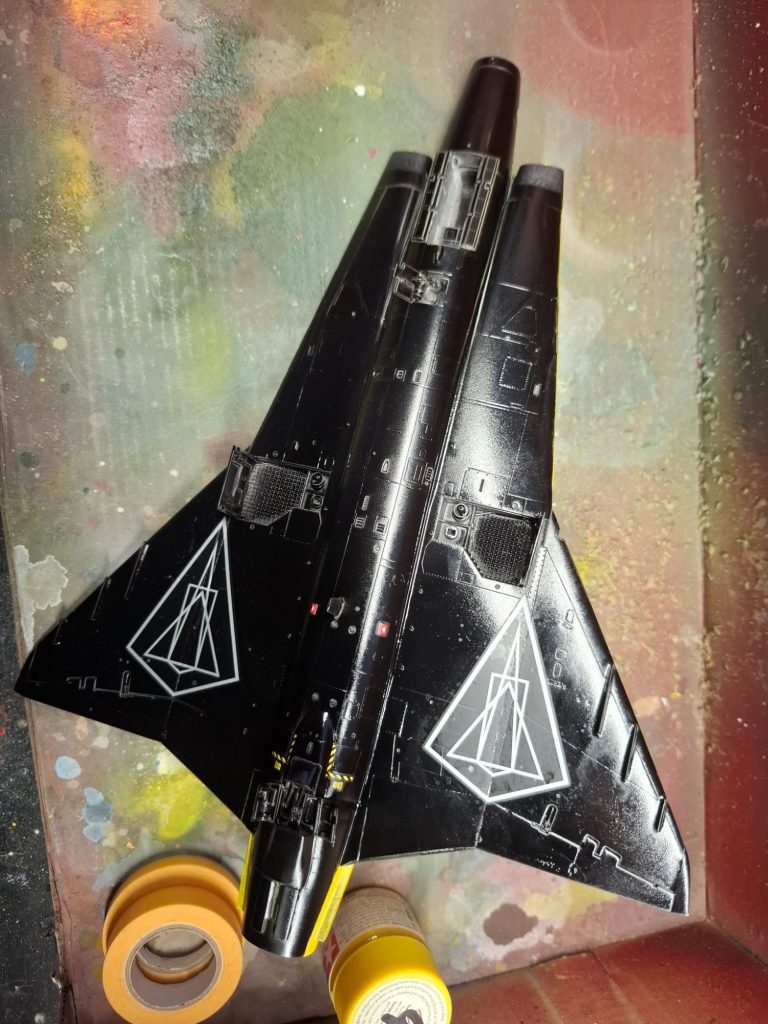
Photo #14. Although I used Micro Sol and Set to help the decals settle onto the surface of the model, there is still a big difference in the finish between paint and decal as – as can be seen in this shot on the right wing.
Not to worry though, it’ll be OK….
Photo #15 shows a can of the excellent Mr Hobby Super Clear Matt Varnish. This is cracking stuff, does exactly what it says on the tin and is worth looking out for.
I get mine from Mike Jolly at MJR Hobbies.
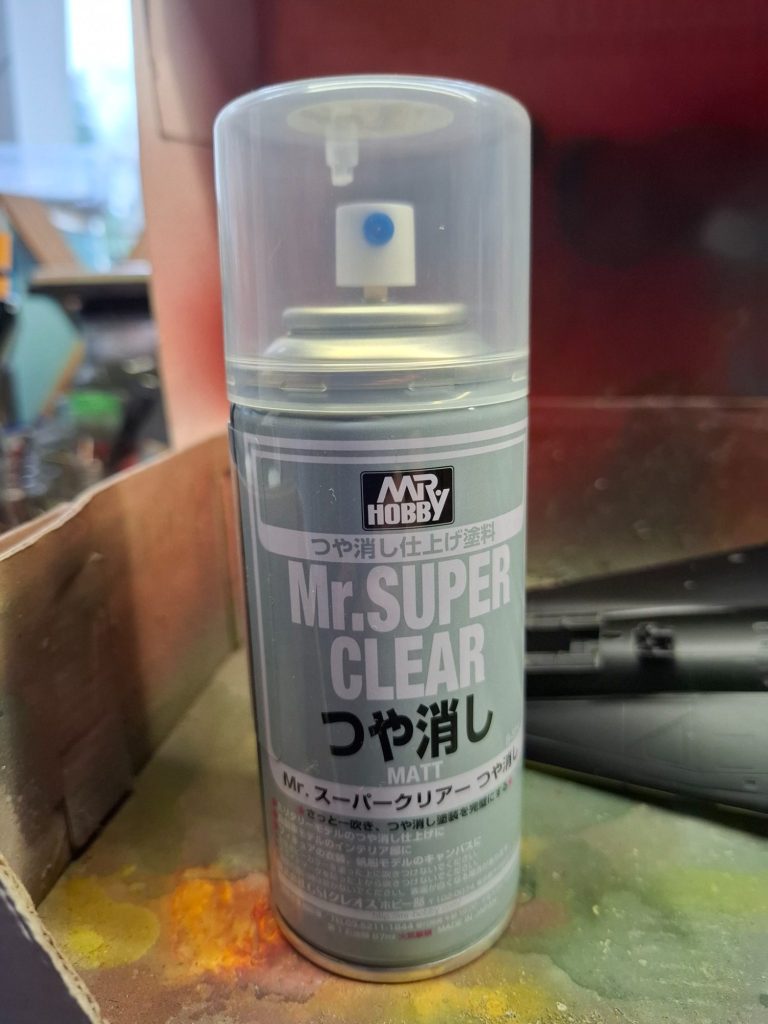
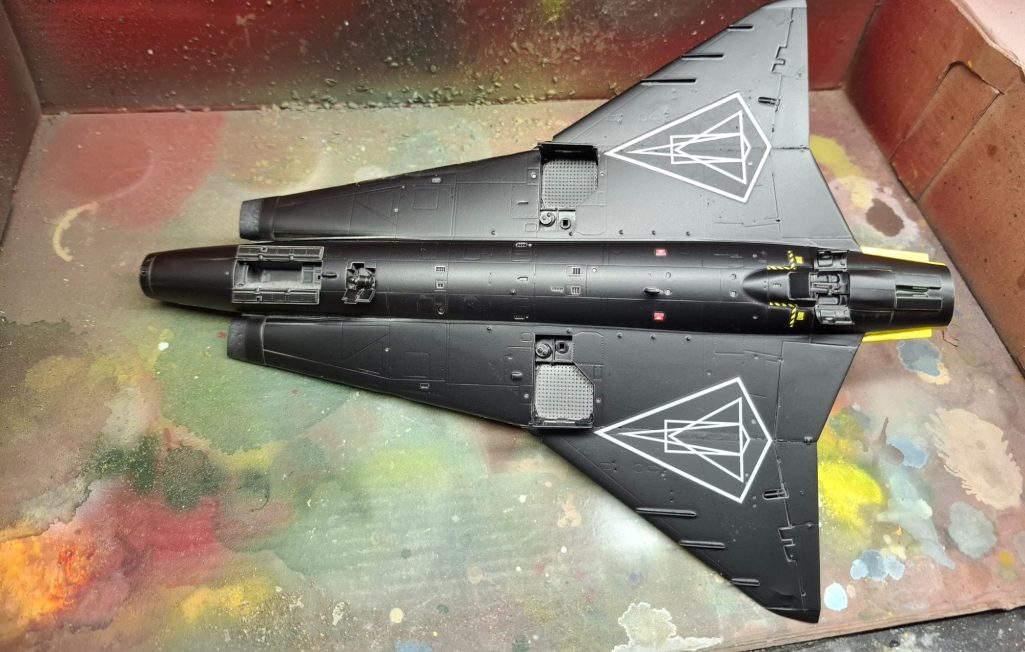
Photo #16 shows the matting down effect the varnish has when compared to photo #14 and also how it helps blend the decals into the surrounding colouration of the airframe.
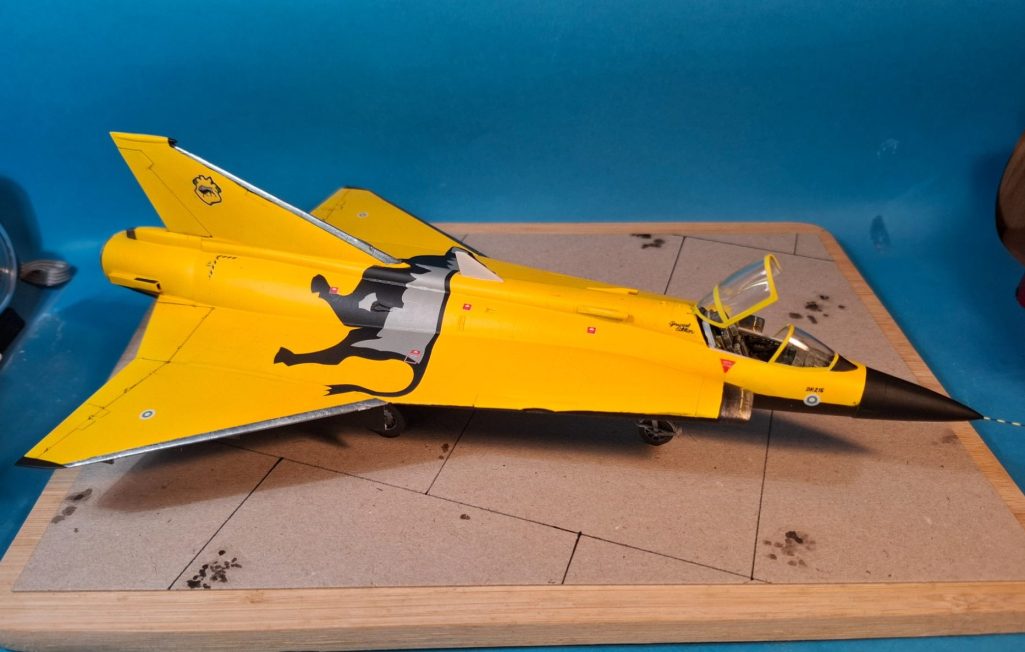
The rest of the pictures show the finished aircraft on a simple base. The black wingtips have been painted on along with the bare metal leading edges to the tail fin and wings.
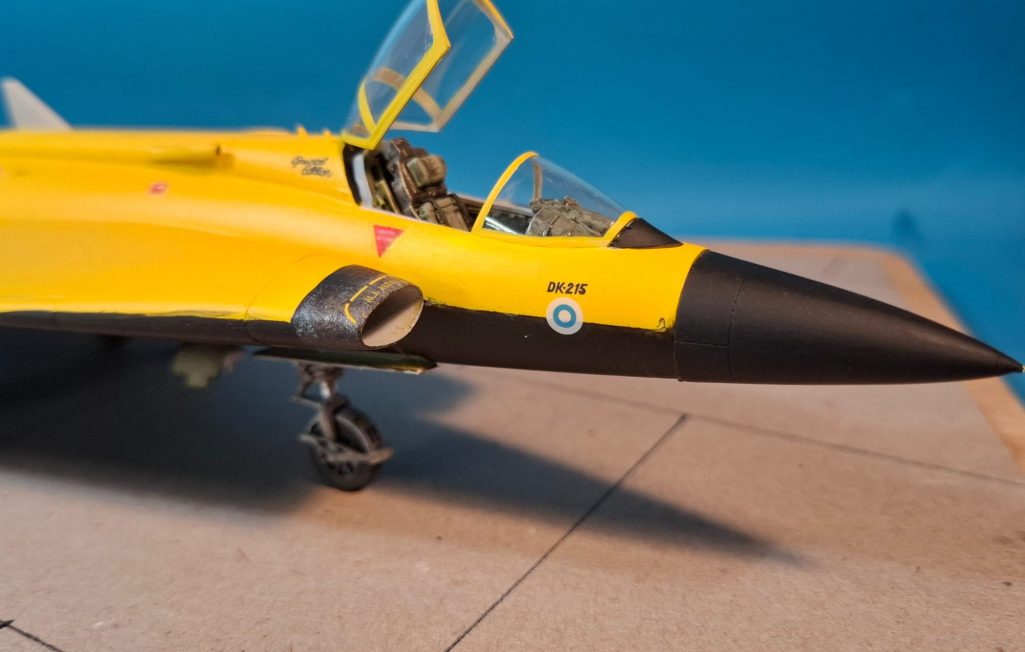
The jet inlets have been painted to look somewhat worn, as I’ve observed in a lot of references that these are left as bare metal and seem to adopt a stained finish that varies from a greenish colour to almost a brassy brown over the majority of the “steel” colouration.
To get the random effect, I remasked the nozzles and used a small piece of sponge in a set of forceps to stipple different colours onto each nozzle.
The pitot tube from the kit has been replaced with an acupuncture needle. I find these very useful, if perhaps a little slim in this scale. However if fastened securely into a hole in the nose cone, they are springy and quite difficult to bend, remaining straight far better than brass replacement parts.
The nose cone had a couple of fishing weights added inside it with some epoxy putty to hold them in place and stop the rattling round, and this balanced the plane and allowed it to sit on all three wheels rather than sitting on it’s tail.

The wheel bays and struts were painted a pale grey, again matching reference sources, and the wheel s were painted with steel coloured hubs ( reference sources seem to show these in quite a dull metal finish ) and the tyres painted in a very dark grey / brown.
The base – oh, yes, that.
It’s a simple enough piece to source, a medium sized chopping board from somewhere like TK Maxx and the cardboard back off an A4 writing pad is used for the concrete runway.
The coarser the finish on the cardboard, the better, and then just use a black biro and a straight edge to add the gaps in the slabs of concrete.
I always add some oil stains as well, simply some thinned Vandyke Brown oils spotted on here and there, although I’ve probably got carried away and added way too many this time.
Final thoughts.
Compared to the previous 1/48th scale Hasegawa Draken I made, this is basically the same kit with a few additional details and one or two others that are left off.
The kit assembles well, and the instructions are clear and logical.
I like the fuselage being separated along the horizontal, rather than a vertical line, as it’s much easier to hide any lines that form when the two pieces are fastened together.
This Finnish livery is colourful to the extreme, and although some might say it’s a difficult one to get right, it really is simply a case of making sure that the upper surfaces have a good solid white applied in several thin coats before attempting to paint the yellow.
I think the only other thing worthy of note is to be careful of the decals on the underside “silvering” when applied. A good setting solution should sort that out, and applying them to a gloss finish also helps. Final application of a matt varnish should help them blend in too.
Otherwise there’s nothing to catch the modeller out, and I can recommend this kit to anyone who likes the subject matter.