Boris the Werewolf
1/3rd Resin Garage kit from Spectral Motions
Painted in 1999
Spectral Motions Inc is an American Garage kit company fronted by special effects sculptor Winston Elizade. His range of kits is somewhat limited to ( at the time of writing ) three busts, this being the second release of those three ( the first being Alex the Vampire and the third being Cedric the Zombie ).
All of these are big models, all impressively detailed and presented, and all of them limited in their production runs.
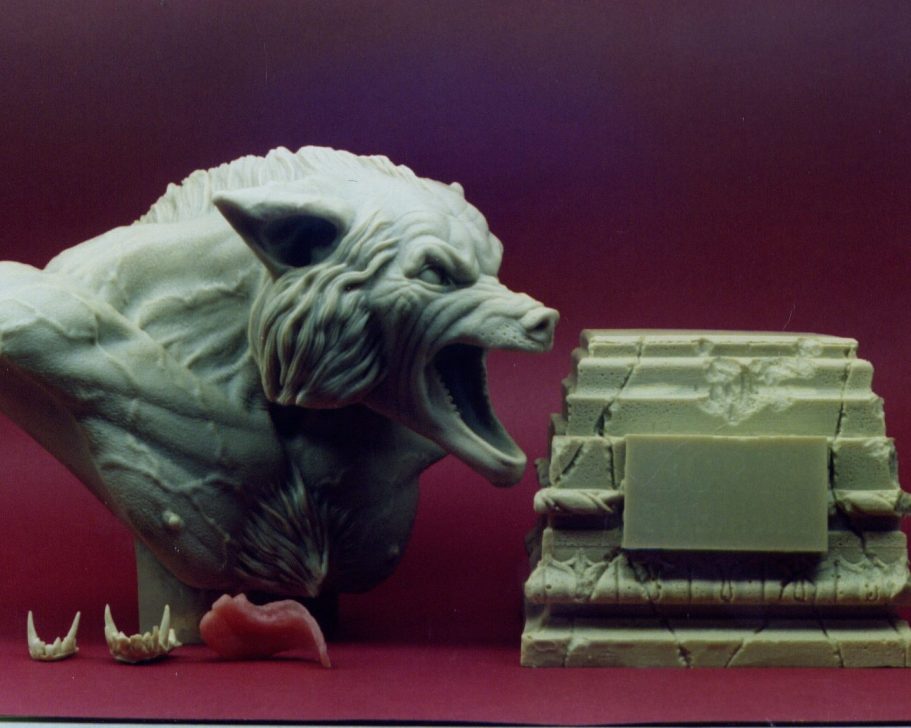
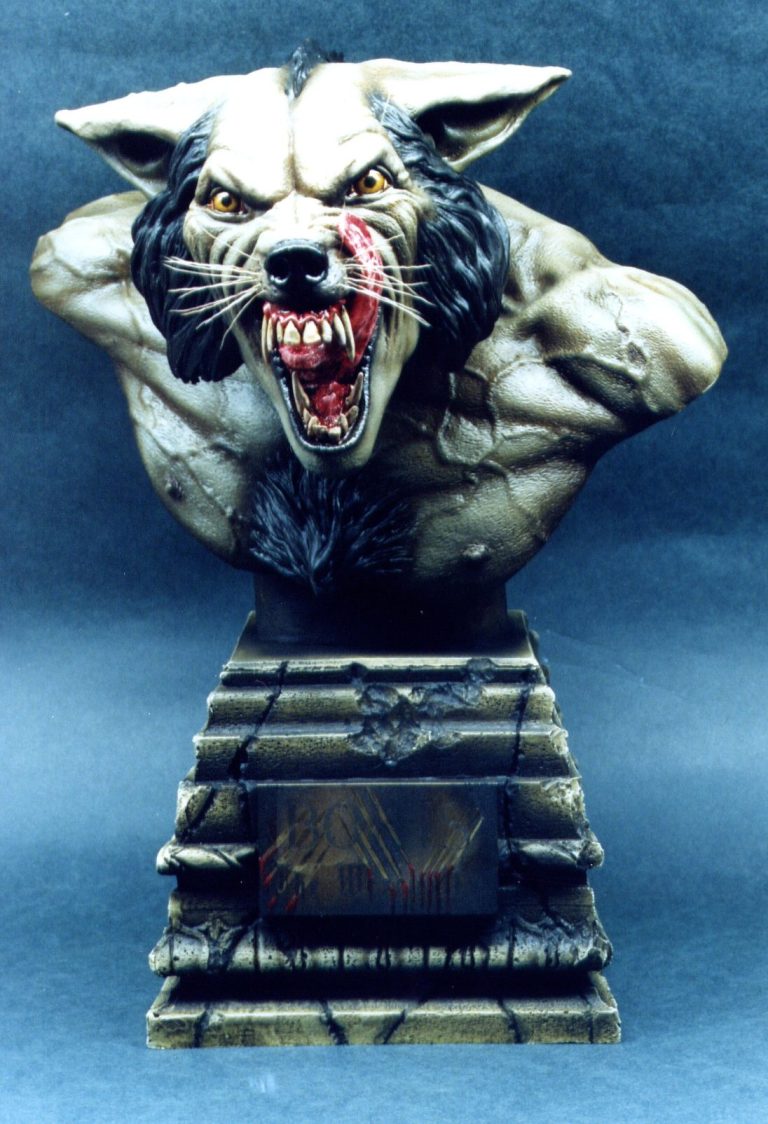
Boris comes as a kit of five resin parts, those being an upper and lower set of teeth ( all the better to bite you with ! ) a large pink resin tongue and the main castings for the shoulder and head of the model ( one very large lump of resin ) and the base which is hollow cast and highly detailed.
Also included are a length of plastic monofilament line for the whiskers, and a brass plaque for the front of the base. The main resin parts are shown in photo #1, although you don't really get any idea of how huge they really are. But to give you an idea, a Games Workshop 30mm Orc can fit easily in the mouth standing up.

The casting, considering the size of the main component is simply superb. Yes, there is a rather alarming mould line up the back of the model, but the resin is easy to work, and this is after all a short run, true "garage" kit. You get to expect this kind of thing when you buy models like these.
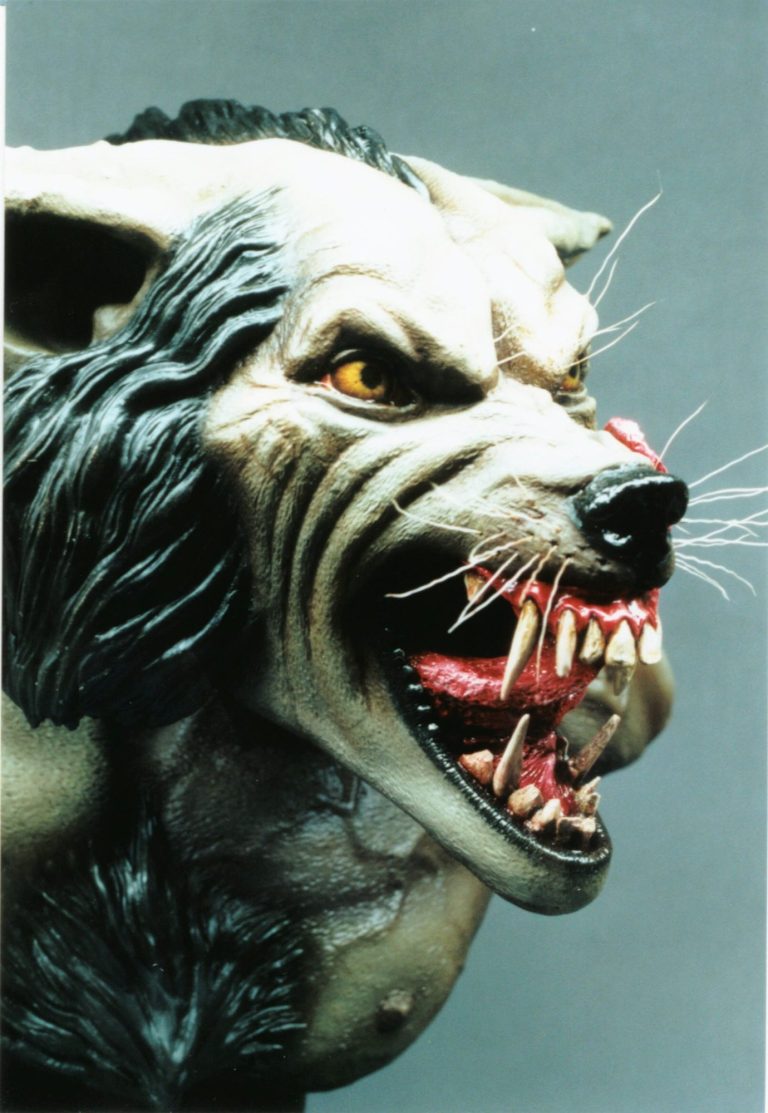
The fit of parts is good, and I feel that the only weakness in the sculpting is the teeth. They look a little rushed, as though the sculptor has lost interest in the model and just wants it off the bench. This is far outweighed by the quality of the body of the beast. Every last detail is there right down to the pores on the skin. It's simply breathtaking in detail.
Painting a model like this though can be awkward. There's a fair amount of weight to the model's main casting, and holding it for any length of time is going to be strenuous. I did add a length of wood doweling in to a hole drilled up into the main casting. This corresponded to a similar diameter hole drilled into the top of the resin plinth, and would be used as a locator and also to strengthen the joint when the painting had been completed.
Once the model had been cleaned up - a longer than normal job compared to say a military model - painting could begin. I primed the model with an automotive white primer, leaving this to dry for a few days.
I’ve found that the simplest painting method to adopt with models of this size, is to treat them like an AFV kit, layering on applications of paint via an airbrush, and then adding thinned washes of oil paints once the sprayed coats have dried completely. The finer details can be added after with a conventional brush, whilst the airbrush is used to paint on the main shadow and highlights over a mid-tone.
Over the primer I began spraying Humbrol enamels, beginning with a Mid-brown made up from Brown Bess, Matt Black and Desert Sand.
I made this mix quite dark to begin with, then added more dense shadows with a coat of the Matt Black just on its own.
Then by adding a bit more of the Desert Sand to the mid tone I gradually layered on the highlights, building these up over the course of several coats.
That looked O.K., but when all said and done, it looked like a werewolf shaped tank.
I left the bust to dry for several days in the airing cupboard, so that I could add some washes to it after this without the thinners used to create the washes attacking all the paintwork that I'd just added.
Whilst that was drying I moved on to the base.
I wanted a dark stone effect, but not grey. I thought that a brown might match in with the browns used on Boris's skin, and so painted a slightly thinned coat of Burnt Umber oils over the whole base. It's handy that the base is hollow, as you get to put your hand inside it and paint the outer shell without getting full of paint, or trying to find something big enough to glue it to temporarily.
Using a soft, clean T-shirt, I then gently dabbed and wiped at the surface of the model, removing most of the paint from the raised detail, leaving paint deposited in all the troughs and indents.
This worked extremely well, and no further work was needed to bring out the best of this part of the kit.
Back to the body: I made up a very weak wash of the Burnt Umber oils, only slightly tinting the White Spirit that I was using for thinners.
This was then painted on to the model, dampening a small area and then adding, with a second brush, small amounts of un-thinned Burnt Umber and Mars Black oils.
These latter two were then blended in to the thinned wash so that once dry an invisible gradation of colour was achieved.
The process of doing this was rather tedious and time consuming, and the method is not unlike doing the "spot washes" employed to pick out the detail on AFV's.
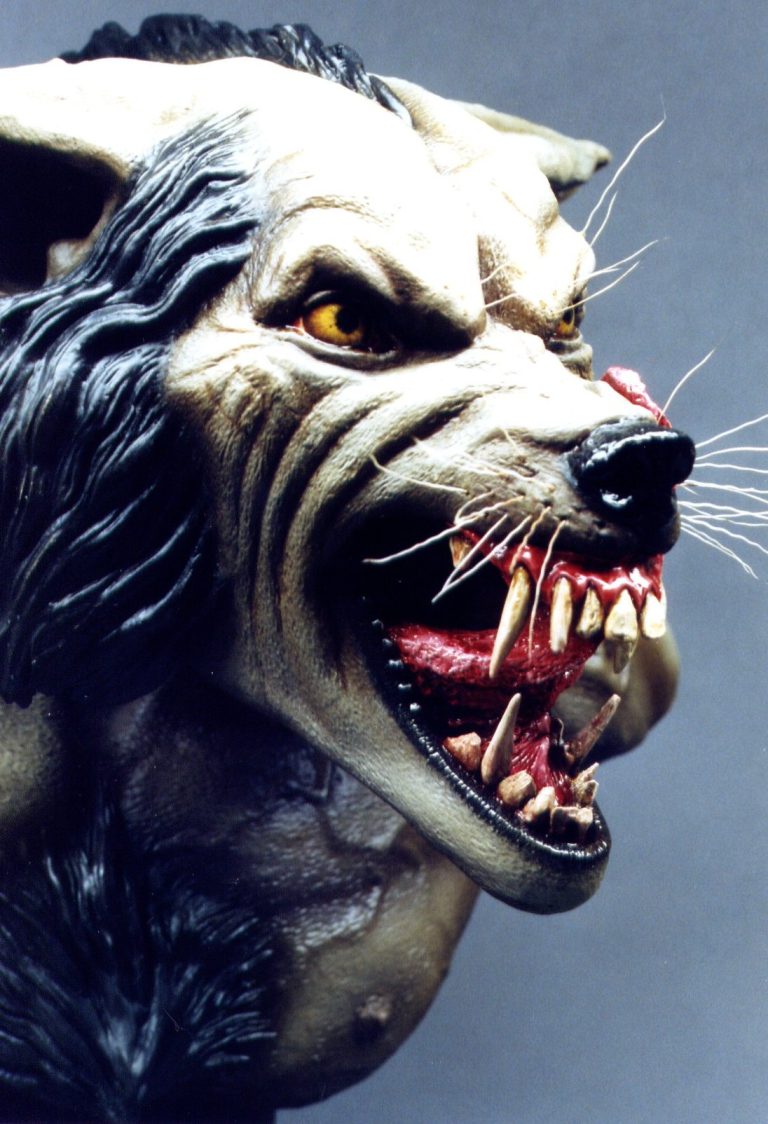
Further shadows were built up once this had dried fully by stippling in Mars Black, un-thinned this time, to the desired areas. The Mars Black was also used to paint in the fur areas, highlighting these with some Flesh Tint, brushed on with the lines of the fur, and building up the highlights gradually with small additions of paint.
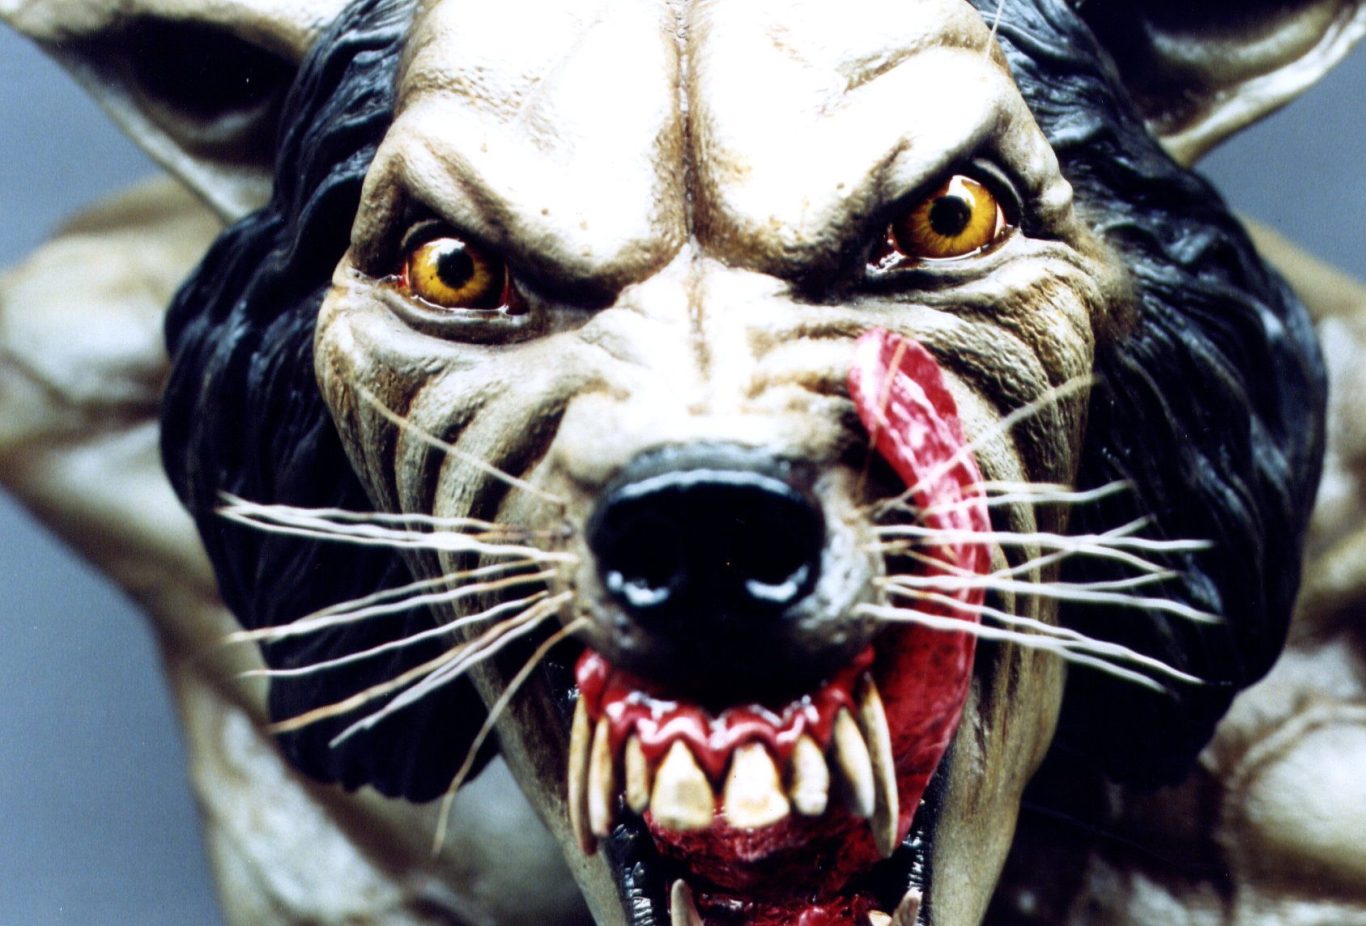
The gums and tongue were easy enough to paint, beginning with an undercoat / primer of Games Workshop Skull White, over which Titillating Pink, again GW acrylic, was added. This was built up in strength over several thin coats. Finally a mix of Alizarin Crimson was added, shading this with small amounts of Mars Black, and making it look a little pinker by adding Titanium white to the highlights.
The teeth were doctored a little, the two lower long incisors being replaced with cocktail sticks cut to size. These were painted with an undercoat of more of the Games Workshop Skull White, through a thin coat of Yellow Ochre oils, and then adding Titanium White oils to that to build up highlights and accentuate the sharpness of the teeth.
When dry, a lining of Burnt Umber oils was added to pick out the detail.
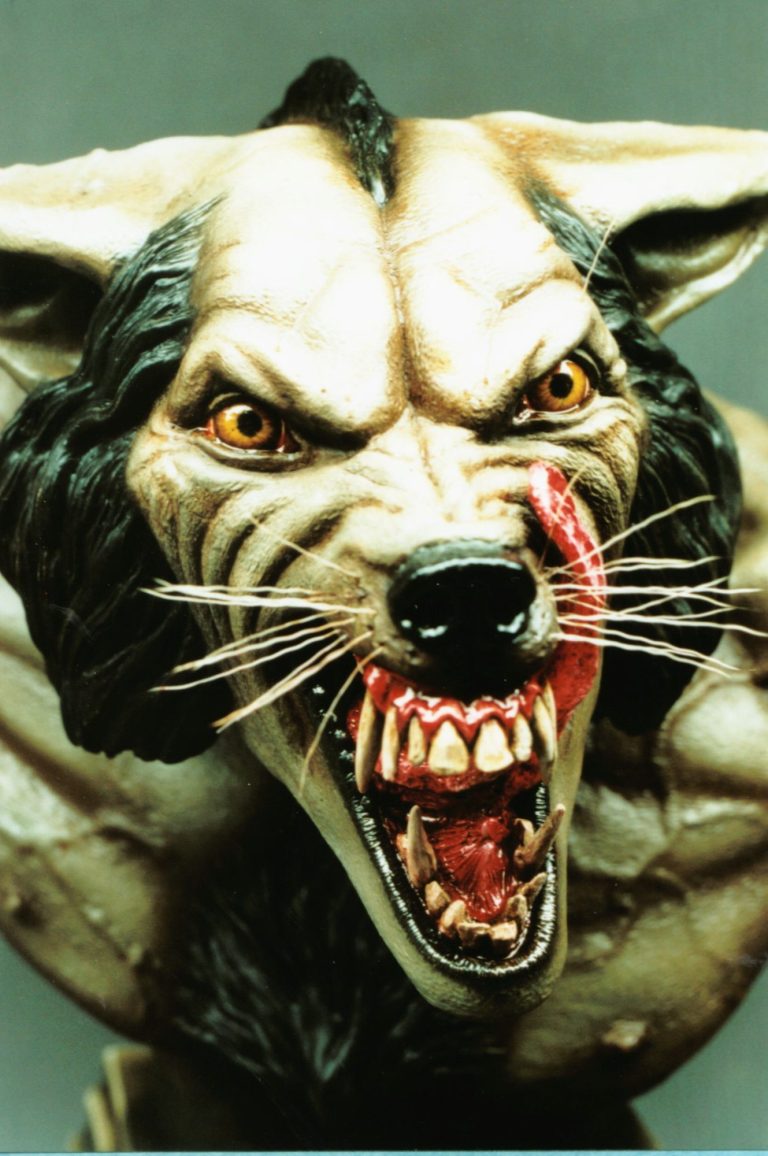
The eyes on a kit of this size are very important. I’ve seen some people go to the length of inserting miniature glass eyes, which admittedly do look good. But being a bit of a traditionalist, I still prefer to paint them by hand.
Because of the size of each eye, and the amount of detail that can be added, I tend to spend quite a while when rendering this area of a model. I’m also very critical of them once done, and have been know to strip the paint back and redo them if they aren’t quite right.
I began with a coat of off-white ( Skull White, Moody Blue and Blood Red in a ratio of10 : 1 : 1 approximately ), being added to the eye, using several thin coats to build up a solid colour.
Then the eyeball was marked in using a dark mix of Mars Black and Burnt Umber oils. To this I then painted in the basic highlighting of Mars Brown, adding to that lines radiating out from the centre of the eye with some Yellow Ochre and then Bright Yellow.
This was allowed to dry before adding a pupil from Mars Black. Again a period was allowed for the paint to dry fully and then a gloss coat was added, mixing in to this a small amount of the Alizarin Crimson. This latter, allowed the pinkness at the corner of the eye to be added where the gloss paint builds up.
As all the parts were painted separately, and with them fully dry now, I could begin gluing them together. For the bigger components I used Epoxy glue, and for the smaller ones, superglue was sufficiently strong.
The final touches are the whiskers - which I chose to add using lengths of deer hair as it tapers to a point more naturally than the monofilament line provided. I drilled separate holes for each hair, using superglue to fasten each one in place.
The brass plaque was added, but this didn't look quite right as a shiny metal part. I decided therefore to add some coats of paint and then clean some slashes off to show the writing beneath. This seemed to work quite well.
This is a great kit, one that will drag in attention - and certainly has every time I've taken him out on display at shows.
The price is somewhat prohibitive though, that's if you can find one at all, the price being around £110.00 the last time I saw one for sale.
I'd say that it was worth every penny as, when coupled with either of the other two offerings - or if you're lucky enough to get all three - it certainly causes a stir.