Affair at Nery, 1st September 1914
1/32nd scale resin kits from Tommy's War
Assembled and painted in 2025 /26
The Figures.
The four figures are really nicely sculpted, there is an amount of clean-up to do with mould part lines – on the standing figures particularly – with care taken on the trousers and puttees that will pay off later.
I’ll just point out the salient points with these, as the basics of the painting are pretty much similar for all four.
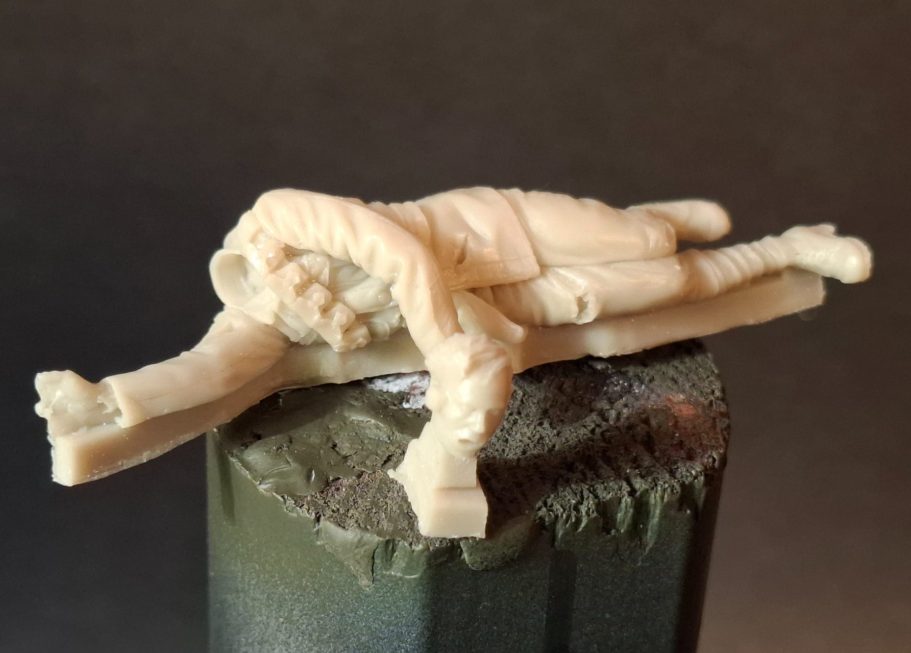
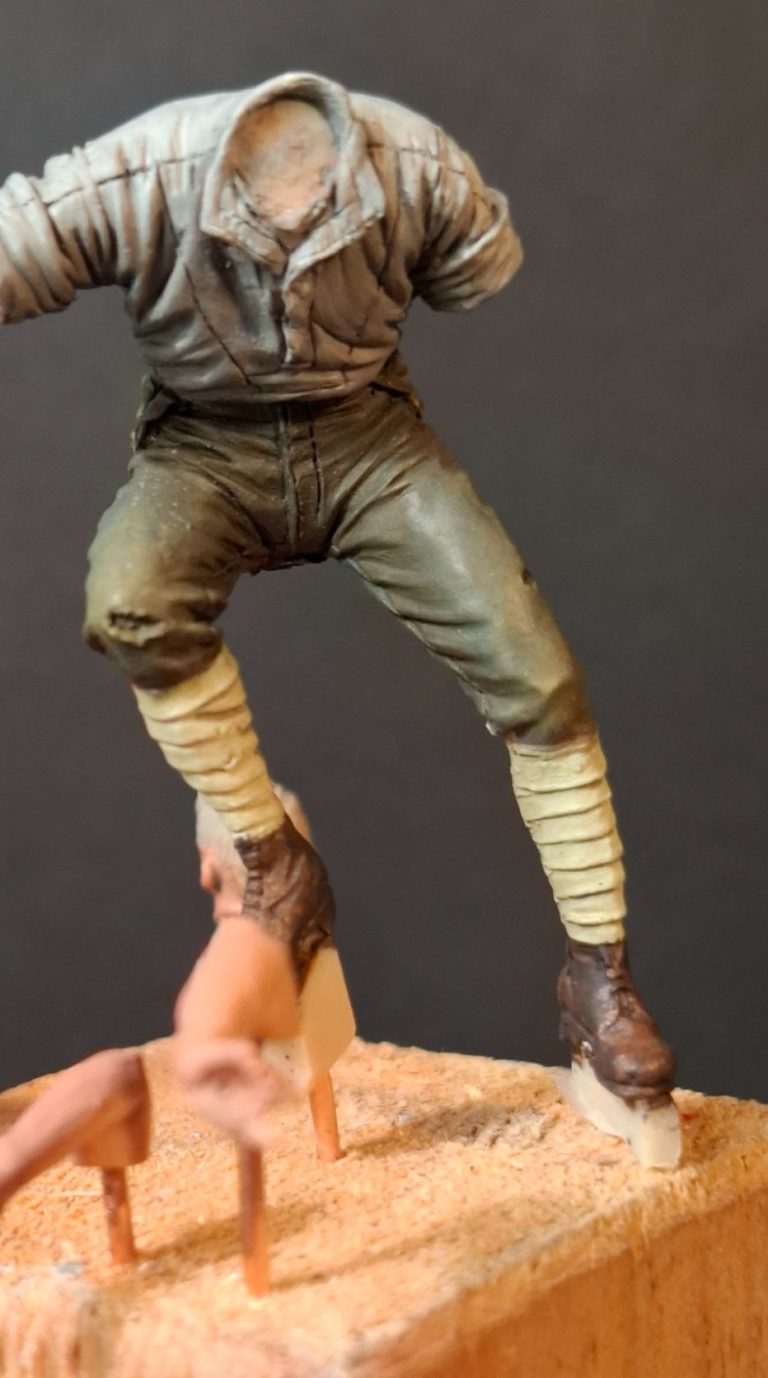
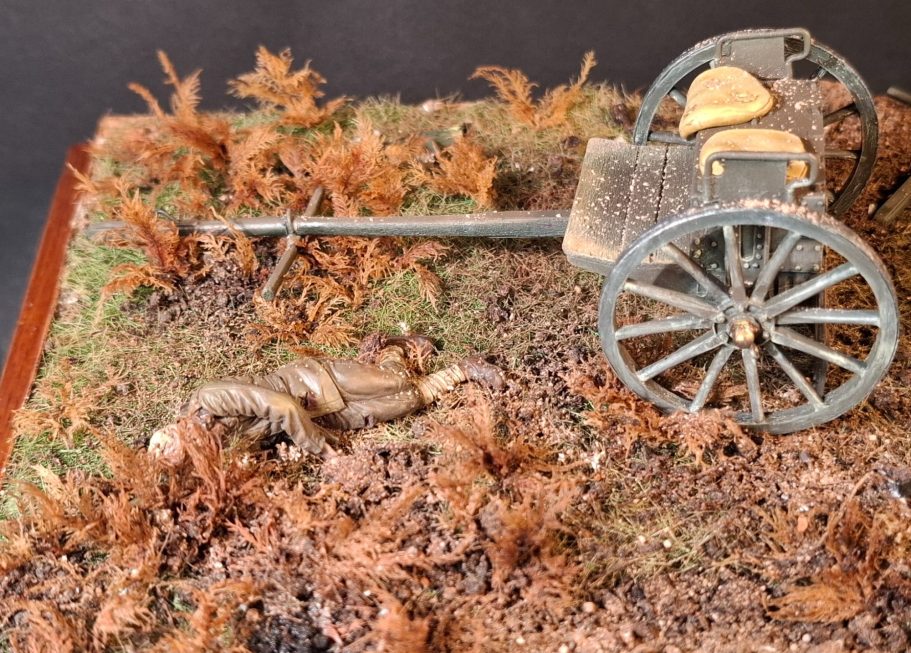
Photo #63 is the deceased officer. The right hand isn’t fully formed, but this would be hidden under some foliage, so no point in replacing it.
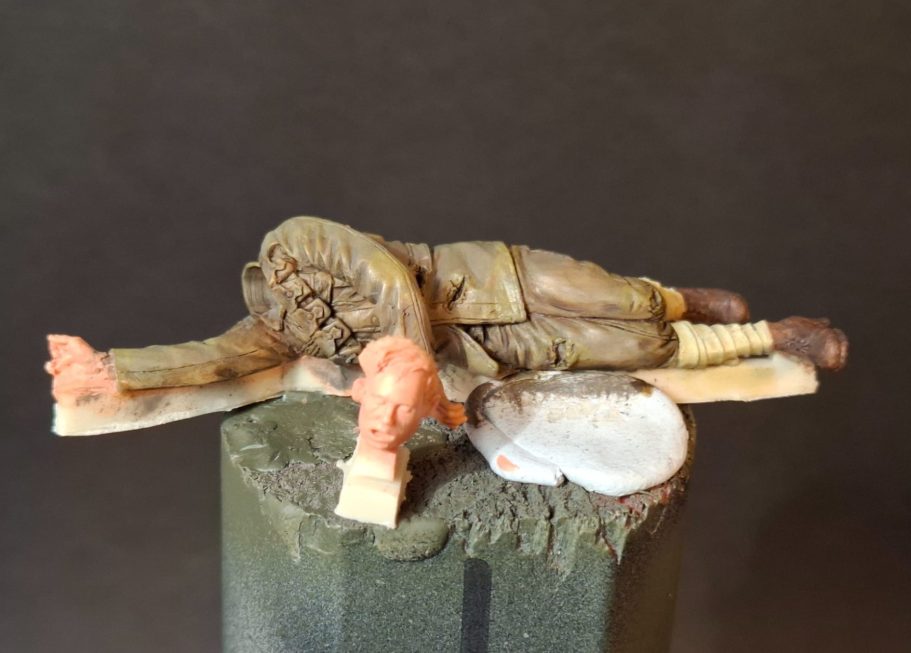
The longitudinal pour plug would be removed after painting, and I’d use a slitting disc in a minidrill to perform the task, an unforeseen benefit being that the dust would adhere slightly to the painted clothing and look like dust that had been thrown up from various explosions.
Photo #64 and the figure is painted, with the head in the foreground that still needs doing.
The cheek of the face will be resting on his right arm, so highlight and shade need to be painted to reflect this, also the draining of colour in death from the features needs to be replicated.
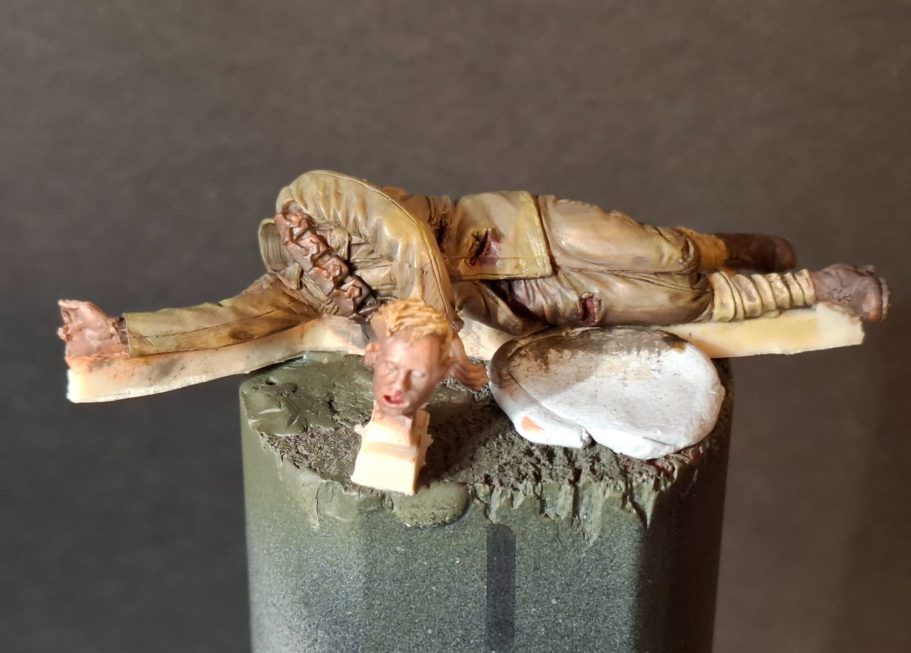
Photo #65 and the face has been painted too.
Instead of my usual base of Mars Brown, I substituted a Red Umber with some Sepia mixed in, and added Titanium White for the usual build-up of mid-tones and highlights.
Noted in one of the reports made by one of the survivors of the battle, is that the concussion of explosions made men’s ears and noses bleed, so I tried to replicate this to one extent or another on all the figures, the dead officer having small amounts of Carmine added under the nose, ears and a little leaking from his mouth.
The wounds he’s sustained to his body would have bled too, but green clothing would show this as a very dark brown/green or black staining where the cloth has soaked it up, rather than any type of red.
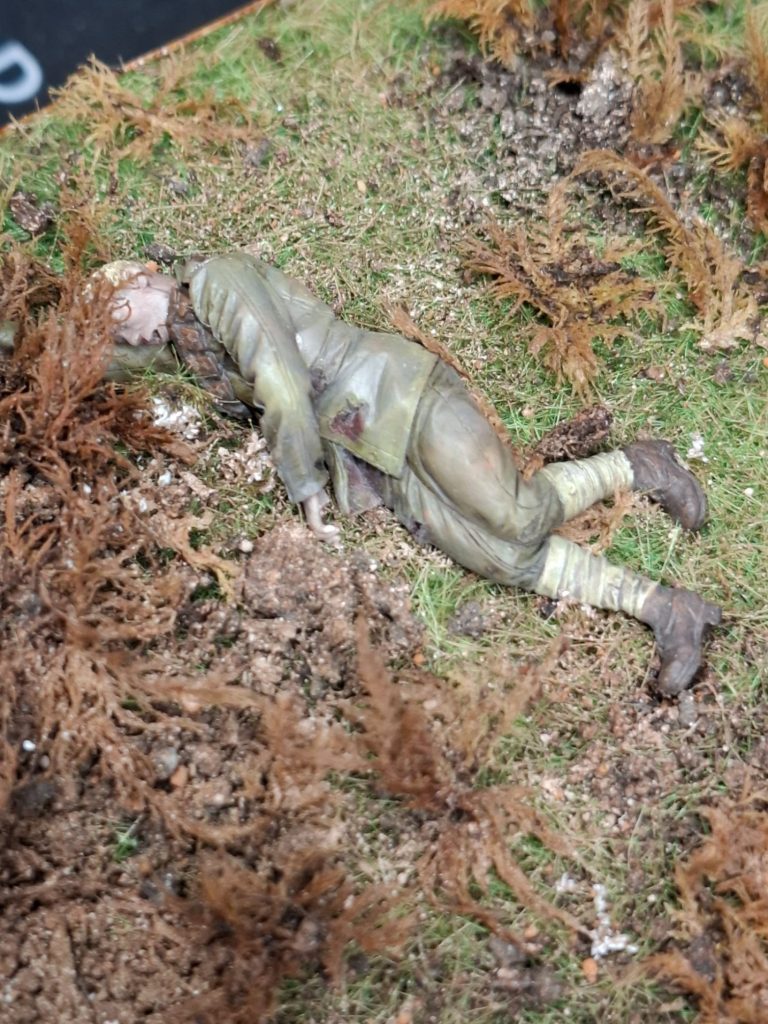
Photos #66 and #67 show the Officer in place, slightly to the rear of the working gun, and near to the side of the crew’s limber.
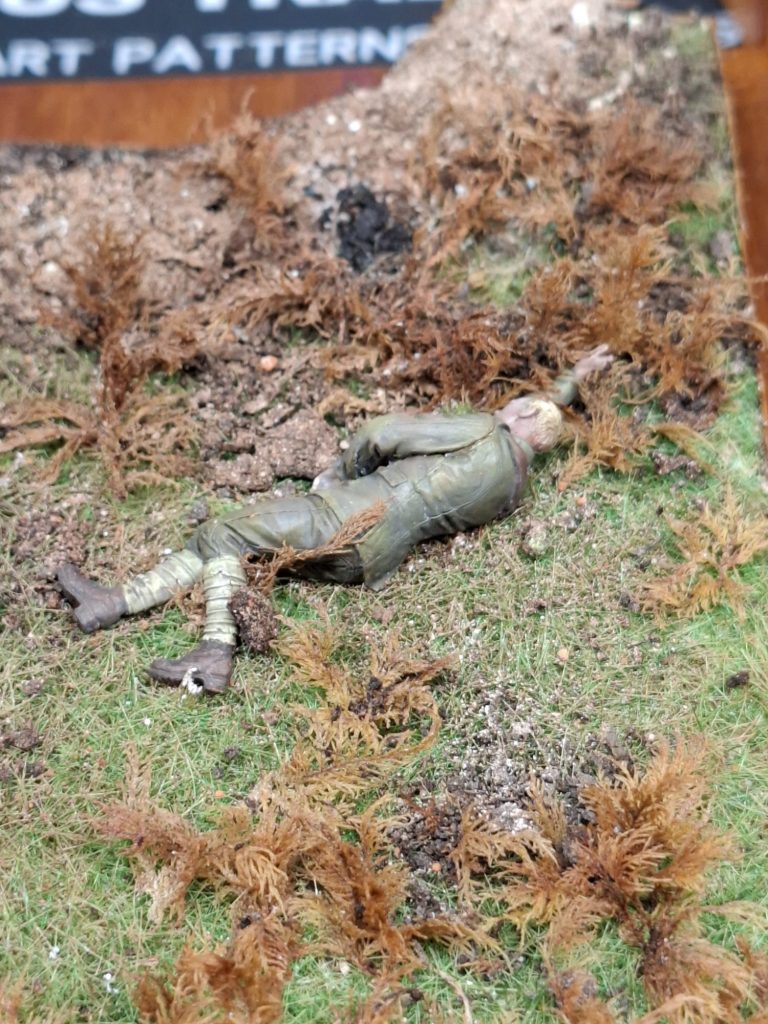
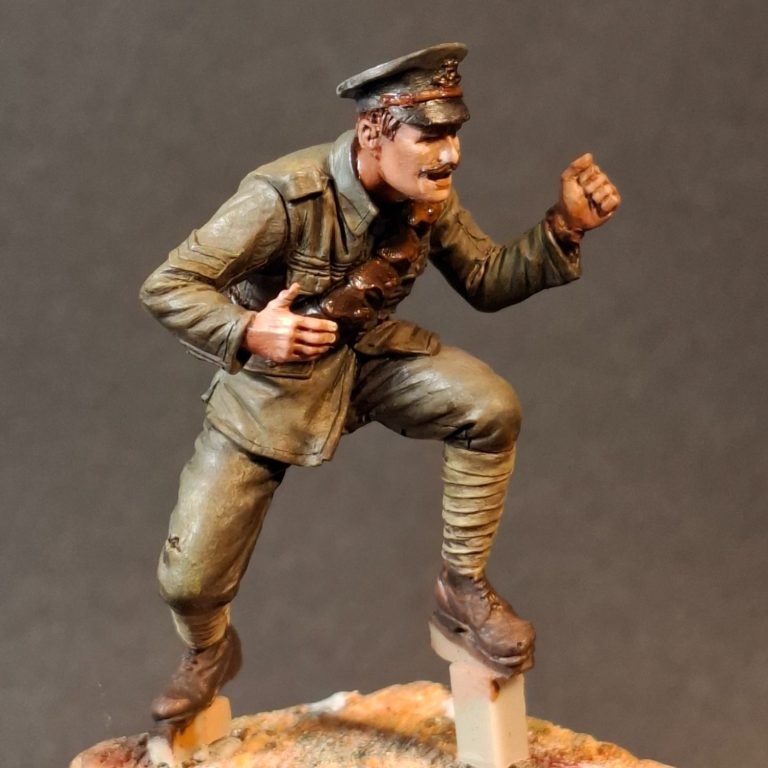
Photo #68 shows the first of the gun crew painted up. Nothing to catch the unwary, and with the slightly larger scale of 1/32nd, it’s a little easier to paint the facial details.
Photos #69 and #70 show the other two crew figures, I’ve not been checking my references thoroughly here and have painted the shirts in an off white / creamy grey colouration. Actually they should be a mid to pale blue, and that’ll get corrected later.
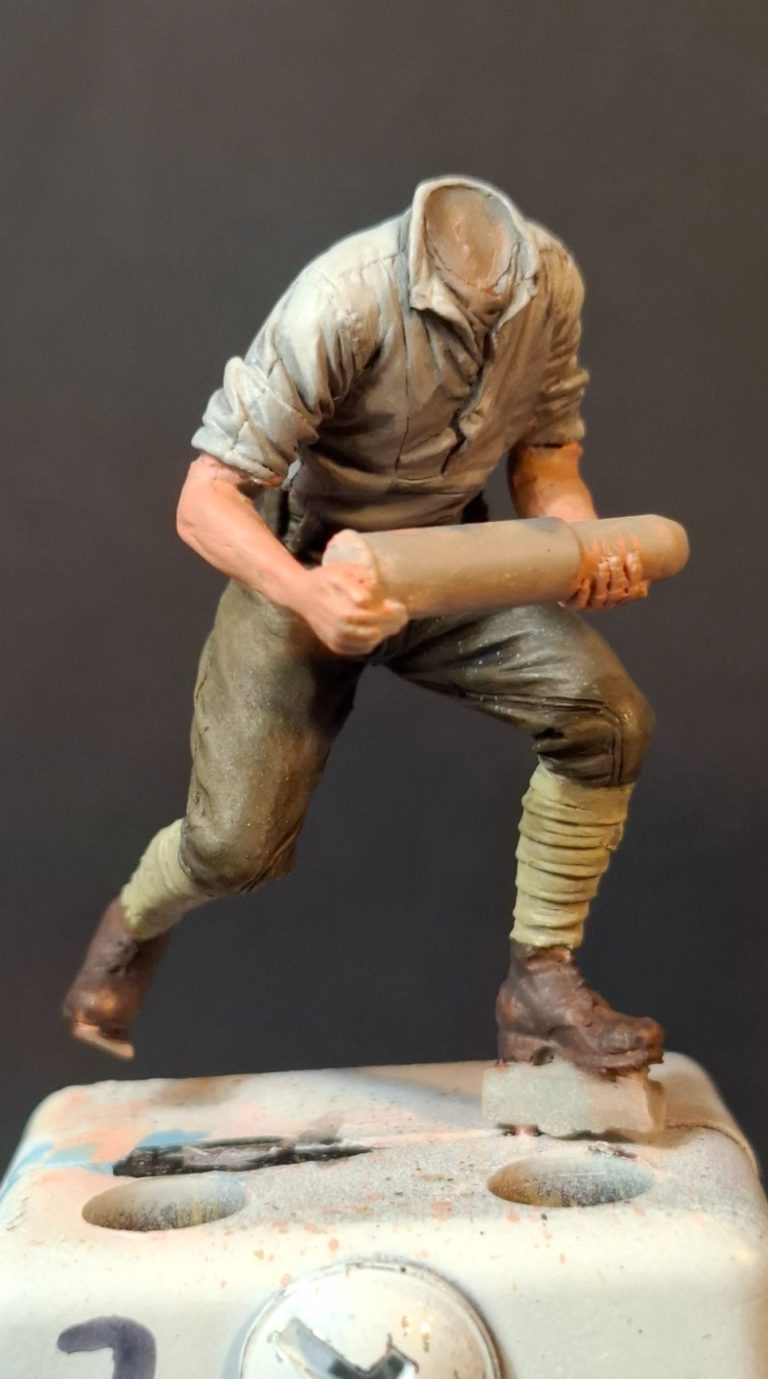
The loader is a bit of a pig to assemble. The right arm, shell and left arm come as three separate pieces, and lining them up so they fit to the body and to each other, tacking them in place and then finally fastening them with more glue gave me a headache and some extremely florid language.
I realize why the figure has been broken down this way – because it’s easier to mould the pieces in this manner, but I think having the shell and either one of the arms as one piece would make it easier for the modeller.
Photos #71 and #72 show the first of the figures in position with the gun.
The stance really works, the fellow is crouched behind the gun shield, sheltering from shrapnel, but there is just enough room between the shield and the wheel for hip to be visible peeking forward to settle on a target.
It’s not until he’s fastened in place that his urgency becomes apparent, and it’s a credit to the sculptor as to how well this figure alone works.
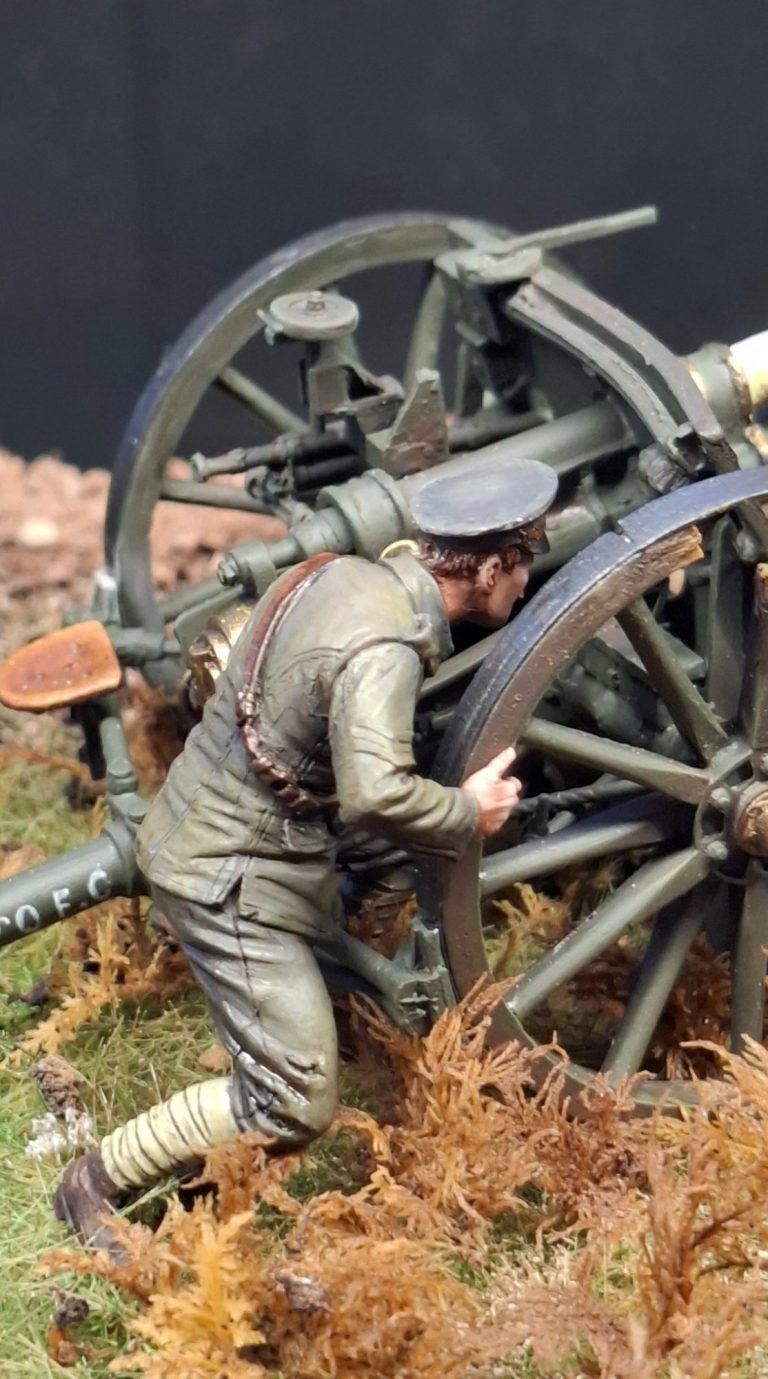
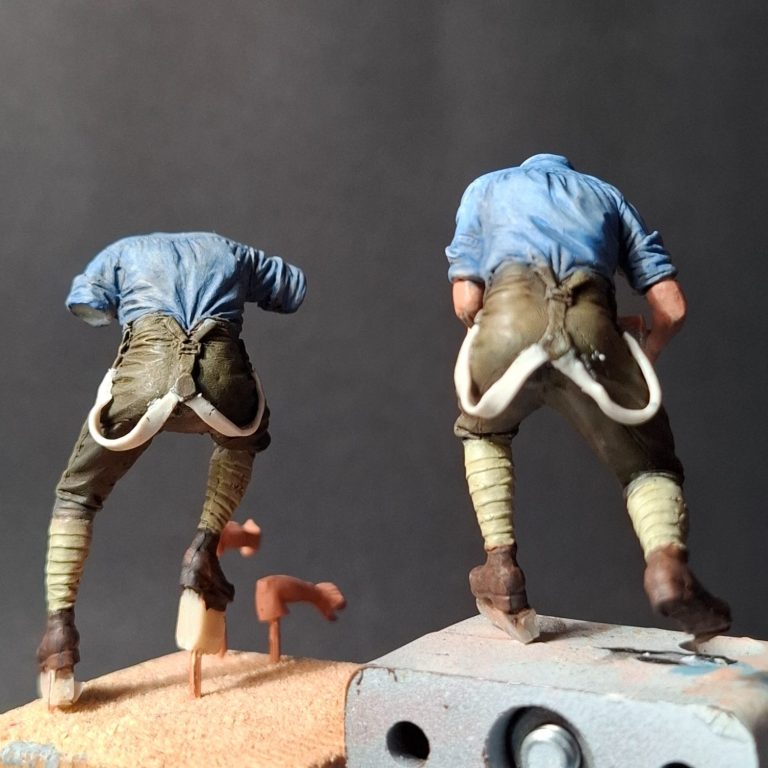
Photo #73 and I thought there was something missing.
I’d corrected the shirt colouration by adding three washes of a mid-blue oil colour to the items, but there was something just tickling my mind……
That’s it !
Braces !
They had the braces folded down from the trousers, but because of the shoulder loops needing to hang down, moulding these would be nigh on impossible if they were to look convincing.
So in this shot I’ve rolled out some thin sausages of Magic Sculpt putty, flattened it into narrow strips and glued it in place.
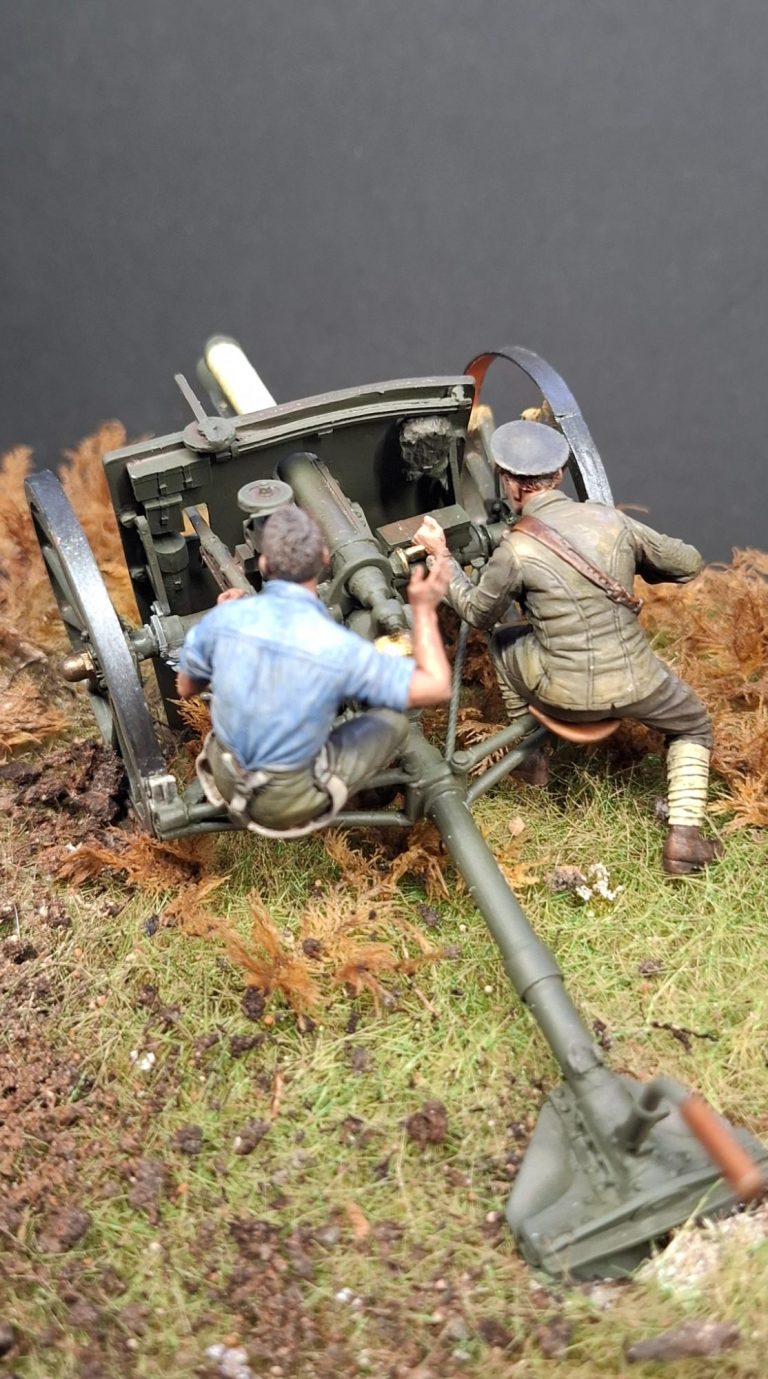
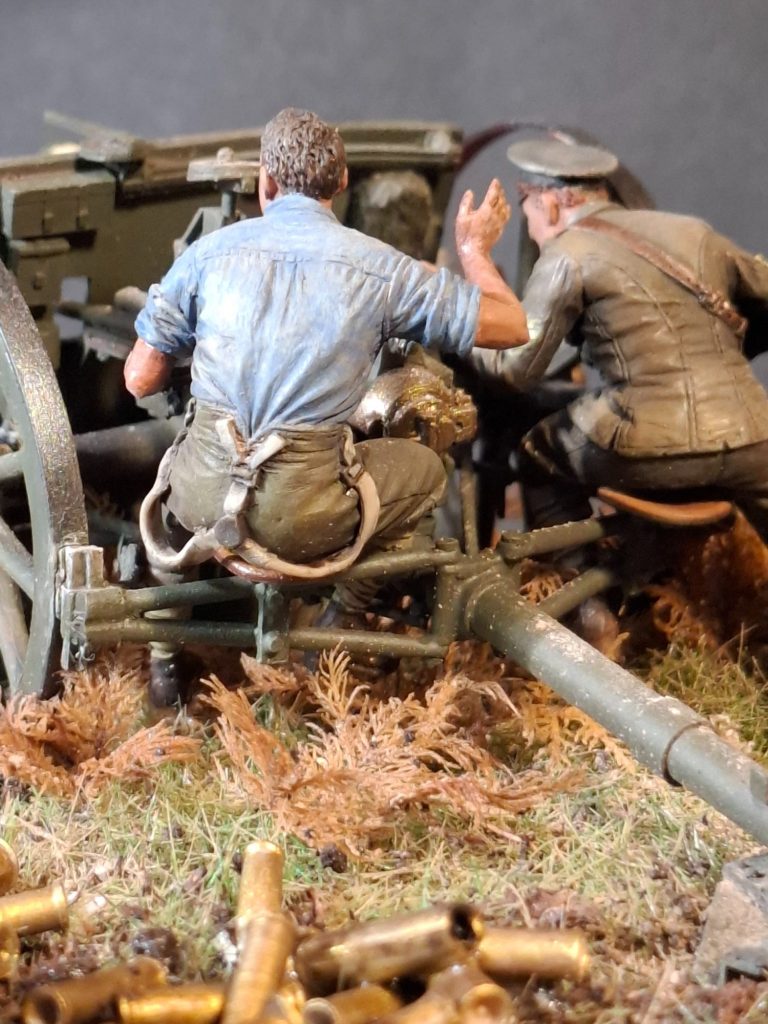
Photo #74 and #75 show the second gunner fastened into place, and although the two figures look good, the base is still looking like there’s a lot of empty space.
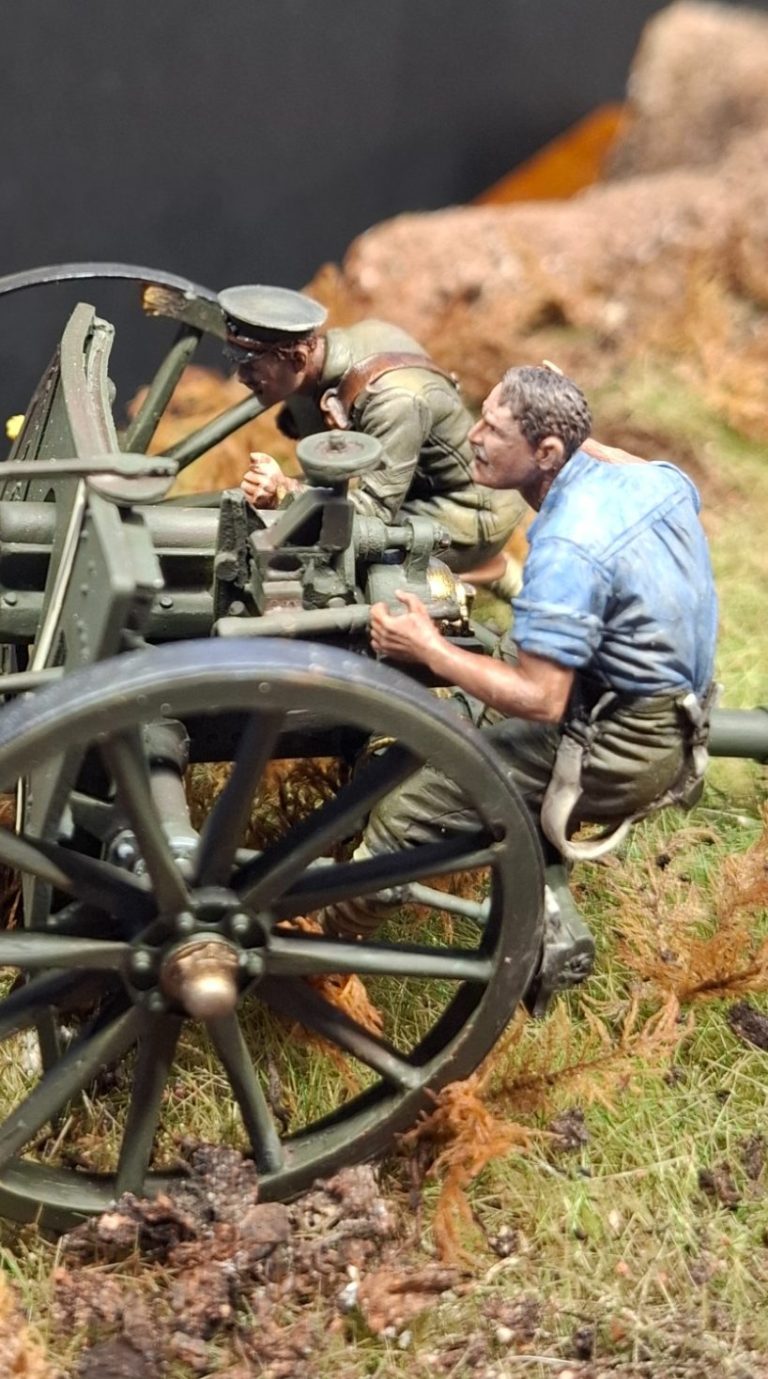
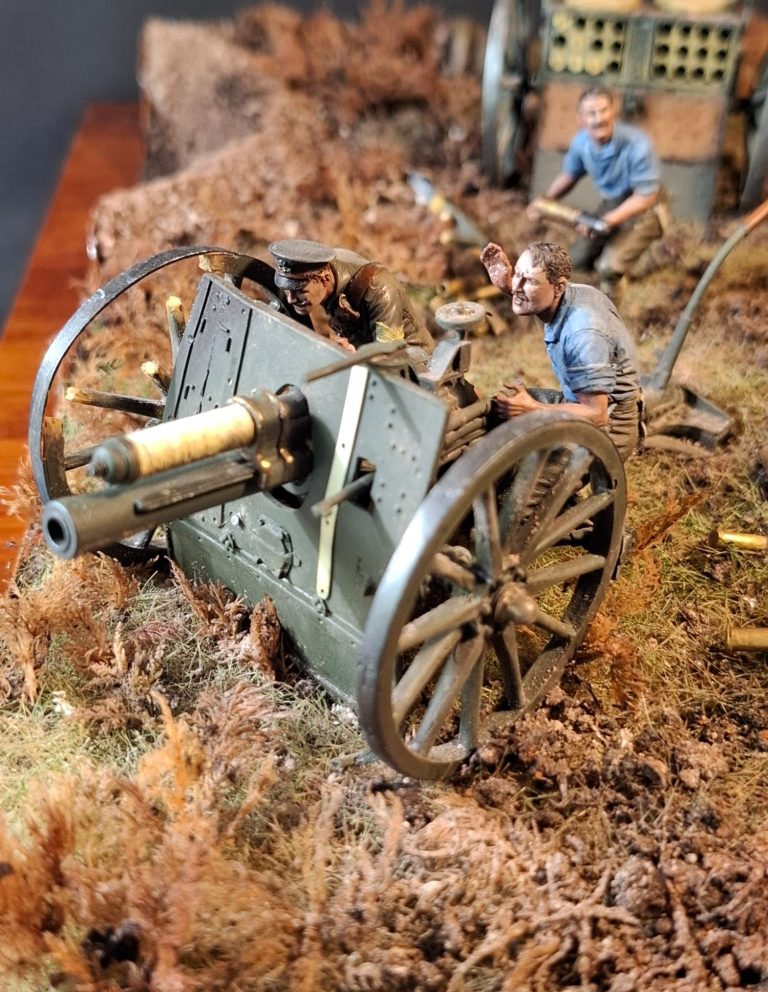
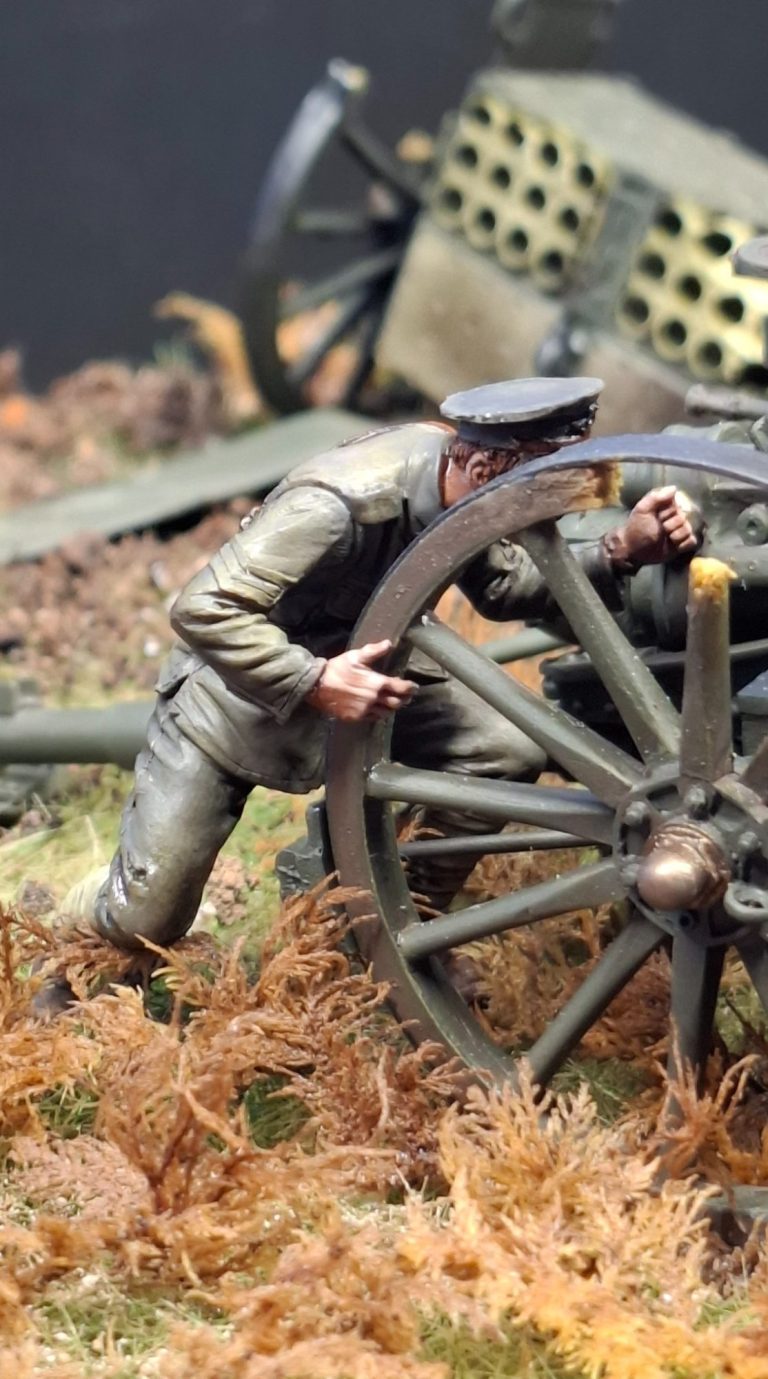
Photo #76 with a view from the other side of the gun, and I do like how the sculptor has managed to get the officer posed so that the modeller can have his right hand braced on the wheel of the gun carriage.
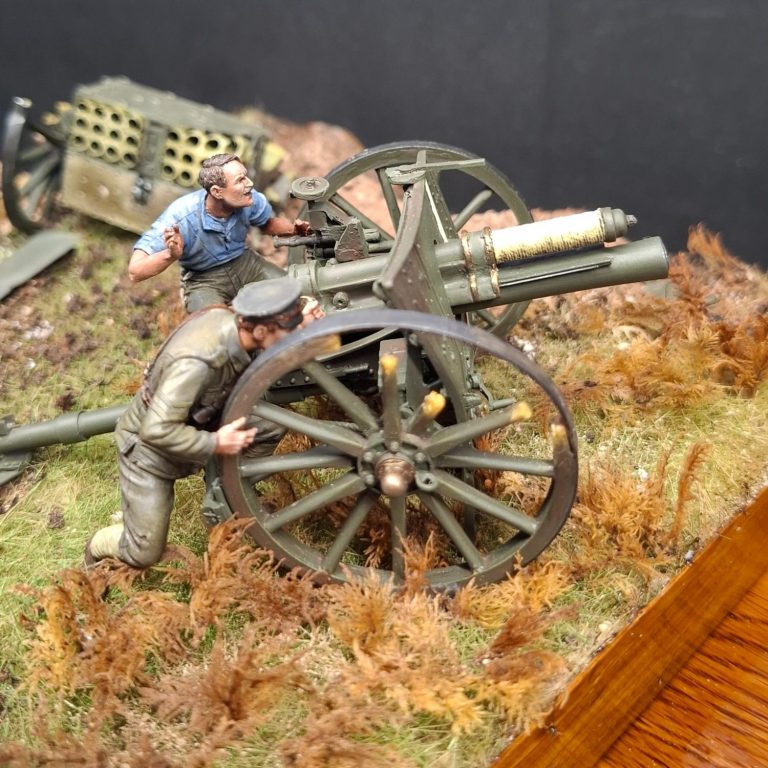

Photo #77 is an overhead view of the model in it’s almost complete form.
The fourth figure is fetching a shell from the limber, and again the sculptor has thought about what’s happening here and the figure appears to be in a hurry to get that shell to the gun.
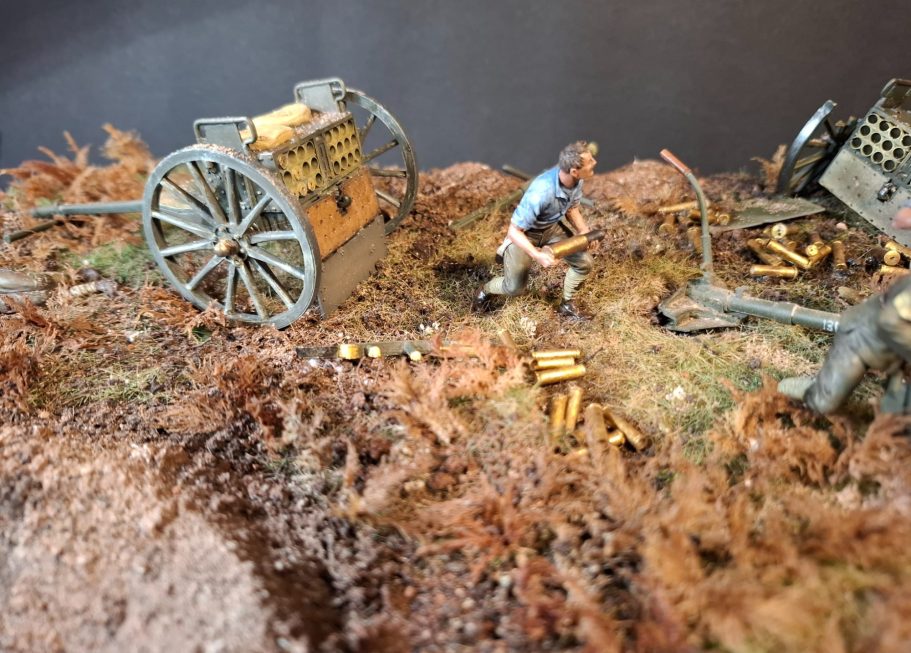
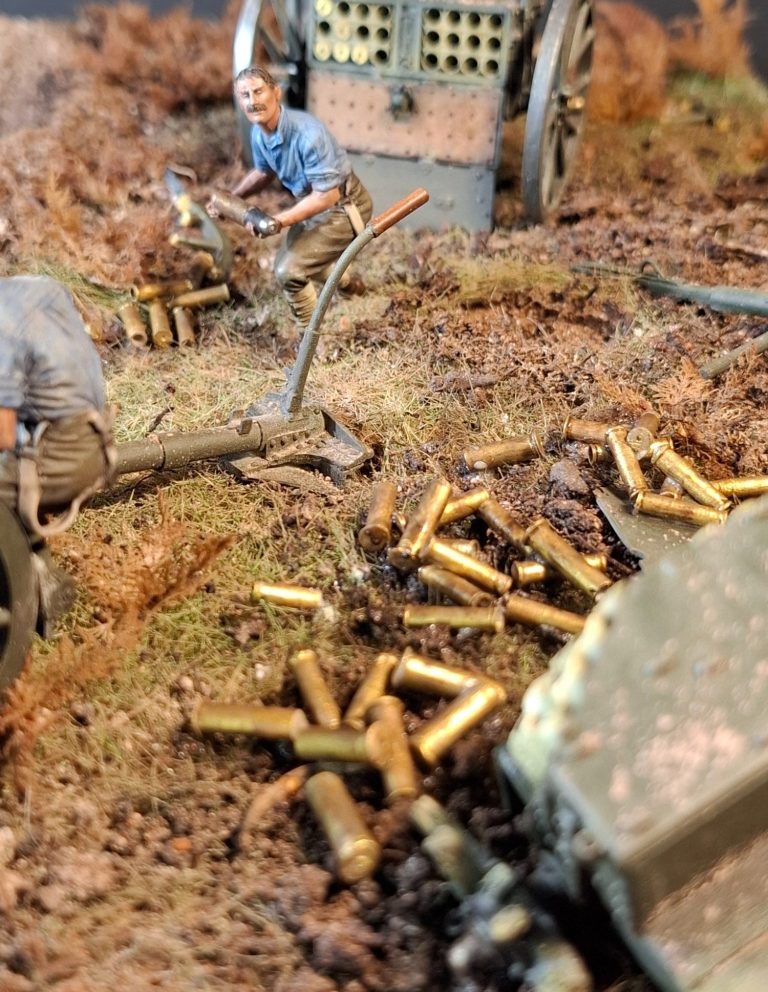
Photo #78 shows the figure from the side, and I’ve placed the forty or so empty shell cases around the groundwork in small piles.
My thinking here is that the empties would be case aside hurriedly, and because the cannon would likely be shifting from side to side slightly as it was aimed at the German artillery, several different piles of shell cases might pile up.
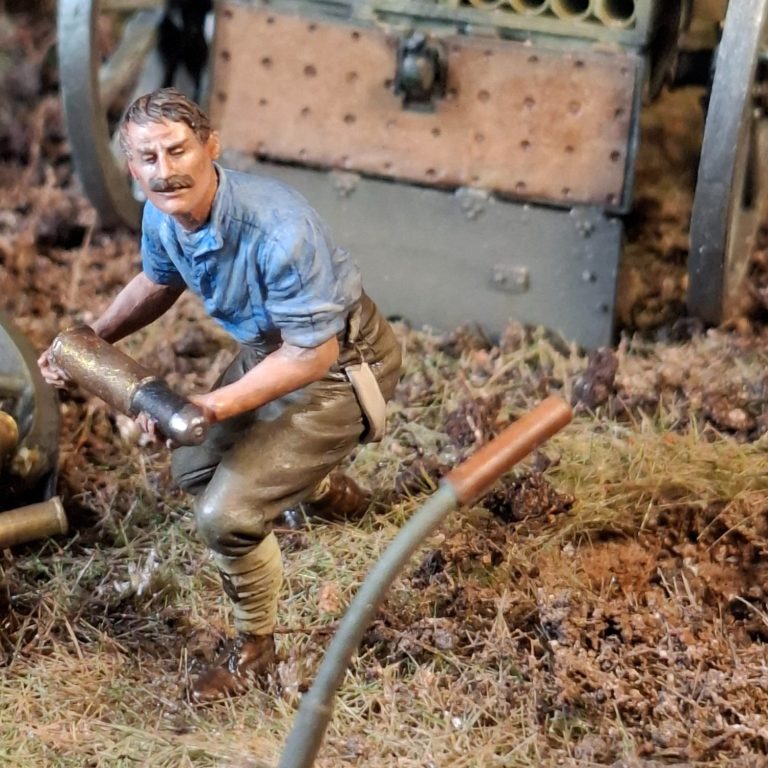
Photo #79 and a close up of the figure fetching fresh shells. Of note is that the shell casing was made of brass, whilst the projectile portion was steel coloured with either a brass or white tip.
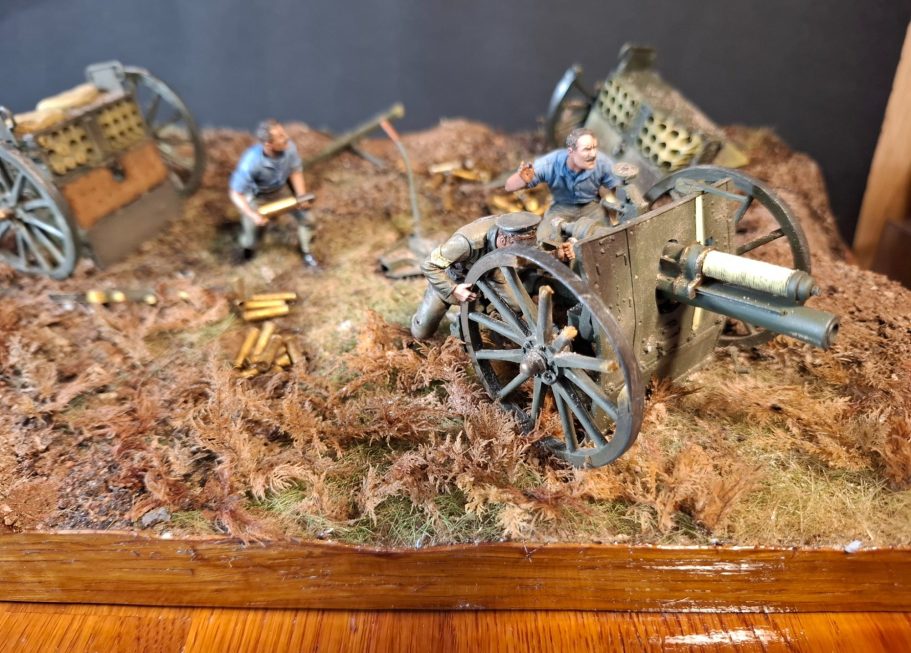
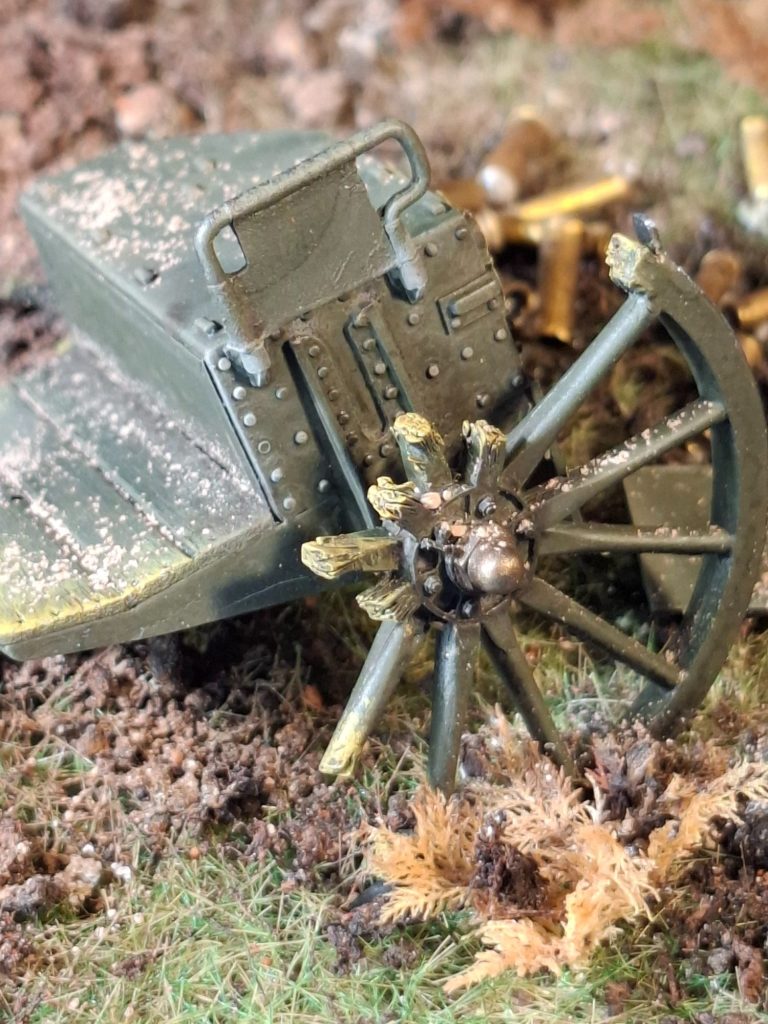
Photo #80 I’ve used some black pastel chalks to darken the upper left ( as you look at it ) area of the gun shield.. One the preserved gun, this has received a hit which probably caused the damage to the right wheel and bent the corner of the shield.
Try as I might I couldn’t get the amount of deformation that the original gun has, but I didn’t want to break the resin shield, and the casting is superbly thin.
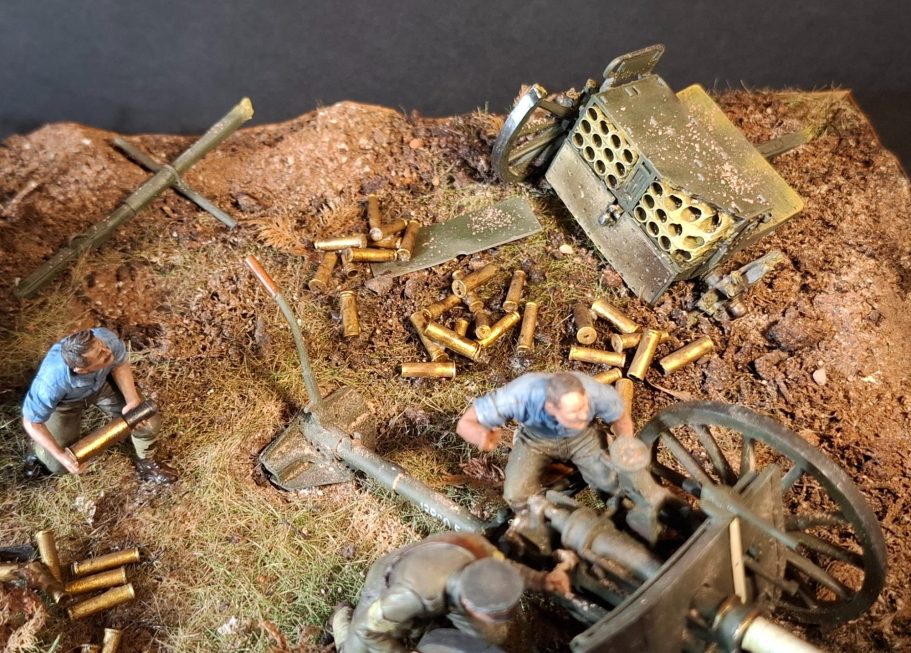
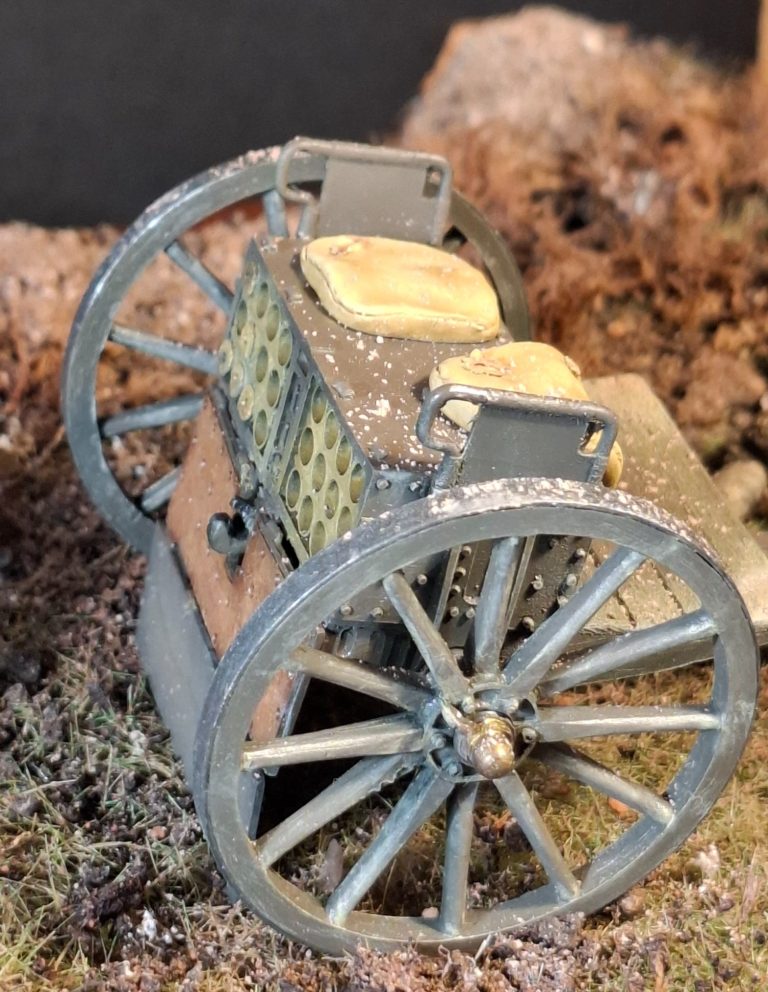
Photo #81, and I’ll make this the last of the “work in Progress” shots, shows some of the scattered shell cases next to the badly damaged limber.
Final thoughts.
And the finished shots really, which show the different aspects of the diorama, and hopefully give a little bit of the feeling of urgency to the desperate situation these men fought under, staying at their post long past the time when most people would have said that it was time to retreat.
I cannot imagine the stress and bravery of the men who fought in World War One, new weapons, new tactics, new technology was all flying into use, and the average young man would never have seen most, if not all of this stuff before.
Added to that the youthfulness of the men involved, and the conditions….. I think it’s beyond comprehension from our modern standpoint
The model, well, it’s a little fiddly to make the gun, but certainly not beyond a competent modeller, and it’s really a case of having a bit of patience, looking at a few reference shots and plenty of test fitting before adding the glue.
The limber and figures are a breeze to work with, and I’m glad I bought the second limber to add to the diorama.
As I’ve mentioned before, I’ve used a lot of artistic license to close up the distances between the different pieces of kit, simply to make the base more compact and able not only to fit in a display cabinet, but also to transport to shows if necessary.
I hadn’t realised that my keenness for modelling had cooled a little prior to starting this project, but the history behind the scene, the quality of the kit itself, and wanting to make a realistic representation of these brave men really got my enthusiasm back on track.
Highly recommended