Cyborg Samurai
54mm white metal kit.
Painted in 2014
OK confessions first, I can’t remember who made / makes this kit. I seem to remember that it might be a sculpture by Stephen Malia, and might have originally come from El Greco Miniatures.
What I can say is that I had it for a long time in an unmarked zip-lock bag, and it is a superb bit of sculpting / casting.
Why alter it ?
I’d seen a picture somewhere of a Samurai style character and wanted to see if I could make a slight alteration to a model to change it from a person into a cyborg. The change would only involve swapping the head off the figure and replacing it with some sort of helmet, which seemed simple enough to achieve.
I really liked this figure too, and whilst there is nothing at all wrong with the head that comes with the kit, I thought that making such a simple change would add an individual figure to my collection.
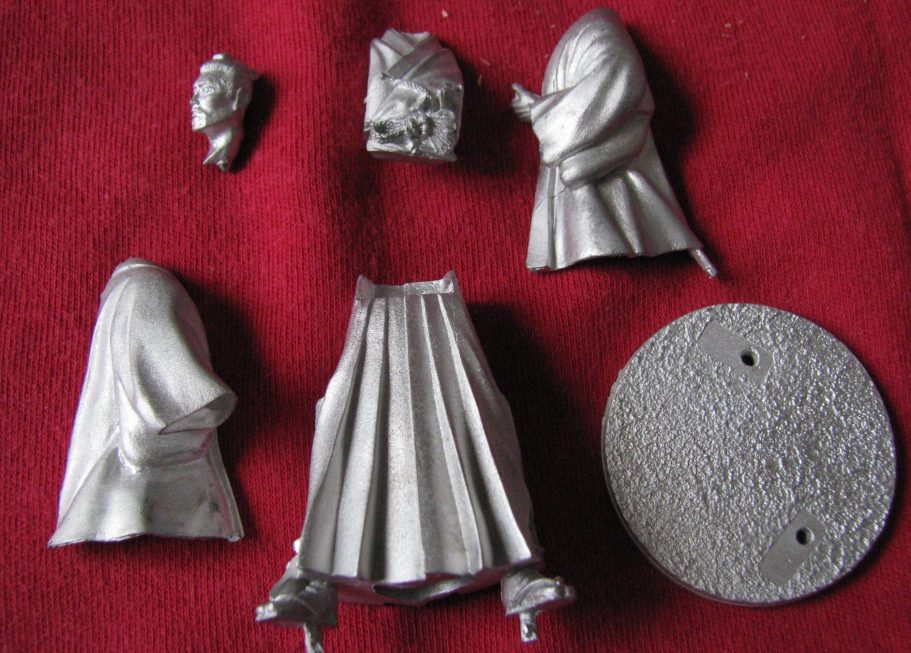
The parts for the kit are displayed in photo #1, all cast in white metal, and very cleanly at that.
Photos #2 and #3 show the body halves fastened together and the metal primed with a mix of a cream coloured acrylic and a lot of Isopropyl Alcohol, then a couple of coats of the cream coloured acrylic mixed with some water.
I think these two shots show up the high quality of the sculpting, and how crisp the casting is.
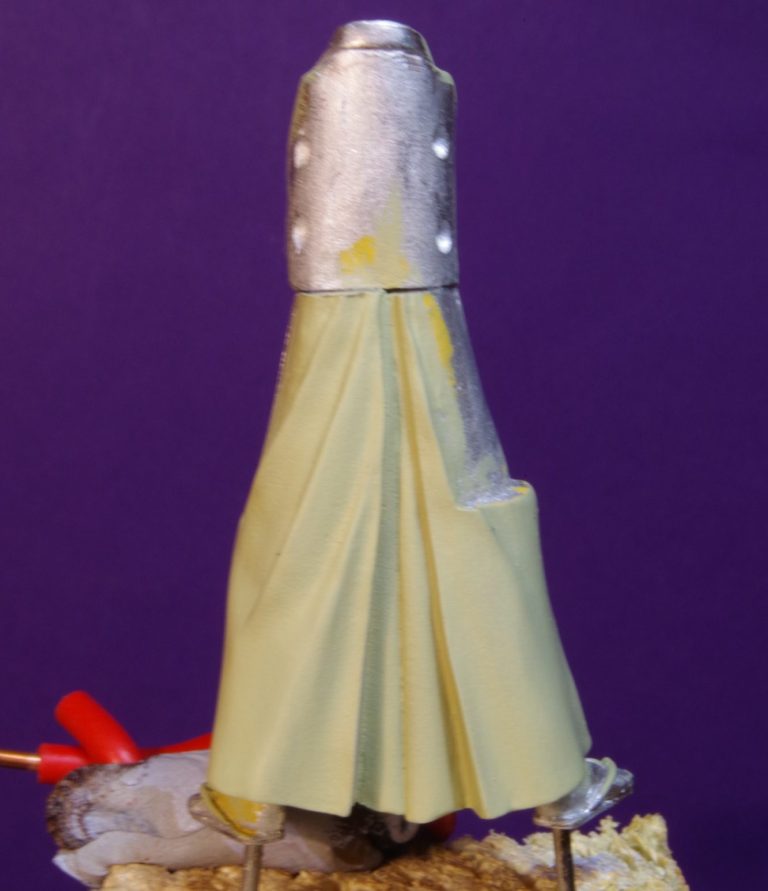
Now photo #4 might well appear to have gone backwards in the logical run of things, seeming to be back to bare metal and some very heavy handed cleaning with a very coarse file.
Actually I’ve undercoated the lower half of the model with a green acrylic, then added a similarly coloured oil paint made from Chrome Green a little Mars Black, and a little Titanium White. The hatching lines are where I am adding a lighter colour to the darker green oils that are still wet, and these will be blended in with a clean, soft brush.
Whilst the colour difference between the darker colour already on the model, and the lighter colour being added is quite striking, once blended together, the mid-tones will be formed, and more of the light colour added in a similar manner – small strokes of the lighter coloured paint – but this second addition being to a much smaller area.
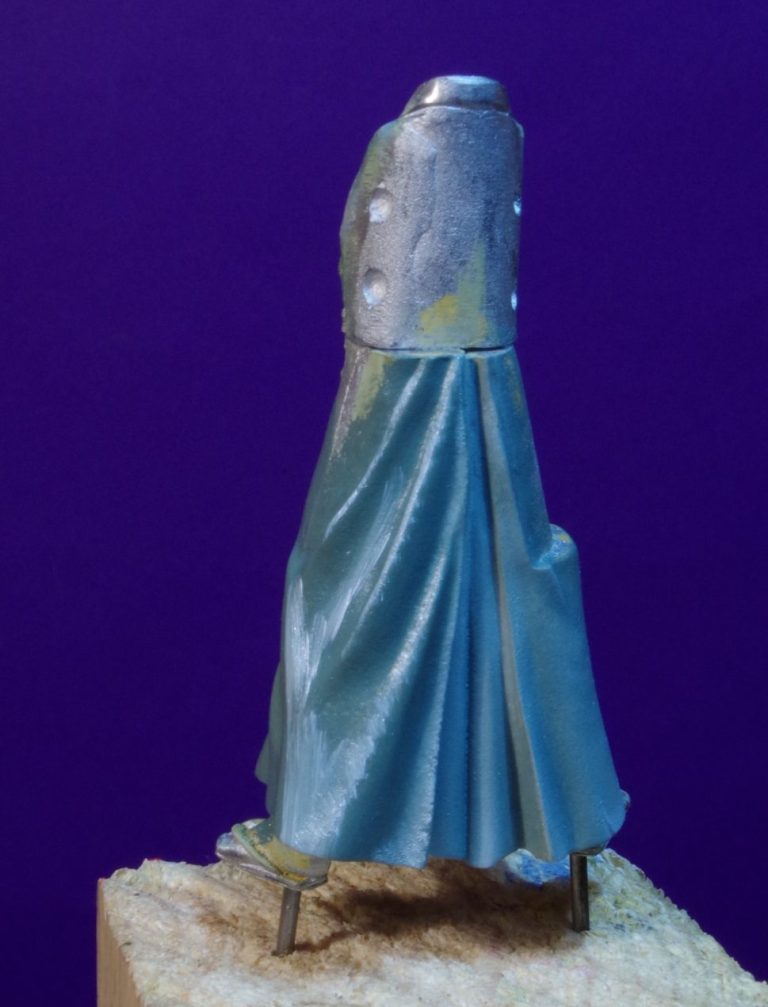
The blended colours can be seen in photo #5, the oil colours allowing for a smooth transition from dark to light.
Photo #5. Whilst the oils take time to dry, this can be made a lot quicker by applying heat, and in my case I put models to dry in an old cupboard that has a heating mat from a Vivarium, using a cake cooling tray to separate the blocks of wood I fasten the model components to from the heating mat itself.
Also in this shot I’ve now added the jacket halves, priming these with some white acrylic mixed with Isopropyl Alcohol.
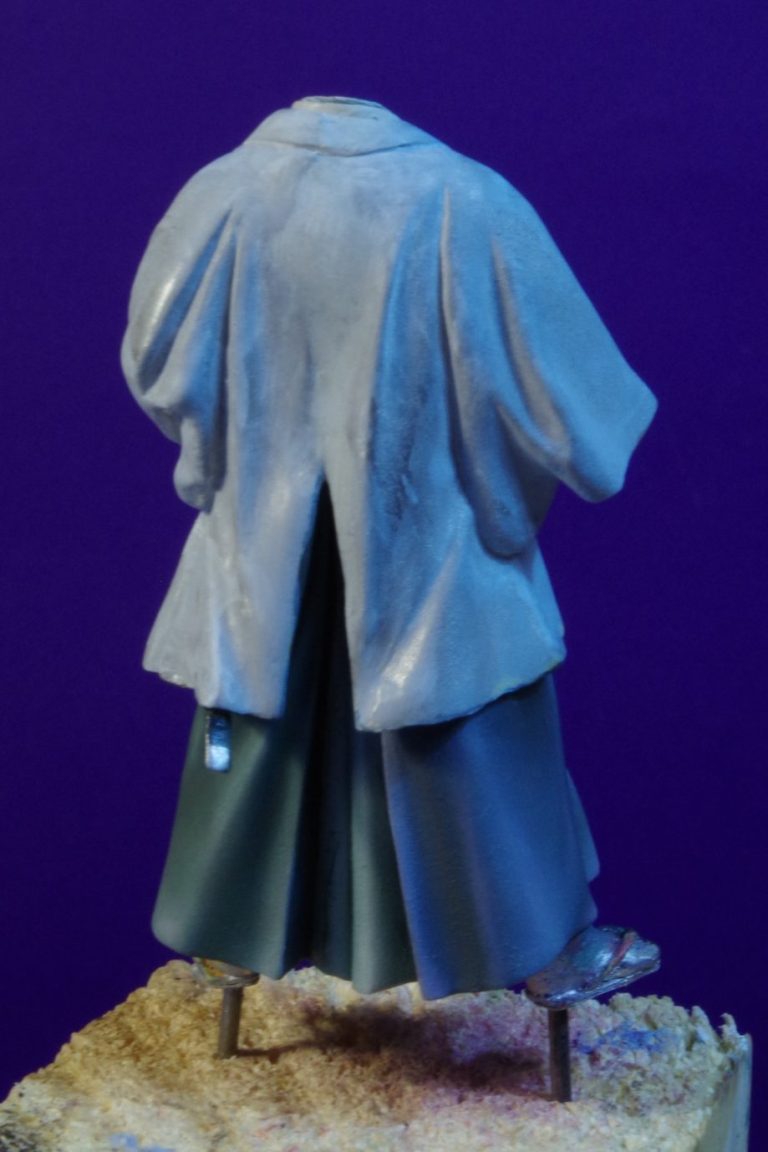
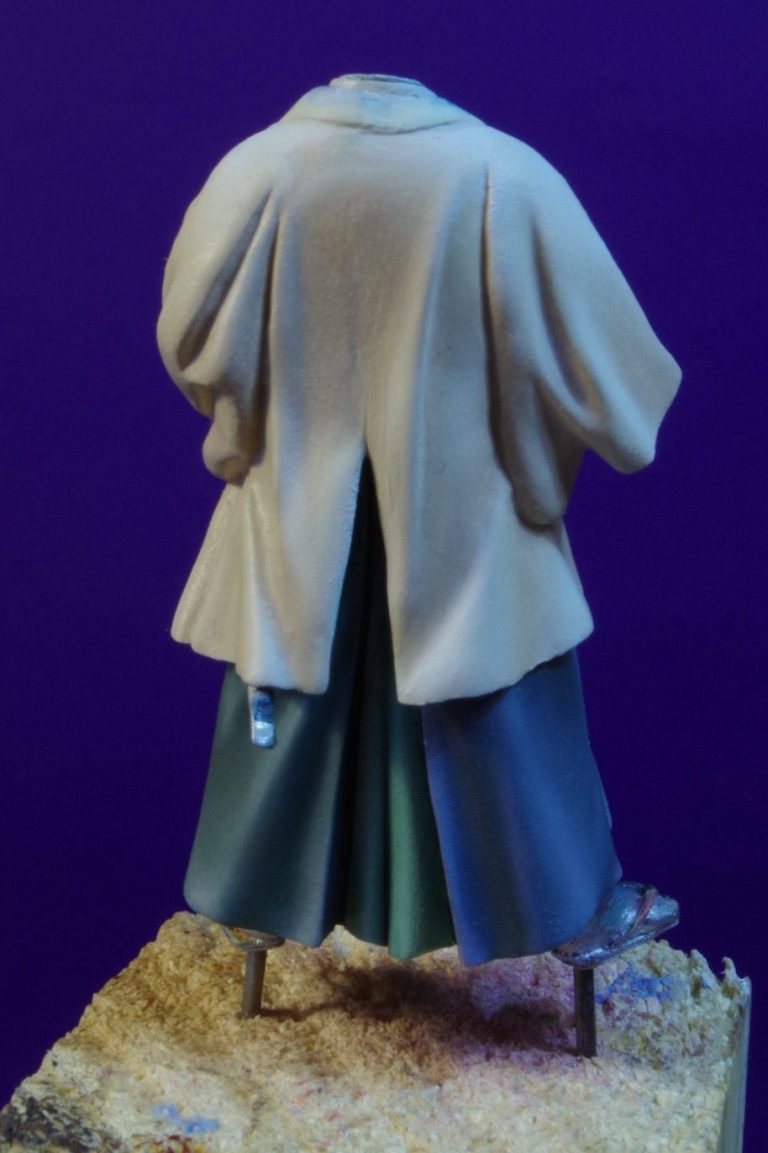
Photo #6 shows the jacket painted with several coats of a cream coloured acrylic made from Skull White and Iyandan Darksun ( a sandy yellow colour ), both from the old Games Workshop range of Foundation Colours.
When I say several coats, I do mean about six or seven coats to establish a solid colour, although admittedly I thinned the colour mix down with some water to let it flow better.
I’ve added some initial highlights, by mixing in more of the Skull White and a little water, then painting on very thin layers to build up lighter sections. Again, a lot of coats are needed to gradually build up the lighter areas, but the smooth transitions are worth the extra time and effort.
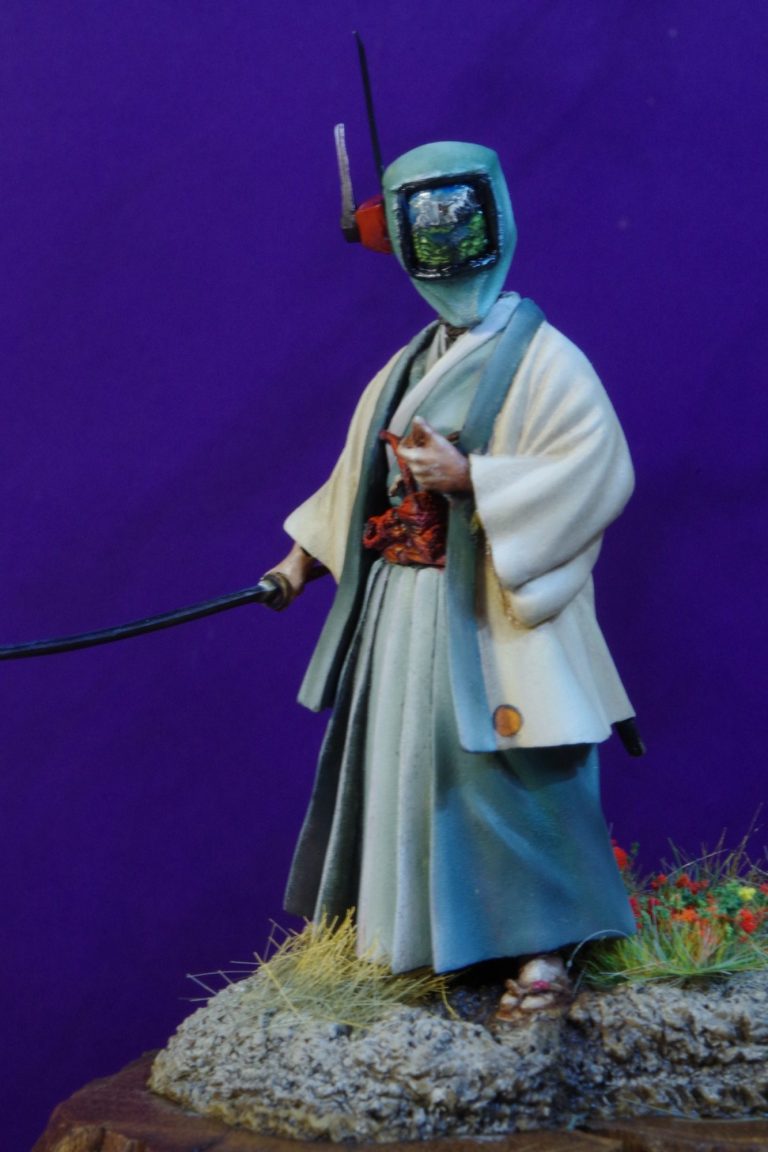
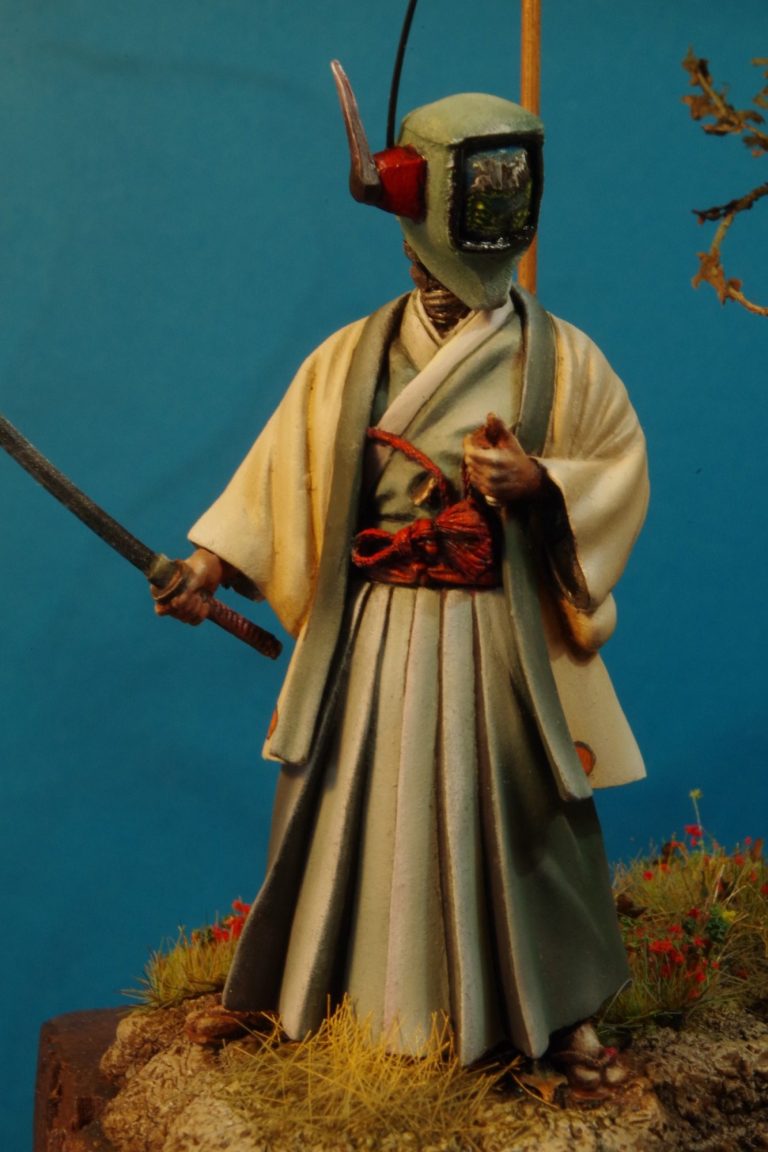
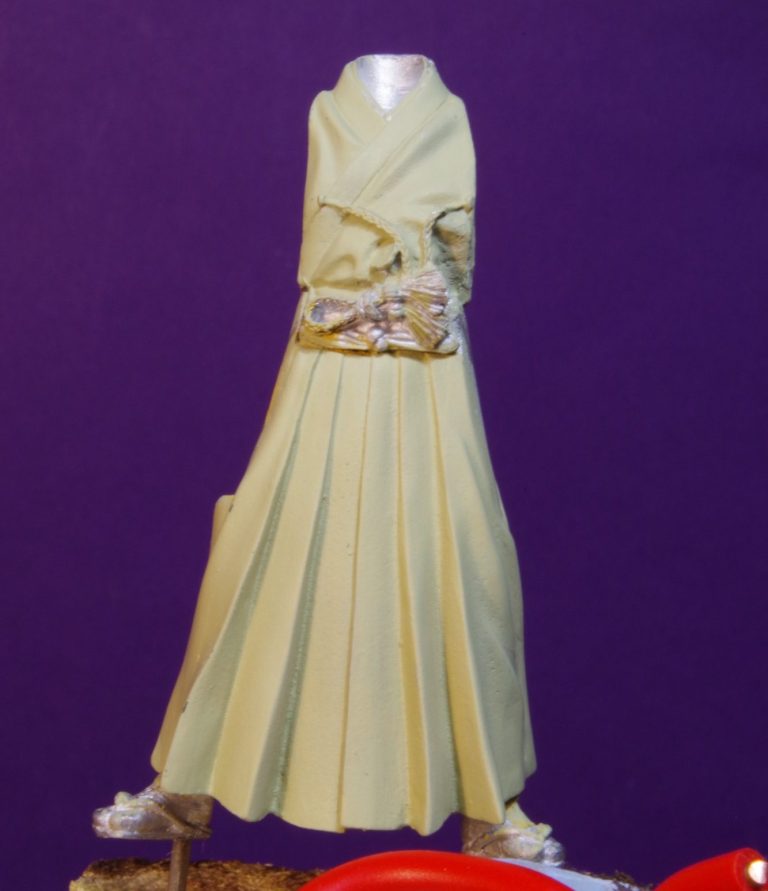
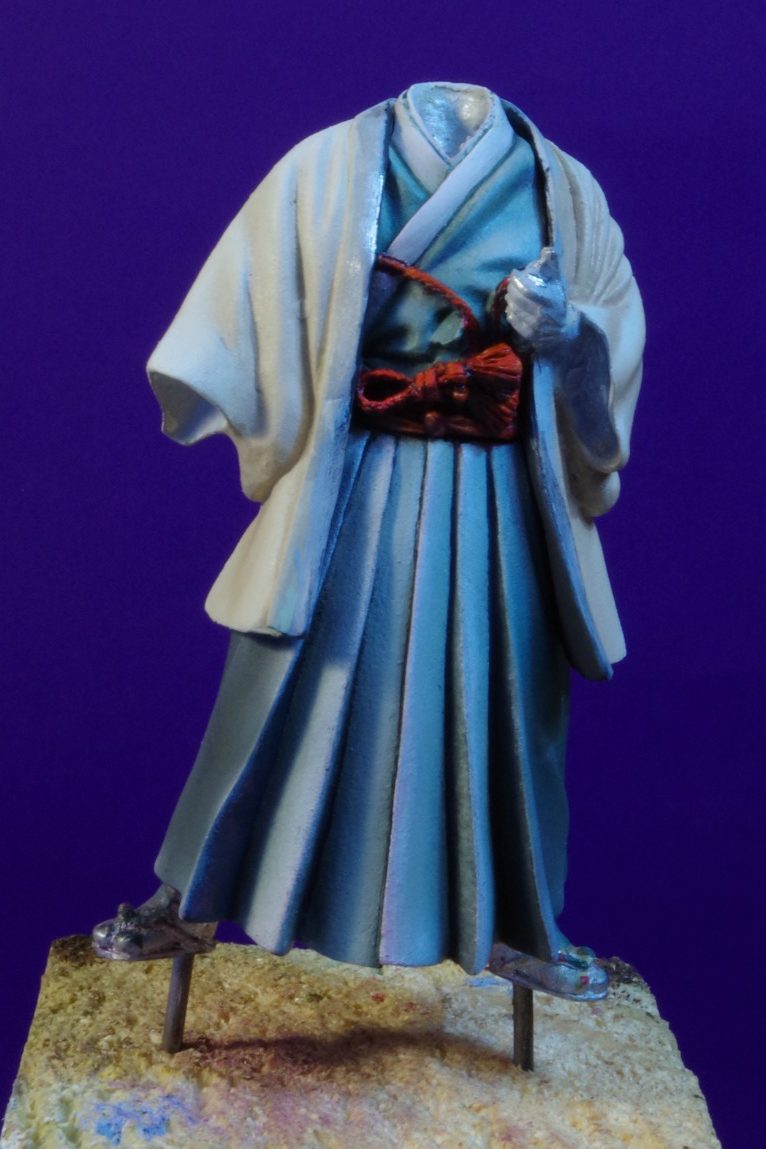
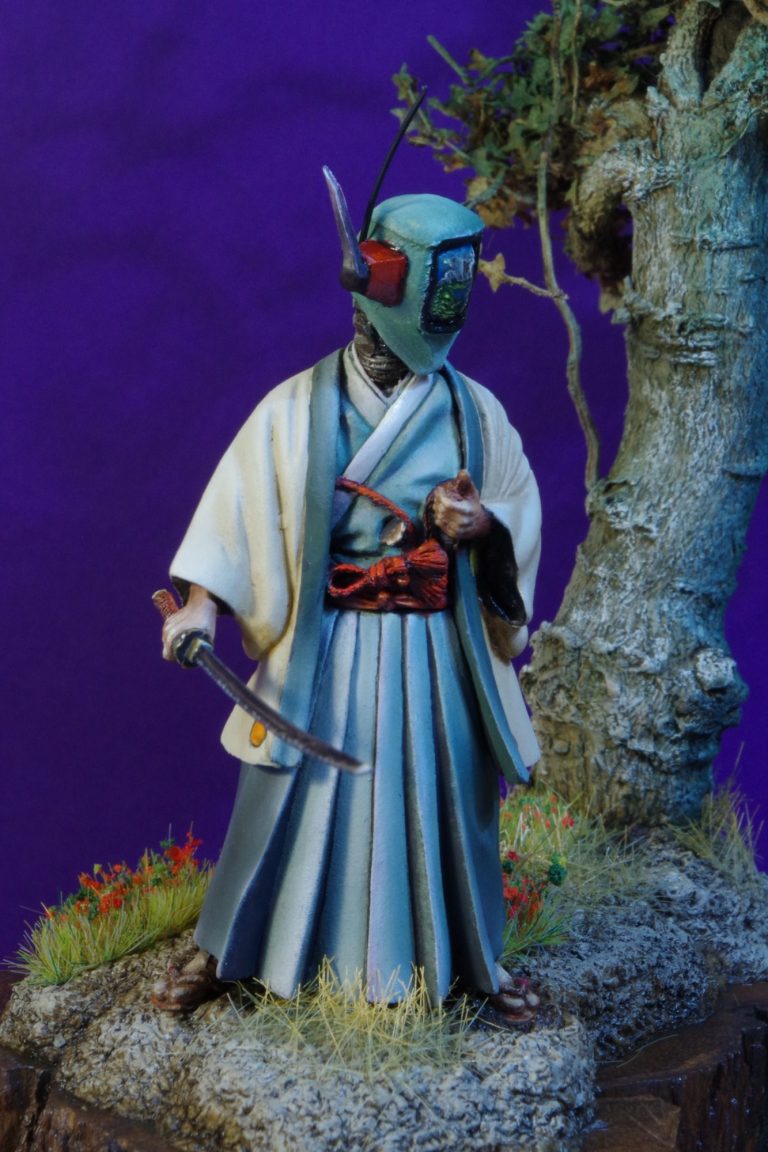
Photo #7 returns to the front of the figure, and here I’ve used the green mix, lightened with a lot of Titanium White to paint the inner section of the skirts and the front of the upper torso, adding even more white to paint on the border.
I’ve painted the belts with various reds, breaking up the green and pale cream colourations.
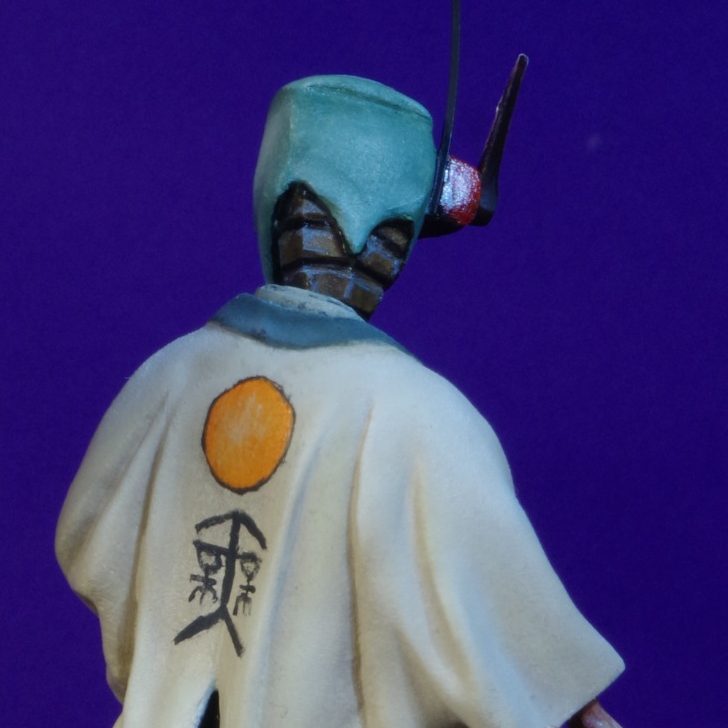
The head started off as the receiver from the lower part of a GW Space Marine’s bolter pistol. Well, that formed the articulated pattern on the back of the neck.
I added putty and smoothed that out to form the top, sides and front of the head, and once the putty had cured, I added a border to what would appear to be the faceplate from some soft wire, formed into a rounded off square and glued in place.
The aerial on the side of the head was just a couple of pieces of plastic sprue, cut to shape and fastened to the side of the head.
As for painting the head, I wanted a reflection of a scene in the faceplate, with the rest of it painted green to match the clothing.
The only areas of flesh visible are the hands, which initially I’d thought about painting black or dark grey, but decided in the end to paint them flesh coloured.

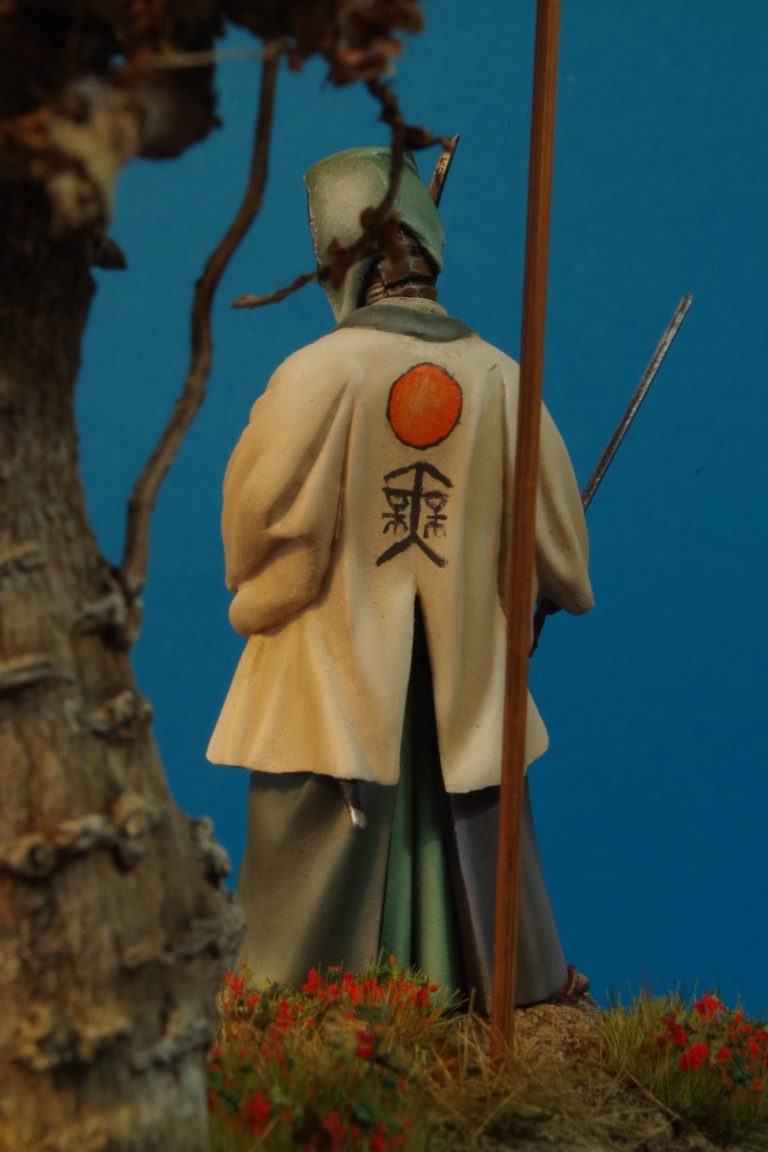
The Mon decoration and text on the back of the coat, and the miniature Mon’s on the bottom front of the coat were hand painted with a fine brush to do the black outline, and then filled in with orange.
The katana and the small parts of the scabbard that can be seen were painted in their appropriate colours, and the right hand fastened in place.
I added pale grey acrylics to the visible parts of the feet, adding brown straps from oil paint for the sandals once the grey acrylic had dried.
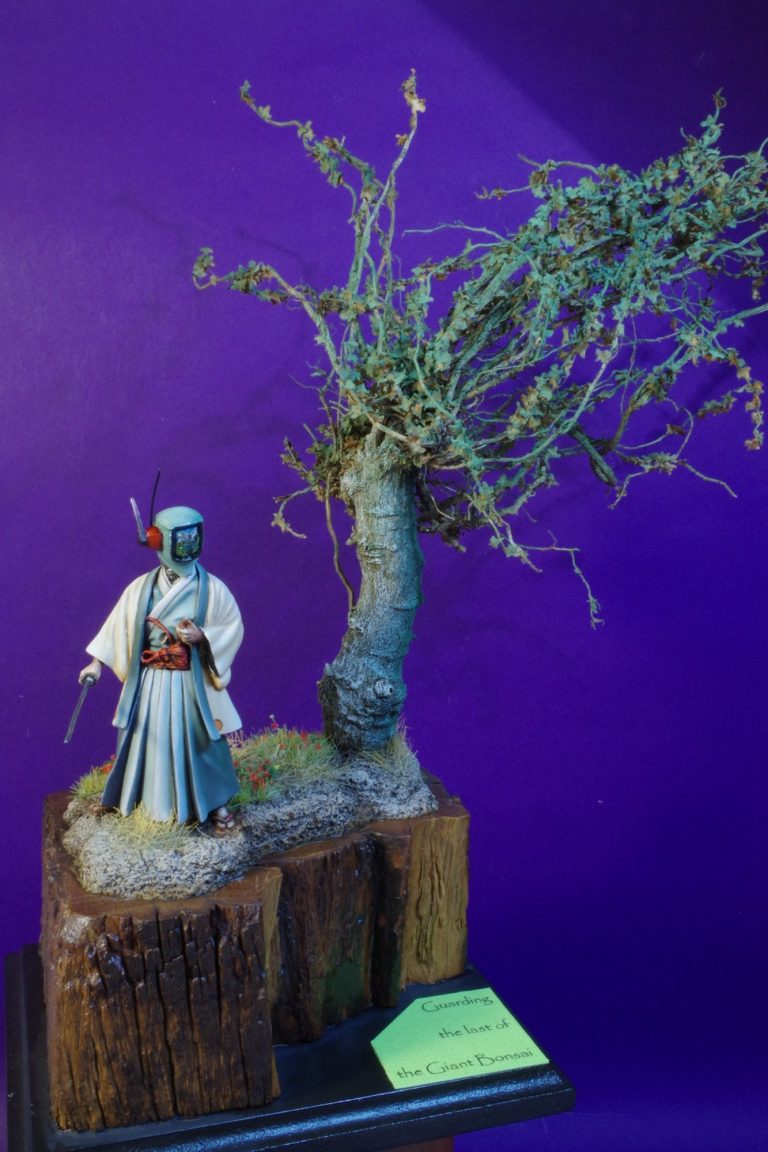
For the base, I felt that this cyborg should be guarding something, and with my twisted sense of humour decided that he should be guarding the last of the Giant Bonsai, a ridiculous idea, but one I’d got stuck in my mind and couldn’t seem to shake.
I found an old dwarf rose root in my stash of twigs and roots, and used this as the basis of the Giant Bonsai, adding some Birch tree seed pods as leaves and painting the trunk of the tree with oils.
The groundwork itself is a piece of polystyrene to act as a filler, with Milliput epoxy putty put over the top and stippled with an old toothbrush to add texture. Some ready-made static grass clumps were fastened in place with Matt Acrylic Medium, and the figure glued in place with superglue.
Thoughts ?
Looking at individual aspects of this, there are areas that I’m quite pleased with – the little Mon’s and some of the clothing, but the overall look of the piece and the attempt at reflection in the visor are things that I’m less impressed with.
The sculpture of the figure itself is very good, the folds of the clothing are particularly well done, and I feel I’ve failed the piece by experimenting with it.
It’s not often that I feel this way about a model, and to be honest I’m only making an article because of two reasons.
The main one being that the figure is such a nice one, and even though I feel I’ve messed it up, the sculptor deserves to hear that I think his work is very good, and I would offer my apology for my part in this, but also the hope that he will continue producing such nice kits.
Secondly, it’s good to admit failure. As I say, I don’t often feel this way, but the presence of this article proves that even with practice, one can sometimes make a mess.
Is it worth revisiting this one to make changes ?
No, I think not. I always encourage painters to get to a point where a kit is finished, call it a day, and try and focus on what has been learned, what new things you’ve tried, and in cases like this, what not to do in future.
Experimentation should be encouraged; it’s the way we learn, keeping something like this around reminds us that things don’t always work out the way we want and to accept that fact.
So he remains in a display cabinet in my painting room, sometimes accusing me, sometimes just watching me, and sometimes guarding the last of the Giant Bonsai.