Empire Champion
28mm white metal figure from Games Workshop
Painted in 2008
When I look back, it seems to be ages since I’ve painted anything in this small a scale, and then along come about four of the buggers !
Granted there were all to go to the same chap – Martin Dahl – in Norway. He wanted them for wargaming; well as leaders within his army, so although he wanted them well painted, they were still going to end up on a gaming board.
They also had to match in with the rest of his army, colour-wise, so I had some constraints there too.
I know there’s a few people who look down on fantasy pieces – fortunately I don’t suffer from that problem, I began painting Games Workshop pieces when they were still importing Ral Partha pieces and then began the Citadel range, so I’ve seen a lot of these; but the empire range remind me so much of German Landsknechts that I don’t see why some of the military guys don’t paint them.
Anyway, this figure is treated basically like any metal kit would be – granted there’s a lot less of everything. I find it best to add a very thin coat of primer to the model prior to cleaning – a dark colour is best, as this then runs into all the creases and pools a little. It makes finding mould faults and part lines so much easier, although the easiest way to find part lines on pieces such as this is to lay the model on a flat surface. The mould line will run around the model about half way through its depth, as you’re looking it.
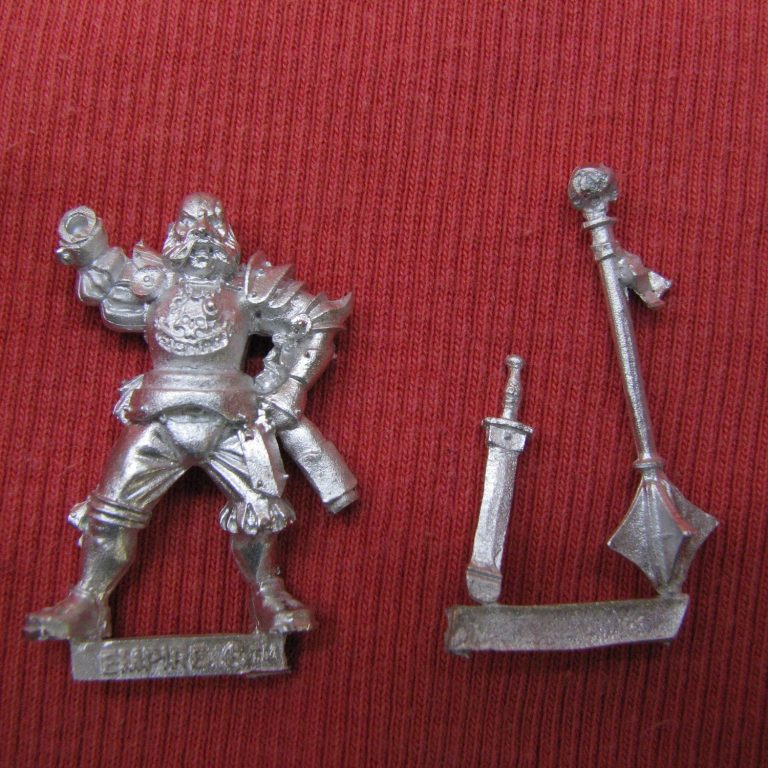
Photo #1 shows the bare bits – just three of them – and prior to cleaning. The tab is left on the weapons to give me something to hold onto whilst I paint them – the tab being fastened to a block of wood with some Blu-tac. The main figure casting will have the tab removed, although I’ll leave any rough edge under the feet because this will give the glue something to grip onto when he’s fastened to the groundwork.
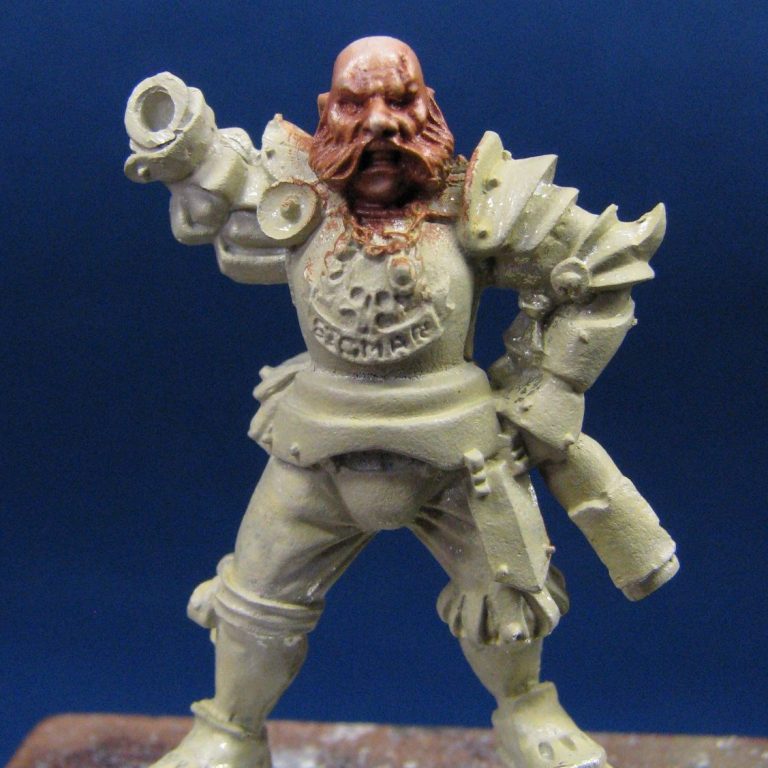
In photo #2 I’ve cleaned and primed the model, the face having been treated to some flesh colour paint – acrylics with oils over the top.
Again, there’s folk who won’t use oils in this scale, and again, I say it’s perfectly easy to do, you just need a steady hand and a bit of patience. The amount of paint used is very small indeed, and to be honest I’ve got a lot more time in which to dry a model, than I actually have for painting. Acrylics do dry fast, but it takes a long time - relatively – to actually paint with them. Not to say I don’t use them, I just make sure that their qualities are put to the best and most time efficient use.
The next two stages are the armour and the clothing. The armour is always done first, so that if any of the metallic colour gets onto other areas, the paint of the clothing will cover it up. I’ve even known me to paint the armour before doing the flesh for this very same reason.
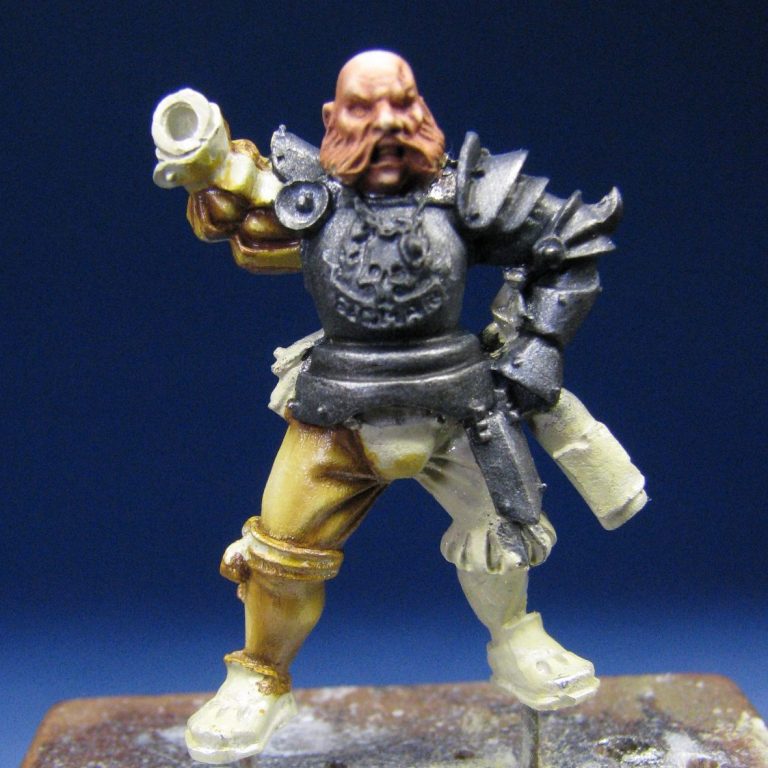
I used a base coat of Chaos Black and Chainmail, then washes of pure Chainmail to build up mid-tones gradually. Highlights were a mix of Chainmail and Winsor and Newton Silver Ink. Finally, the Silver Ink was used to top of the very brightest areas, BUT I have found it best to do this last part when the model is finished. The ink is very soft and easy to rub off, so a coat of varnish is best added to seal it in.
Photo #3 shows the armour painted up.
The clothing was to match in to Martin’s green and yellow theme. With the Landsknecht feel of the model, I chose to paint it in an almost historical manner, with the opposed halves mirroring each other.
The simplest way of doing this is to paint the lightest colour first, then using the darker of the two colours to hide any overspill of the lighter colour.
So I began with a couple of coats of Skull White – yellow being a notoriously bad colour for letting the undercoat, or lack thereof, although I was giving the new GW “Foundation Colours” a road test on this model.
The Iyanden Darksun yellow is very good I can report – it covers in just two coats and can be mixed with any of the other colours in the GW range to tint it.
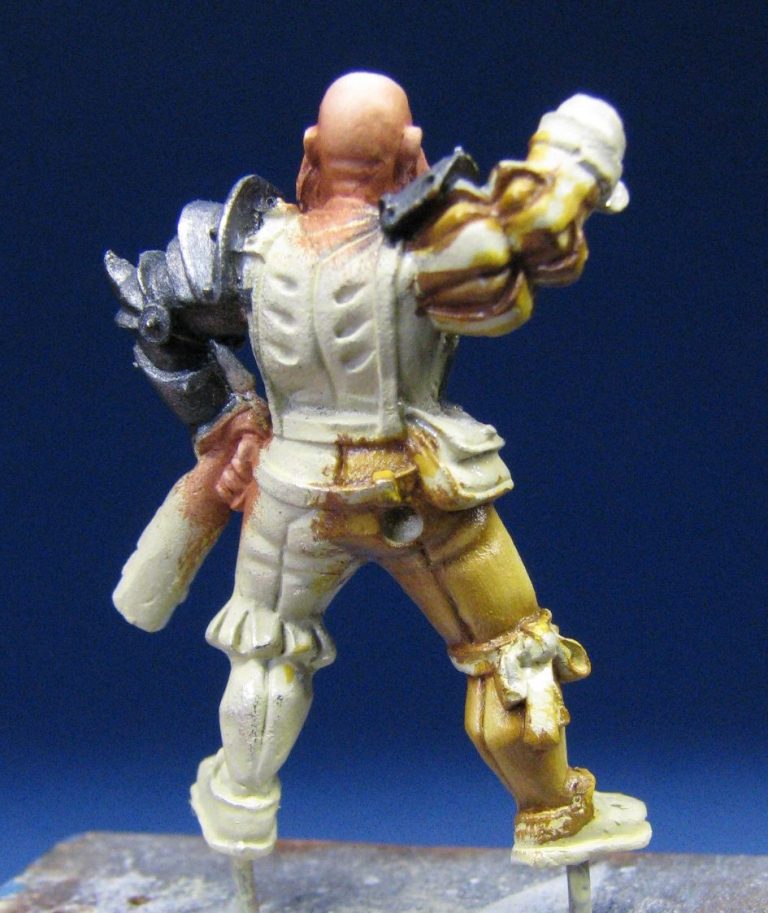
As with the flesh, I used oils over the top of the acrylics to do the highlights, mid-tones and shadows, and I used Mars Yellow as the starting point, Purple Madder Alizarin as the shadow colour ( yes, purple works to shade a yellow – honest ) and Titanium White for the highlights. The results of these efforts are shown in photos # 3 and #4
The green areas were basically done in the same manner, establish a solid green colour ( Goblin Green from GW ), and then use oils to top the colours off. In this case Oxide of Chromium was the jumping off point, with Mars Black for the shadows and Naples Yellow for highlights.
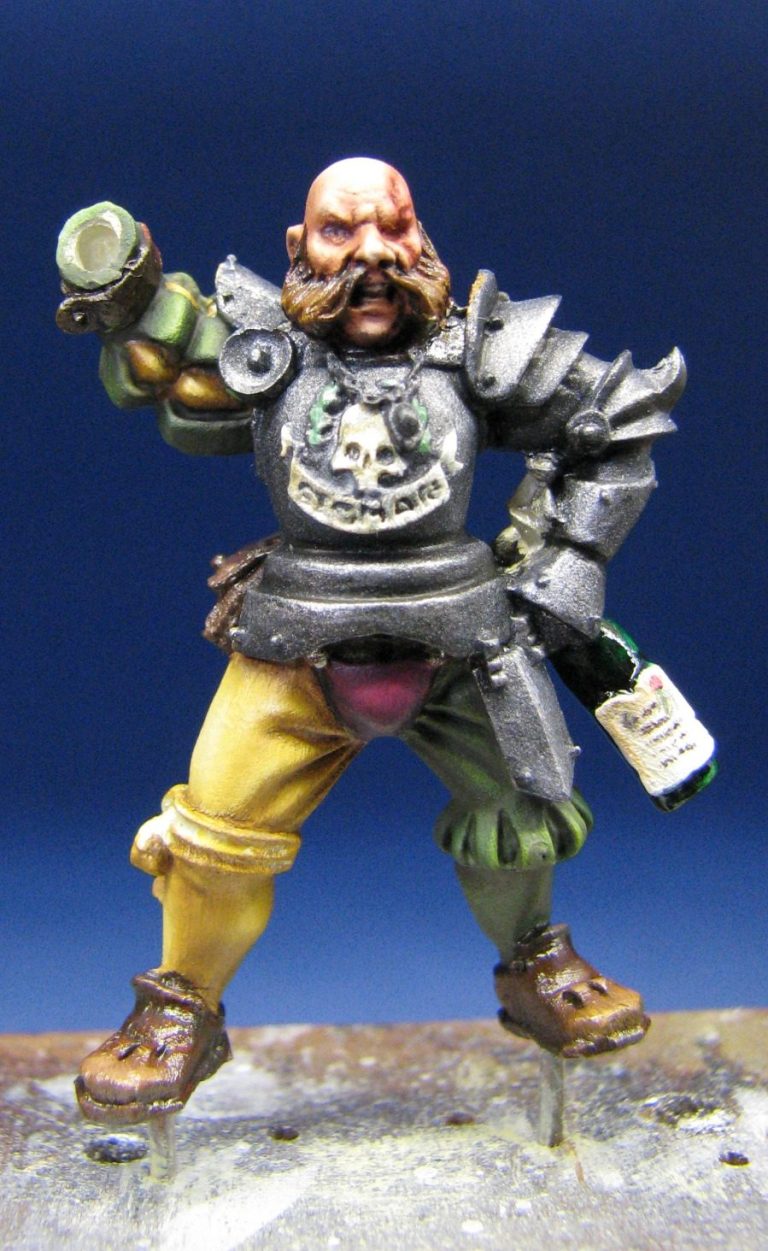
I was stuck though for something to give the model life. The yellows and greens looked a little bland, and as I’d got some of the purple still wet on the palette, I decided to use that to add a little bit of brightness.
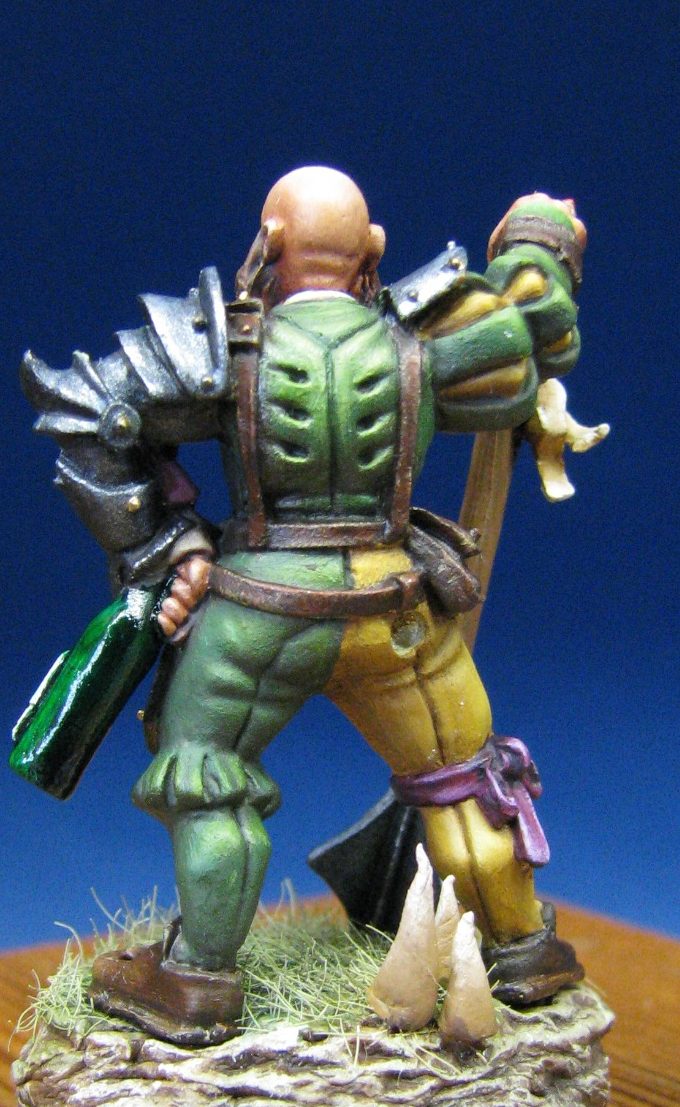
Photos #5 and #6 show this process taking place, and I’ve also painted the wine bottle and label. The bottle itself is depicted as green glass, and is painted in the normal way with green acrylics – similar in method to the colours used on the trousers. Once fully dry though, I added four coats of Tamiya Clear Green lacquer to the bottle, and this is what gives it that translucent shine.
The label is painted with an off white and highlighted with pure white, then some fine black writing added and a red seal.
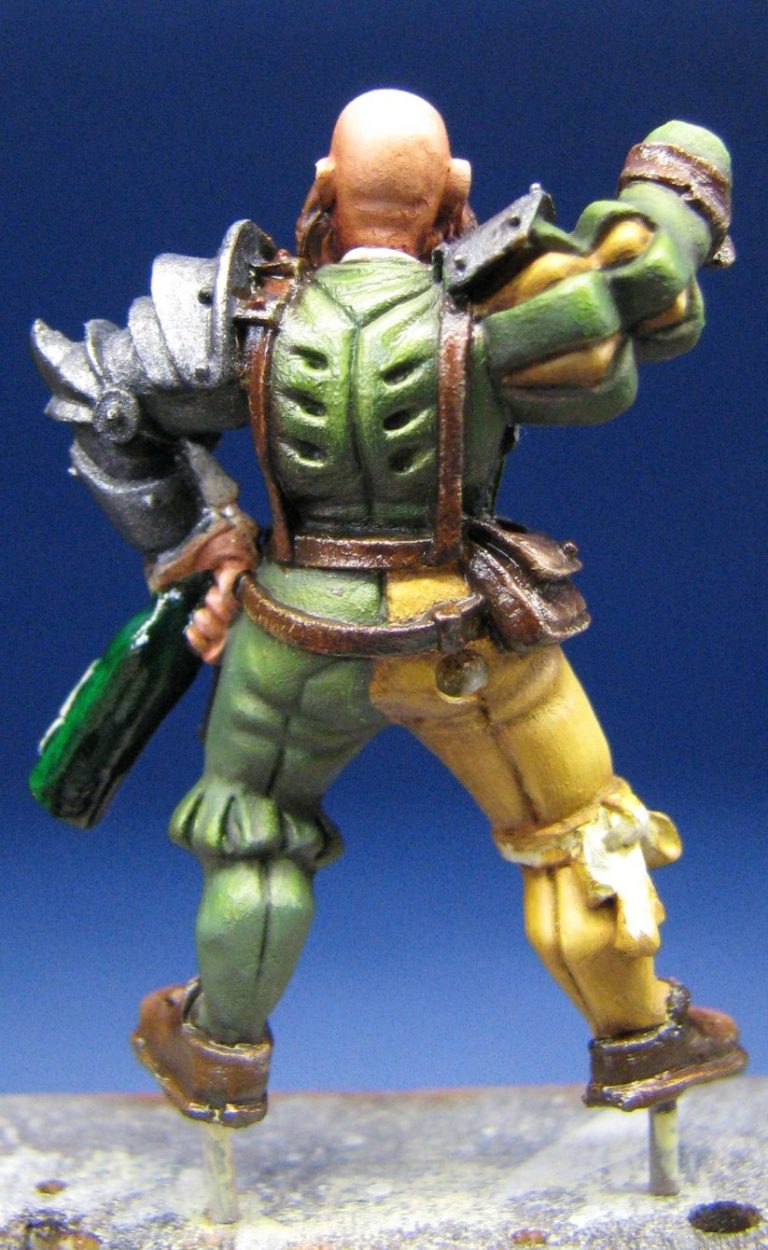

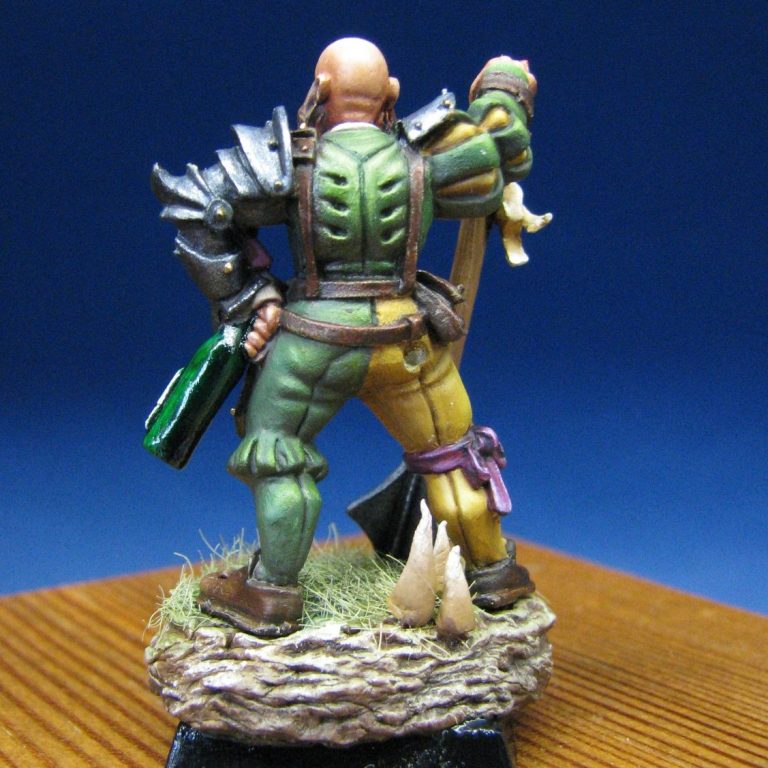
You can see on the back of the model that the belts have also been painted in. I did these in oils as it’s easier to add scratches and nicks into the paint whilst it’s still wet, using a fine brush and a much lighter colour than the main leather areas.
The basic method is to make a fan of the bristles of the brush using the unthinned oil paint, and then to paint from the outer edge towards the centre of each belt. It takes a bit of practice, and you must wipe the brush each time after painting one stroke onto the model, but a good effect can be achieved with this, and once you’ve cracked it, it’s really quite quick to do.
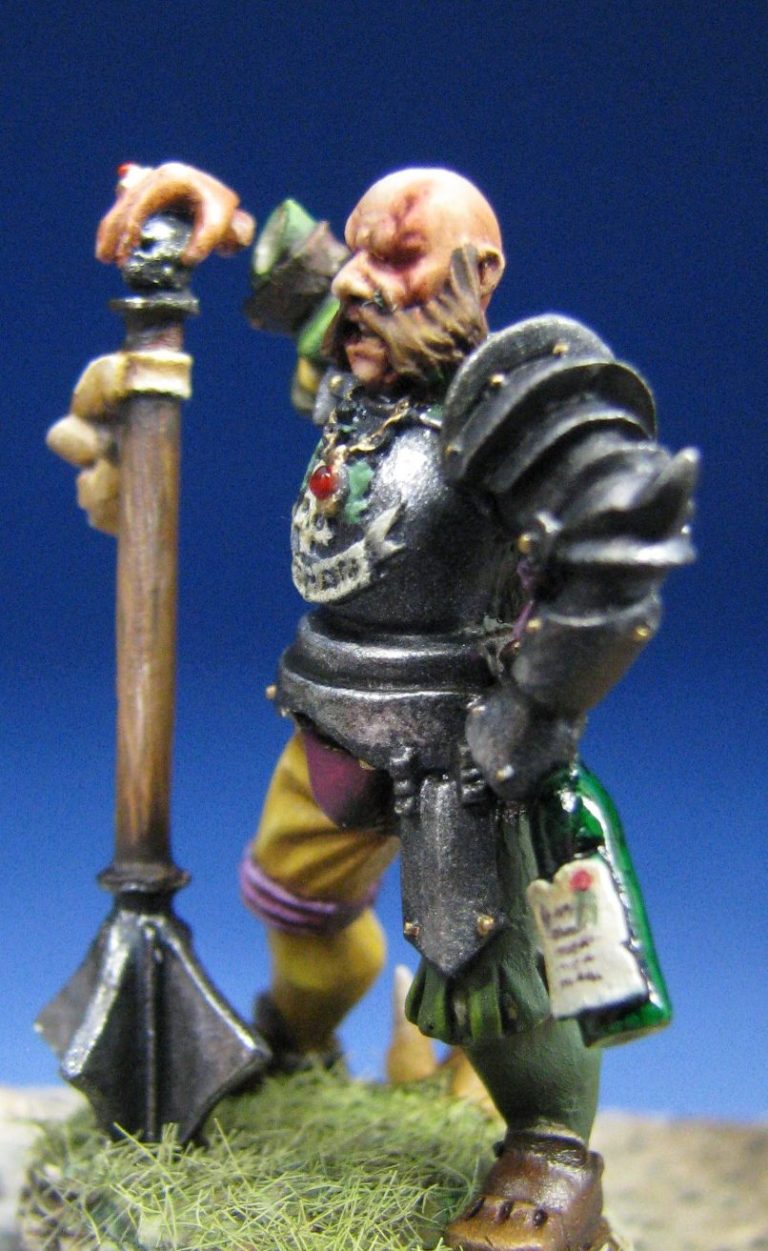
In photos # 7and #8 the main casting is nearing completion, and the motif on the front of the armour and the chain around the figure’s neck have been painted in. Also in this shot, the rivets on the armour have been painted with spots of gold paint, a shadow being established first with a dark gold mix, and then the highlight added on the top of that.
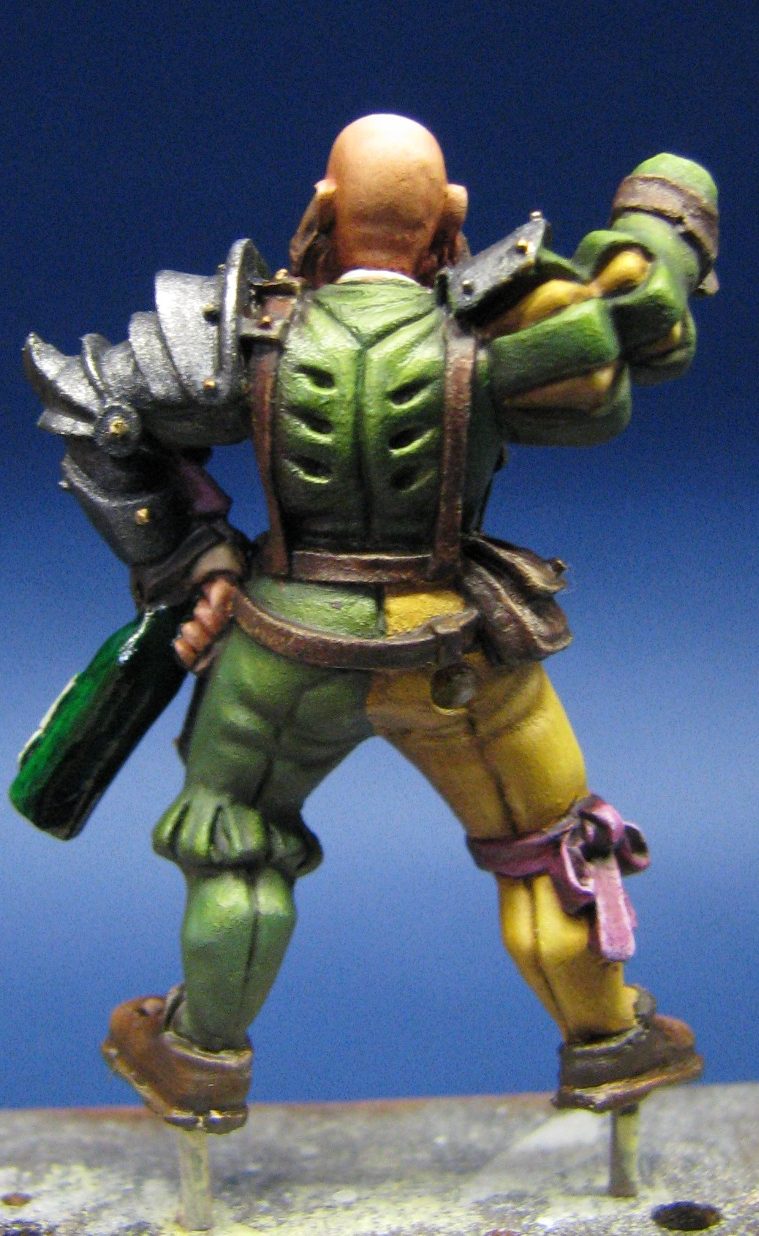
Photo #9 – that’s the scabbarded sword. It shows off the method mentioned for doing damaged leather, and the cuts and scratches are all painted effects and not really on the model part at all.
The model was to be shipped in its’ component parts, so this is the last you’ll see of the sword scabbard, as I didn’t want to damage the model by tacking it in place when the painting was finished.
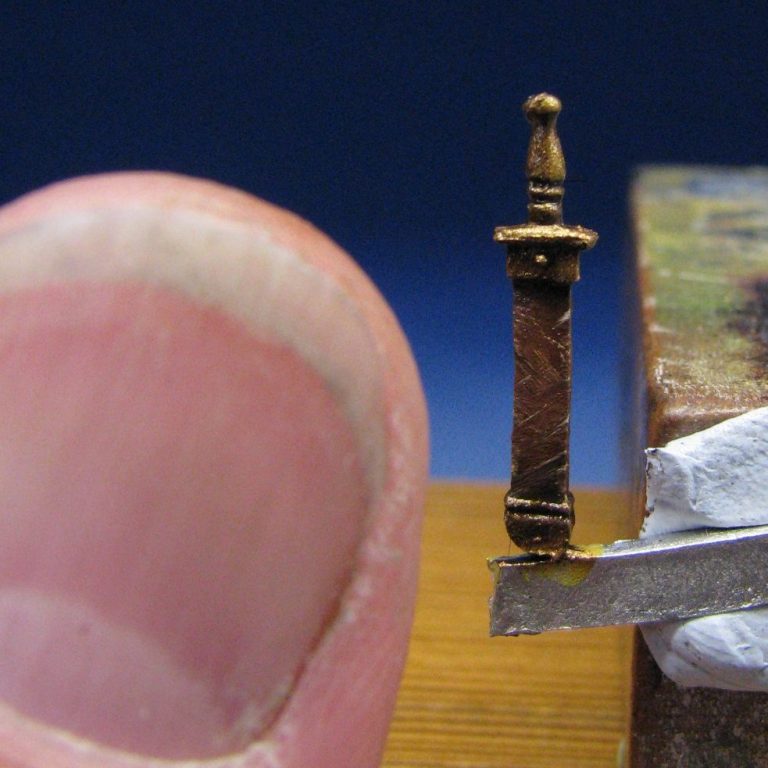
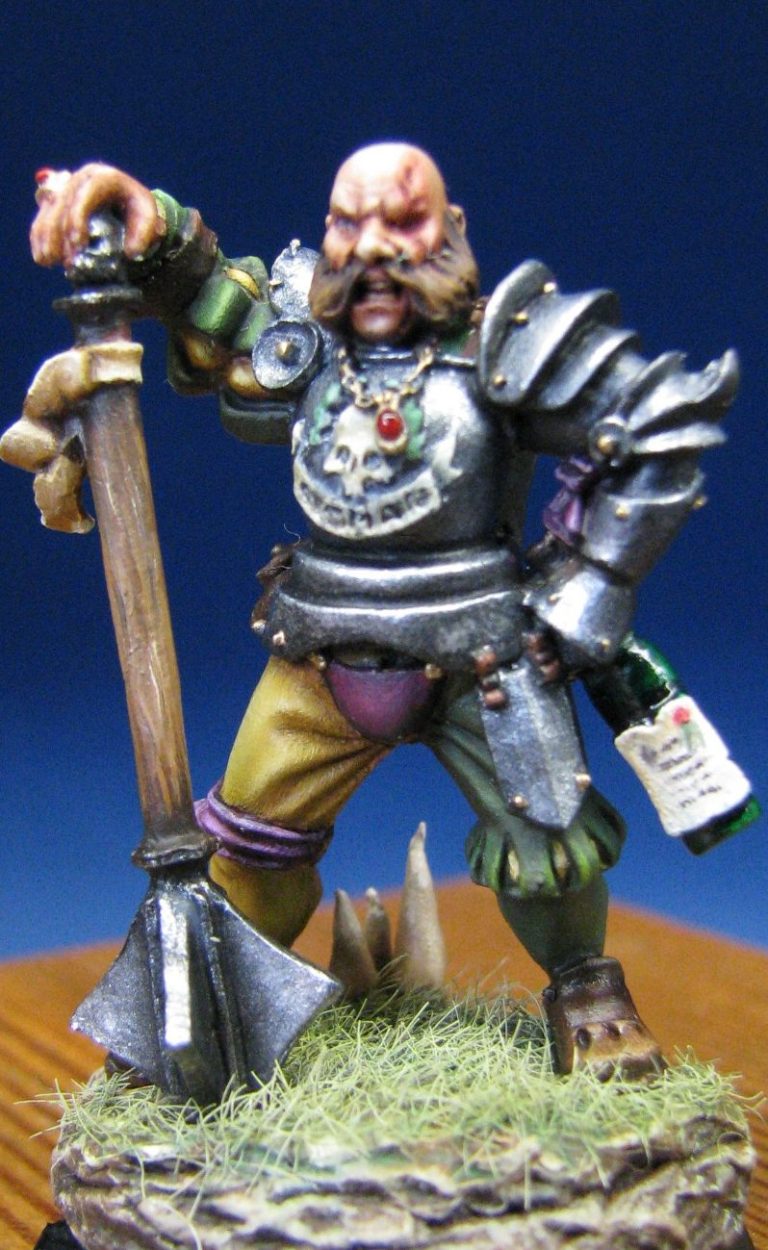
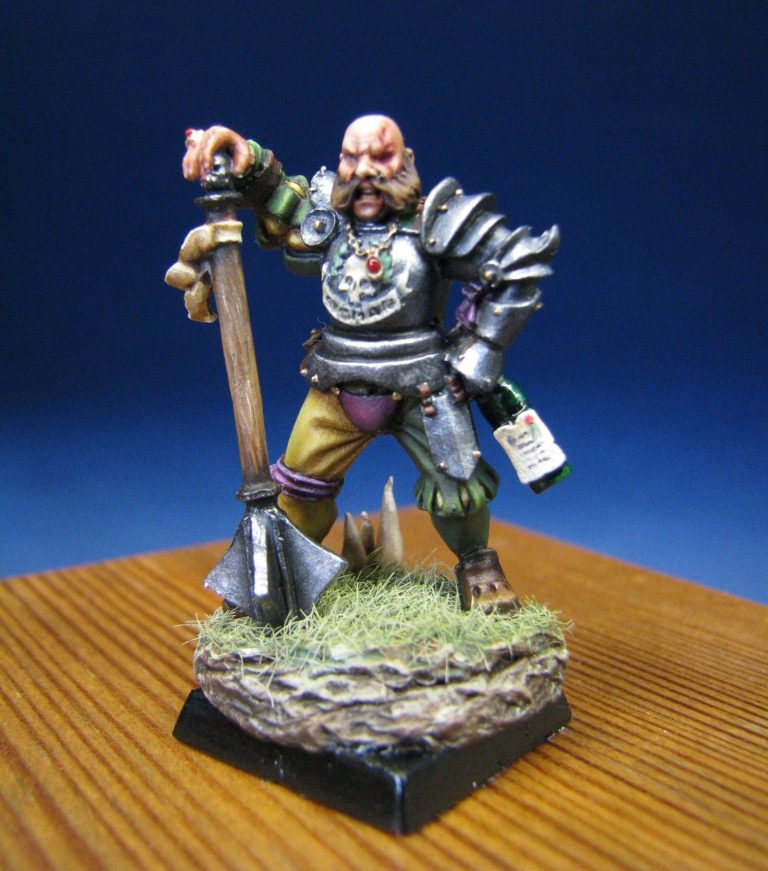
Photo #10 onwards, show the finished model on its decorative gaming base. The right hand and massive mace are balanced in place for the shot so that’s why there’s a gap between the parts in picture #11.
Final words.
Games Workshop have been at this job a long time, their sculptors are well trained in how to sculpt so that the best model possible can be pulled out of a mould, and I think that usually they get it right. There’s a lot of experience backing the production of these pieces, and I think that it shows.
There’s a whole load of reasons for painting GW models – obviously there’s some good stuff to paint, and many subjects / races to choose from. As a painter though, one of the considerations has to be that these things are so small, they make you tighten up your painting style, and neaten up what could have become sloppy on larger figures. They also allow you to test new or experimental techniques on a figure but not have to ruin an expensive piece, nor have a large figure to paint that will take much longer too.
