Smaug Arrives
28mm kit from PF Works with additional Games Workshop Dwarves
Assembled and painted in 2024
When I saw the initial release of this announced, I didn’t have to think, it was simply a case of “Please take my money”.
The concept and animation, not to mention the sculpting of the dragon – to me at least – was just a no-brainer, and I had to have one.
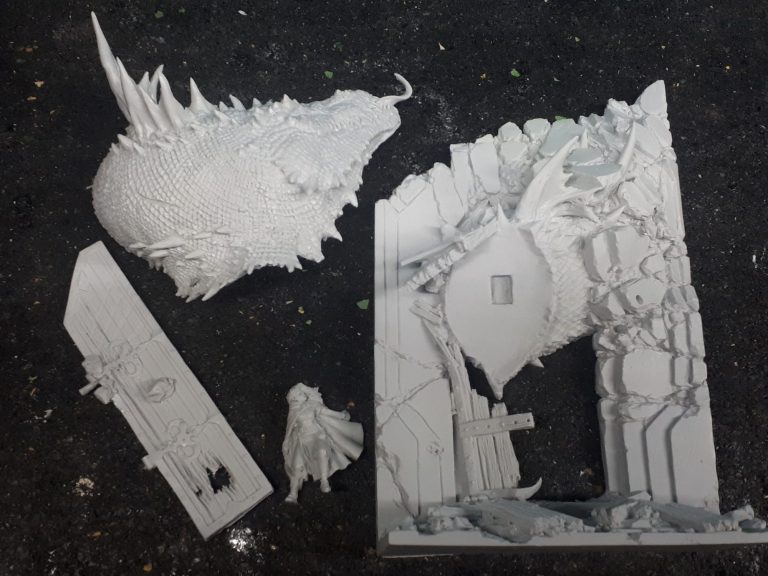
When the kit arrived, I was blown away with the quality of the main castings, although the tiny figure that is cowering to the left of the scene suffered from some mould shift, and I decided that it would possibly be replaced by something else.
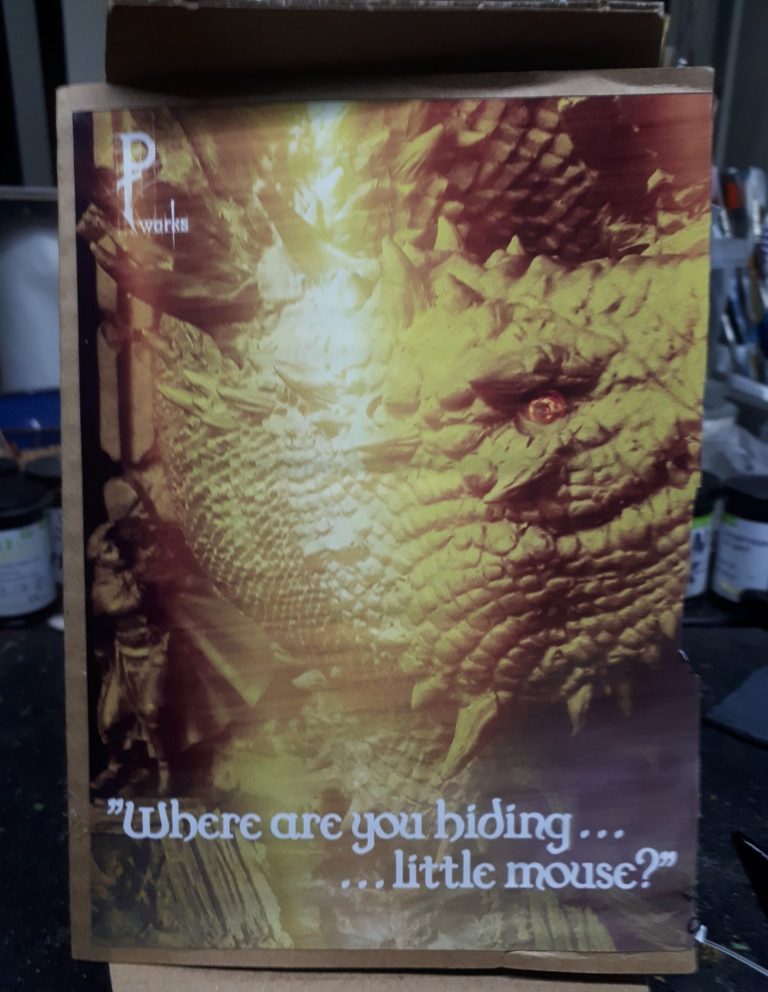
The box art is shown in photo #1 along with the parts prior to assembly in photo #2, and you may be surprised, nay shocked I presume, to find that the model doesn’t end up half finished in the next picture.
No !
In fact I had a whole host of ideas for this buzzing around my mind.
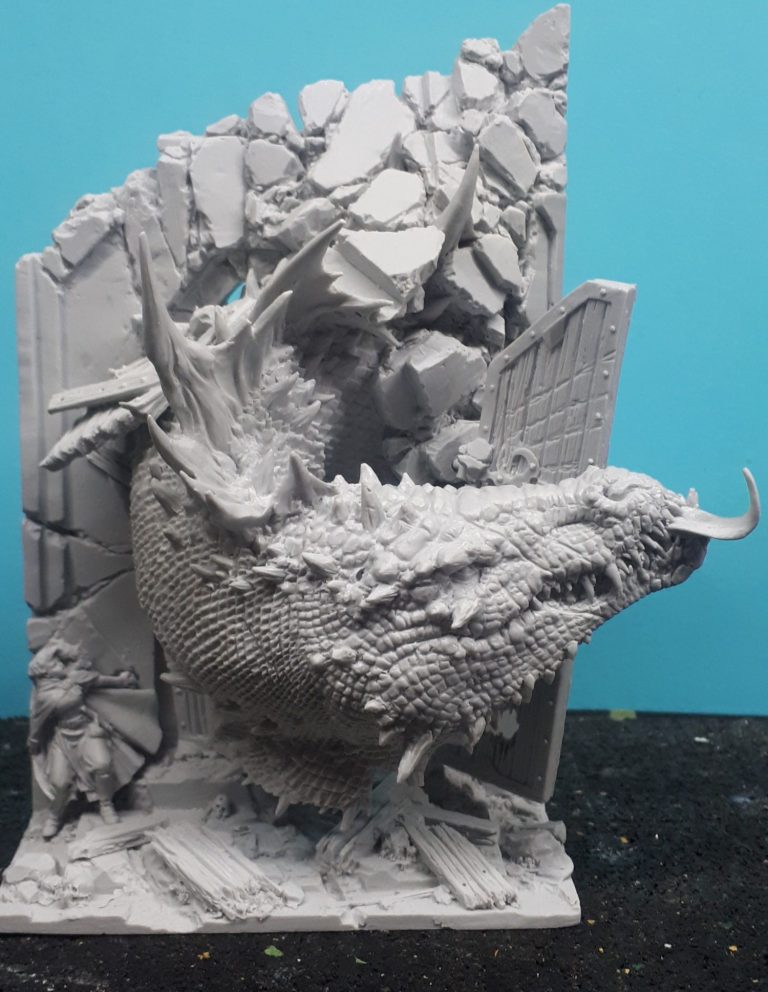
Of course I couldn’t resist using some blu-tac to temporarily fasten parts together – shown in photo #3, and doesn’t it just look superb ?
So, the ideas then…..
Photo #4 shows the idea of extending the scene out at the sides and to the front to allow for more figures to be added perhaps…..
And then I wondered if perhaps the scene could be done as a box diorama, with the onlooker being down a corridor and viewing the intrusion of the dragon.
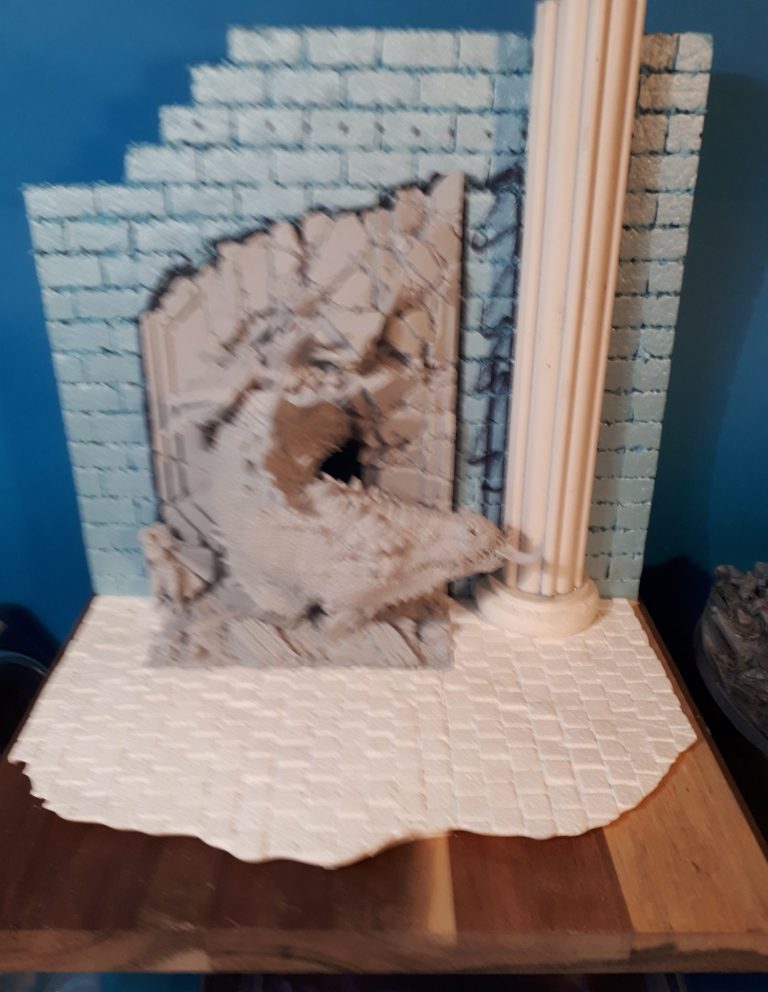
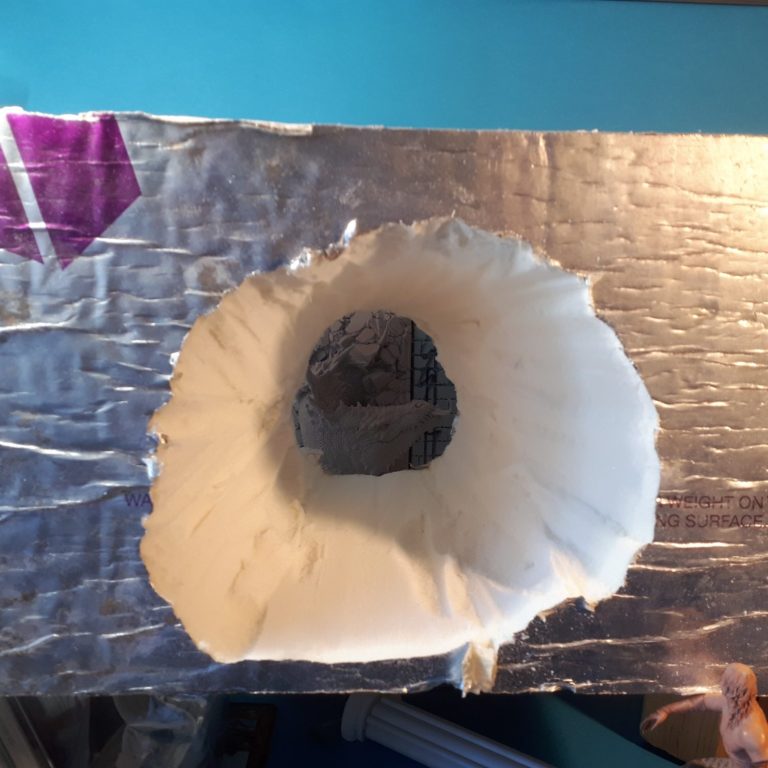
Photo #5 shows the mock-up for this, using a large piece of insulation with a hole cut out for the initial idea of the corridor.
Photos #6 and #7 show further possibilities for this plan, the addition of a larger scale dwarf mid-way down the corridor, and a half figure in the foreground – his lower body removed because of his close proximity to the front of the scene – and this would change the setting to one of Dungeon Adventurers being chased by the resident Dragon whose treasure they were trying to appropriate…..
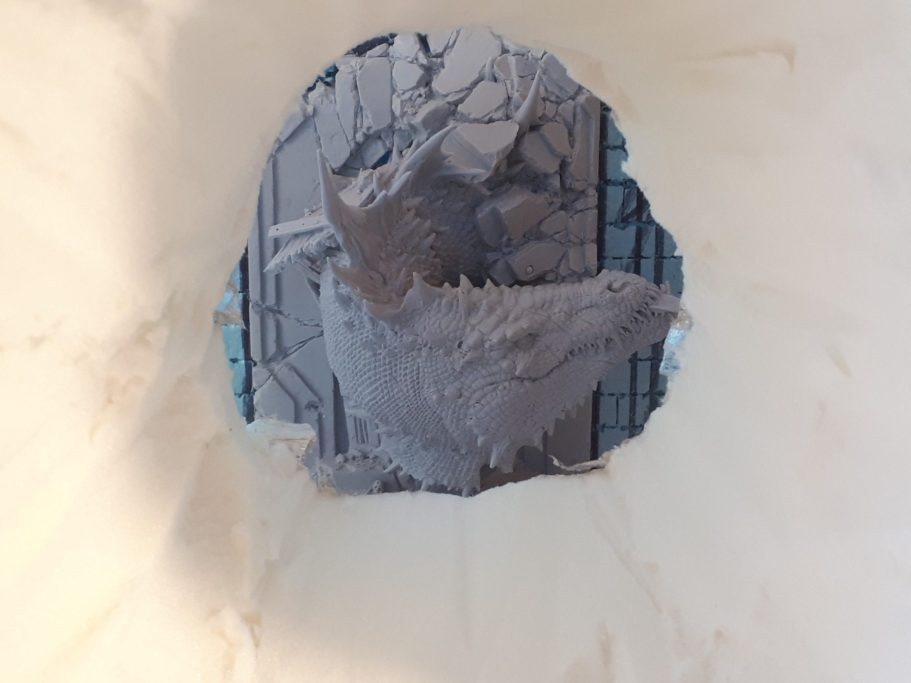
The problem was, as can be seen in photo #8, there is actually very little of the dragon breaking through the doorway that can be seen at the end of the corridor. I could add lighting to the back portion of the scene, but to be honest, I didn’t think it worked.
The idea was good, but the reality hid too much of a superb model.
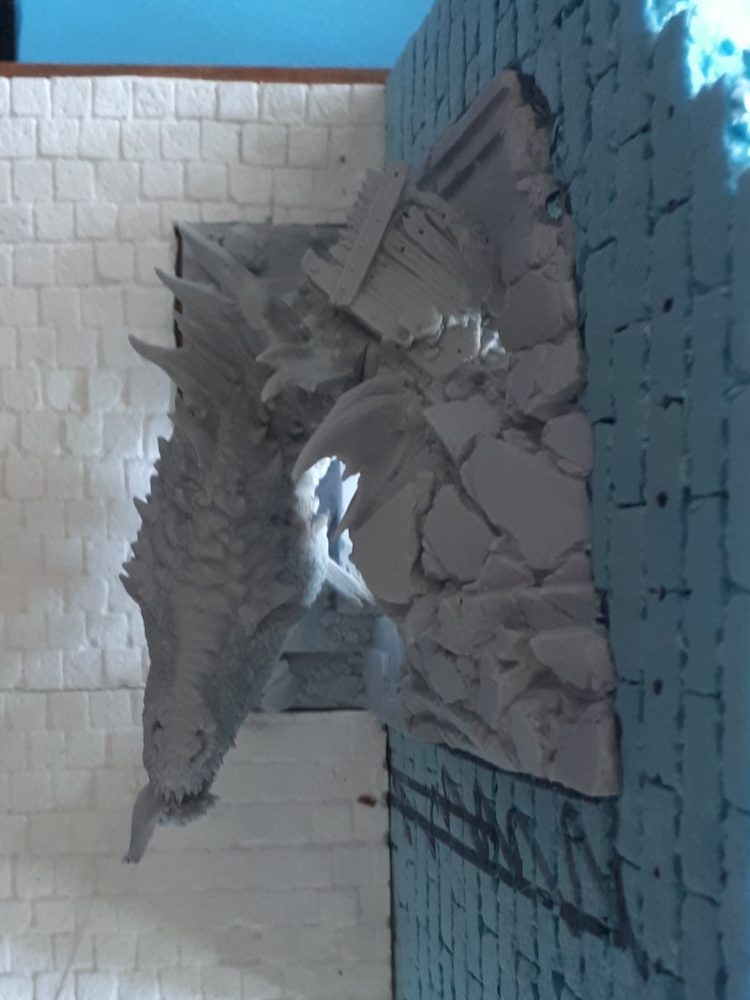
Photo #9 shows a view from above the model, albeit with the extended groundwork still in place.
Although the kit looks great from the front, this shot shows how sharp a bend there is in the dragon’s neck, and how compact the scene is, so I considered sculpting a fillet of neck so that the dragon can be facing the front of the scene more.
Again, with further consideration, this wasn’t going to work, and I really questioned the “Why” of what I was trying to do here.
The old adage of “If it ain’t broke, why try to fix it” came into play here, and I felt I was trying to improve something that didn’t need improving.
With that thought, I could only really admit that I didn’t particularly like the small female thief figure that was included in the kit, I felt that if I was going to change anything it would be to remove her – simple enough as she is a separate part – and replace her with one or more GW metal dwarves from my collection.
In the meantime, why not add some paint to the focus of the scene and the background ?
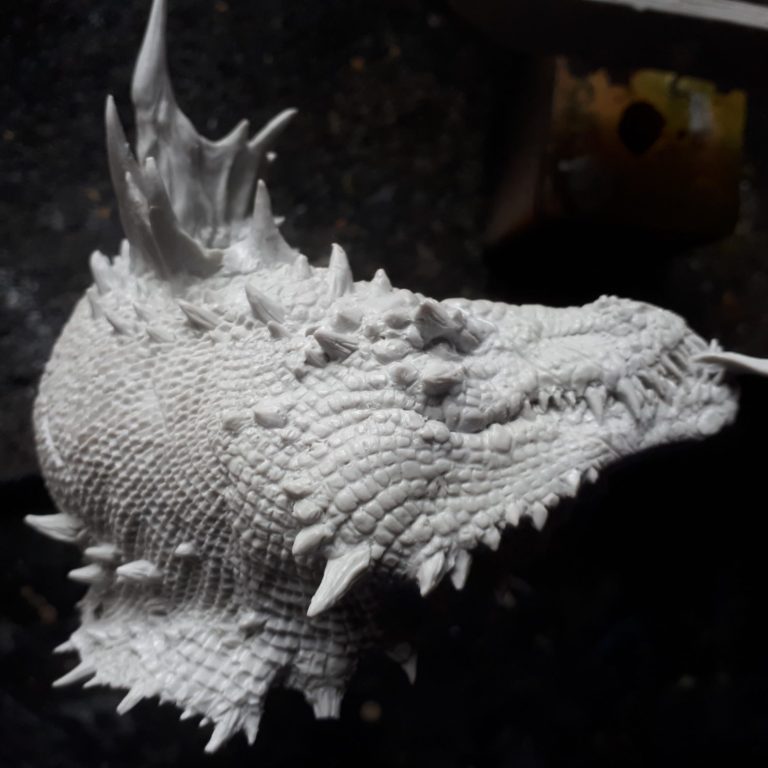
Worthy of a quick look though is the casting of the dragon’s head and neck – photo #10. Ain’t it just superb ?
On the other hand, photo #11 shows the female thief figure, and it’s not a terrible casting, the sculpting is good, but I just wanted to make a change to the overall narrative of the scene.
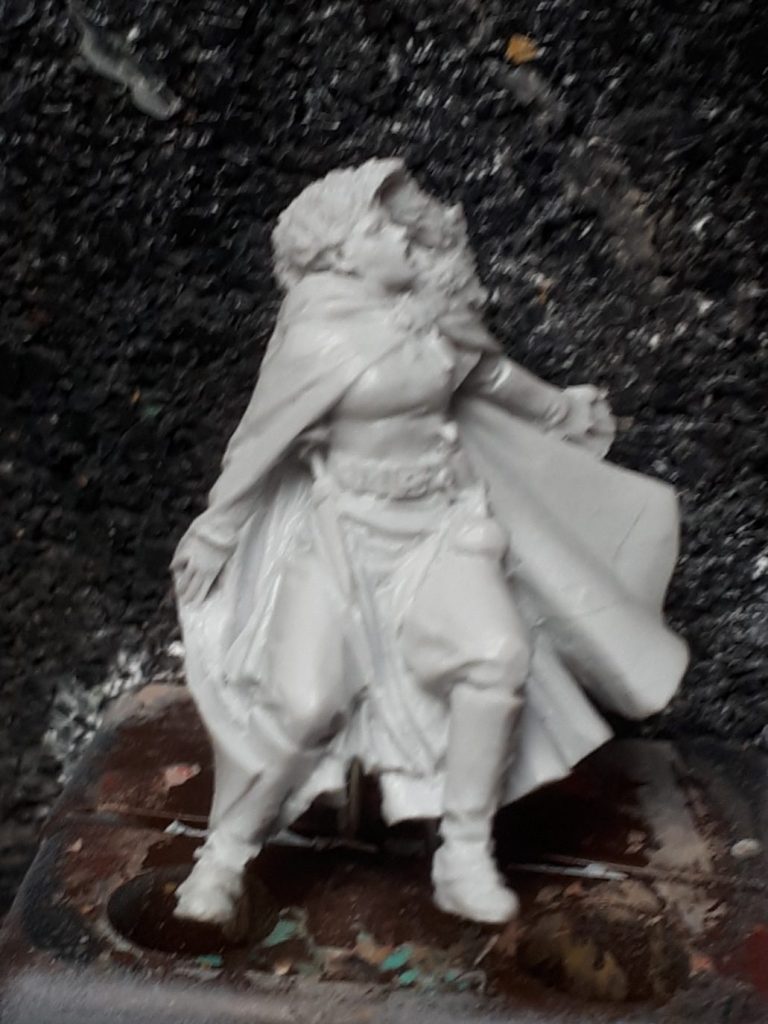
Photo #12 – so while I set one of my few brain cells to work on what I was going to do, I turned my other brain cell to thoughts of adding some paint. The background shown in this shot is where I proposed to begin, leaving off the Dragon’s head so I could access the casting easily.
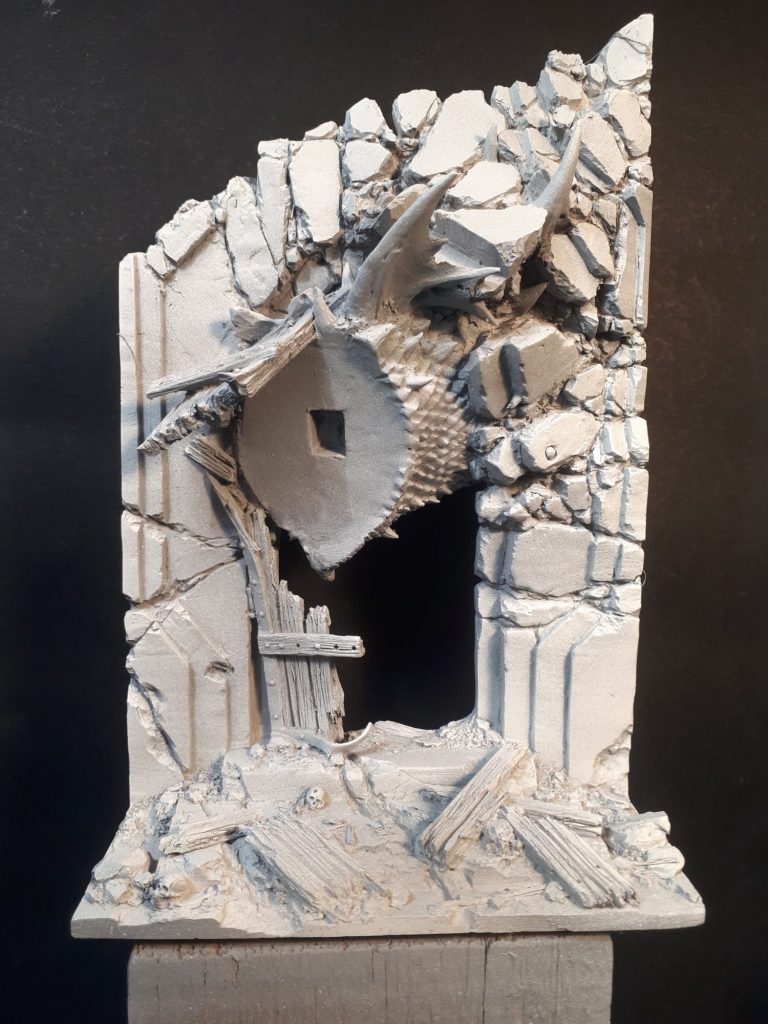
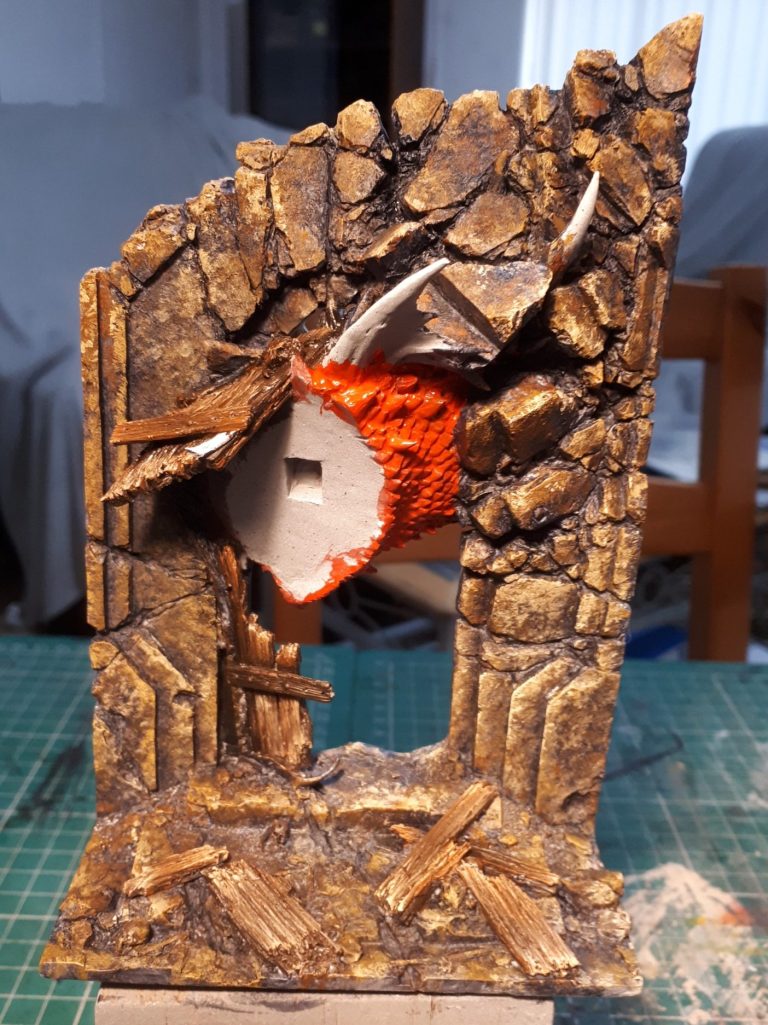
Photo #13 shows the main areas of masonry painted, I used a primer coat of Sand coloured acrylic, thinned with Isopropyl Alcohol and then added a couple of undercoat layers with more of the sand coloured acrylic, but thinned down with some water.
Once fully dry, Burnt Umber oils were added, having thinned the paint just a little with White Spirit to allow it to flow a bit, and enable me to get it into all the recesses of detail.
The excess paint is removed with a soft cloth, and then Mars Yellow followed by Titanium White is used to bring out mid-tones and highlights
To get a textured look to the stonework, I didn’t attempt to blend the colours together, stippling them on quite coarsely so that a distinct texture remained.
I’ve undercoated the neck of the dragon at this point too with MP ( Model Painter ) Crimson.
Photo #14 and time to work on the dragon scales.
With the masonry completely dry, along with the acrylic undercoat on the dragon’s neck I could make a mix of Carmine oils and White Spirit, thin enough to flow, but not so thin as to run all over in an uncontrollable manner. Imagine double cream as a consistency and you’ll not be far off.
This was painted onto the visible parts of the neck, and then put into the drying cabinet ( an old kitchen cupboard with a heating matt from a reptile vivarium in it ) to make some of the white Spirit evaporate.
A quick cuppa, maybe a biscuit or two and I could start adding some Scarlet oils to build up mid-tones and top those off with some Orange and finally Chrome Yellow.
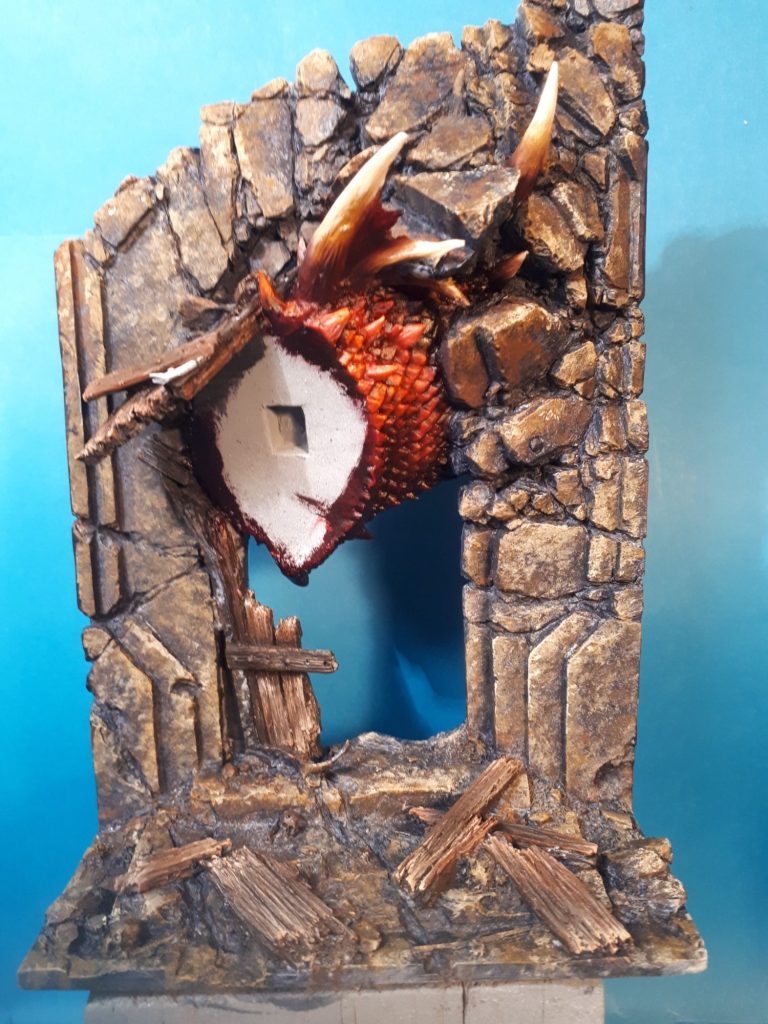
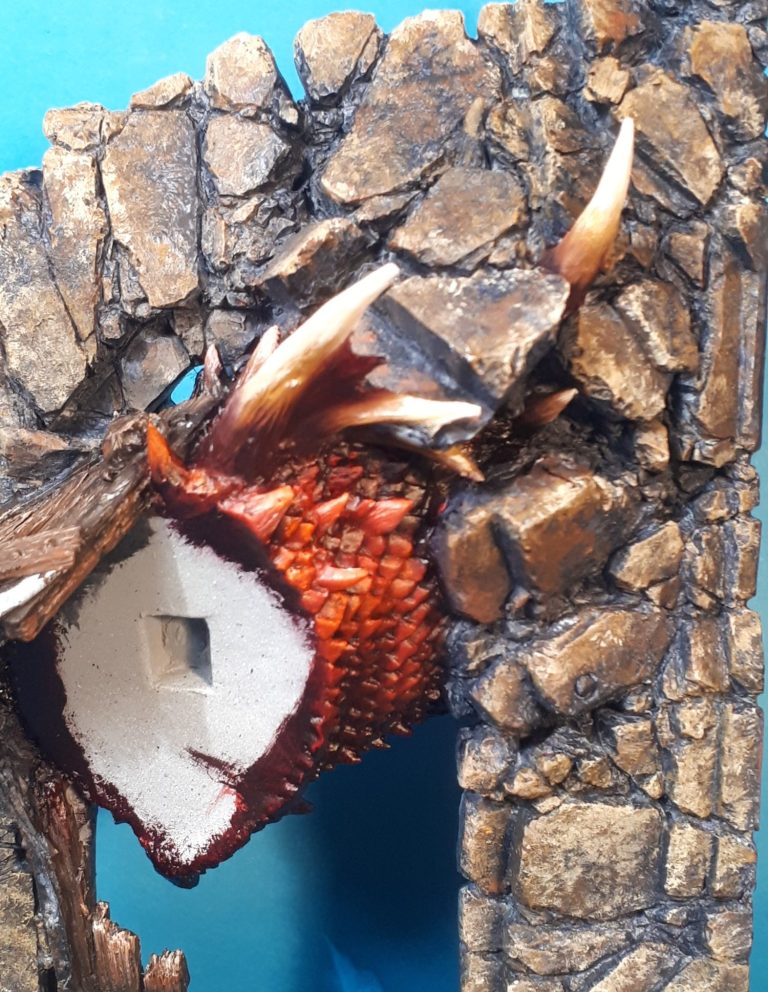
Photo #15 hasn’t focused so well on the neck, but you can see that the addition of more Carmine, Scarlet and Orange oils has built up the colours on this portion of the neck. I’ve painted the horns on the spine too, these being done with a mix of burnt Umber, Mars Yellow and some Titanium White.
The crumbling masonry is in focus though, and there’s a lot of detail that can be brought out on this area. It’s something I would return to later.
Photo #16 shows the head….. Well, this is the side that actually won’t be seen once the dragon is assembled, but it’s good for a practice to show how the colours will work and also all that detail on the scales that’s there for the painter to play about with.
I’ve got to admit that it’s a pity this side of the head isn’t seen, or should I say, is difficult to see on the finished model. Once the details of the horns and larger scales are added, it really does look good.

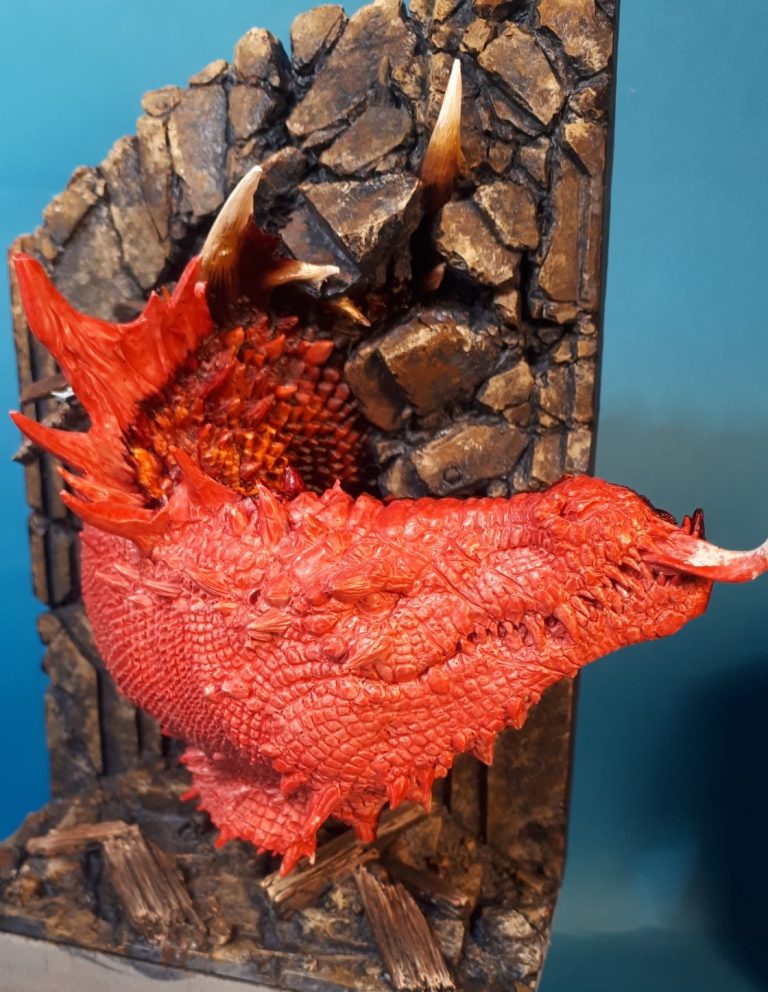
Photo #17 and I couldn’t resist tacking the head in place, even though the “hidden” side isn’t complete and this side is only undercoated.
The only thing that struck me here was that I would definitely have to extend the base to be able to do what I wanted with replacing the supplied figure with a few dwarves.
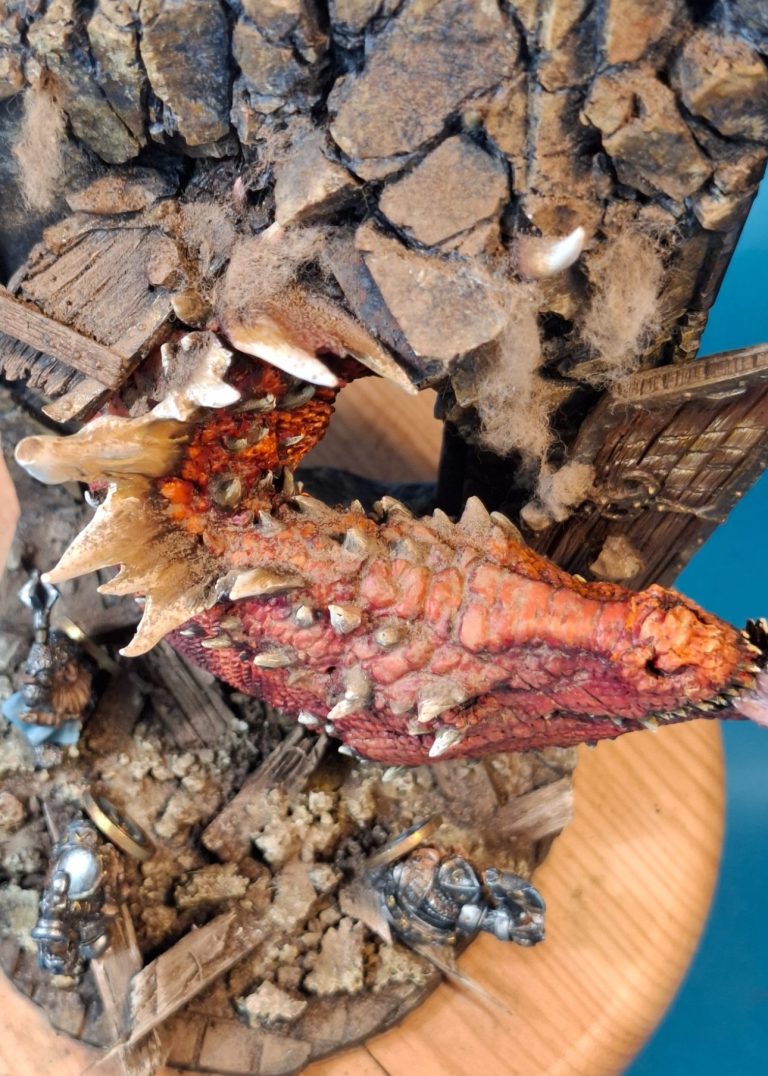
Photo #18, and a view of how close the dragon’s head is to the background of crumbling masonry. There really isn’t much chance of seeing the painted detail on that side.
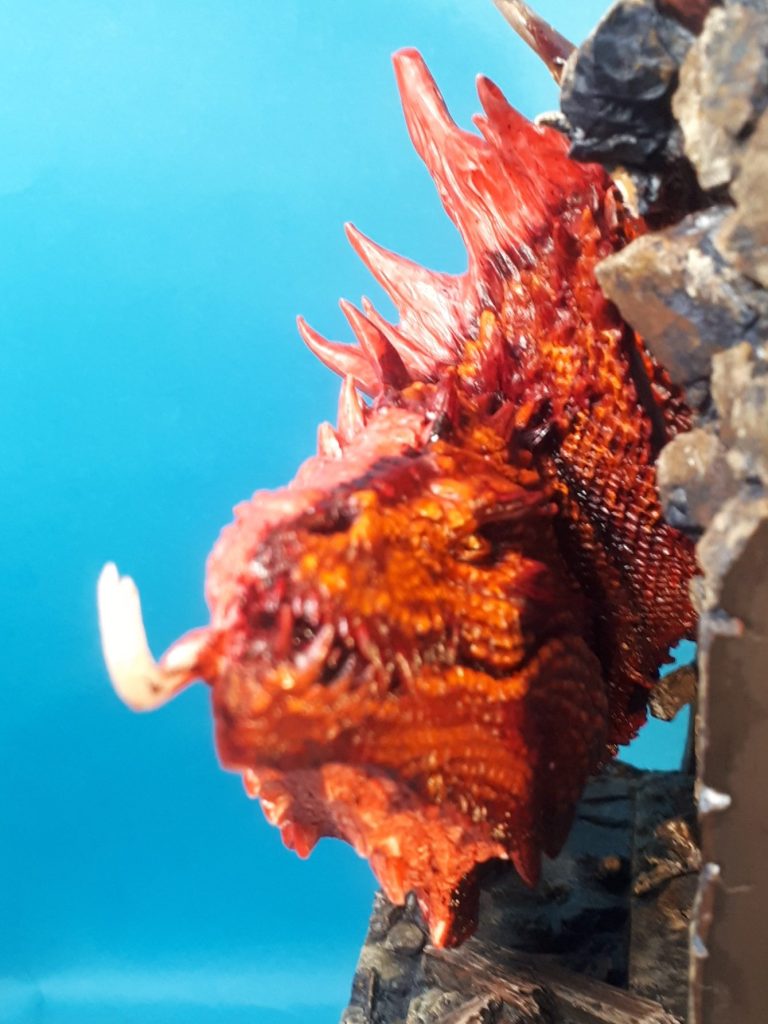
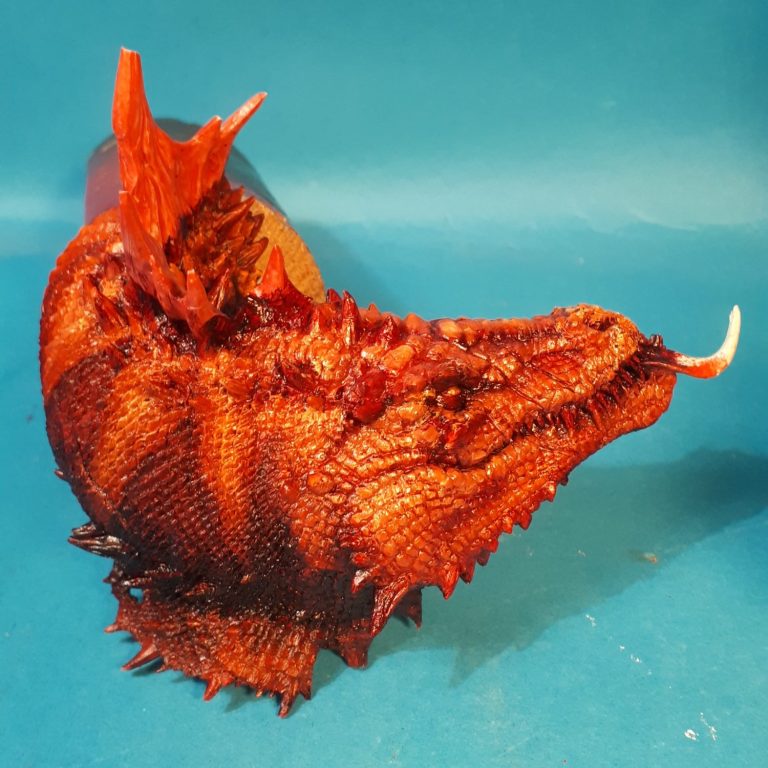
Photo #19 shows the side of the dragon that will be visible, and there’s a lot more room to add a pattern to the scales here.
I wanted to keep the red colouration, and so added darker triangles of colour to the lower half of the neck and highlighted the upper triangles with some orange.
At this stage the details haven’t really been dealt with, it was a case of blocking in the main colours and getting the pattern worked out.
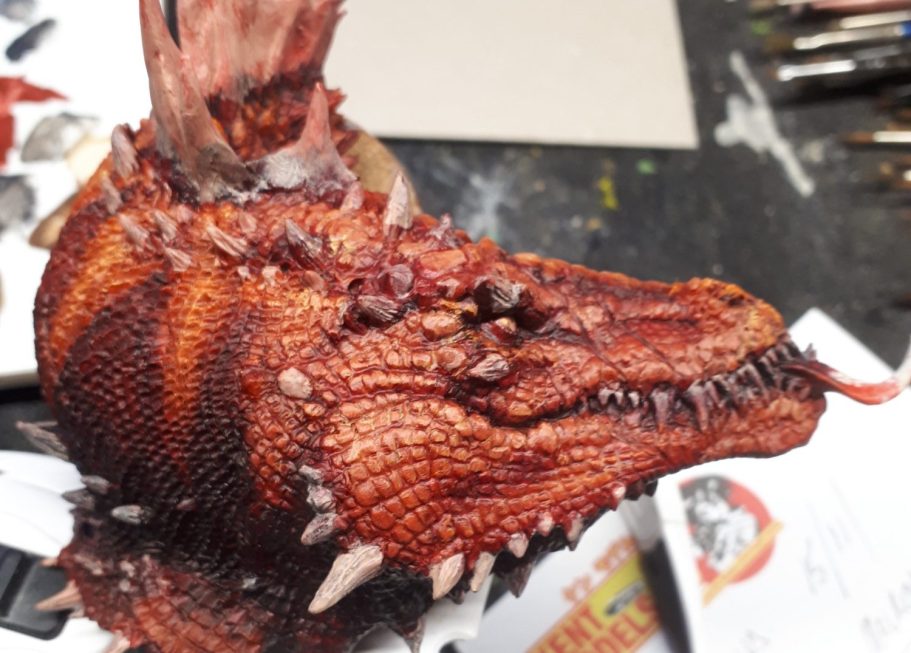
Photo #20 doesn’t look quite as eye-achingly bright, possibly because the paints have dried a little and possibly because the lighting is slightly different on my bench. These colours are more accurate to what the model looks like.
Still a lot of details to add in, the larger spines around the back of the jaw have been undercoated with a bone coloured acrylic, and the teeth and the spines along the dragon’s back will receive a similar treatment prior to adding oil colours.
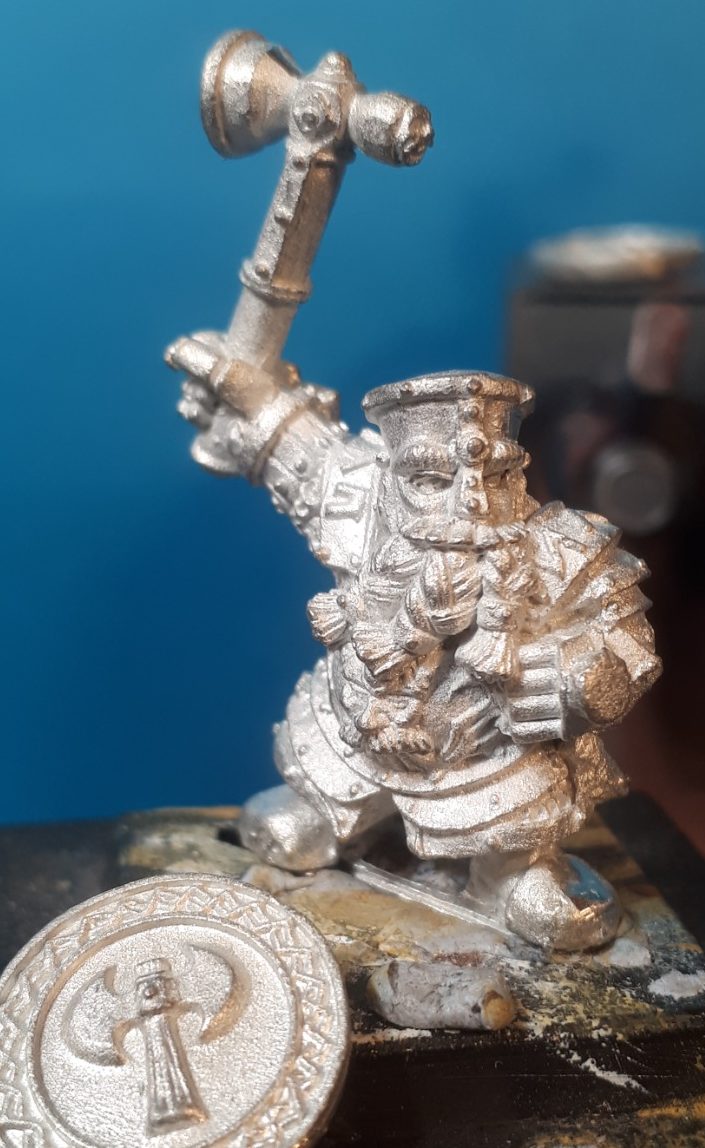
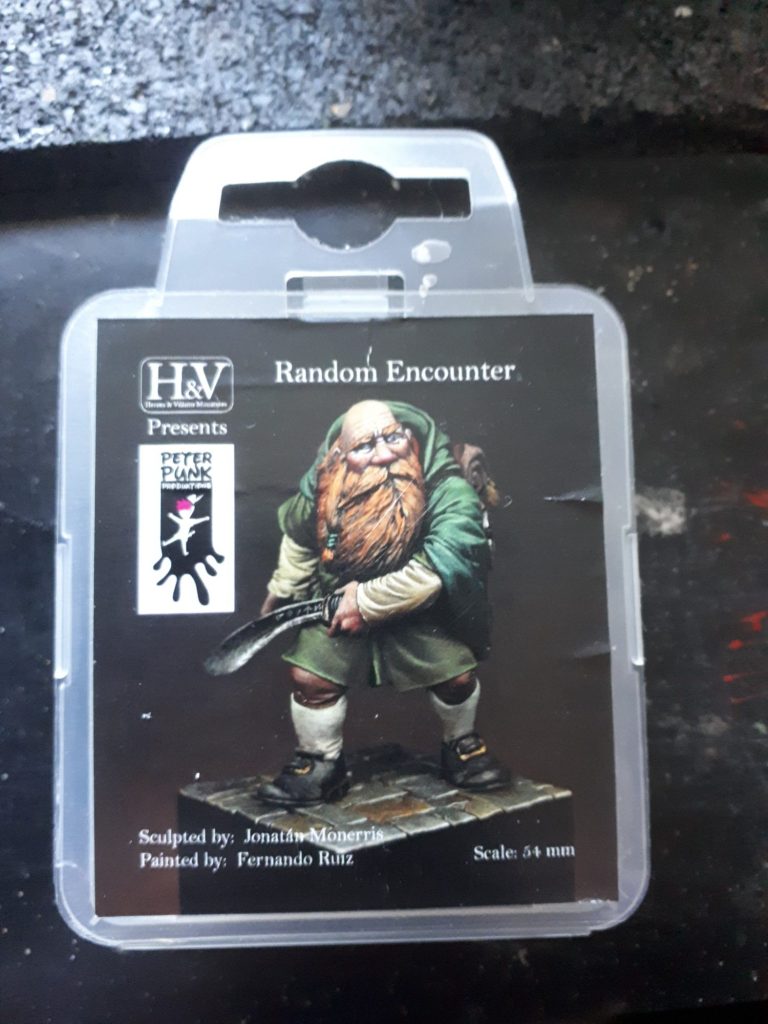
Photos #21 and #22 show a couple of dwarves that I’d selected from my stock of old GW metal pieces. I was looking for ones with well detailed faces and weapons, although the faces – as I later found out – wouldn’t really be seen all that much, as the figures will be posed running or threatening to run at the dragon as he’s making a new doorway for himself.
Admittedly, the dwarves – three of them – took a bit of a back seat whilst I was making and painting a few other projects, so for now they remained silver.
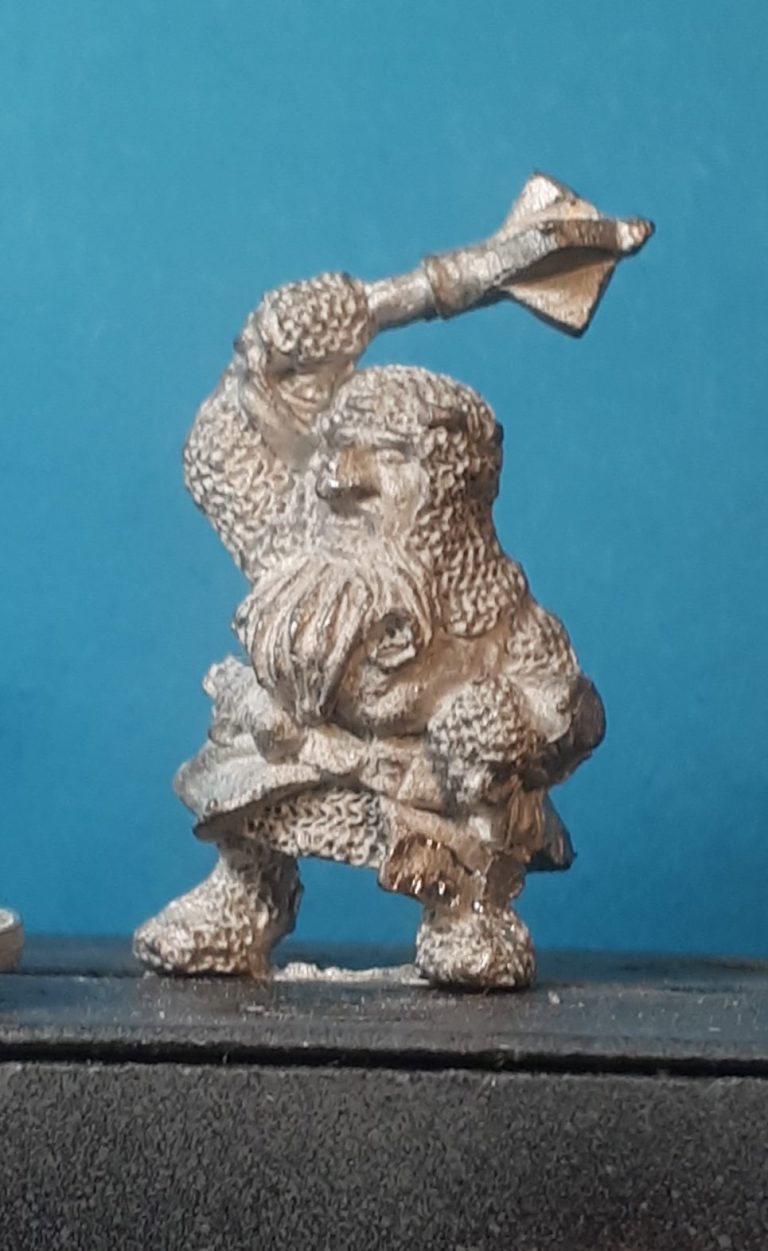
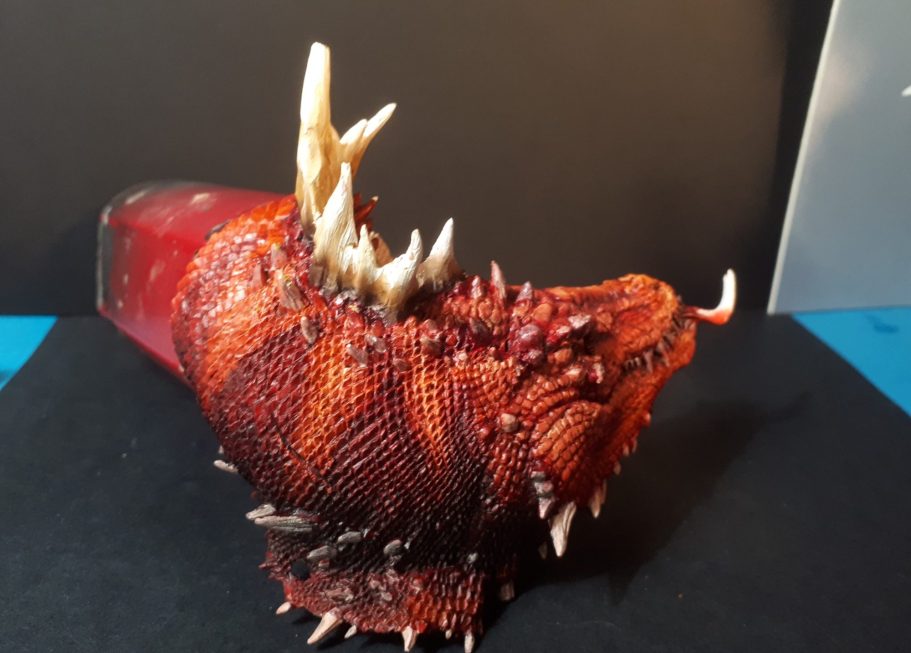
Photo #23 returns to the dragon, and all those spikes and spines are getting painted with oils. I matched the colours used on the other side, beginning with a dark brown, a little Mars Yellow over the top of that and then some Buff Titanium and finally Titanium White.
I used an oldish brush for this, painting on the dark brown to the lower half of each spine, then adding the yellow using brushstrokes from the base of each spine, and then adding the buff and white using brushstrokes from the points of each spine.
Paint is wiped off the brush after each brushstroke, so that any paint picked up is removed, and then the brush is recharged with more paint to make the next stroke.
It’s a little laborious, but once you get in the habit of wiping the brush regularly, the process speeds up somewhat.
Photo #24 shows the dragon section glued in place, and a section of flagged floor added to the front of the supplied base.
There wasn’t going to be space for the dwarves to stand, so I thought adding this section would provide a place to add them to the diorama.
I’ve painted the edge black prior to gluing it onto the base, and I need to add debris to it so it matches the supplied base section.
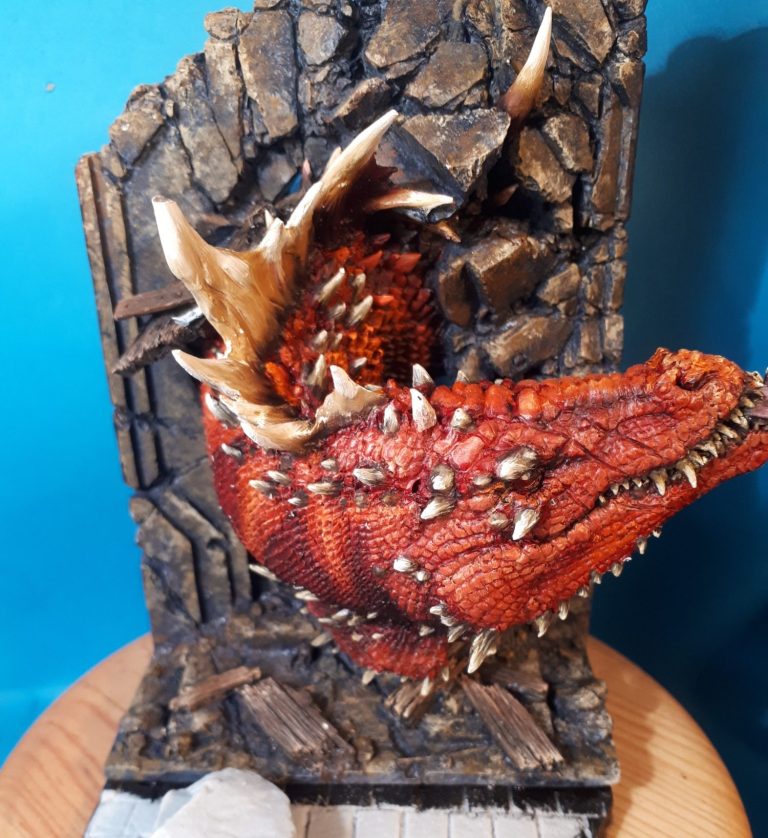
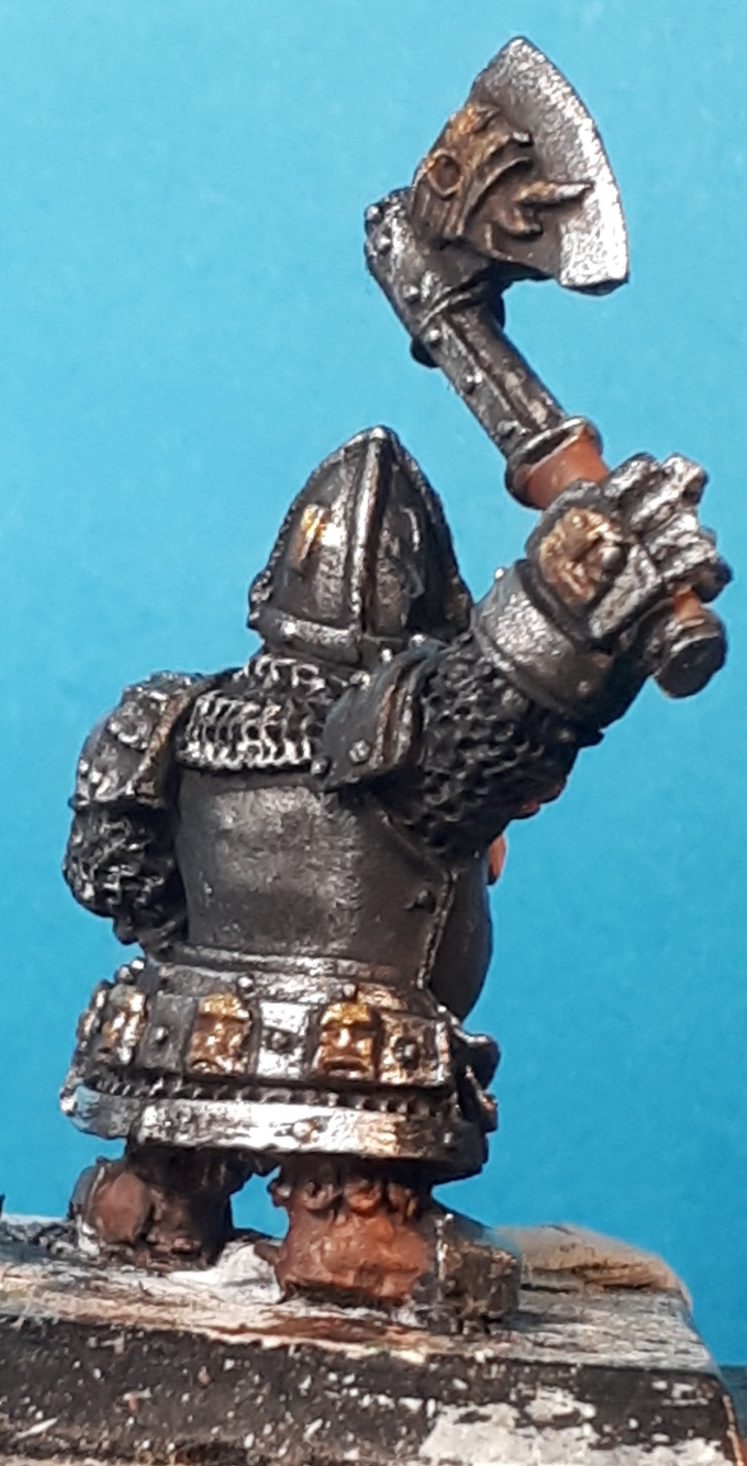
Photo #25 and #26 show the beginnings of paint being applied to the first one of the dwarves.
I left off the shield, and painted the armour with MP Black Acrylic, following that with Darkstar Steel mixed with a little of the MP Black, then just the Steel colour and finally added highlights with some Darkstar bright silver.
Once fully dry the deeper shadows and breaks between armour sections was darkened with some Mars Black oils.
The face and bard were undercoated with some MP Flesh and then my usual mix of Mars Brown and Titanium White used for the flesh, followed by the beard beginning with Mars Brown, then Light Red, Mars Yellow and finally Titanium White.
All this was allowed to dry fully and is the stage I’m up to in these two pictures.
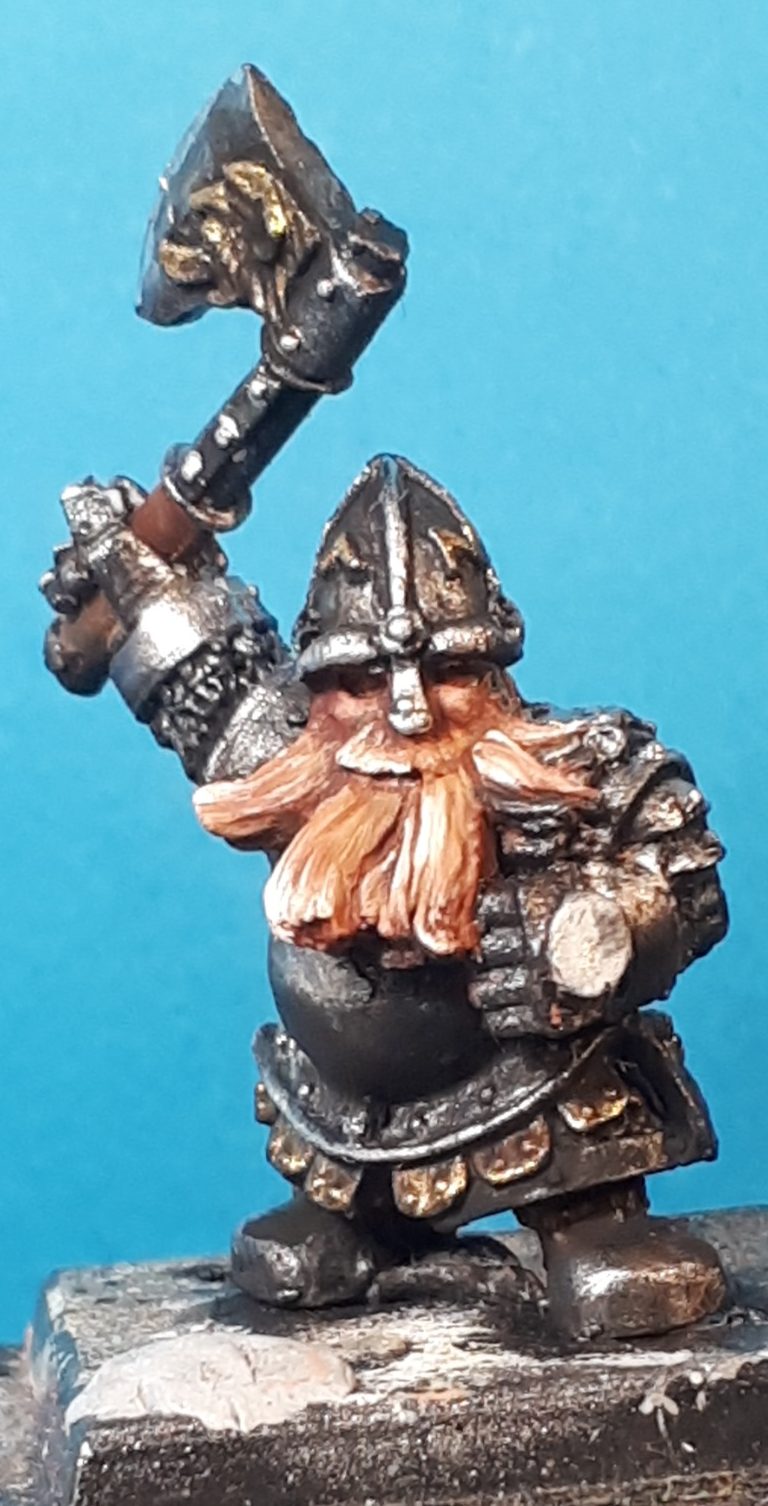
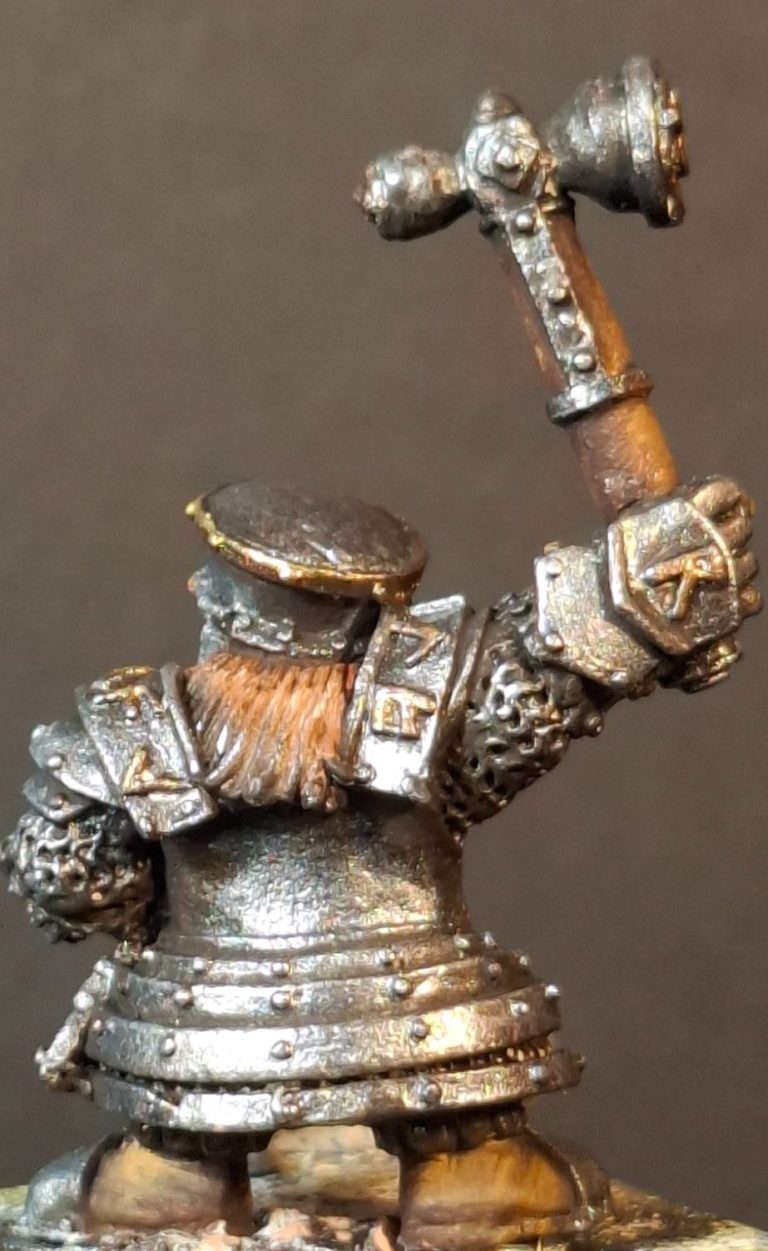
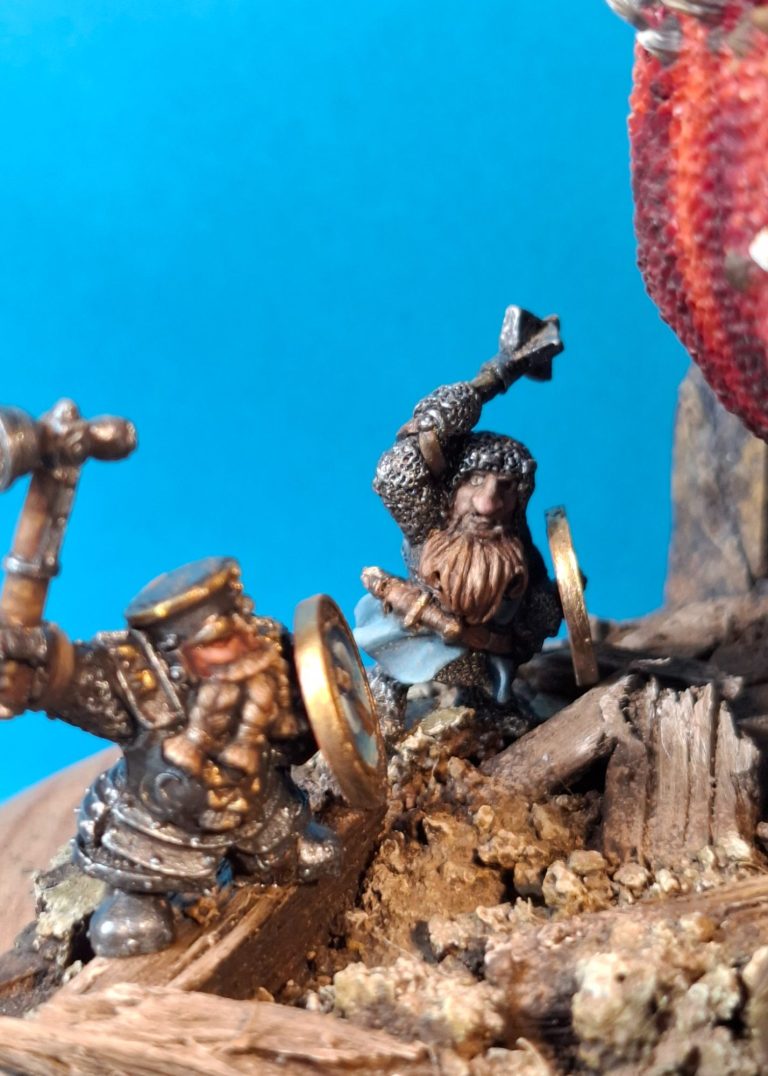
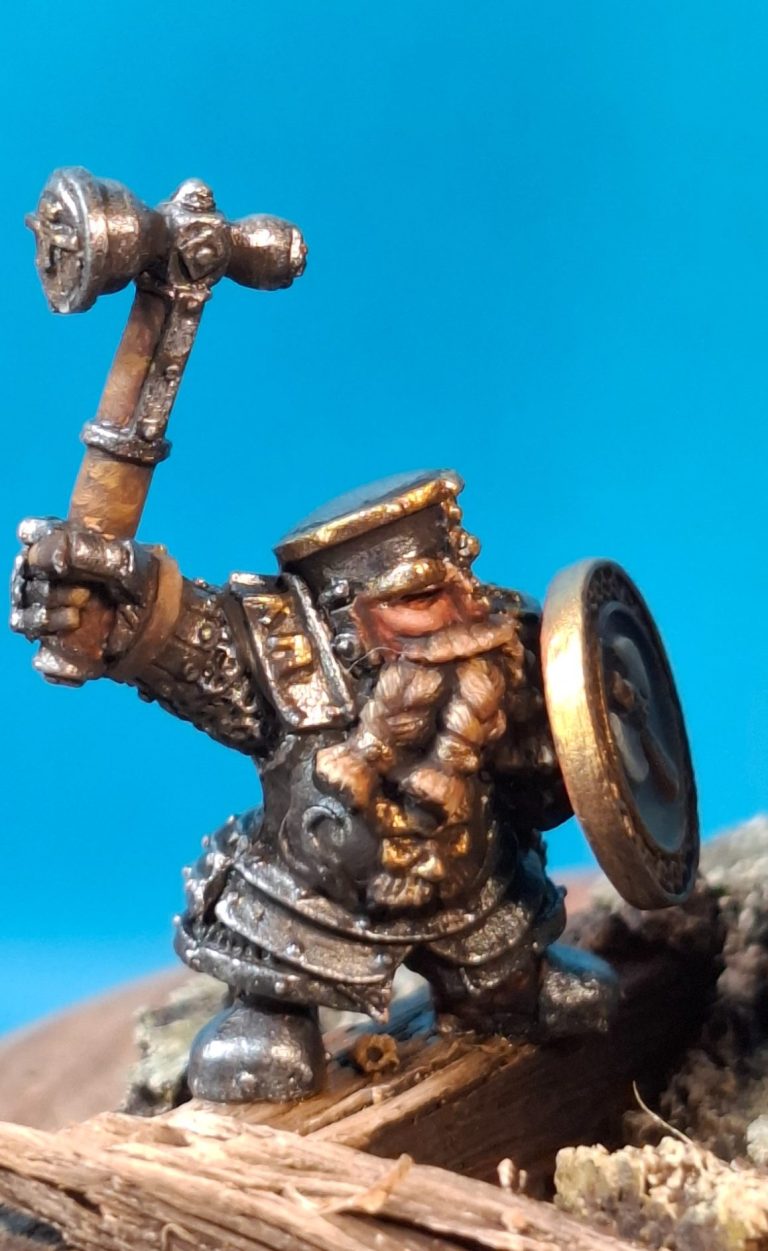
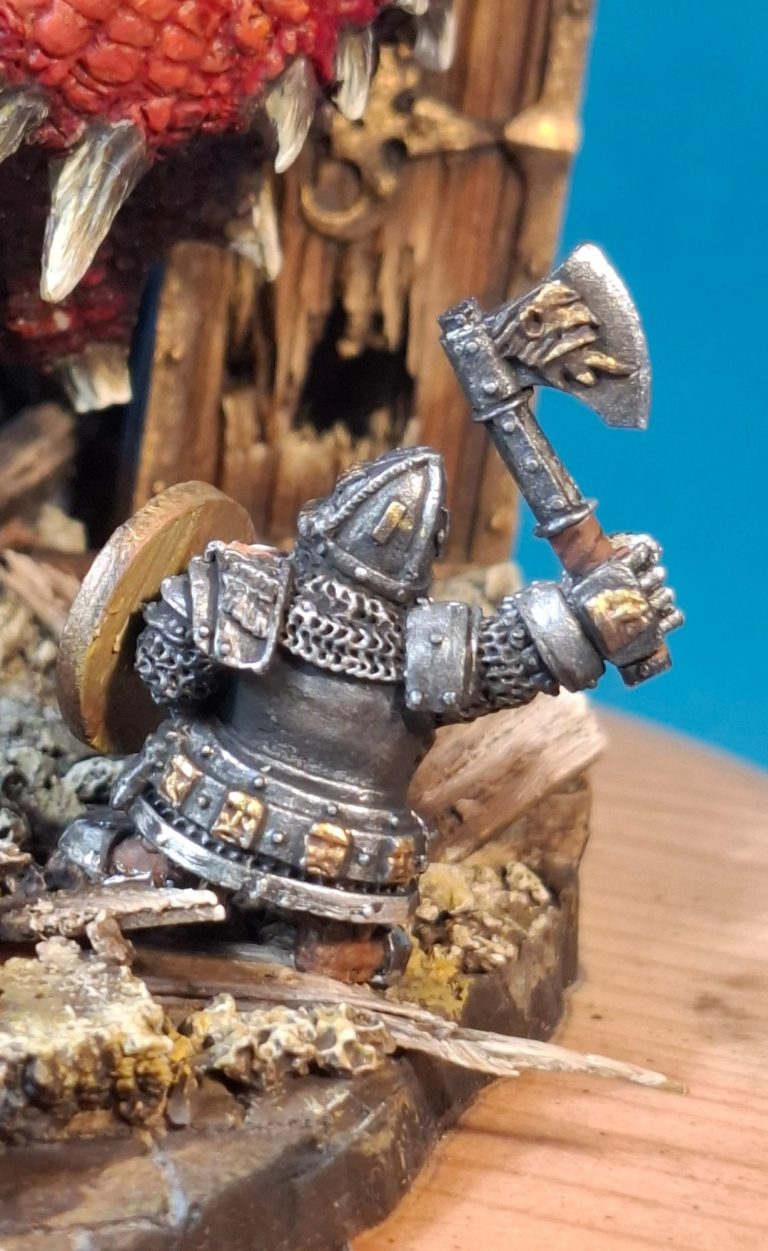
Photos #27 and #28 show the second Dwarf – a commander – with pretty much the same paints used as on the first dwarf.
The beard is slightly darker having begun with Vandyke Brown oils and there’s some Darkstar Gold been added to the decorations on the helmet, but otherwise, pretty much the same process.
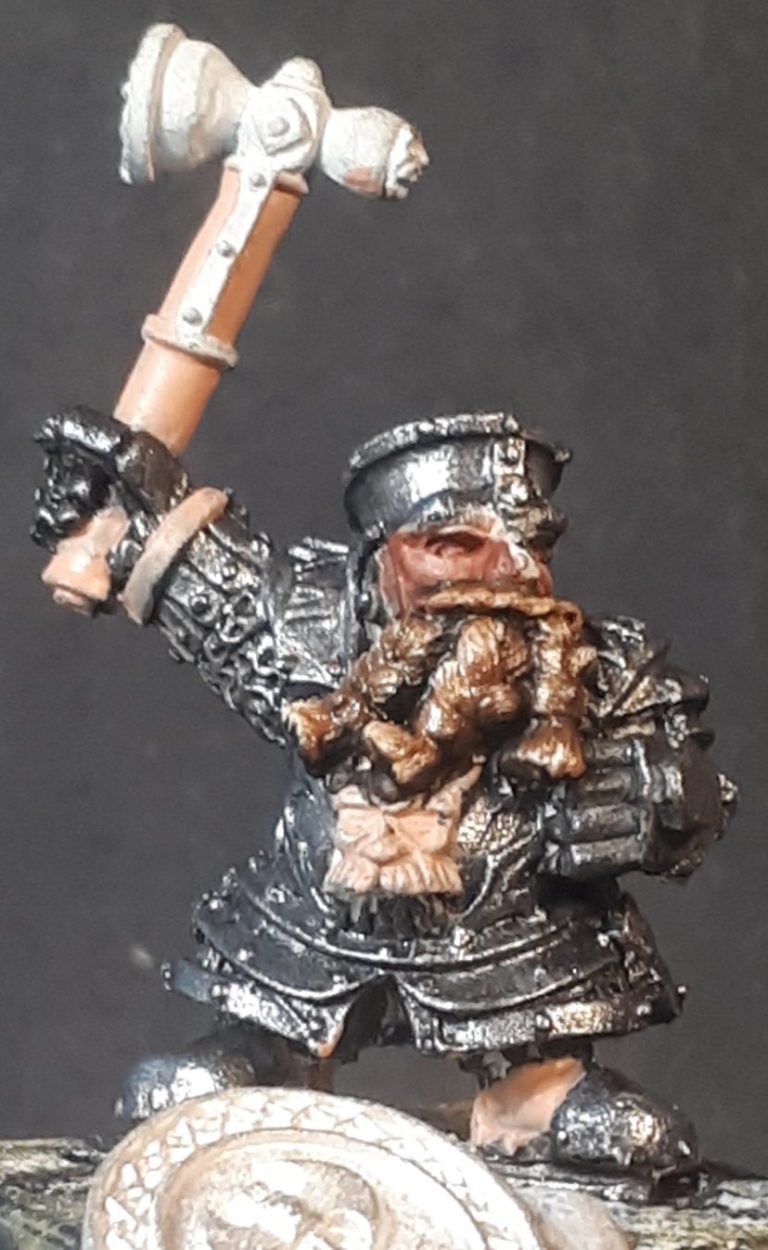
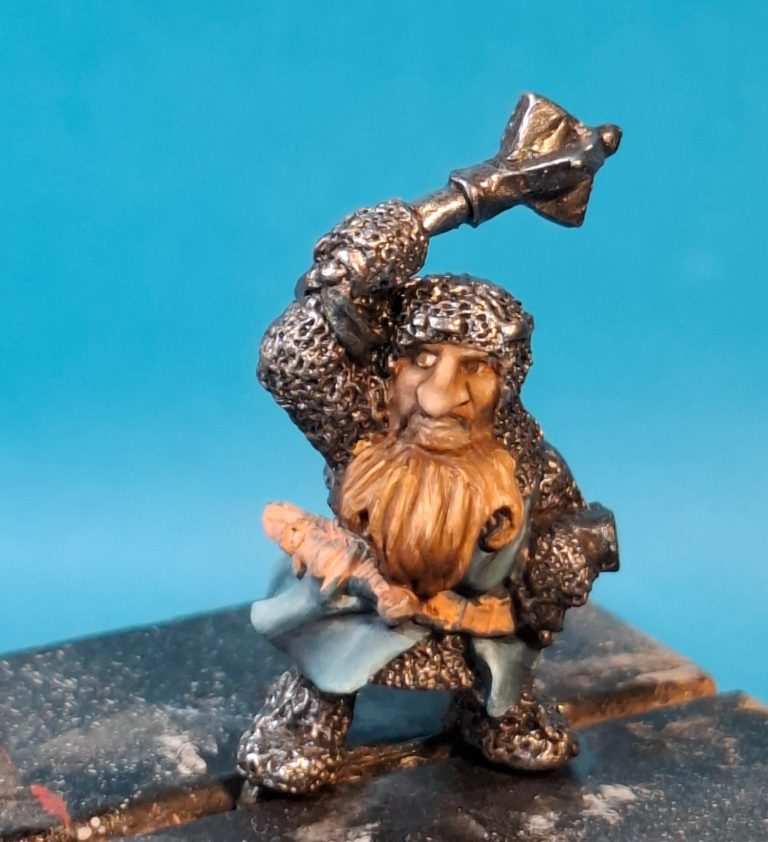
Photo #29 shows the third dwarf, again the painting was pretty simple and followed along the lines of the other two, mainly armour, with more of a face this time – a positioning problem that this would create, because I really wanted him to be visible, and if he’s attacking the dragon, then he’ll be facing away from the viewer…. I’ll think about that one later.
At this point I’d not painted the leather items – belt and dagger scabbard - but these were going to be various browns, so nothing new there.
I did add some more black to the shadow areas to darken them and make the highlights stand out better.
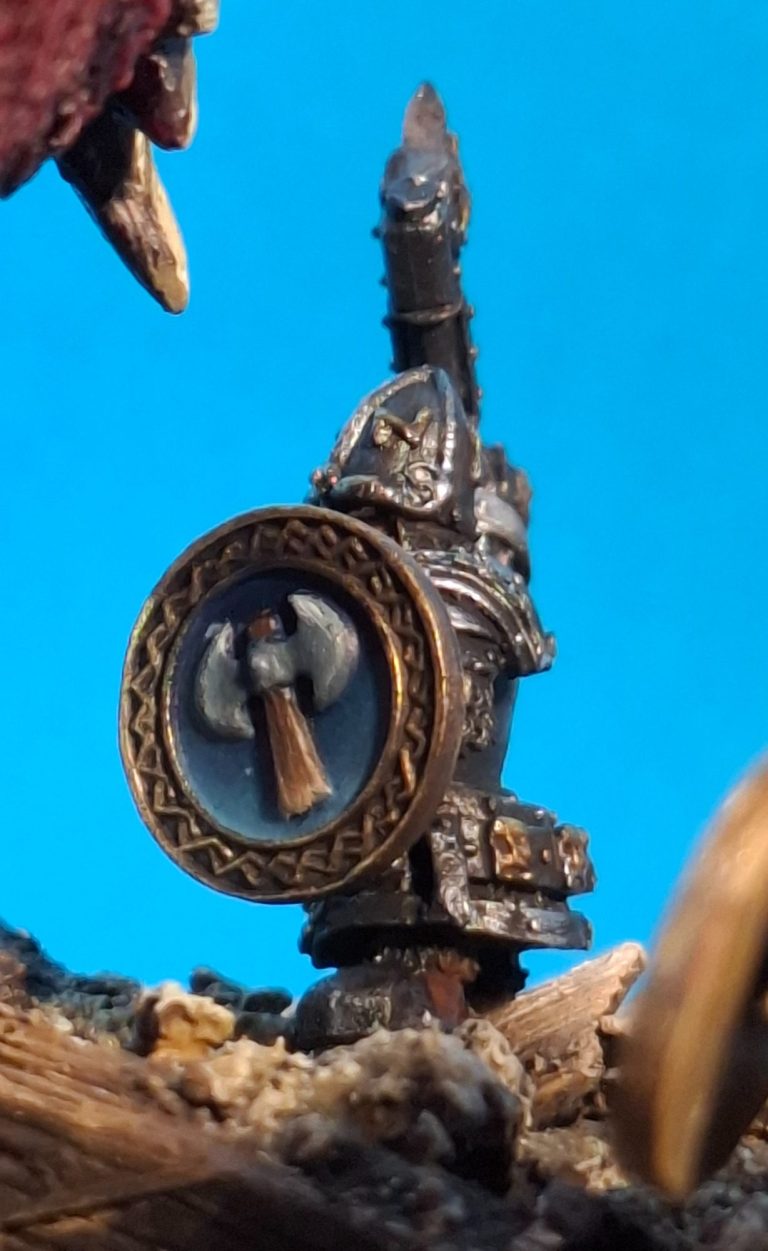
The shield – one of three – is shown in photo #30. There’s a bit of damage on the lower edge, but I left that as being battle damage from a former conflict. The Axe motif seems fitting and I painted the field behind it blue to contrast with the mass of red on the dragon. As with the faces, the shield designs aren’t going to be very easy to see, but I enjoyed doing them. On this particular shield, the gold has spilled over onto the blue at the ten o’clock position and needs to be touched back in.
The backs of the shields were painted to represent wood planking, although this can hardly be seen, but it seemed like the right thing to do.
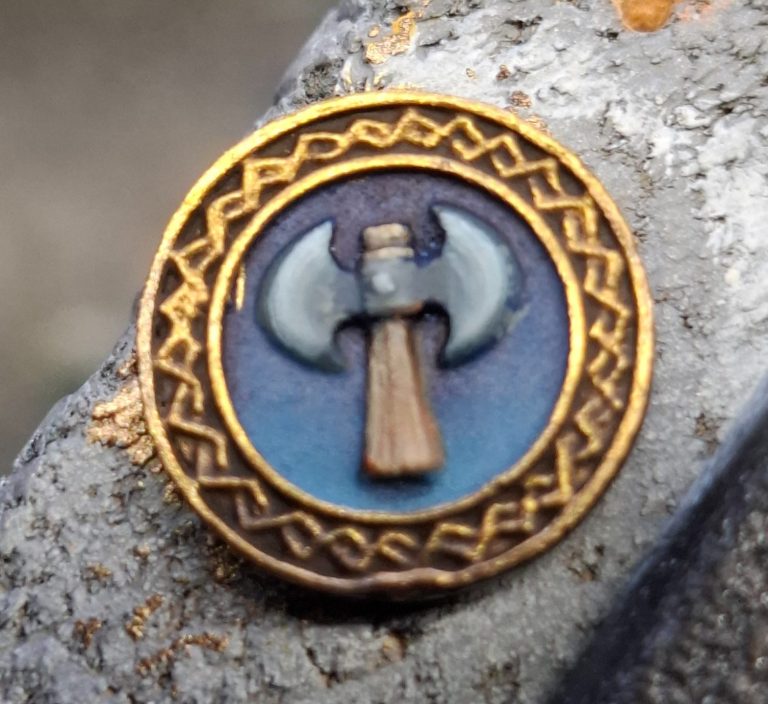
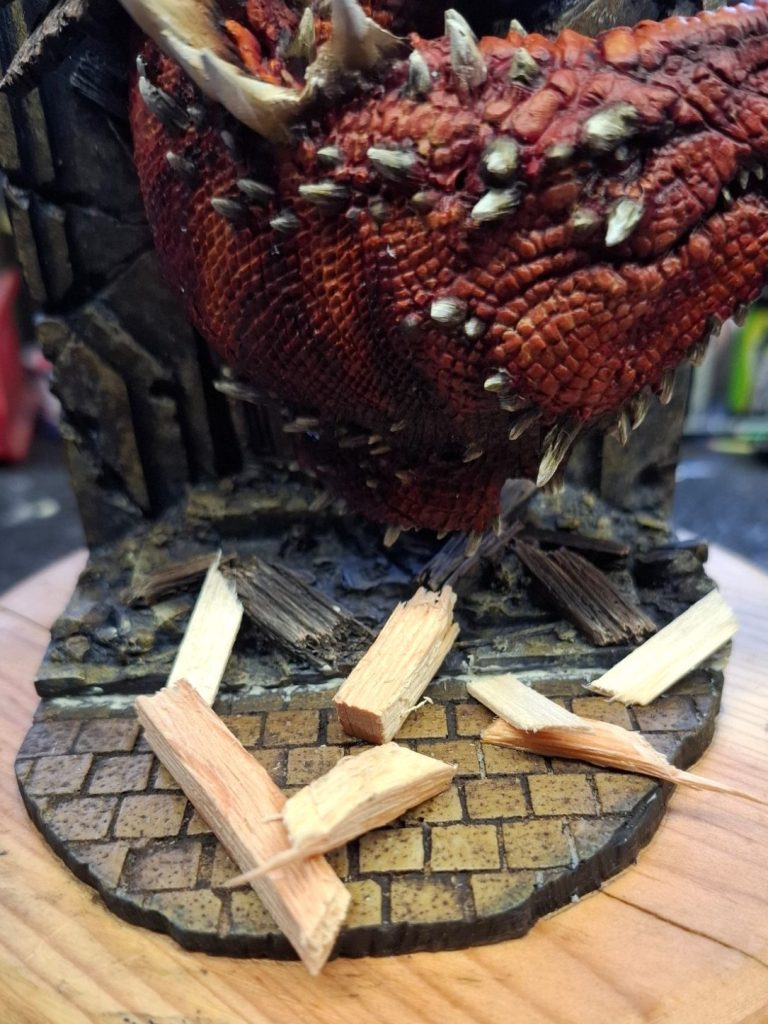
Photo #31. I spoke about extending the groundwork at the front, and having painted the flagstones with some sand coloured acrylic and then run in some Vandyke Brown oils – wiping away the excess paint with a soft cloth – I could begin adding more debris.
First of all I broke up some balsa square beam and added a little bit of grain detail with the point of a scalpel, and then tried out different positions for the pieces, keeping in mind that the three dwarves would have to be set in there too.
Shown is the final positioning I settled on, and I fastened the wood in place with some superglue.
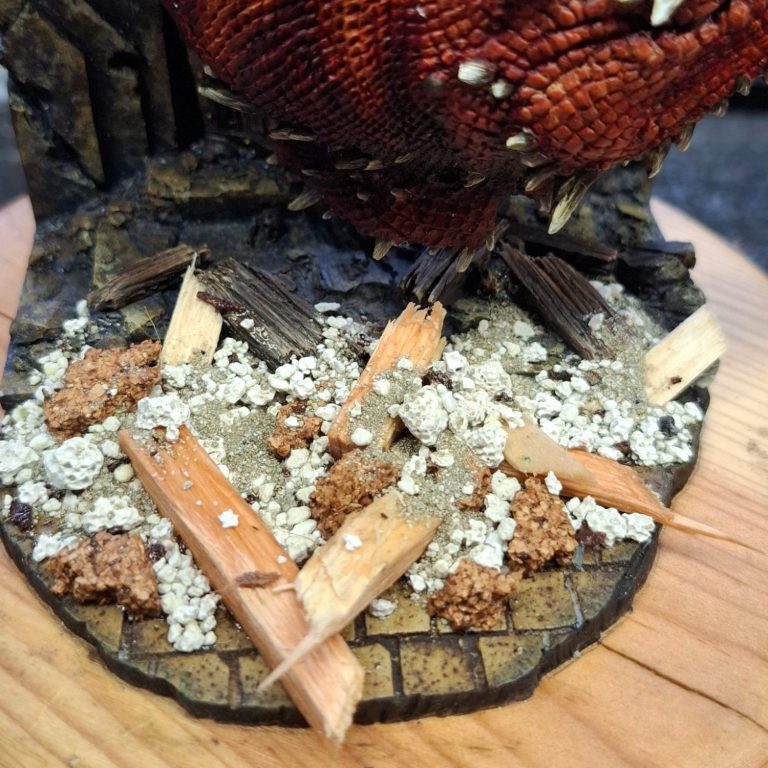
In photo #32 I’ve added a mix of Chinchilla Bathing Sand and Cat Litter along with some broken up pieces of cork sheet to the spaces in and around the wood beams. To fasten this in place I carefully dribbled on some very thin superglue, just adding a little at a time so as not to cause a lot of fumes to come off the glue.
The debris was painted with various brown and cram colours to match the walls and doors, although theoretically the debris is more from the ceiling of the room that the dragon is forcing it’s way into, as there’s way too much for it to have come from the doorway.
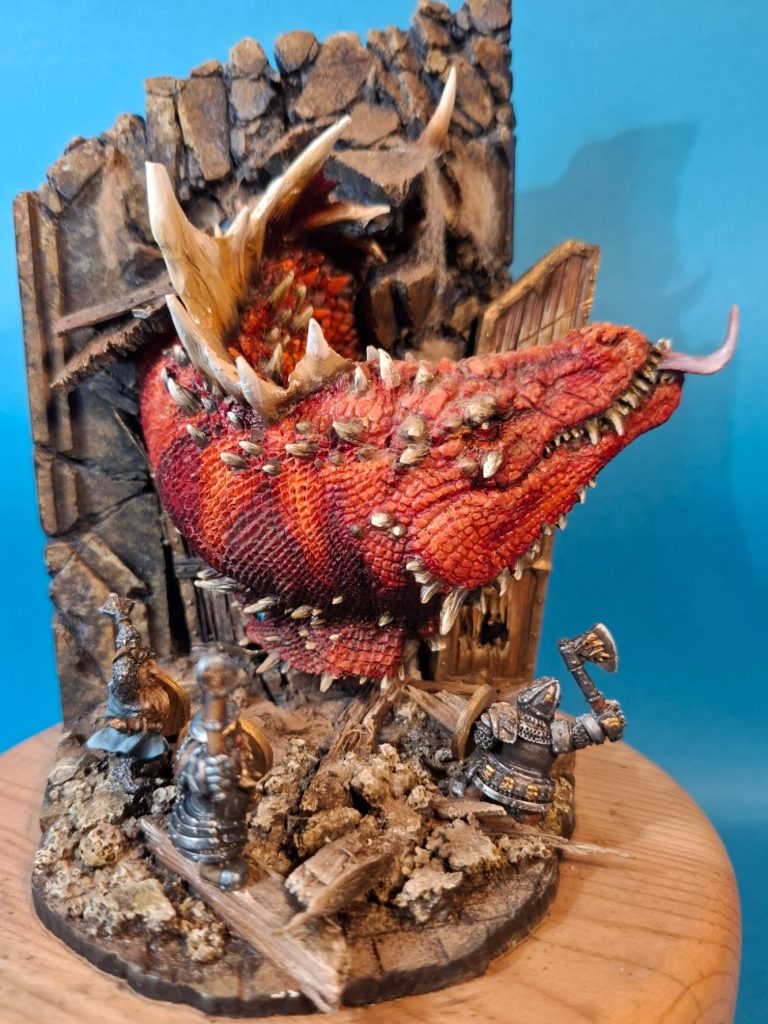
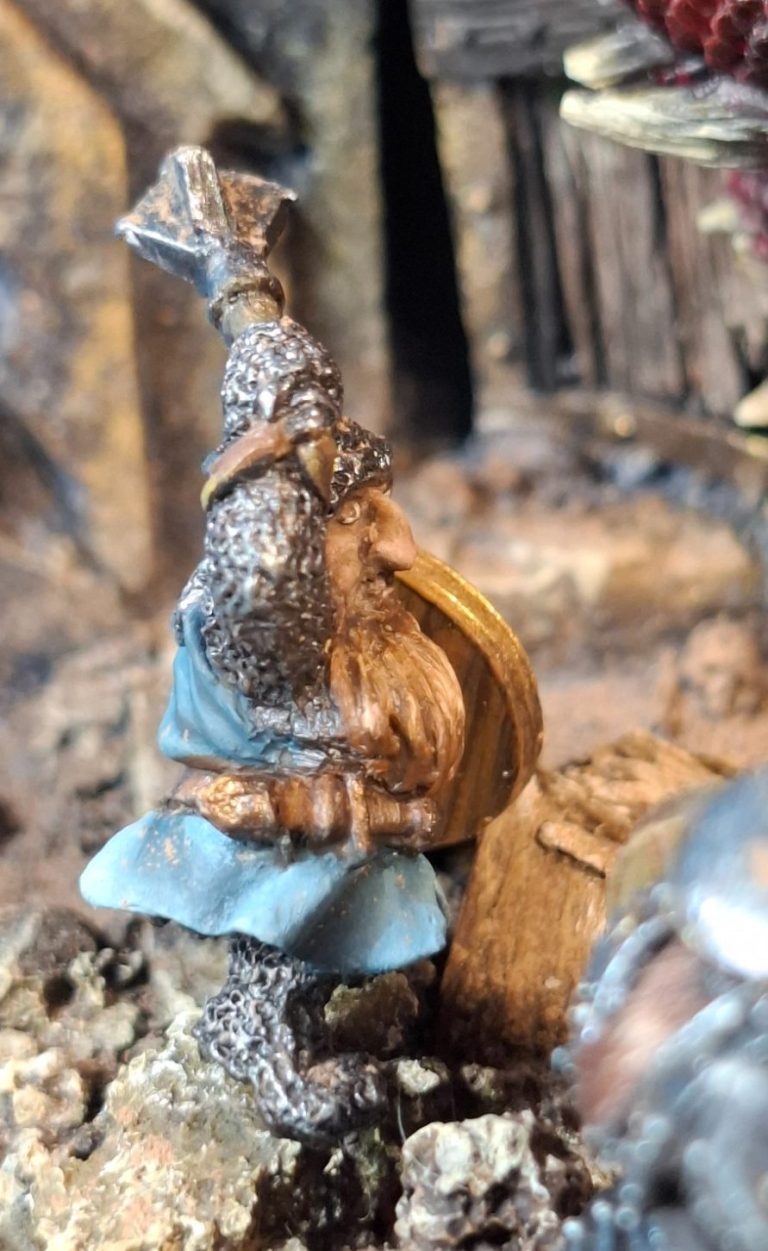
The three dwarves were positioned on the debris with the third figure looking back at the commander as though saying “I’ll need a bigger hammer !”, which gave me the opportunity to have his face visible to the viewer.
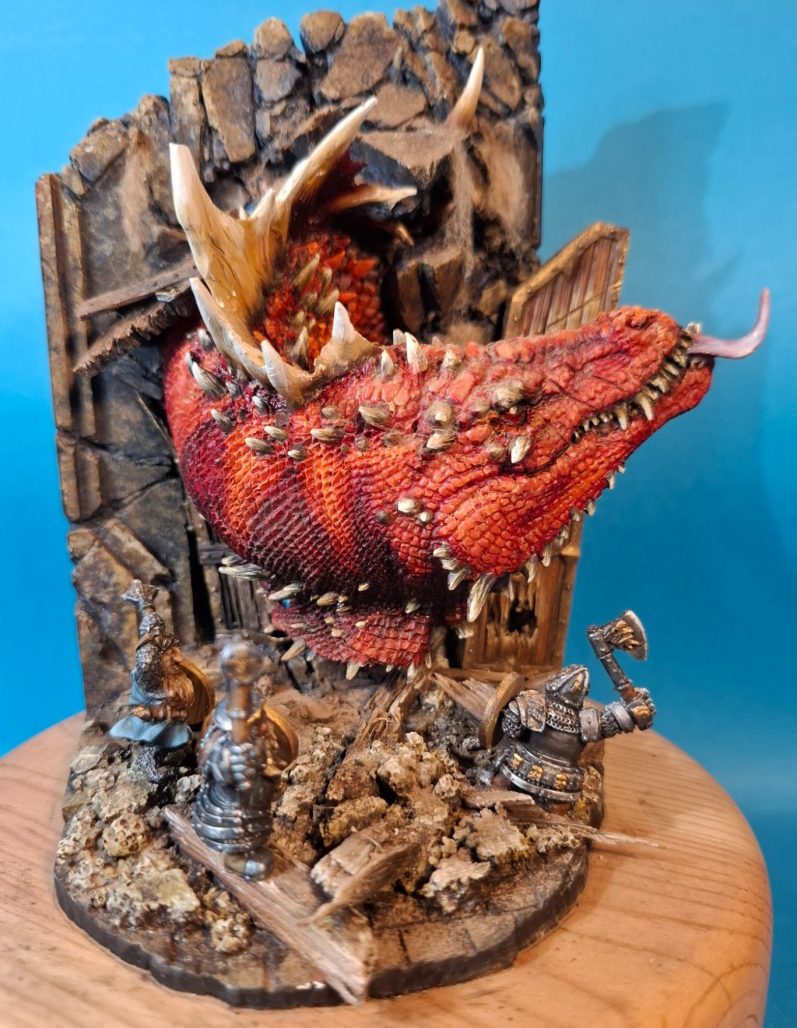
As it was, the scene looked OK, but there really should be a lot of dust. If you’ve ever seen a ceiling come down, there’s a lot of dust and grime comes with it, and so I added quite a bit of pastel dust to the groundwork ( hiding a lot of the careful painting, I admit ), and also onto the dragon’s head and back.
It kills a bit of the brightness of the red on the upper areas, but there’s no way he’s going to remain clean breaking into a building in this way, so the dust is necessary.
I wanted to add some dust as it cascades down from the cracks in some of the masonry, and tried several different ways of colouring cotton wool to represent this.
I ended up brushing more of the pastel dust into the cotton wool, then stretching it out and gluing it in a couple of places on the wall.
I’m not convinced that it works as I wanted it too, but it looks OK I think and can be seen in some of the finished shots.
Final thoughts.
This was quite long-winded, in fact I think I started painting it in February 2024, so it took 13 months to complete, albeit in amongst other projects.
As far as the kit of the dragon and doorway go, it’s a really great sculpt, very cleanly cast, and with superb detail.
I enjoyed it immensely, and adding the GW dwarves took me back a few years to when I painted a lot of the old GW metal figures.
So, highly recommended for this kit, I’m sure that folk will come up with some interesting and different ideas of how to exhibit this and what to add to complete or enhance the scene.
On it’s own, with just the little thief in place, it’s still a great piece, and would be OK to leave like that, but the dragon just sparks the imagination so much…. Well for me at least, and I’m sure that it’ll do the same for quite a few other modellers.