
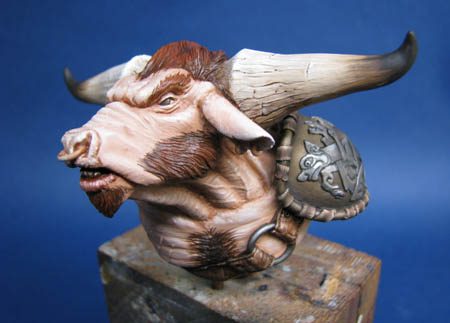
The Minotaur
1/10th scale resin bust from Elan 13 Miniatures
Painted in 2004
If you’ve already read the article about the Minotaur kit from Pegaso – “The Minotaur Attacks”, then you’ll have an idea of the legend behind the Minotaur and the story of it’s creation.
So I’ll not bother repeating it here.
Like a lot of Greek myths, it’s a very good story, and I really enjoy them. I recently read the books by Stephen Fry and his take on the myths, and he does manage to bring them to life with some explanations of the stories and details of those involved.
There’s a lot of violence and cruelty, and some amount of sex, but let’s face it, all that makes for a good yarn.

Originally sculpted for The Basement Forum as an embryonic miniature company, when the Forum closed, rob Lane took over the handful of busts and folded them into his range of miniatures sold under the Elan 13 banner.
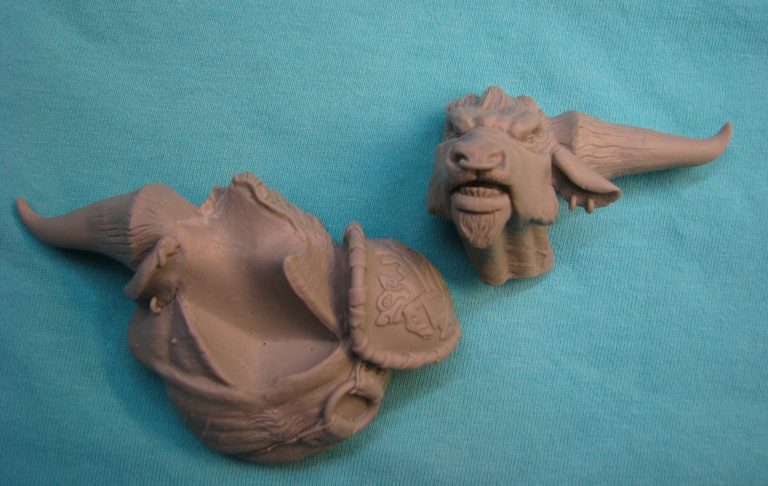
The bust is sculpted by Chris Clayton, and although relatively simple in concept, it does pack in a lot of detail.
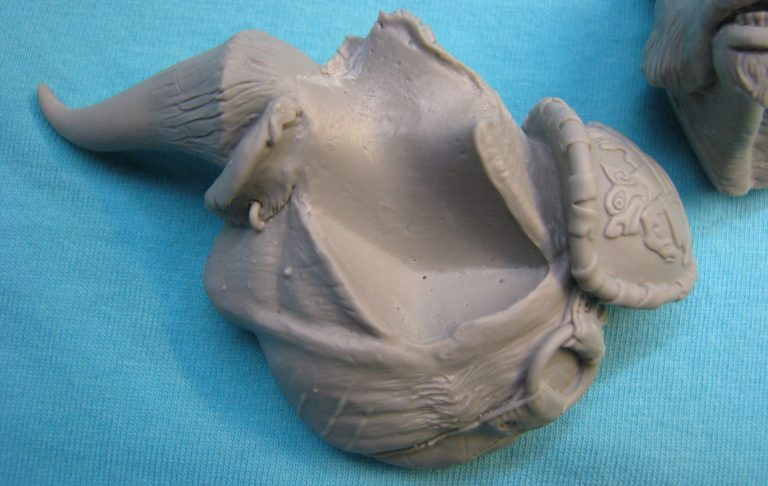
Cast very cleanly in resin, there are two parts to the kit, and one slots very cleverly into the other leaving minimal necessity for filling any gaps.
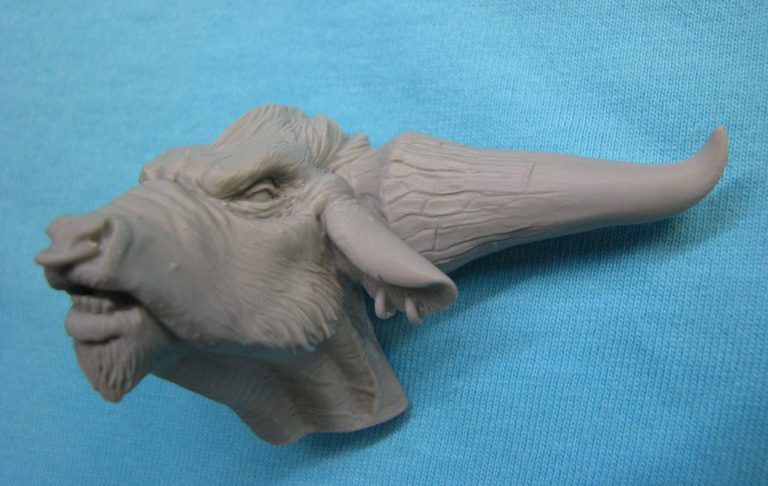
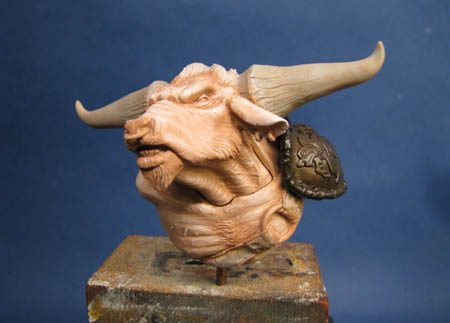
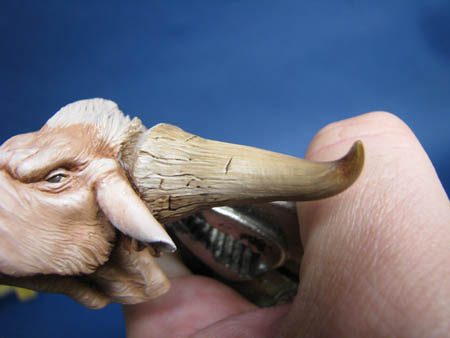
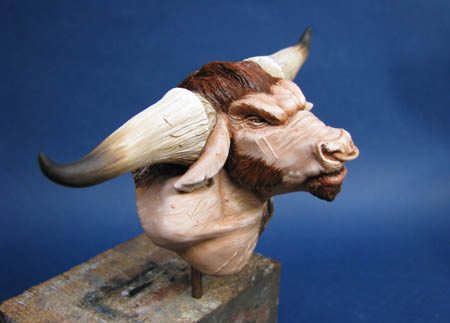
The unpainted components are show in photos #1, #2 and #3, and the example I was using to paint for box art was selected at random from the first batch of castings and was very clean indeed with no blemishes or air bubbles.
Why do I say “selected at random” ?
Well, I was part of the management of the forum, and it would be easy for me to go through the castings and pick out “the best ones” to use as an article, then give a false “oh these are brilliant castings” verdict.
To try and break away from any partisan, bulling up of the model, selecting a wrapped kit at random meant that I literally got one of the models that could have been sent out to a buyer, and so got a casting that anybody else could have been landed with. The fact that it was good, gives me confidence to say that others sent out to customers would match the same quality.
So, having explained that, I can mode on to painting.
Because of the simplicity of the bust, it gives me the chance to focus on a couple of areas and how they were painted. These areas would usually be a lot smaller – the horns, the armoured shoulder guard and the belt for example, so close up shots show more of what was done to get the individual effects.
But let’s start with the flesh areas first.
I decided that it would be easier to leave the two parts separate for the time being and the only area that looked like it would need some filler was the narrow section of hair on the back of the neck.
So whilst photo #4 shows the head joined to the shoulders, these parts are simply slotted together and held with blu-tac.
Oh, I was on about the flesh, After priming the resin with a mix of Isopropyl Alcohol and some flesh coloured acrylic – the paint being in the mix is such a small amount, it really is only there to show where I’ve painted, and not much more – then once dry a couple more coats of the flesh colour, this time mixing the acrylic with water, and allowing each coat of paint to dry fully before adding a second coat.
Then the oils.
I’d decided on a much lighter and more pink colouration that usual, haven’t a clue why, it just seemed right, and mixed a mid-tone from Mars Brown, titanium White, and a spot of Carmine.
Carmine is a very strong dark red, and whilst it is relatively transparent when used on it’s own, it only takes a small addition of it to other colours, particularly if they’re relatively light colours, for it to have a great effect. So adding it gradually, and in very small amounts is advised in cases like this.
Having reached the colour I thought would work, I then used a large brush to paint all of the flesh areas, stippling it with the brush once everything was covered, and wiping the brush regularly on a soft, clean cloth to remove any excess.
The purpose of this is to remove any excess pain build up and to take out any brush marks giving an overall even texture to the surface of the paint.
I could then begin adding shadows using small spots and lines of Mars Brown, and blending these in using that same stippling action with a smaller clean brush.
Again, wiping that brush on the cloth to remove excess paint, and also stops colours being transferred to areas where you really don’t want them.
Once I was happy with the shadows, I could use the same method to add the highlights, this time painting on spots and lines of Titanium White and blending them in to the surrounding paint.
Once that was done, I could wash the brushes thoroughly in White Spirit and leave them to dry and the painted components could be put into a drying cupboard and left for a couple of days to dry fully.
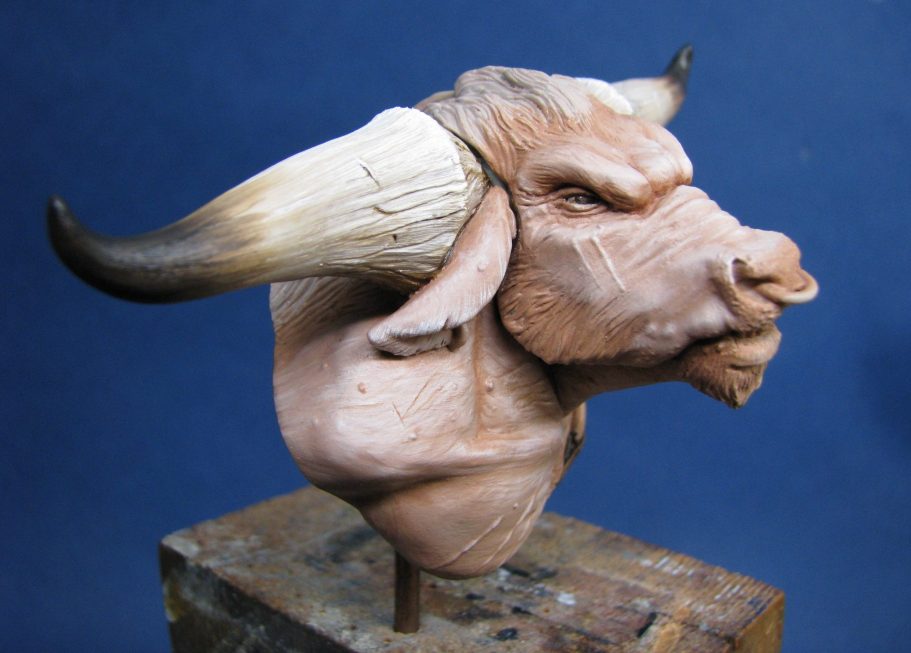
The results of this feverish effort are shown in photo #4
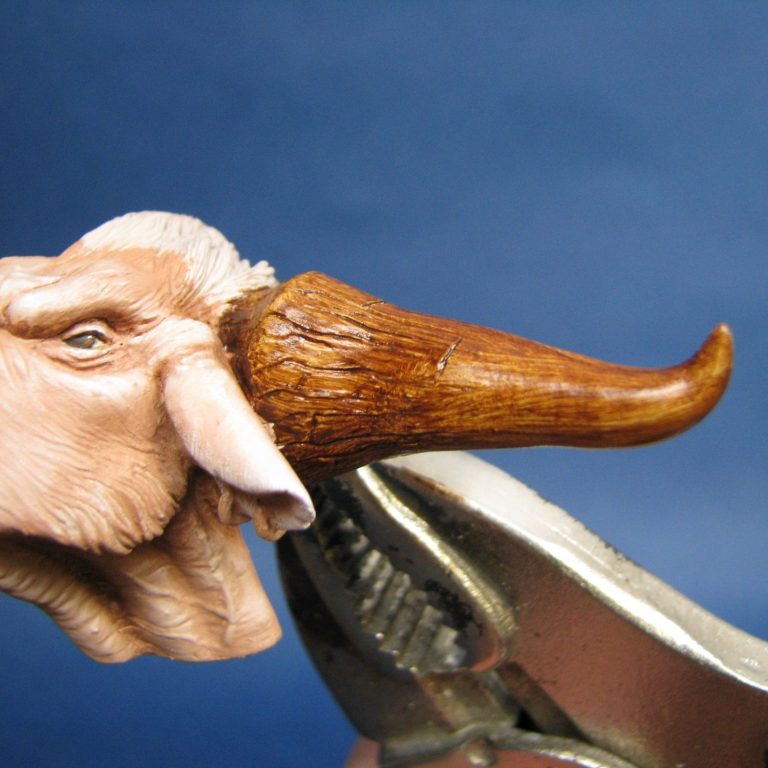
Photo #5 shows a close up of the left side of the head. The dried flesh tones can be seen clearly here with the shadows and highlights picking out the details very nicely.
I’ve painted in the eyes, beginning with an off white mix for the whites of the eye using and acrylic mix of white, blue and red, the platter two being added in very small amounts to create what can be best described as a pale oyster colour.
once dry an iris is added, beginning with a dark brown, adding a lighter brown within it on the inside of that, and finally a black pupil. As a final touch, a very small white catchlight is added at around the two o’clock position. This is so small that it’s unlikely to be noticed as an actual addition, but without it the eye will look dull and dead.
The main focus of this shot though is the beginning of painting the horn. I’d begun with several coats of an ivory coloured acrylic – enough coats of paint being built up to give a solid colour. Then in this shot I’ve added a coat of Burnt Umber oils thinned with a little White Spirit to allow the paint to get into all the recessed detail.
In photo #6 I’ve used a fairly stiff brush to add some Buff Titanium ( basically a cream colour ) to the horn, making passes of the brush down the length of the horn so that some brush-marks are left visible and adding to the sculpted detail. The paint is still wet and shiny in this shot,
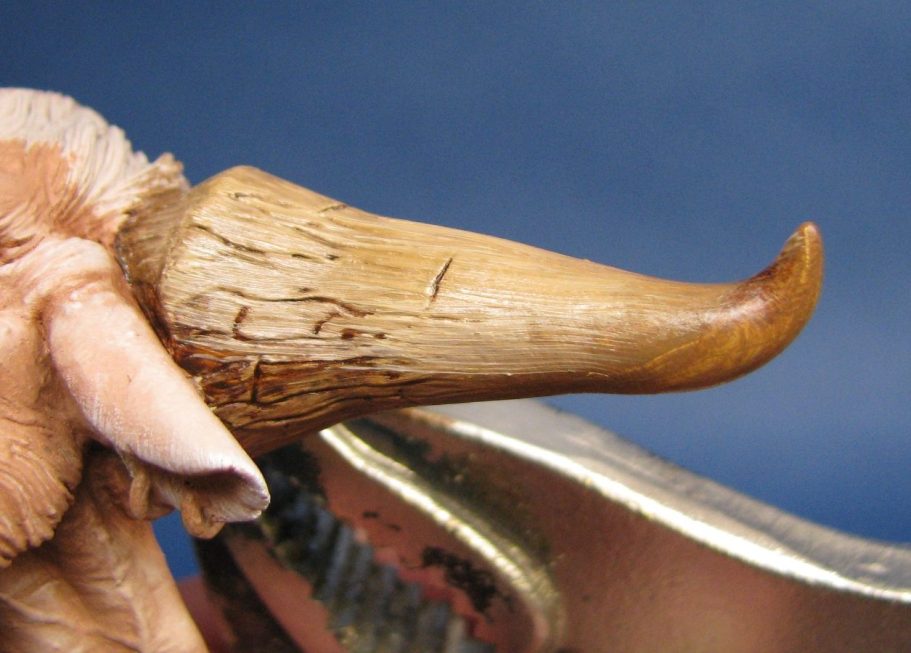
However in photo #7 it has been allowed to dry, and the matt effect of the paint looks a lot better.
You’ll notice in this shot that I’ve not continued the light colours to the tip of the horn, this is because the tip is going to be a dark colour, and there’s no point in adding the lighter paints only to have the dark colours contaminated by them.
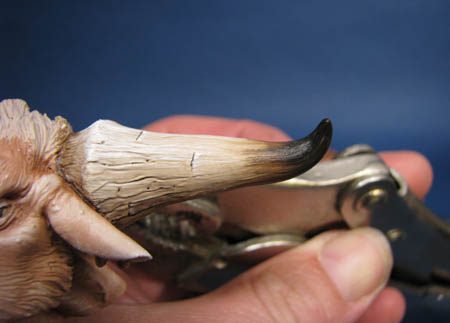
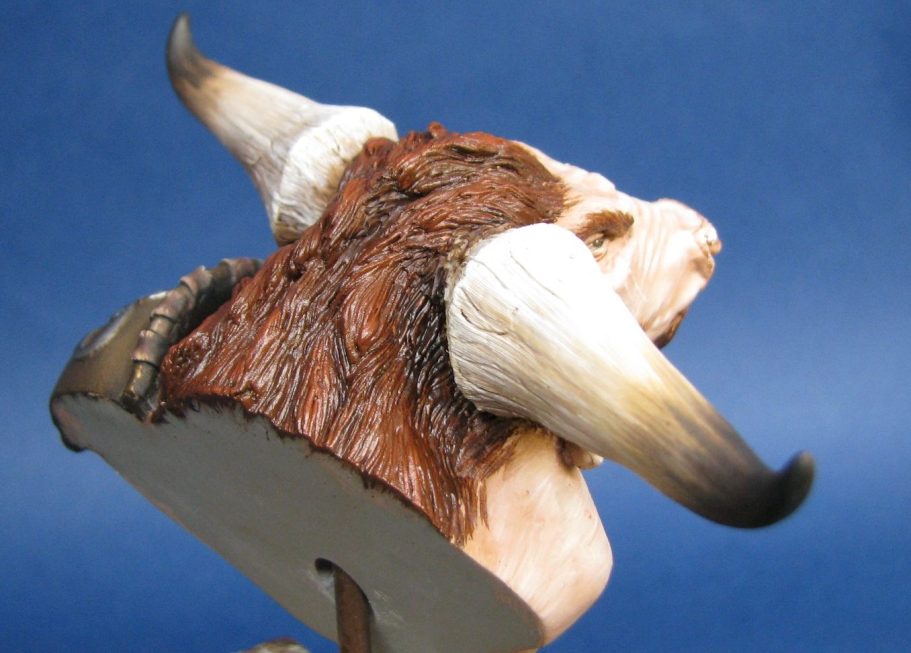
In photo #8 I’ve added the dark colouration, again using a fairly stiff bristled brush and beginning with Mars Brown that runs from the tip of the horn to about 2cm down the length, and then adding Mars Black at the tip.
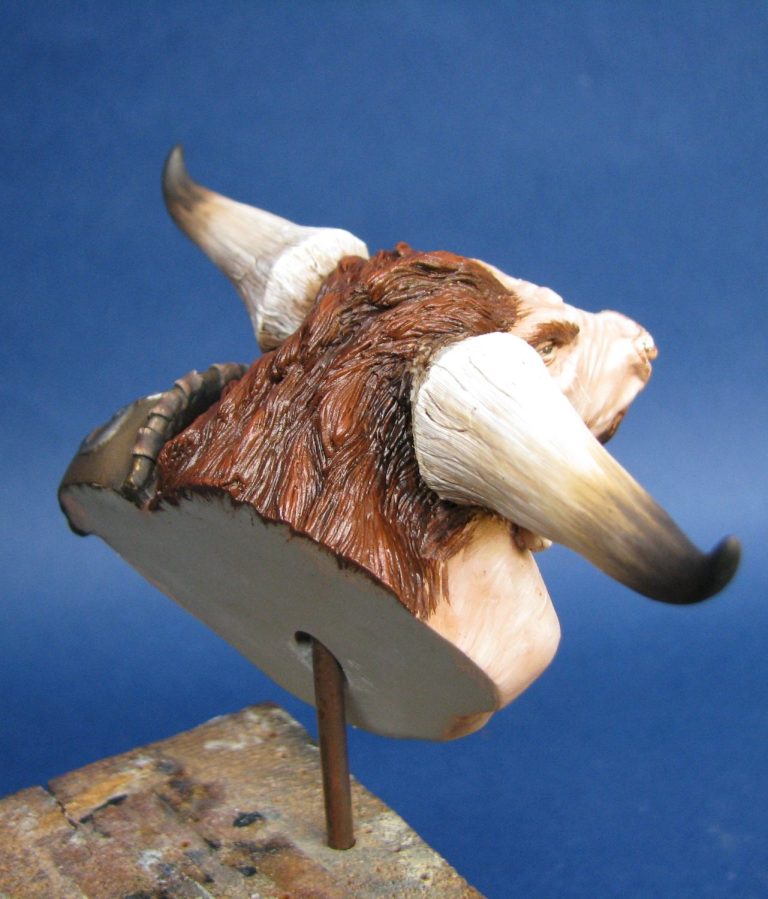
Again, the paint is till wet at this point, but the right hand horn can be seen in photo #9 having been done in the same way and the paint now being dry.

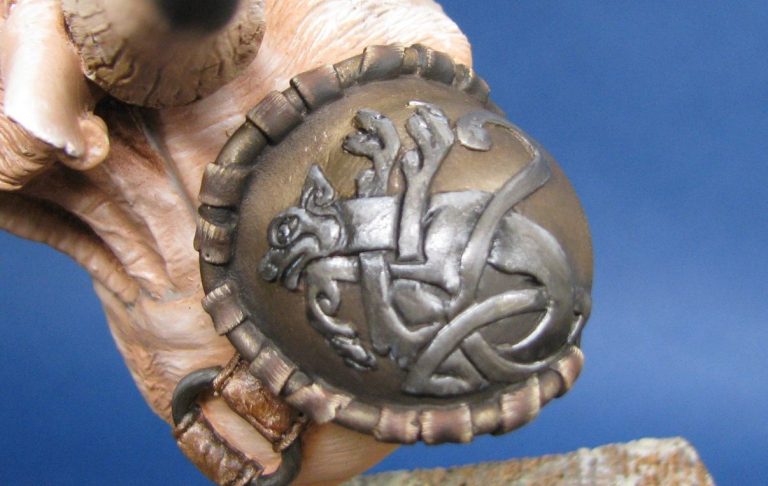
Moving on to the shoulder pad in photo #10, and sticking to historical fact that the peoples of Greece at this point had bronze, but not iron or steel to work with, the metallic areas would be painted to represent pre-iron age items.
The shoulder pad in this shot has been painted with a black acrylic undercoat, and then Bronze Printers Inks have been painted on with some Gold Printers Inks added to the upper area as a highlight. The two inks only dry under heat, and can be blended with a soft brush to make the change in colour gradual.
I’ve also painted the leather bindings around the edge in this shot, but I’ll get on to those in a few shots when I talk about painting the belt.

Photo #11 shows a side view of the shoulder pad, and the gradual change from light to dark can be seen a little more clearly here.
The Greeks at that point did have access to silver, so I decided to pick out the design with Silver Printers Ink, adding some Mars Black oils to create the shadows – see photo #12.
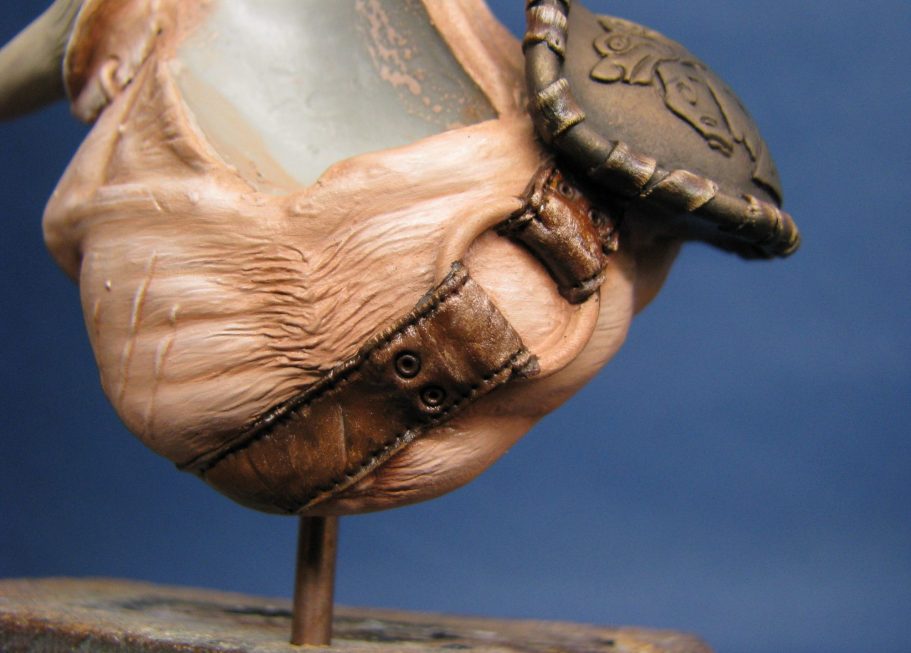
The belt as seen in photo #13 is finished, but to get it to this stage I used a dark brown acrylic undercoat, putting Mars Black oils over that. Mars Brown was then added to most of the belt, blending this in to the black, then adding spots of Light Red oils ( a rust colour to be honest ) and some Mars Yellow to the main body of the belt and half-heartedly blending thee in to the Mars Brown. I say half heartedly, because whilst they are blended in to the surrounding colour to an extent, the colour difference is still visible as though the surface of the belt is distressed and worn.
Buff Titanium is then used to add scratches and cracks, and a line of Mars Black can be added above the lines of the lighter colour to make the scratches look deeper.
Why is the dark line added above the scratch and not below it ?
Well, it makes the illusion of the cut look deeper, and the lower edge of the cut is highlighted to make the illusion work better. Highlighting the upper edge of the dark line just doesn’t seem to work somehow.
In photo #14 I’ve put the two parts together again to check the fit and more importantly if there’s any gaps that need shadows to hide them. I’ll point out the only one I could find which is just above the ear in this shot. You can see a hint of the grey resin visible, and this will be hidden when I paint the hair with some dark brown paint.
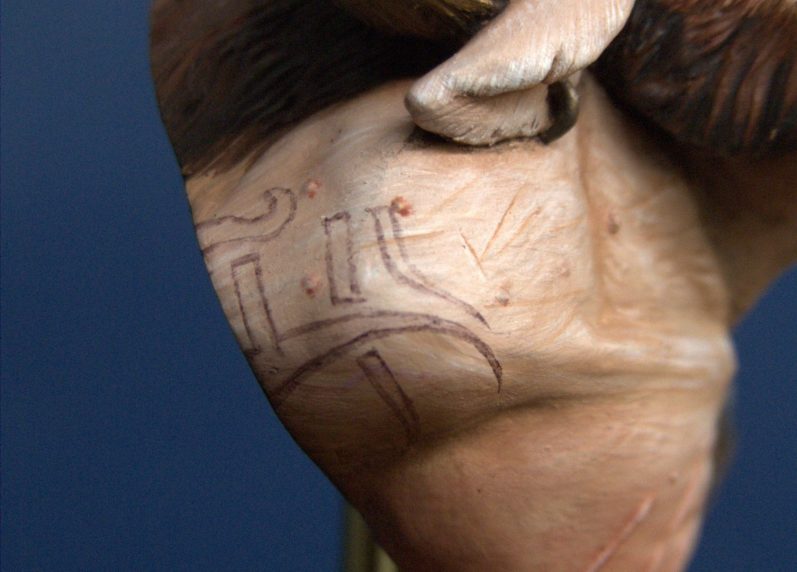
In photo #15 I’ve begun adding the tattoo on the shoulder. It’s not a design that I’ve seen represented on ancient pottery or anything, just a doodle that looked a trifle tribal.
Marking it out with oils allows the outline to be adjusted and changed. I used a fairly dark brown – Mars Black and Mars Brown oils mixed, and then thinned with White Spirit.
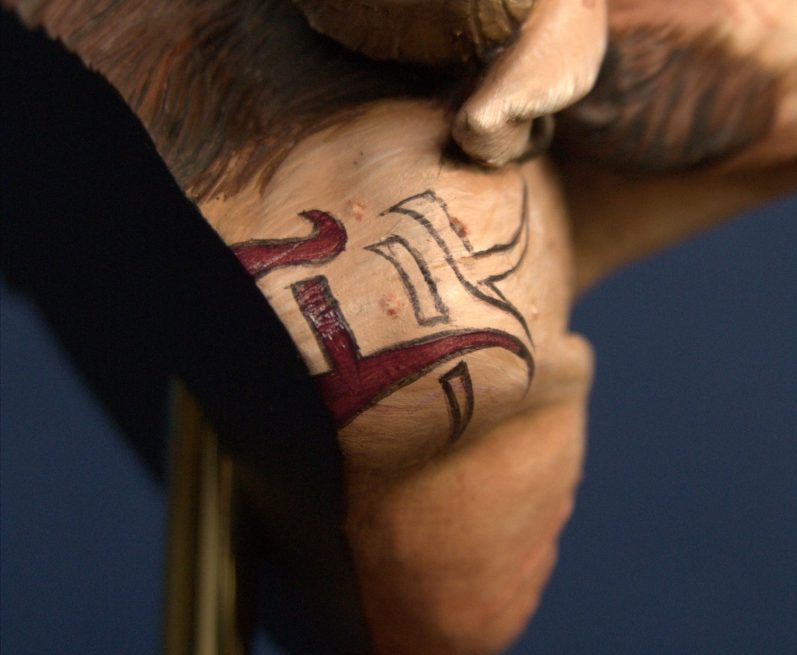
Photo #16 shows the process of filling in the design being begun. I used Carmine oils with a little bit of Mars Black mixed in, and allowing some of the dark outline to remain.
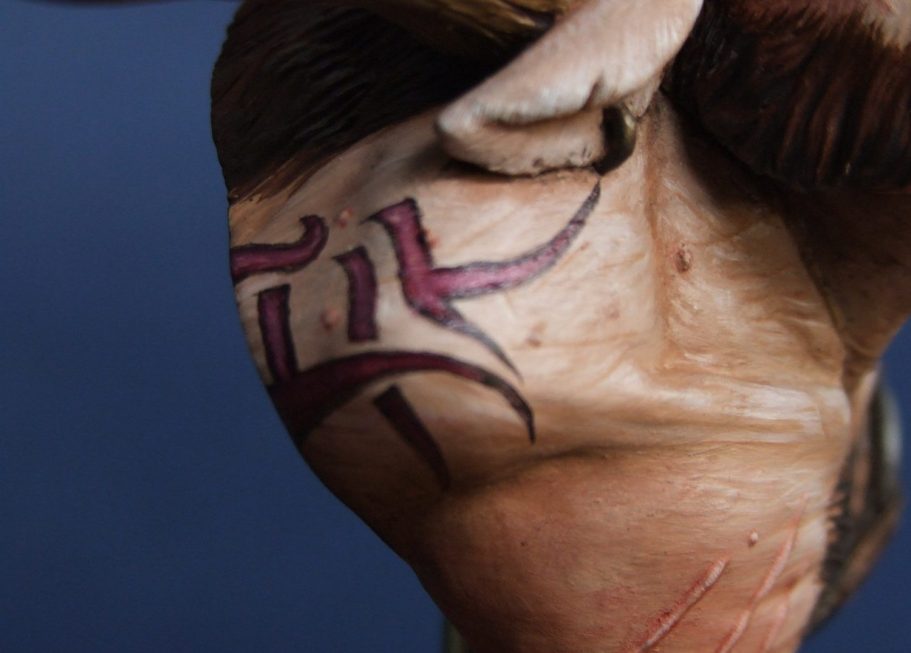
Photo #17 shows the tattoo having dried, I’d lightened the very centre of each of the design shapes with a little Buff Titanium, making the tattoos stand out a bit more.
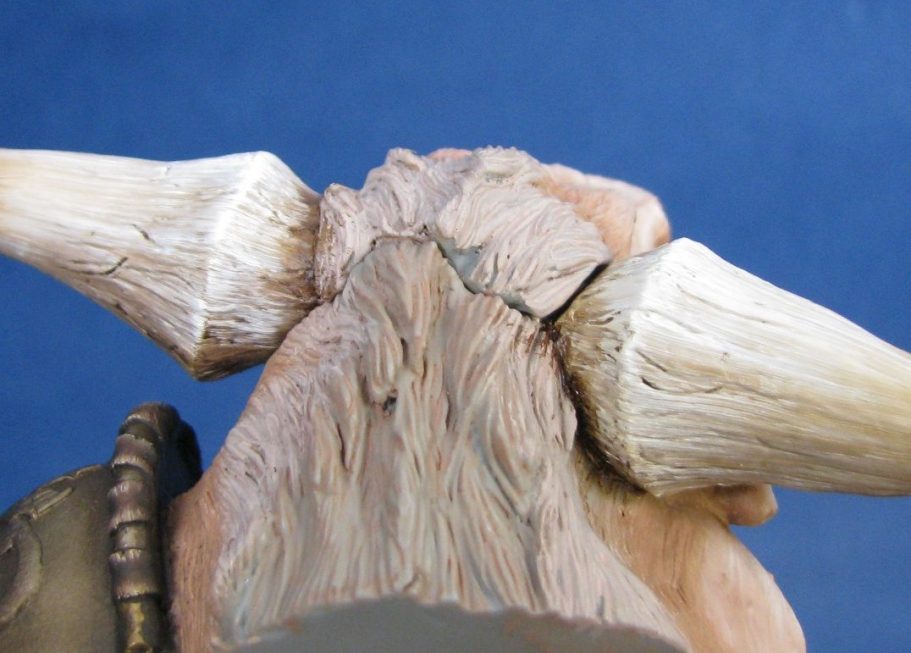
I mentioned the only part that I thought would need filler adding to it earlier on in the article – the section of hair across the back of the head. Shown in photo #18 is the slight gap, and it didn’t really pose any problems.
There you go, filled and painted in photo #19. The other areas of hair were painted in to match, and a fine brush used to pick out separate hairs wherever the skin and hair meet, with particular care used on the chest.
The flat back of the bust needs painting black and a better post adding to support the bust and attach it to a plinth, but that’s all that needs doing now to finish the model off.
Finishing touches are the teeth and the nose ring, the former being painted with some Mars Yellow followed by Buff Titanium, and the latter being painted with the same Printers inks that are used on the shoulder pad.
Last words.
I like this bust, it’s a little quirky similar to a lot of Chris Clayton’s smaller sculpts, and he has a knack of packing character into his pieces even though they are sometimes minimal busts – like this one.
Yes, some sculptors would have produced a larger piece, featuring more of the upper body of the Minotaur, but Chris really does have that kind of skill that allows him to make something much curtailed but still interesting and with plenty of detail.
Available from Elan 13 Miniatures, and well worth looking out for along with several other compact fantasy busts in their line-up.