Sd.Kfz 251 ausf C
1/56th scale plastic kit from Rubicon Models
Assembled and painted in 2021
1/56th scale ? I hear you ask.
Yes, it seemed a bit of a random number to me too at the time, but I was swayed by the truly inspirational painted pieces on display on Rubicon’s stand at the South Cheshire show when they had it at the Railway museum.
“I rather like those” and the prices were pretty good to, especially when you look at what you get for your money.
I think this was about £15 when I bought it, although prices have risen a bit since then.
It was only when I got to assembling the model that it twigged that this is 28mm scale and possibly initially the kits were aimed at the war gamer, rather than having them built as stand-alone display pieces.
However, I think they’re much too good for gaming with as the detail is very close to what you’d find on a complex 1/35th scale offering from the likes of Meng or Dragon.
The kit.
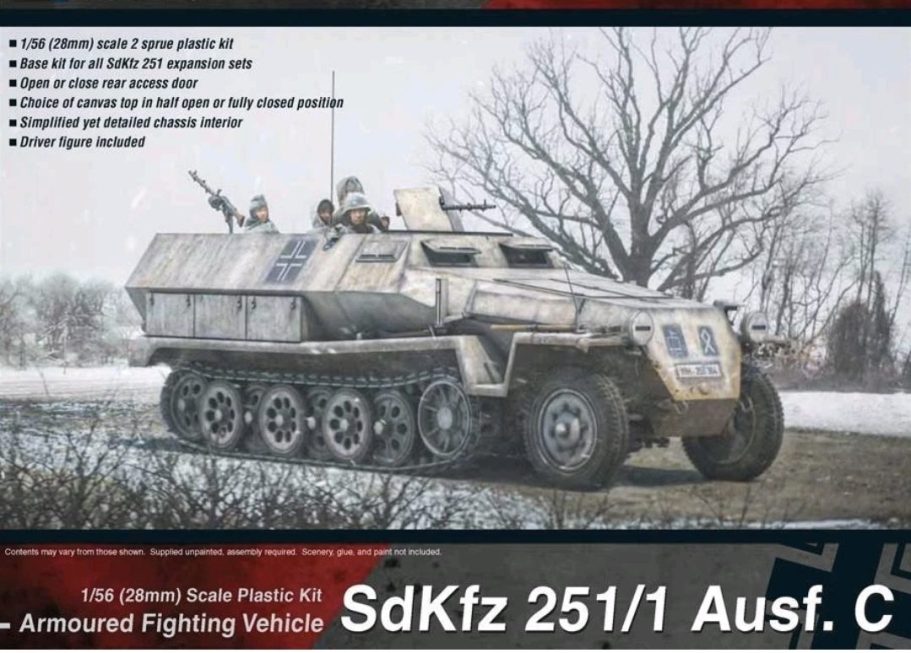
Nicely boxed, with a colour picture on the lid, and quite a lot of parts greet you on opening the box, all moulded in a grey plastic that is nice to work with.
I couldn’t wait to get started ( where have you heard that before ? ) and whilst photo #1 shows you the box art,
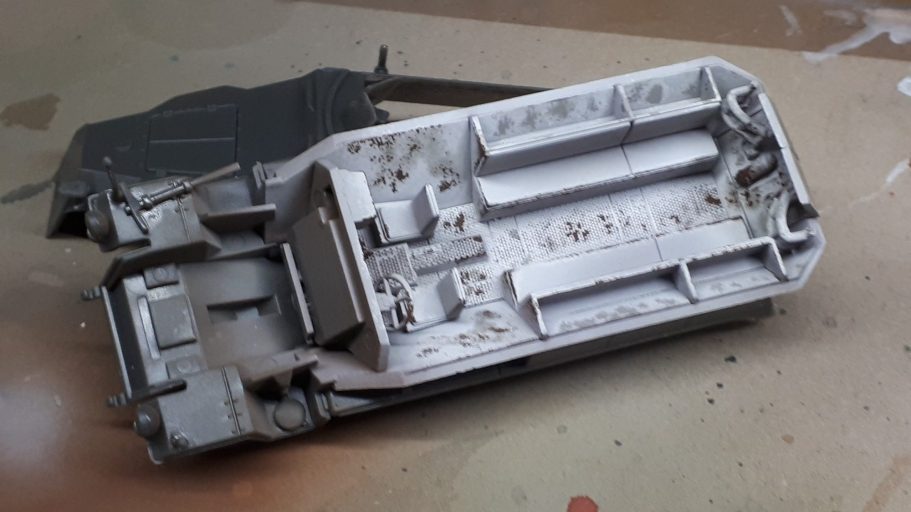
photos #2 and #3 show the lower hull having been painted with off white for the interior ( Tamiya Flat White and a little Deck Tan added, applied through an airbrush ) and in photo #2 I’ve begun adding some Burnt Umber oils with a very old brush to the inside to begin the process of weathering.
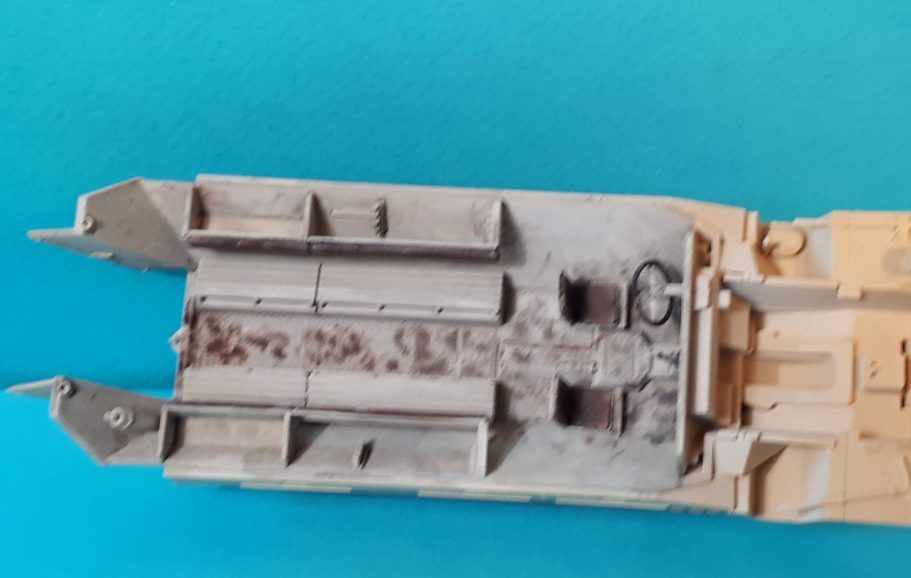
Photo #3 shows the result of adding a little bit of White Spirit to fade the brown oils in to their surroundings, stippling a little more brown in to strengthen the colour here and there.
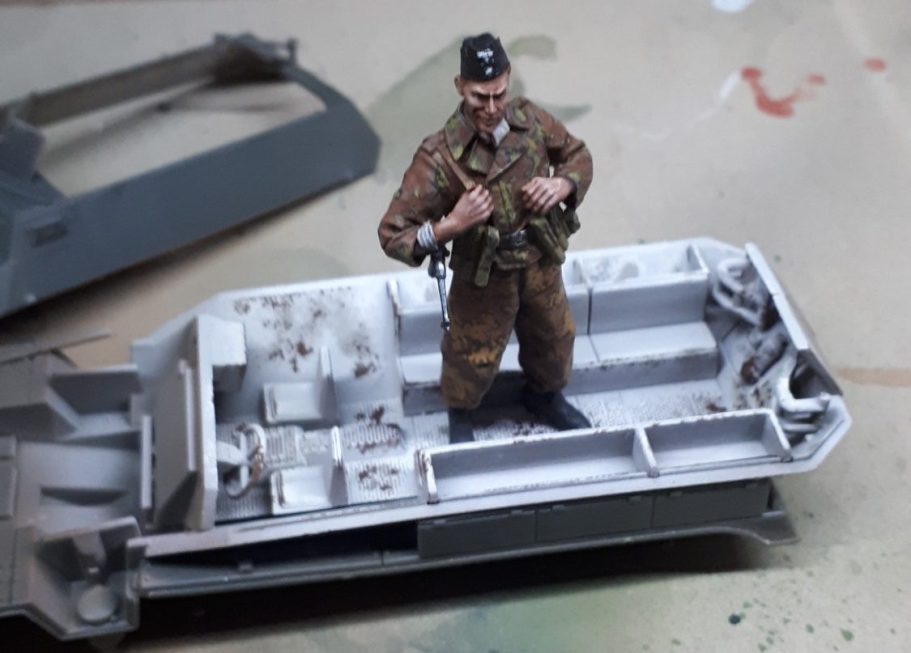
Oh, of course you’ll want to see a size comparison to 1/35th scale I should suppose.
Photo #4 shows a Hornet 1/35th scale figure standing in the lower hull – quite a difference in size, and you begin to see how good the detail is in the kit.
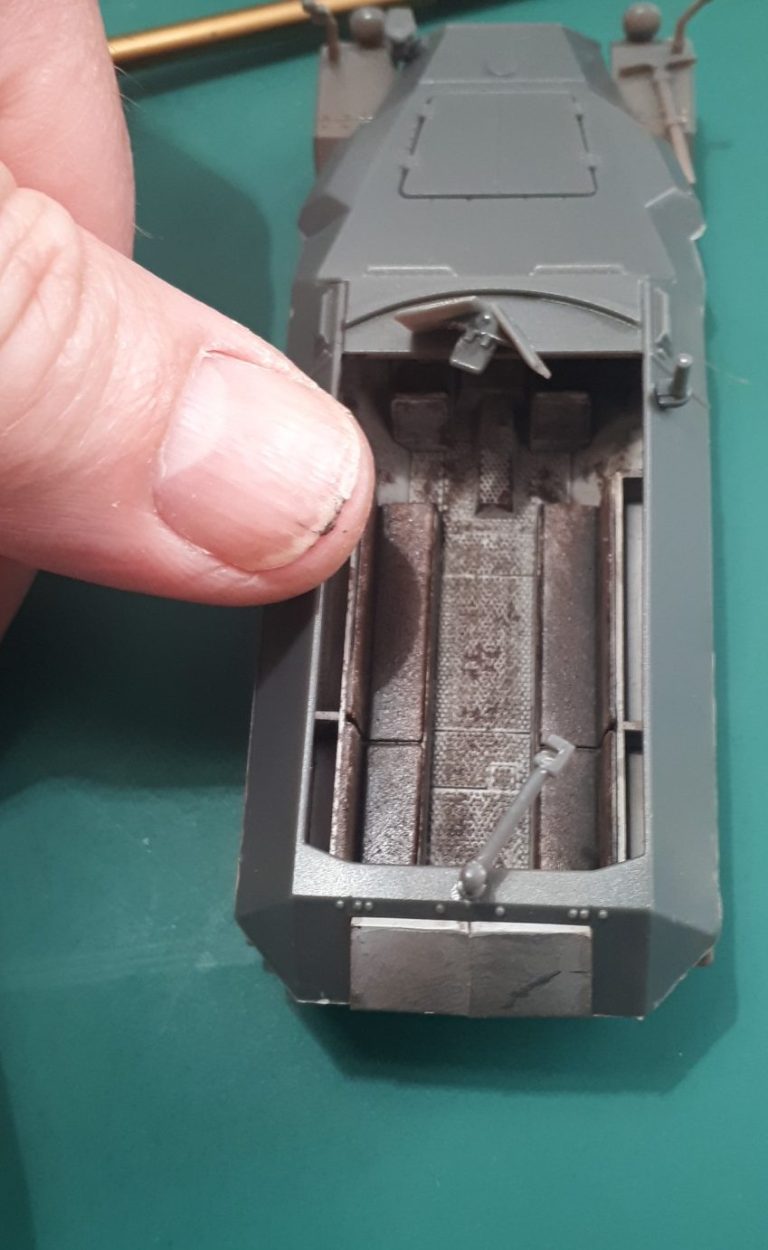
Photo #5 shows inside the lower hull again having been allowed to dry and the leather seats painted in, along with a few other details like the fire extinguisher.
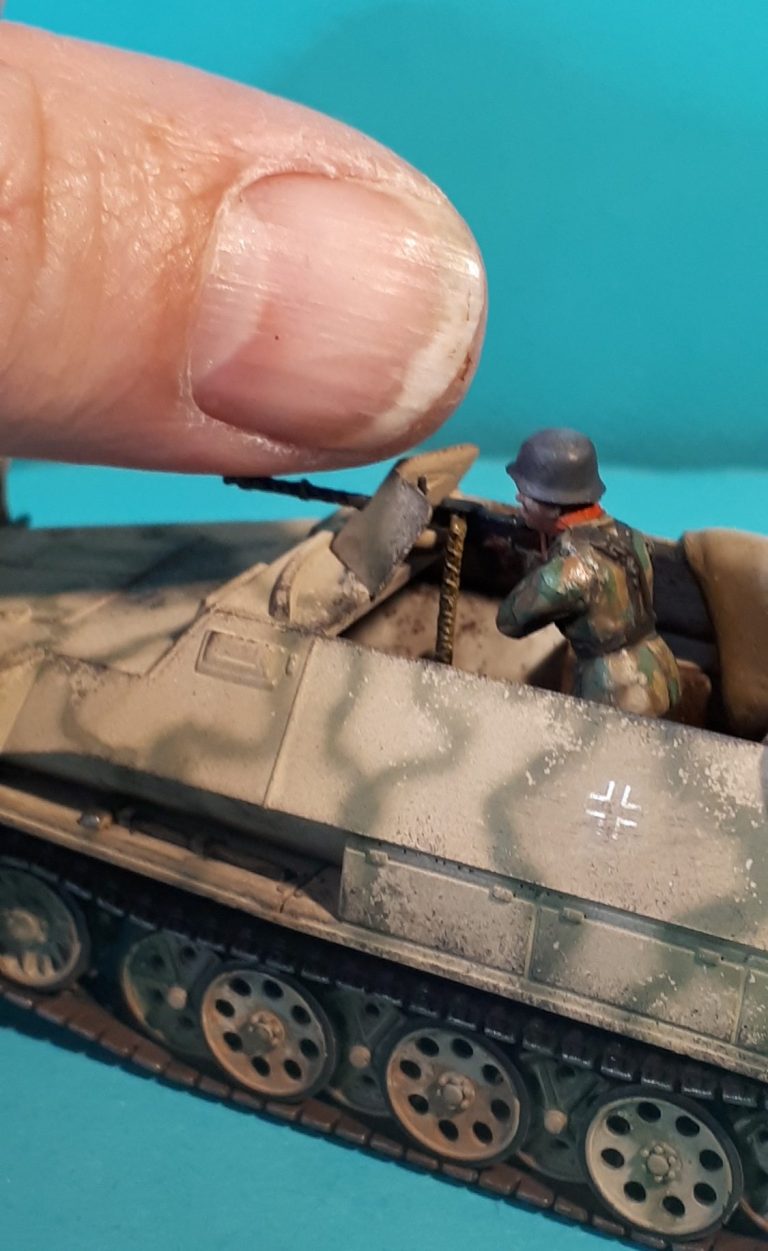
Photo #6 and I’ve added the upper hull now. A giant thumb again shows the diminutive size of the model, and although some might be tempted to change out a few parts – the width indicators could be swapped out for some stretched sprue for instance, I chose to build the model straight out of the box to see how it looked.
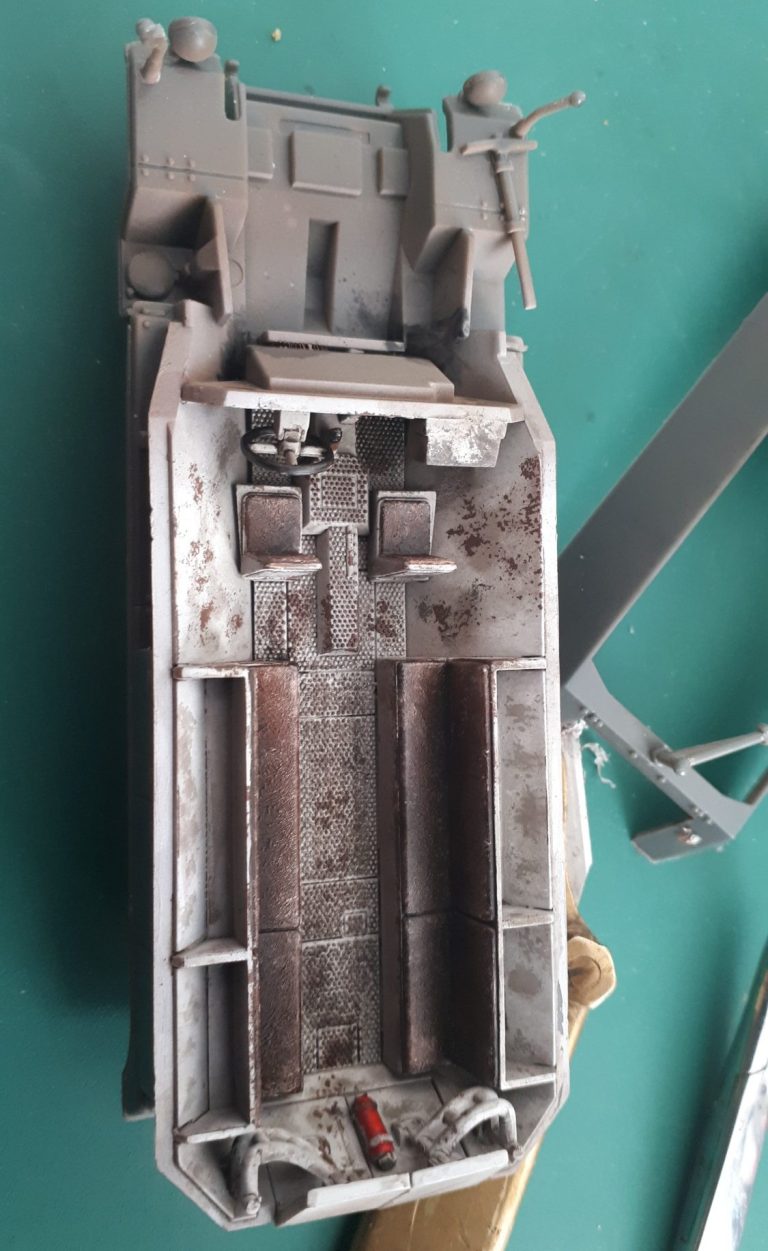
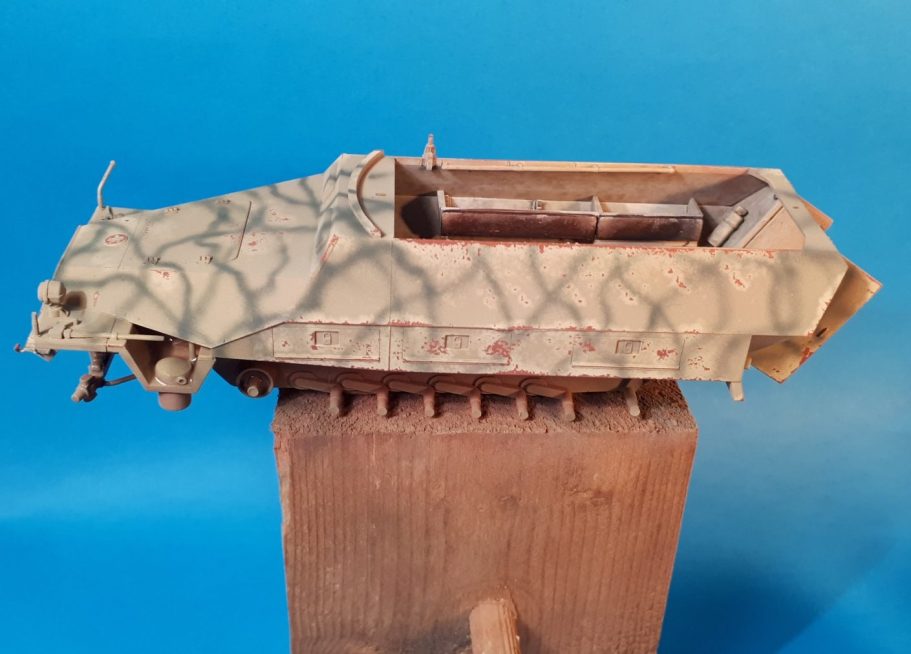
Photo #7 shows the result of filling the open hull with kitchen paper and masking tape, then spraying on Tamiya Nato Brown on the underside of the hull, adding Desert Sand from the top and some Olive Green stripes in a random camouflage pattern over that.
I added some Marmite with a very fine sponge over the top of the Nato Brown and prior to the Desert Sand being applied to make a few chipping effects on the edges of the armour plates. The kit receiving a wash with water, detergent and a soft brush after the green paint had been allowed to dry for an hour.
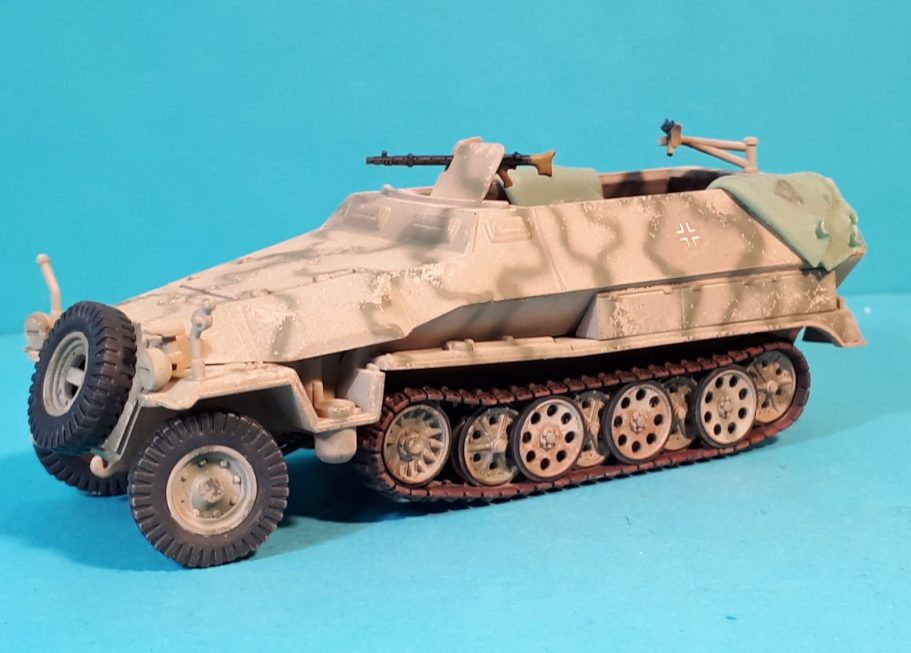
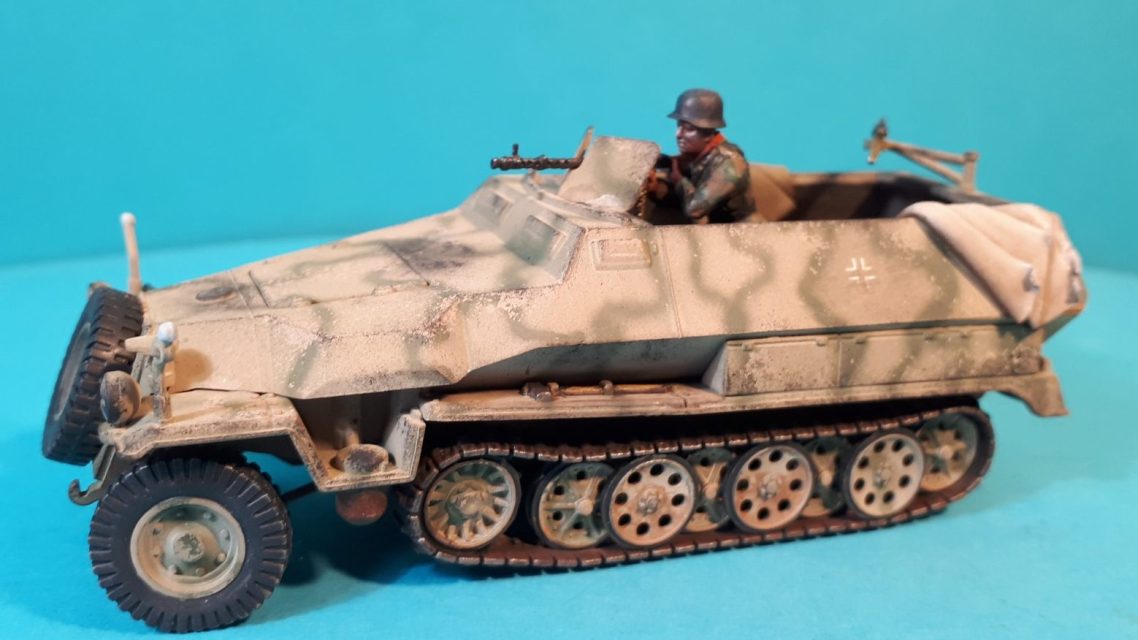
Photo #8 The tracks are easy to build up, the wheels being an integral part of them, and again Desert Sand was sprayed on and once fully dry I could paint the tyres with a dark grey, add some rust effects to the tracks and paint the track shoes with the same dark grey as the tyres.
Small details like the MG34 were added, painting them separately, and I added some rolled out epoxy putty, folded and painted to represent a couple of tarpaulins that would cover the open hull in bad weather.
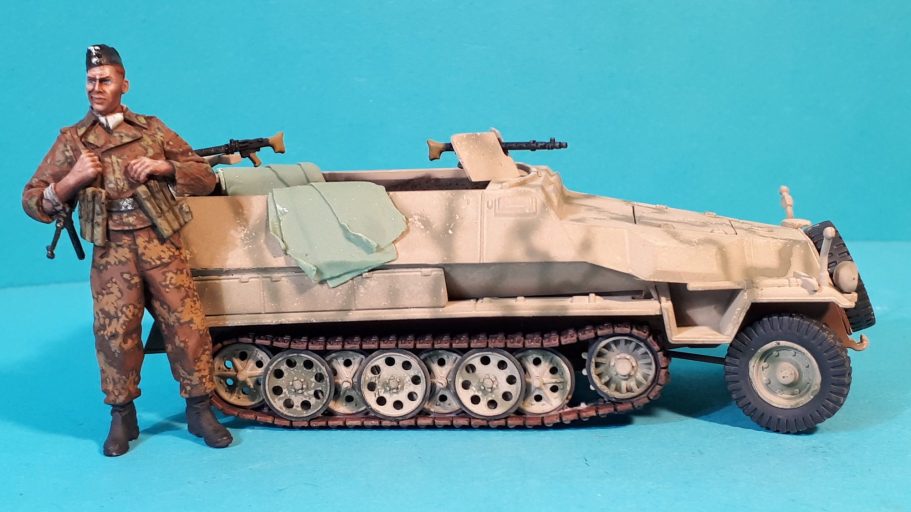
Photo #9 and that 1/35th scale figure is back, again just to show the difference in size and not because he’s a spoilt princess needing attention.
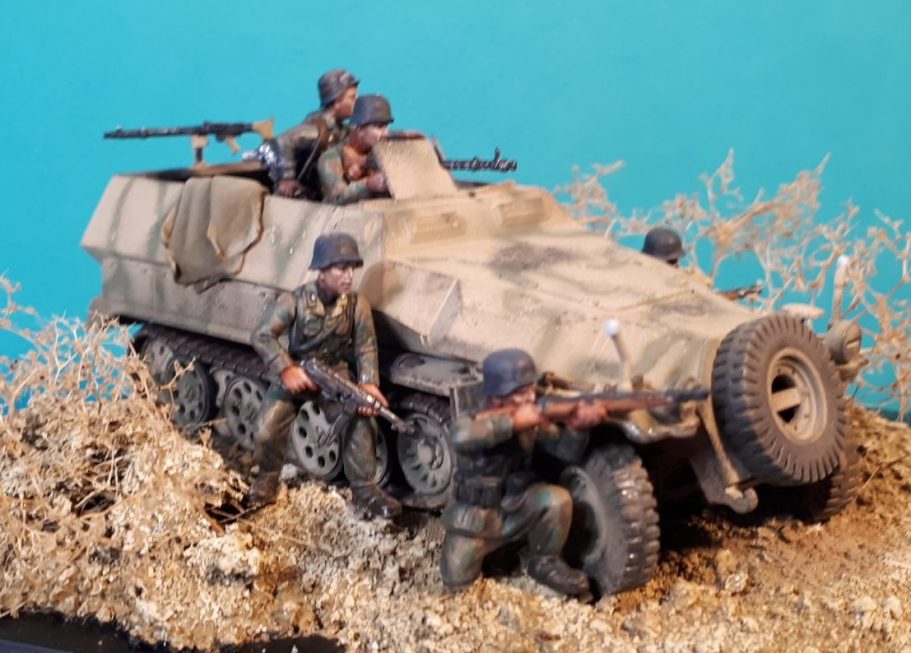
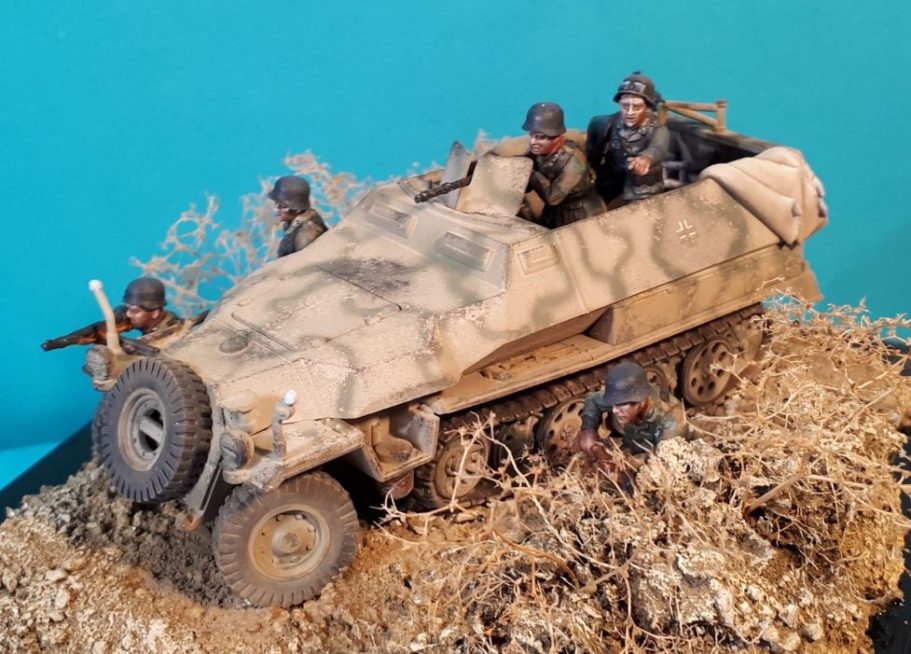
Having discovered that there were figures of an acceptable scale to go with Rubicon’s range of AFV’s – some produced by Rubicon themselves, and some by other companies that would work just as well, I thought I’d build a little diorama setting for the halftrack.
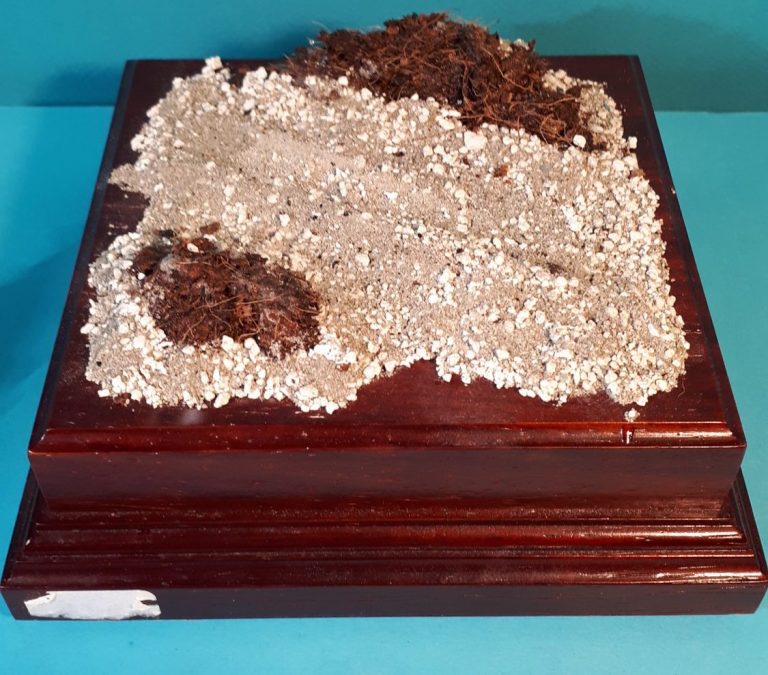
Photo #10 shows the beginning of this, using a plinth from Oakwood Studios, and adding some Chinchilla Sand, Cat Litter and some small rocks to build up a cart track with raised verges.
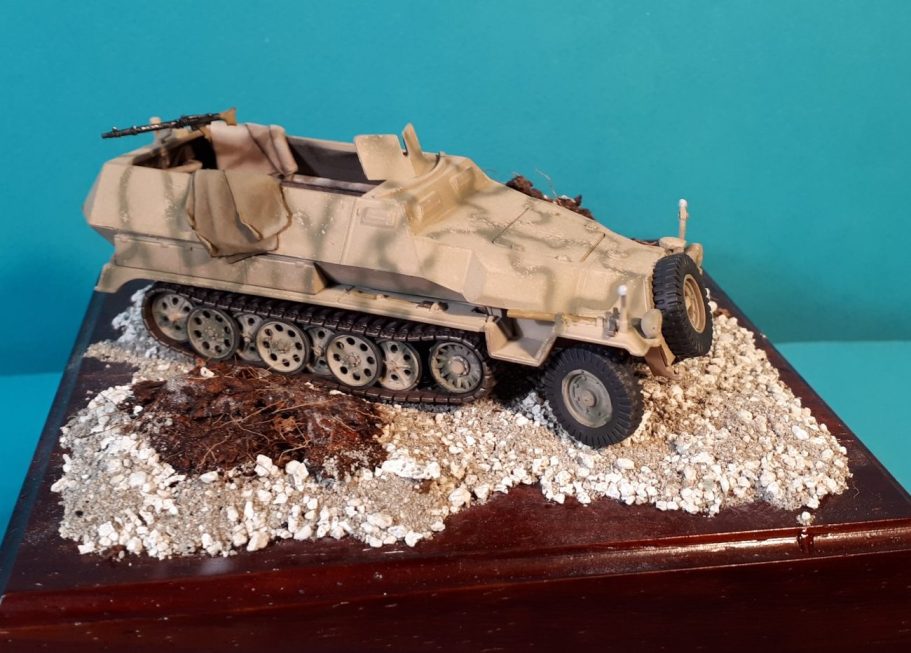
Photo #11 and the halftrack is tested for fit on the base.
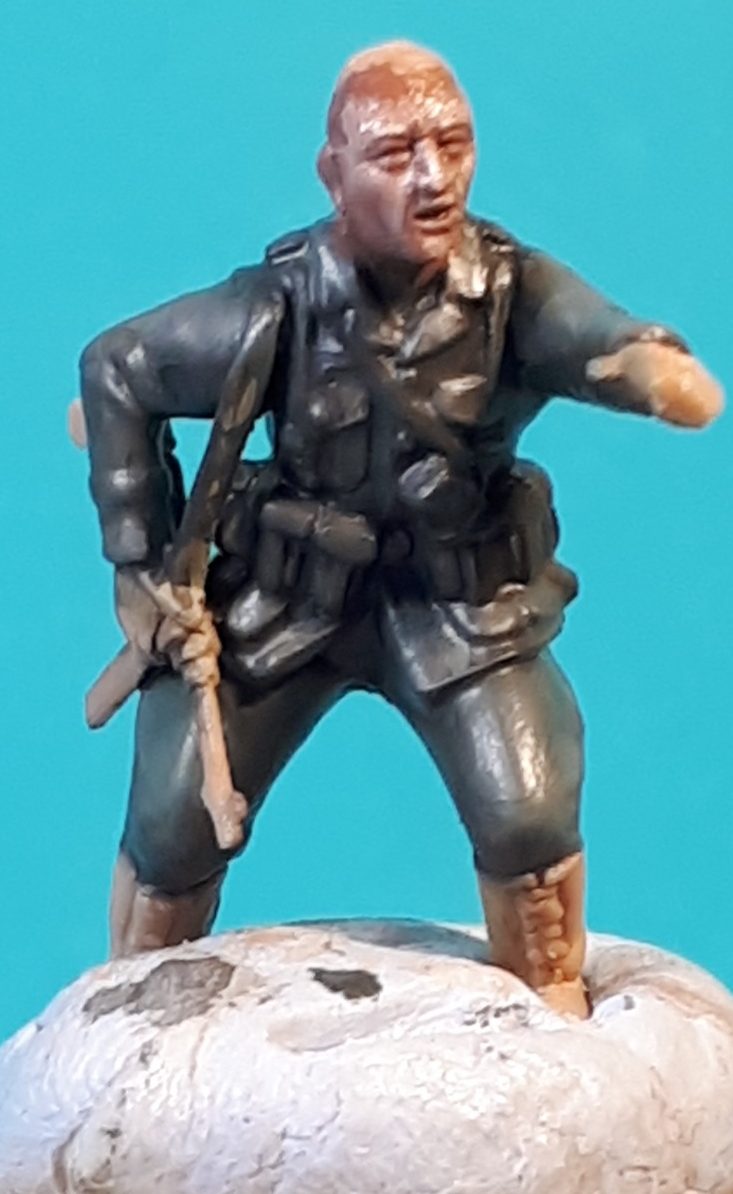
Photos #12, #13 and #14 show three of the Rubicon figures I used on the diorama. They come attached to small bases, again with a view to be used as war game pieces, but well enough detailed for using in a small scene like this. In the last of these three shots, the figure looks very shiny, that’s because the paint is still wet and it will dry matt – trust me.
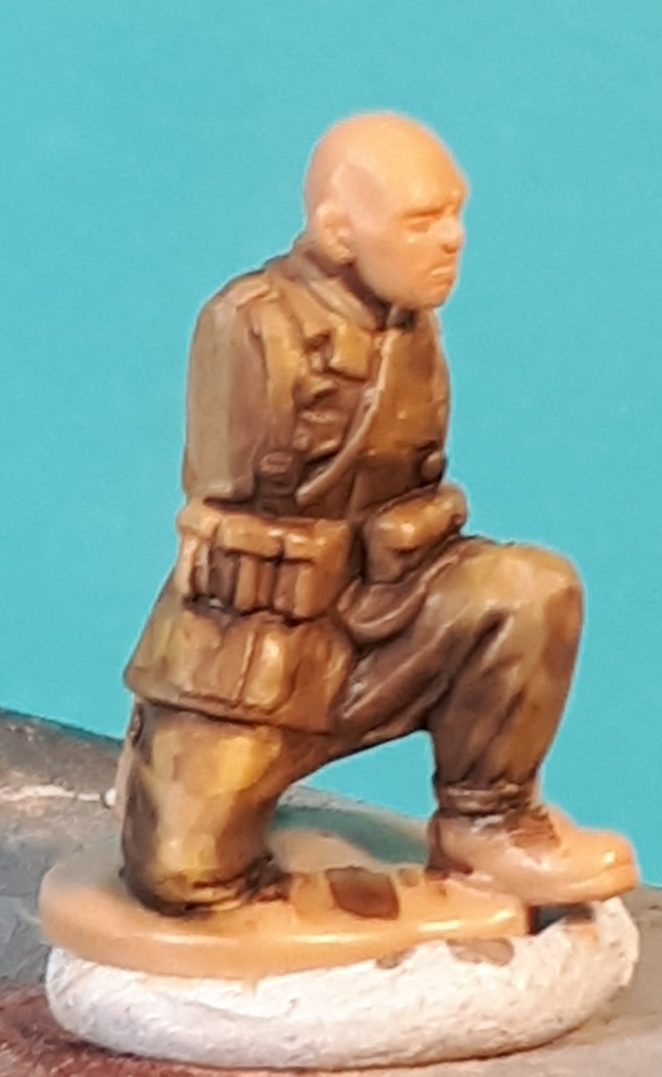
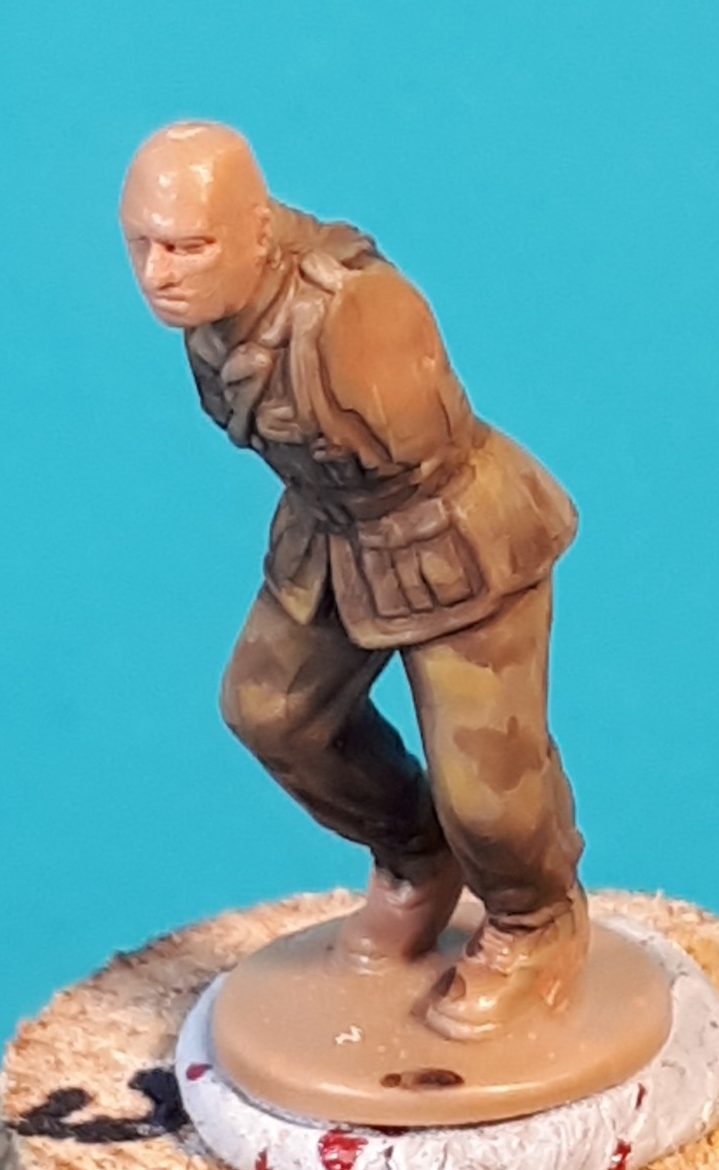
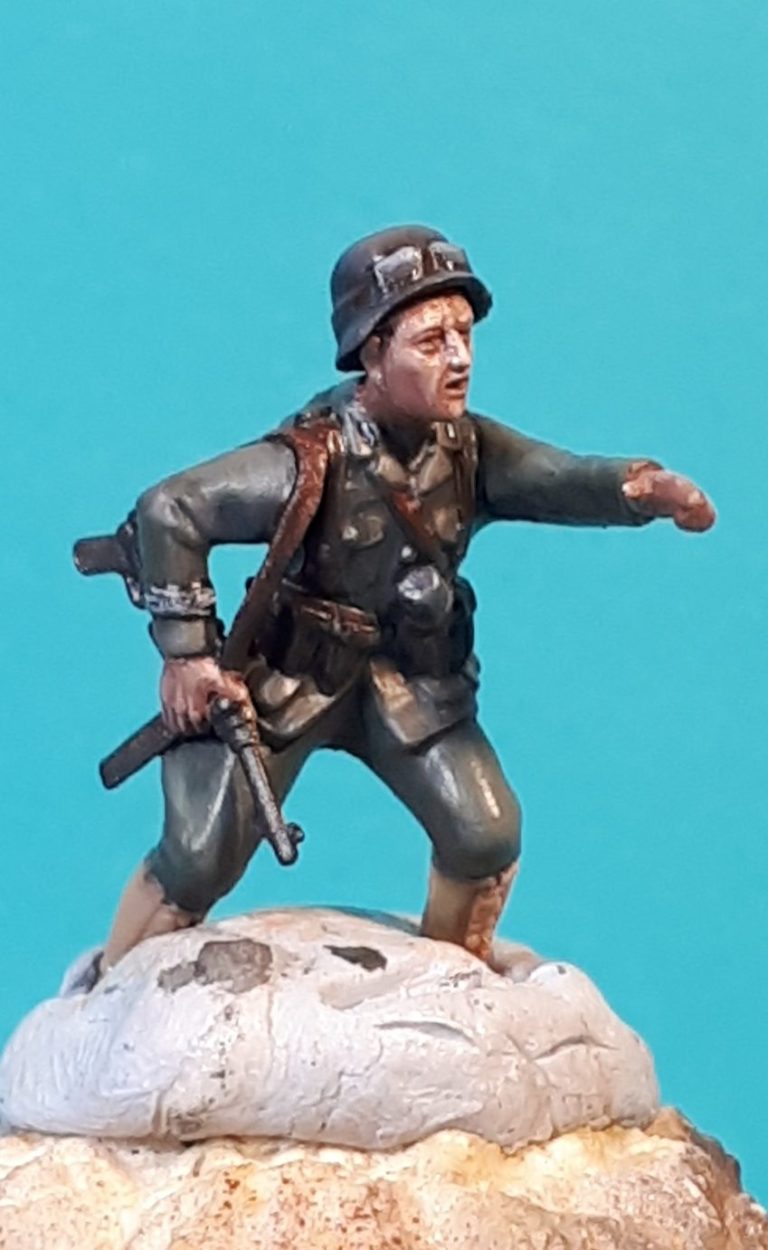
Photo #15 and the 1/35th scale figure is back – you already know why.
Photo #16 - The figures come with separate arms in some cases and separate helmets too.
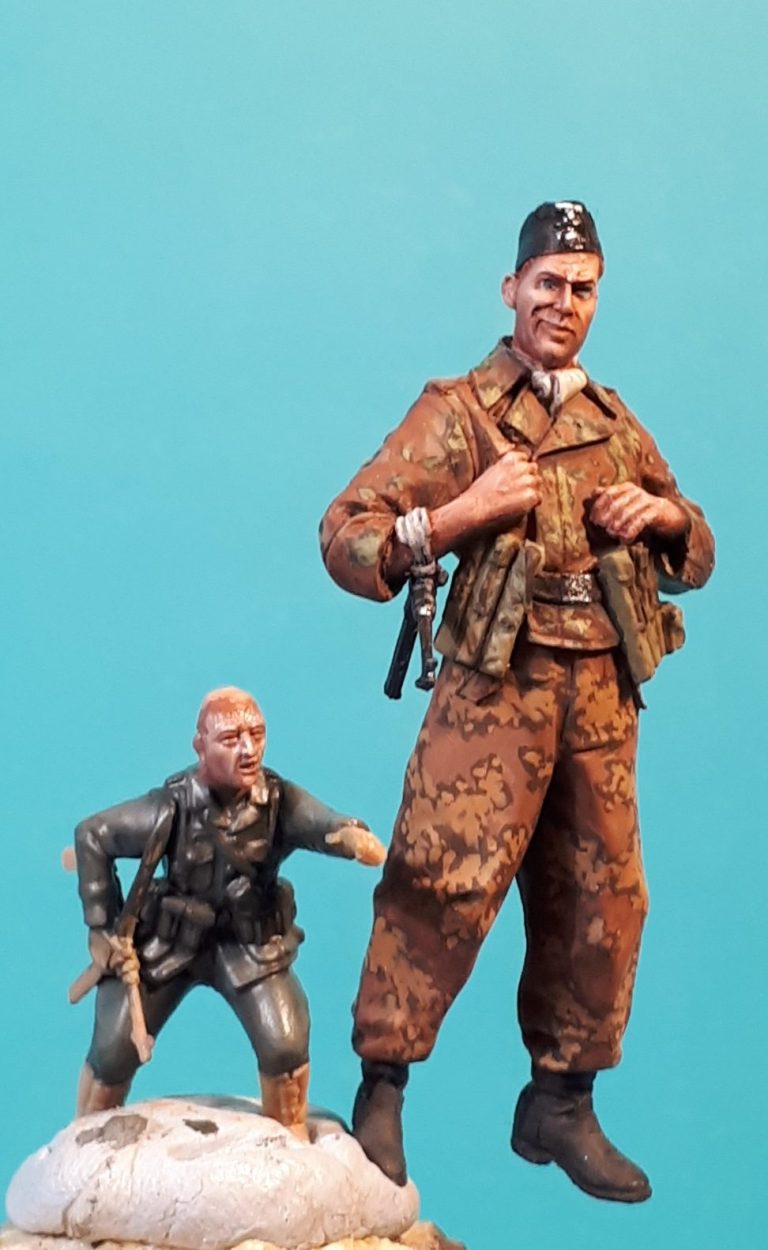
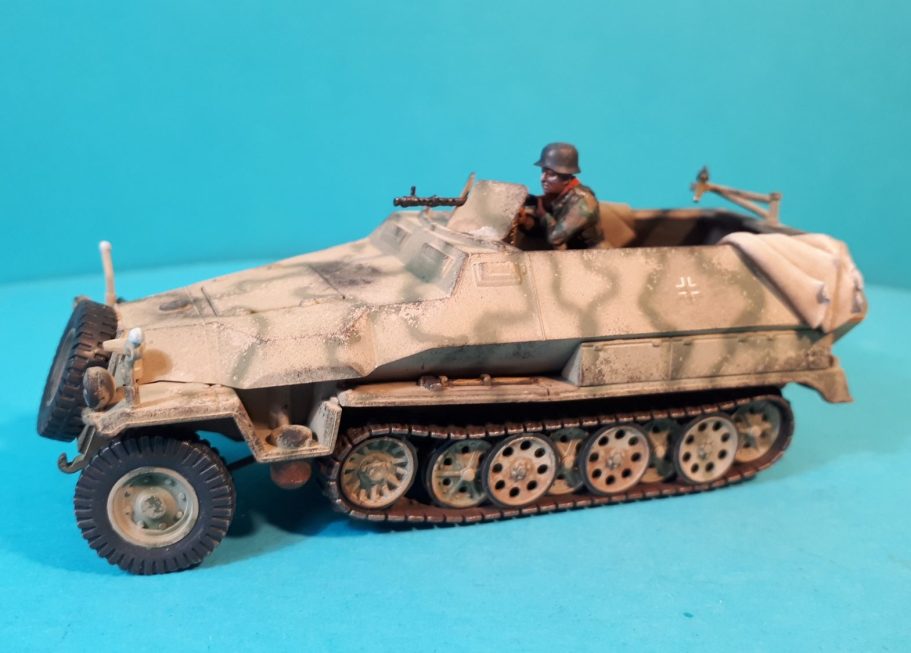
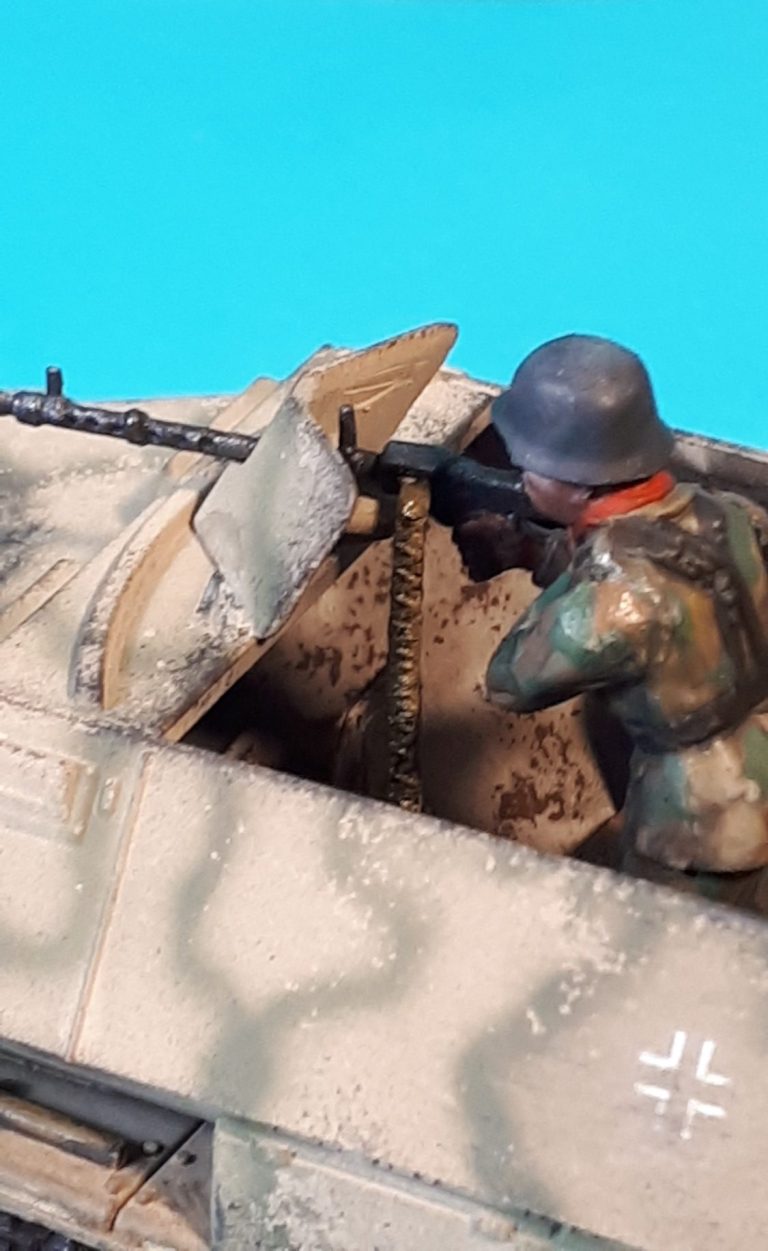
Photo #17, I found a chap that would be able to man the Mg 34 in the set, so he was glued in place once he’d been painted.
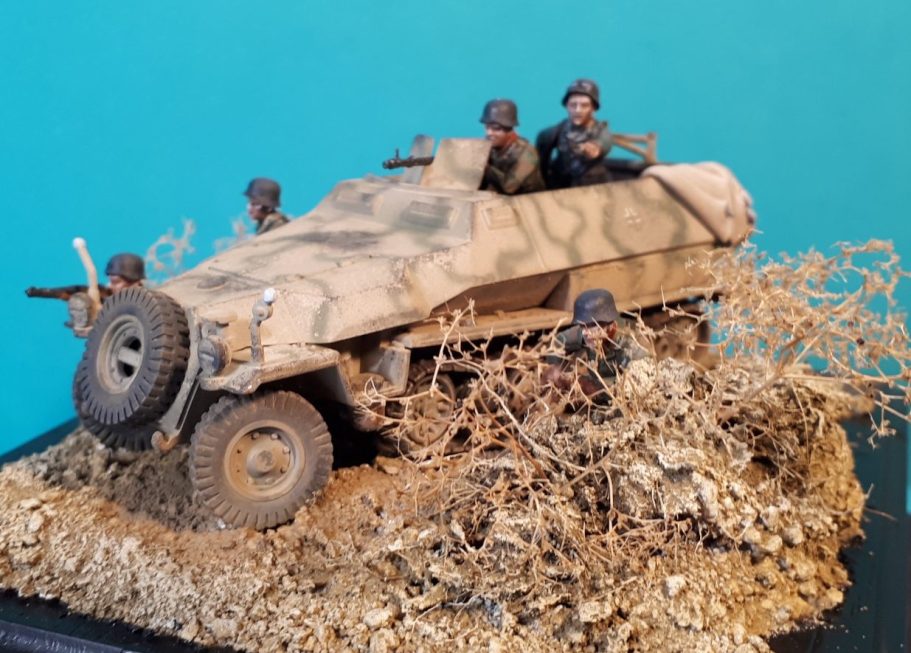
Photos #18 and #19 show close up shots of the same figure, which also lets you see the fine chipping effect on the hull sides and Mg34 shield.
Final thoughts
Whilst not a patch on the models on display on the Rubicon stand, I don’t think I’ve done too badly with this. I added some pastel dust to the halftrack and once glued in place it’a not bad at all. I’m pretty sure that someone who’s better at doing AFV’s would make an excellent job of painting one of Rubicon’s kits, and if you’re after something a little different, something that doesn’t take up much space and yet still has plenty of detail, then I can highly recommend having a browse through the range that Rubicon offer.