Hawker Typhoon
1/48th scale plastic kit from Eduard
Assembled and painted in 2020
So this will be a very short write up, partly because of lack of photos, and partly because it turned out less than OK.
I made and painted this kit in September 2018 as a complete departure from all things figures, and also to see .... well.... if I could make a decent job of something with wings.
The kit itself poses no problems, even to one such as I that if given more than twenty components, tends to descend into a form of panic.
There’s a bit of sanding of the fuselage once the halves are together, same with the wings on their leading edges, but really there’s not much to cause any problem.
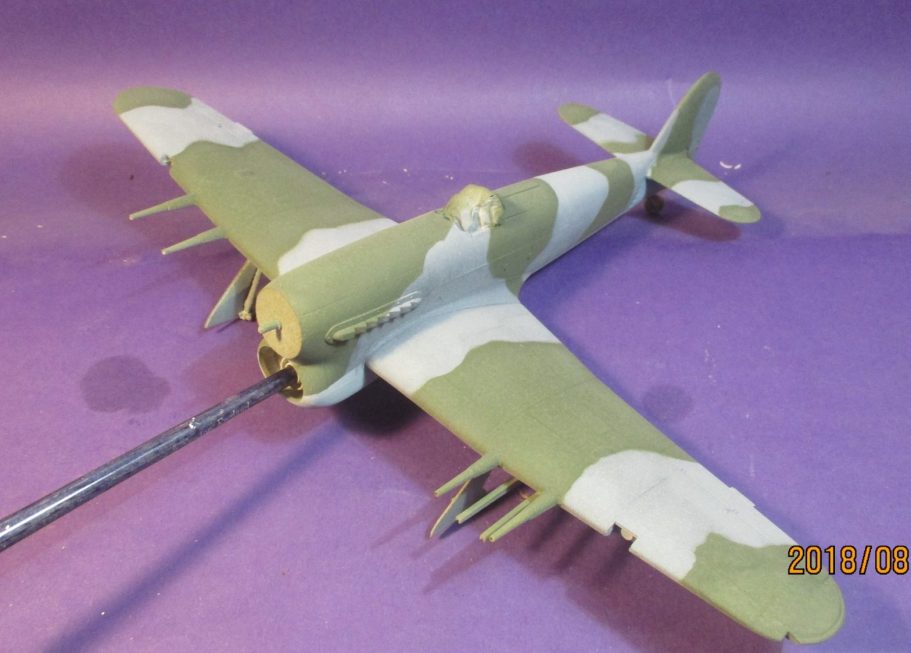
Painting. Well, obviously I’d need to use an airbrush, and I used an old brush as a handle wedged into the intake as shown in photo #1.
The base colour of grey was sprayed on, followed once dry, with some Blu-tac masking to create the hard edged camouflage green areas.
I used Tamiya paints throughout, thinning these down with Isopropyl Alcohol, and using a good filter mask to guard against breathing in the fumes.
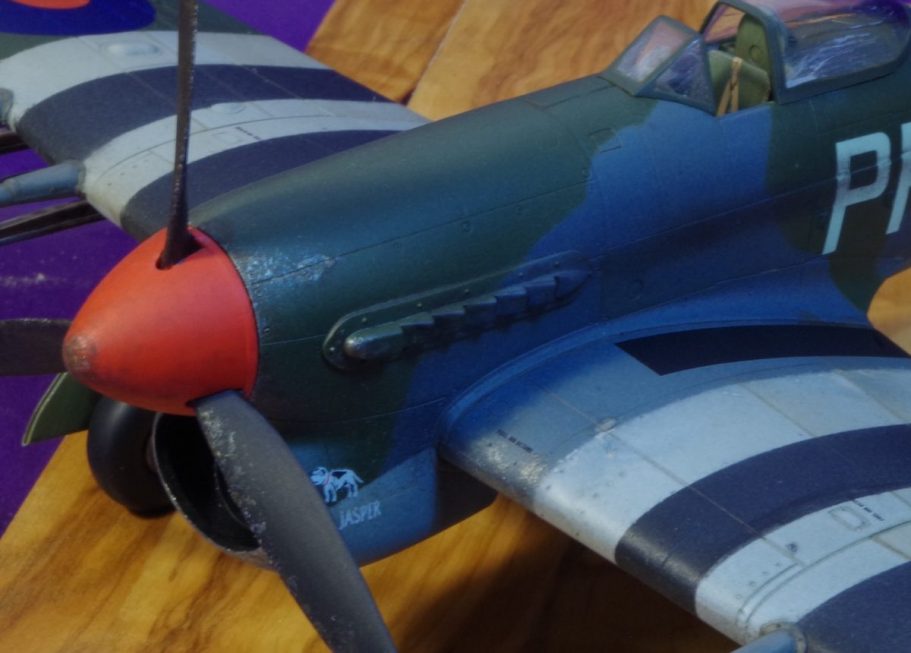
To get the weathered and damaged paint effect, I’d painted the parts with a silver rattle-can spray prior to adding the grey and green camouflage.
Before airbrushing these two colours on I used a fine sponge to apply very small amounts of Marmite on the leading edges where paint would likely get a little damage, and onto the wing roots where the pilot and ground crew might walk
Once the painting was complete, I could then wash the airframe with soap and water, using initially a soft brush to clean the model, and then using an old toothbrush in the areas where the paint was being a little stubborn.
If you’ve not tried this method, then maybe give it a go on some scrap or old model. It works well depending on how heavily you apply the Marmite, which acts as a barrier to the paint drying. Give the upper coats of paint that cover it about half an hour at the minimum to dry off, then wash the model and the paint that’s gone over the Marmite comes away revealing the silver underneath.
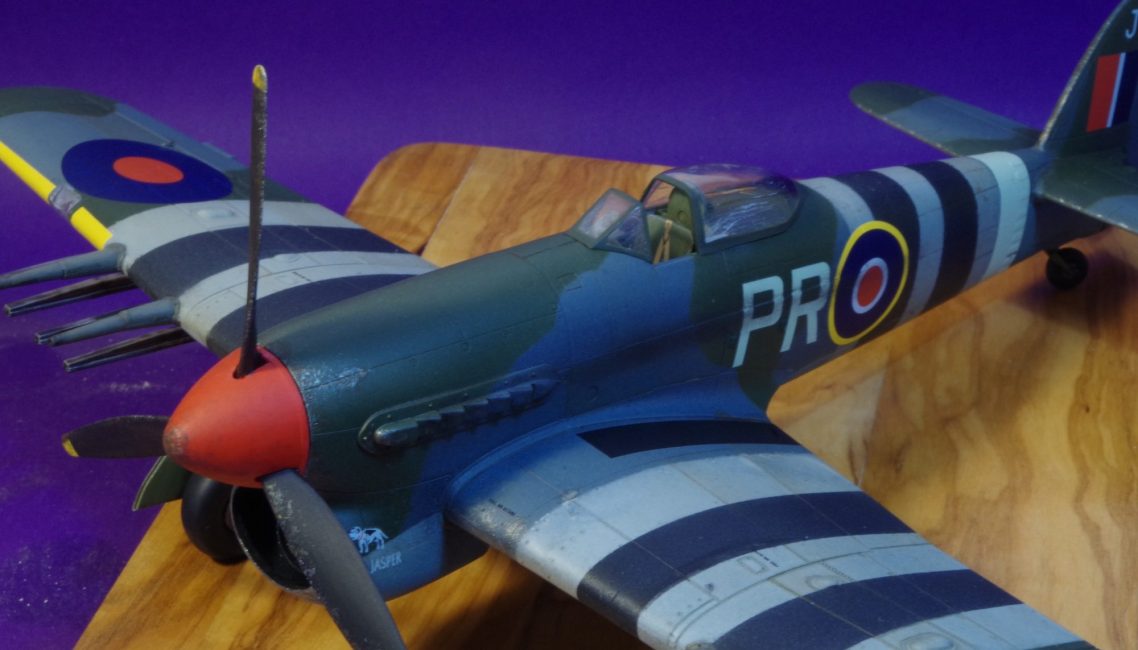
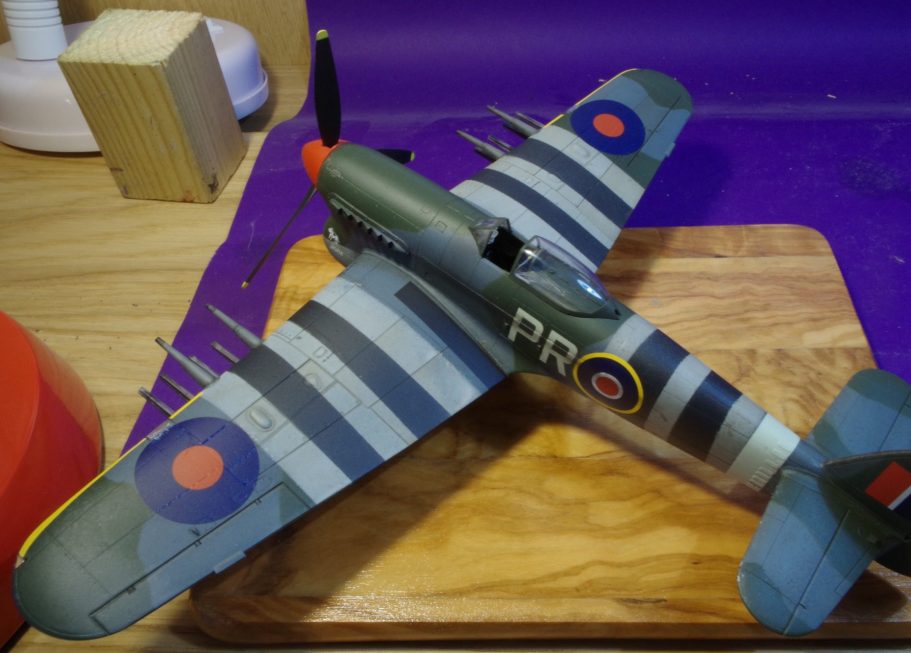
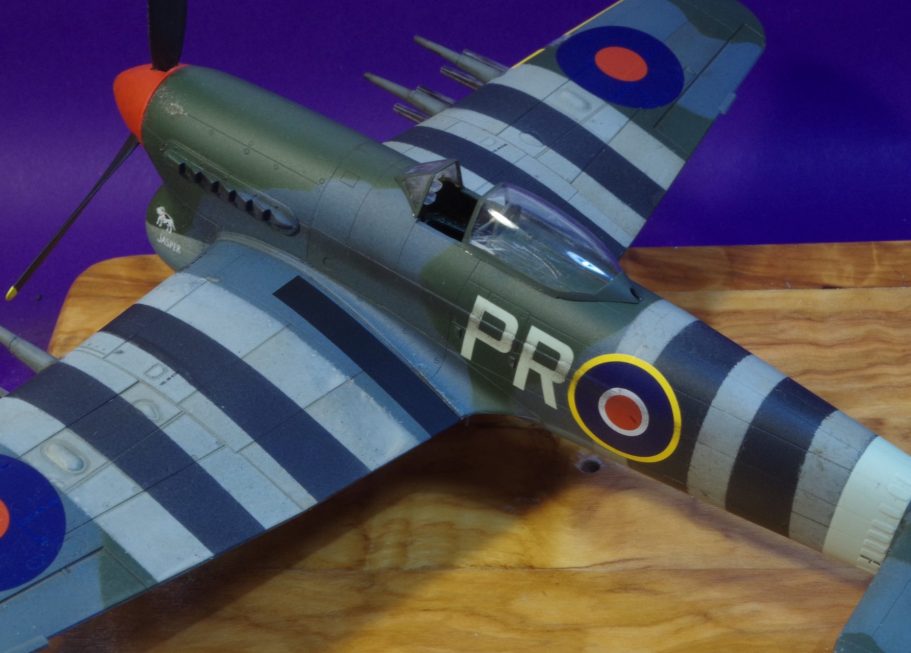
The shots of the finished piece possibly look OK, but I did have a few problems that you may or may not notice.
Masking off for the invasion stripes takes care if you want them to be nice and even, and perfectly uniform. I’d heard someone stating that these were done as a rush job on some aircraft, in some cases the paint being applied with a sweeping brush. So decided to make mine less than uniform in size, especially on the fuselage.
Decals.... Look, I’m a figure painter, and this is the first time in many years that I’ve applied decals to a model. It’s not as easy as it seems and these were a bit fiddly for someone not used to doing them. I messed up the frame number ones quite badly and cobbled together some spurious ones from the bits I had left.
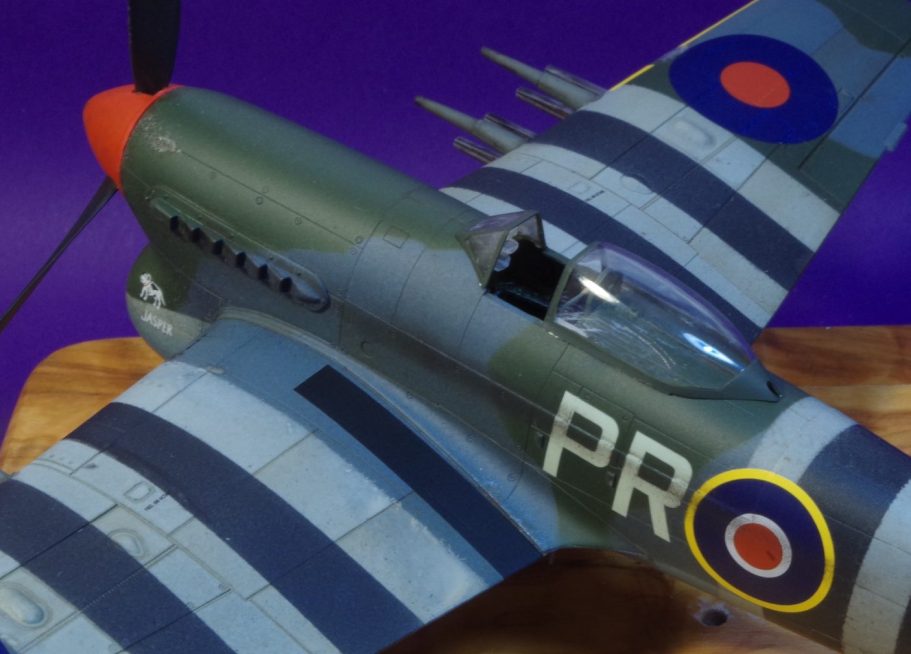
There was a little silvering of some of the decals too, although I was trying out some decal setting solutions, it wasn’t as bad as I thought it’d be.
Overall, apart from the total inaccuracy of the lettering decals that I cobbled together, i was pretty pleased with this as a “kind of” first attempt, it’s not one I’d take to shows, and the purist aircraft modeller would be rightly tearing their hair out because it’s not accurate.
But as a try out for further winged subjects, it gave me a few ideas, a few challenges and a better understanding of the skills that are needed to produce models of this kind.