The Day the Guns Fell Silent
A 1/35th scale Resi-Cast 18pdr resin kit with Tommy's War resin figure
Assembled and painted in 2026
After completing the “Affair at Nery”, one of my friends liked the diorama that much that he said he’d almost wished he’d commissioned it, an earlier comment from the same chap regarding the Nery diorama, prior to the figures being added, was that it made him think of the time of the Armistice and the moment that the guns of all sides fell silent.
The two comments combined to come up with an idea to make a “non-action” diorama. More thoughtful, more considerate, and along with an 18pdr kit coming available on the Veteranus auction site, well, the rest just seemed to happen
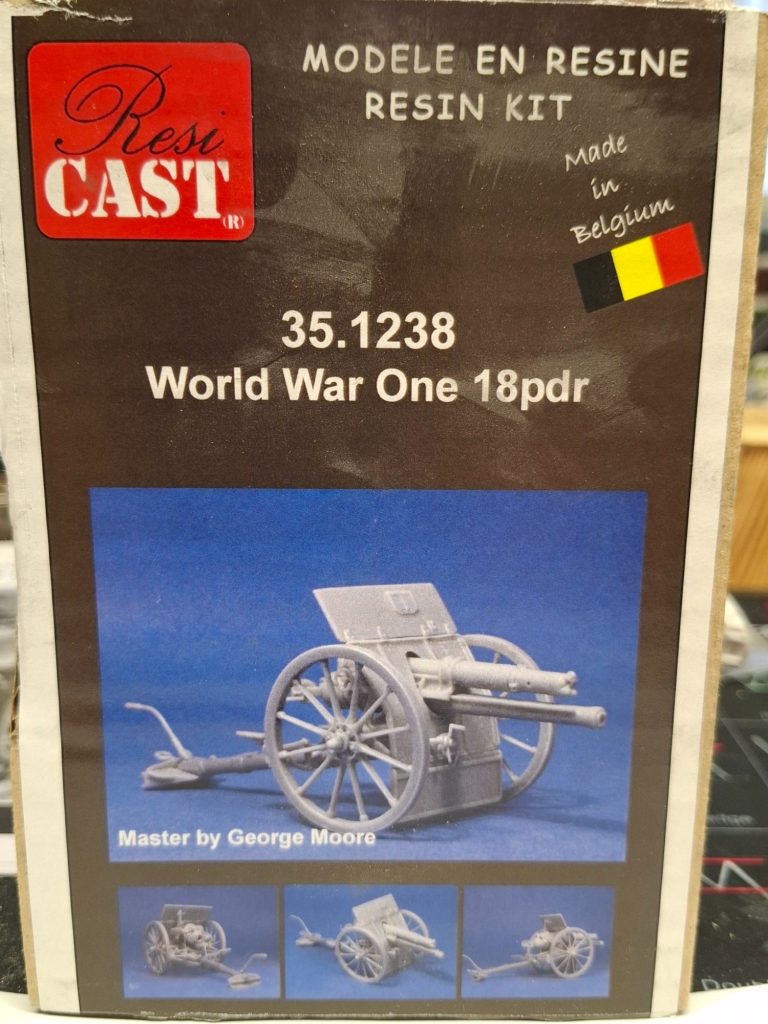
Photo #1 is the box art for the Resi-Cast kit, just as complex as the Tommy’s War 13pdr gun, but I think the learning I gained from that one, made this one a little bit easier to construct.
A lot of resin parts of course, and in addition there’s a dozen empty shell cases, along with a dozen ready shells with their warhead.
Good moulding, easy to separate parts from their mould blocks, and off to construction we go.
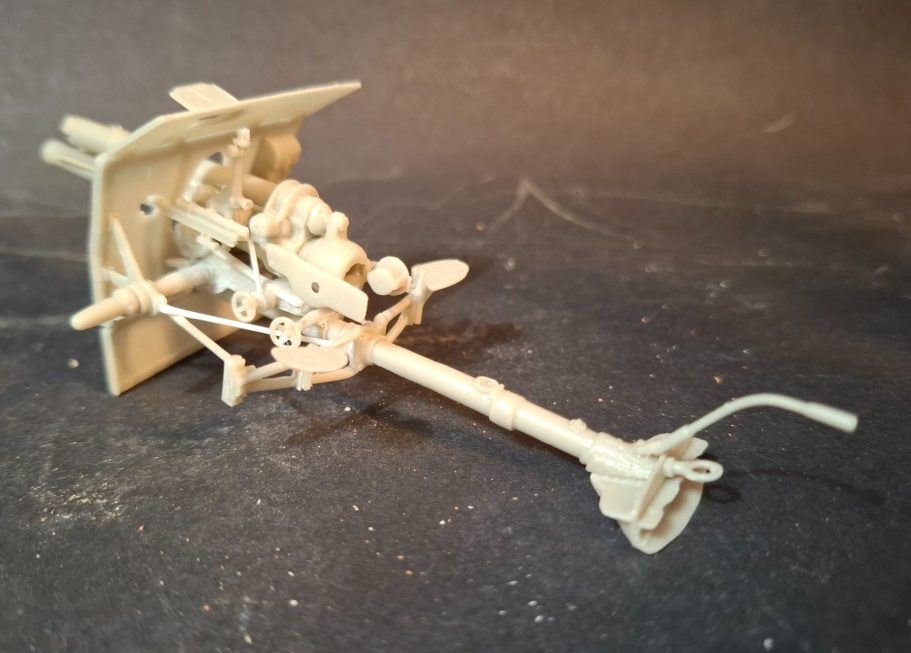
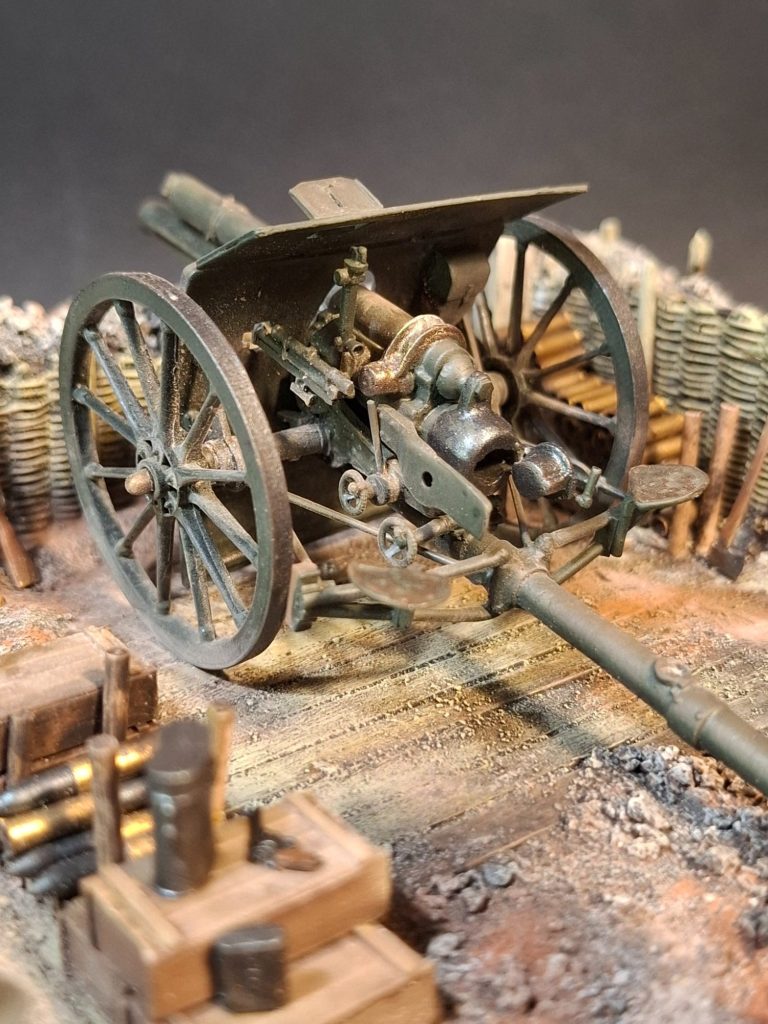
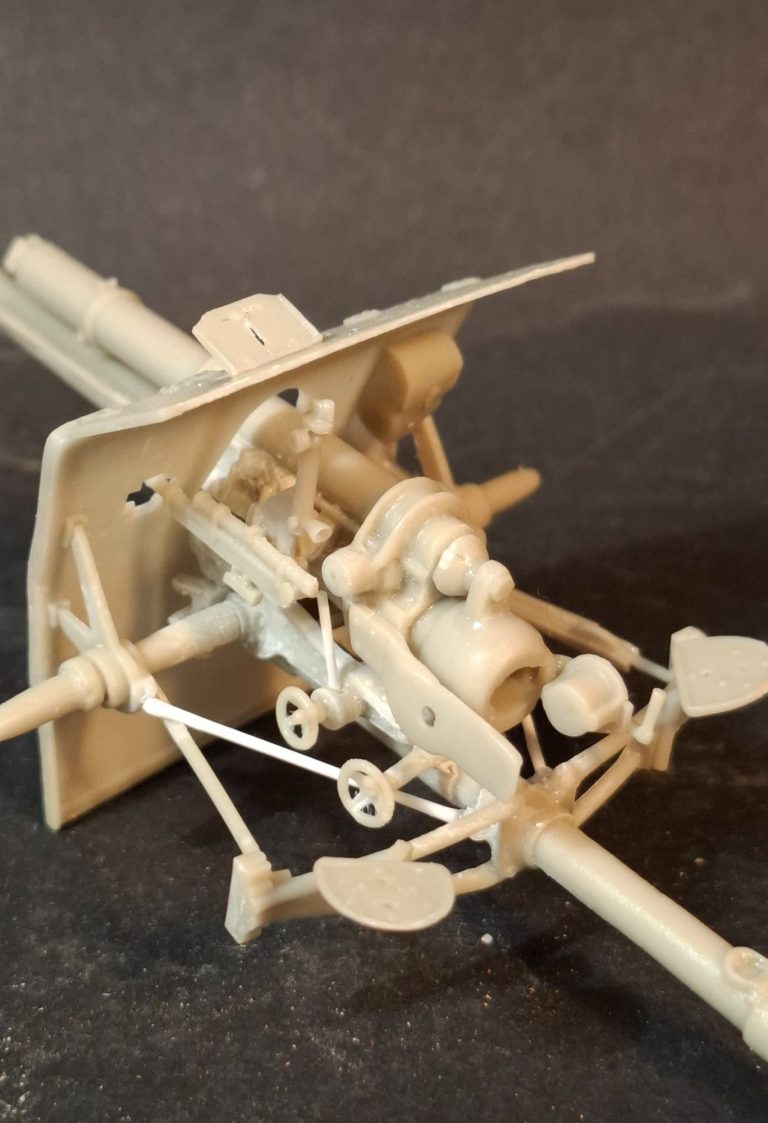
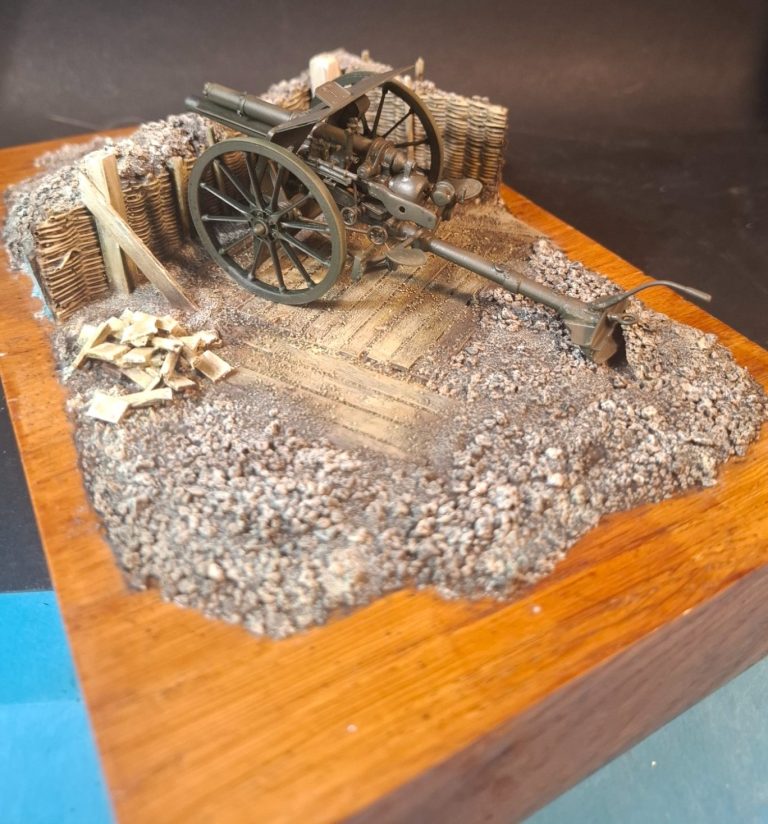
Photo #2 shows the gun assembled, minus it’s wheels.
I’ve left the breech open, which is optional, and posed the gun in it’s firing position, with the trail handle extended so that the gun can be realigned for target acquisition.
Unusually for any kit I’ve come across in many years of making models, Resi-Cast give you several pictures of the gun in action, which certainly gave me a few ideas for how I’d position the gun and the groundwork I’d build for it.
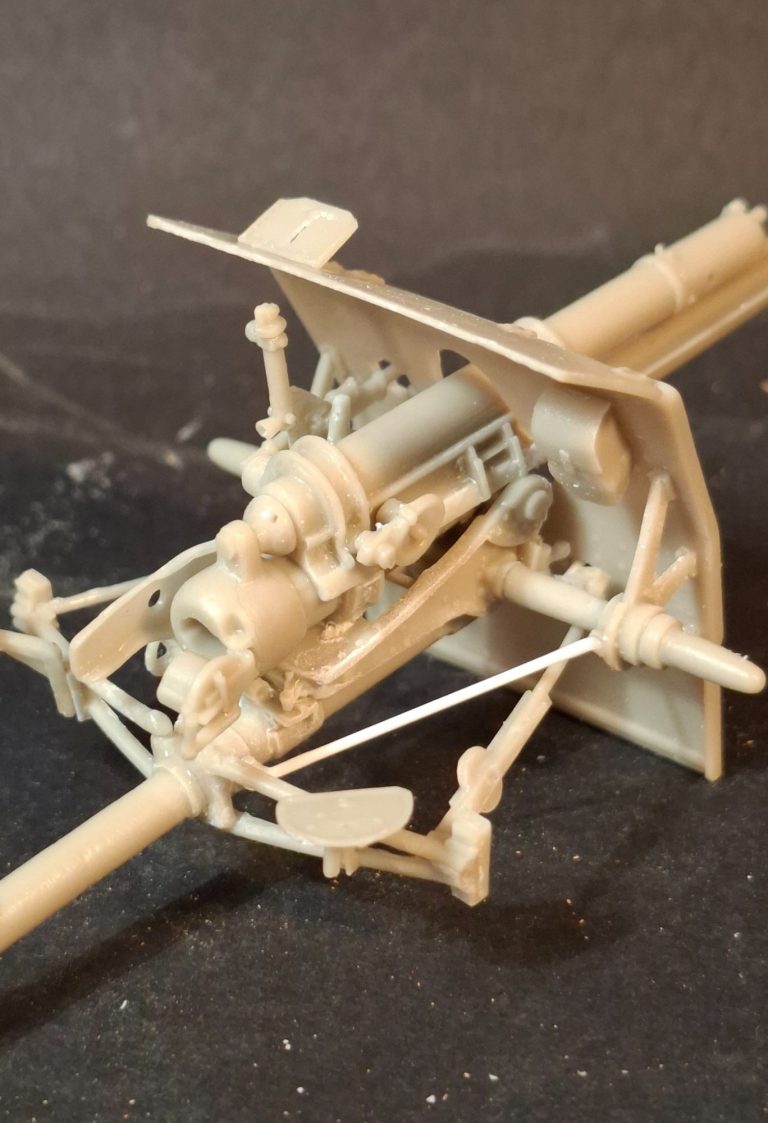
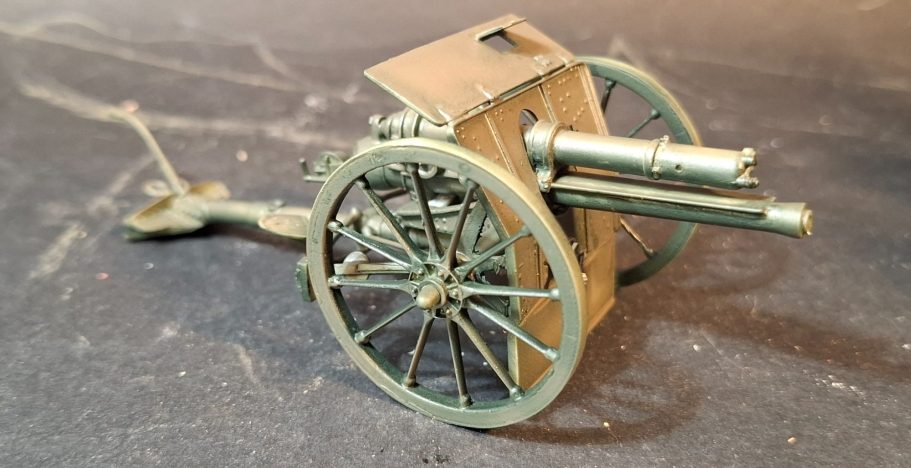
Photos #3 and #4. You know what I said about construction being easier, because I’d had the experience of the Tommy’s War gun…..
Those thin plastic cross-braces that connect the axles to the main beam of the gun and also the thin resin ones attaching the seat frames to the main beam, well, they are:-
- A bit of a pain to cut the plastic to the correct length,
- A it of a pain to fasten in place, because the securing point is so small.
- And the most irritating for a ham-fisted beggar like me, come unstuck or detached at the gentlest of pressures – intended or inadvertent.
There, that’s got that off my chest.
Otherwise, construction is straightforward and I can say with confidence that the instructions are excellent.
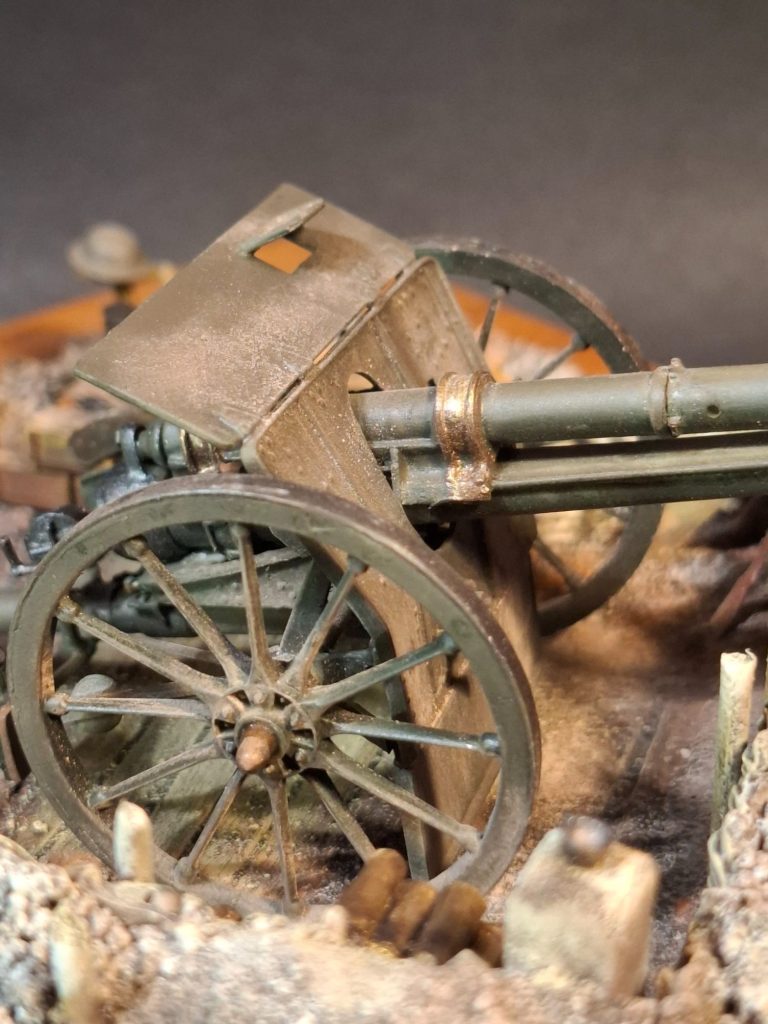
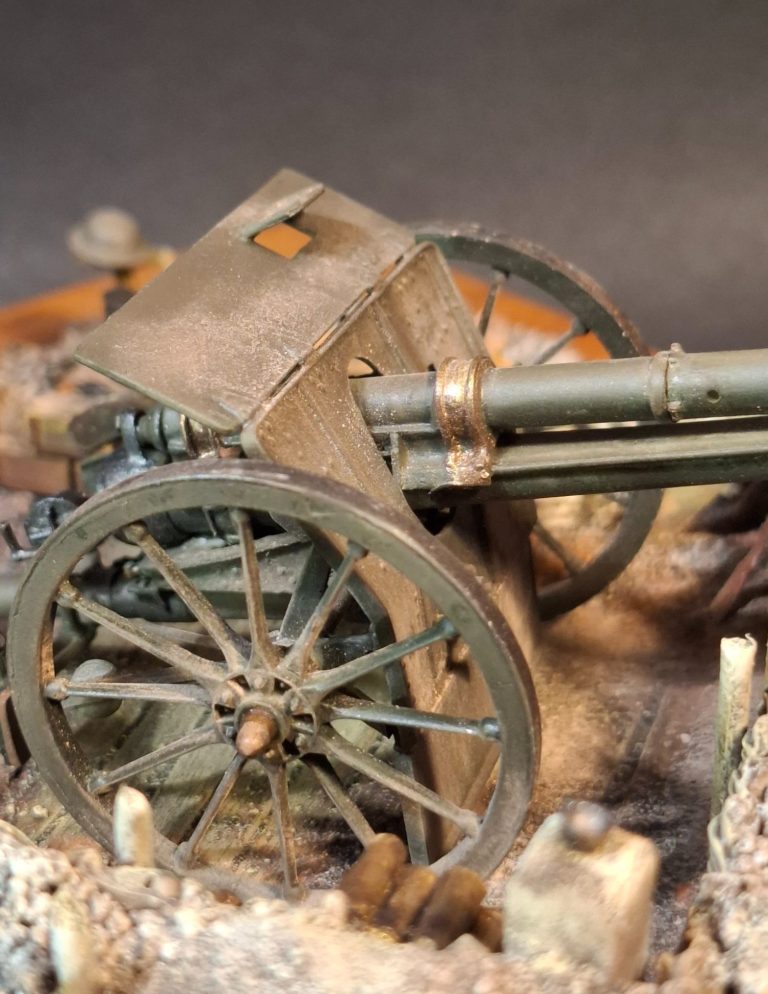
Photos #5 and #6. By this time in WWI, camouflage had developed and whilst Germany sought to break up the outline of equipment, from larger field pieces and the newly developed tanks, down to smaller personal pieces like helmets, British forces were holding to green / olive and sometimes brown colouration.
So I used Olive Drab as a base for the gun, adding Tamiya’s version of that colour through an airbrush.
Whilst without paint the model looks good, I do feel that the details begin to stand out with the application of paint. There’s no details added yet, it’s just the Olive Drab colour, but somehow it still looks very good indeed.
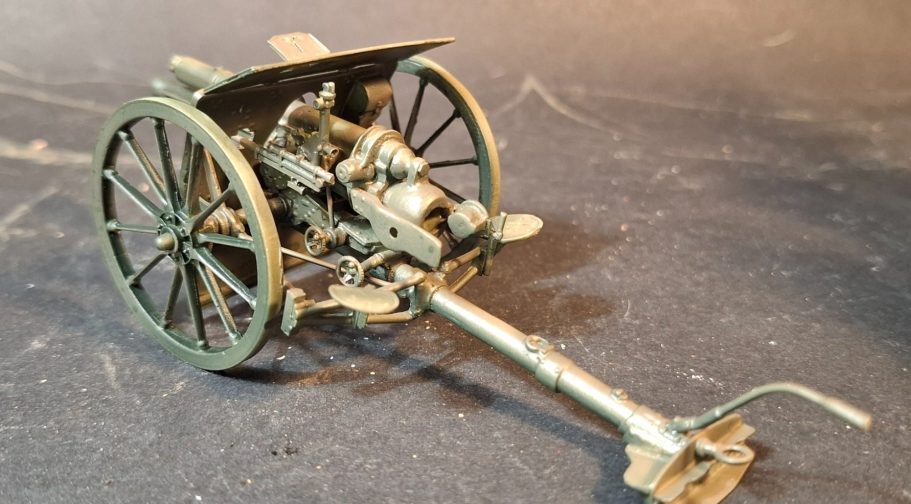
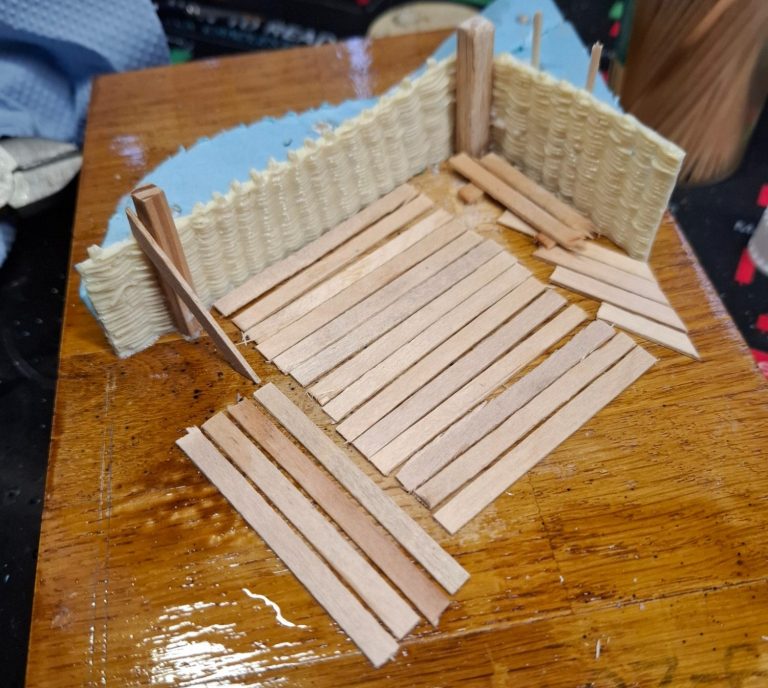
Photo #7. So with the cannon constructed and a basic coat of paint applied, my mind turned to how the base would look.
Using the pictures supplied with the instructions, I thought of a partial firing platform, with the gun dug in behind a mound of earth. This shot shows the beginning of construction.
I began by using some offcuts of blue foam board for the slanted mound of earth in front of the gun position, gluing this to a nice bit of varnished Butchers Block Oak.
Some time ago I’d made some wicker barriers out of wire in this scale and produced a mould so I could cast resin copies.
To hold these in place realistically, I added some square profile “posts” and then used the wood stirring sticks that you get when you visit a coffee shop to add a “floor” to the base to prevent the cannon sinking into the mud when it got particularly wet. It would also allow the gun team to move around better.
With some spare bits of stirring sticks I made a small shelf on the upper right of the picture to store spent shell cases.
Photo #8 and it’s worth checking that the cannon fits in place. There will be an amount of groundwork added under the gun trail and to the left of the emplacement, along with quite a few personal effects and ammunition to make the area appear “used”.
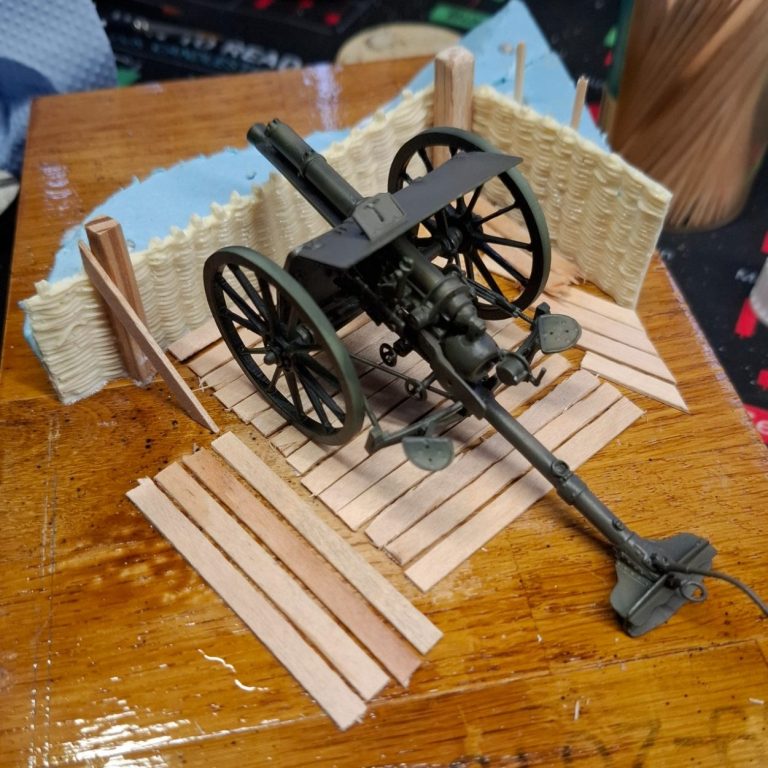
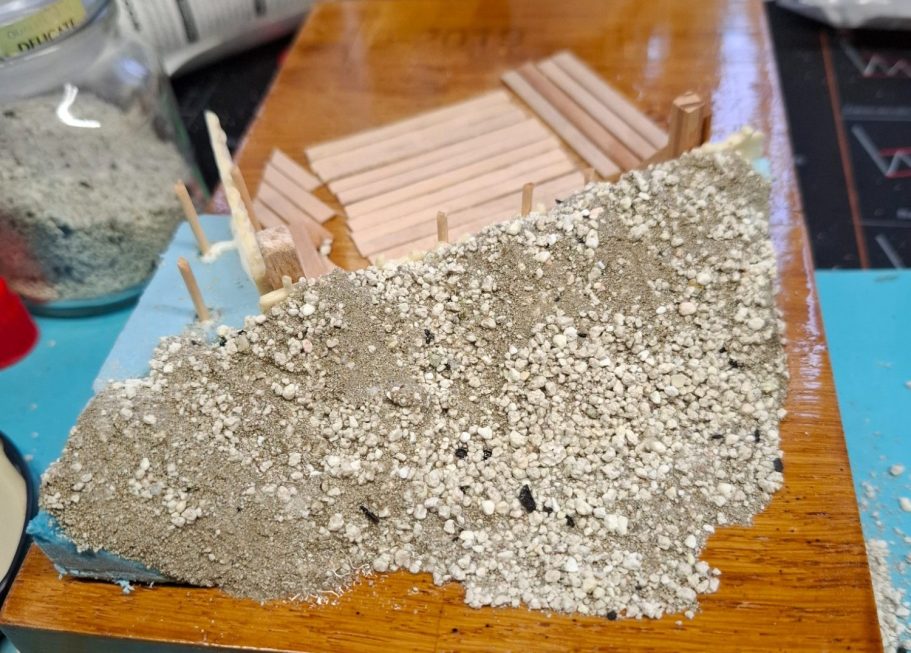
Photo #9 shows the sand and cat litter mix being added to the front of the earthen mound.
This is put in place with a small spoon, allowing the mix to find a natural sit, and then superglue is carefully dribbled on to set it all in place.
I’ve found that the superglue I use melts the foam board, but that doesn’t matter, as any holes can be filled with more of the sand mix.
Photo #10 shows a side view, and here I’ve used the same mix of sand and cat litter to fill in areas at the back of the earthen mound and test fitted the gun.
To make a divot where the spade on the gun trail has dug into the earth as the cannon is repeatedly fired, I used a small section of double sided tape backing paper, which the superglue wont stick to, to form a small divot, removing the tape backing after five minutes or so to allow the superglue to cure.
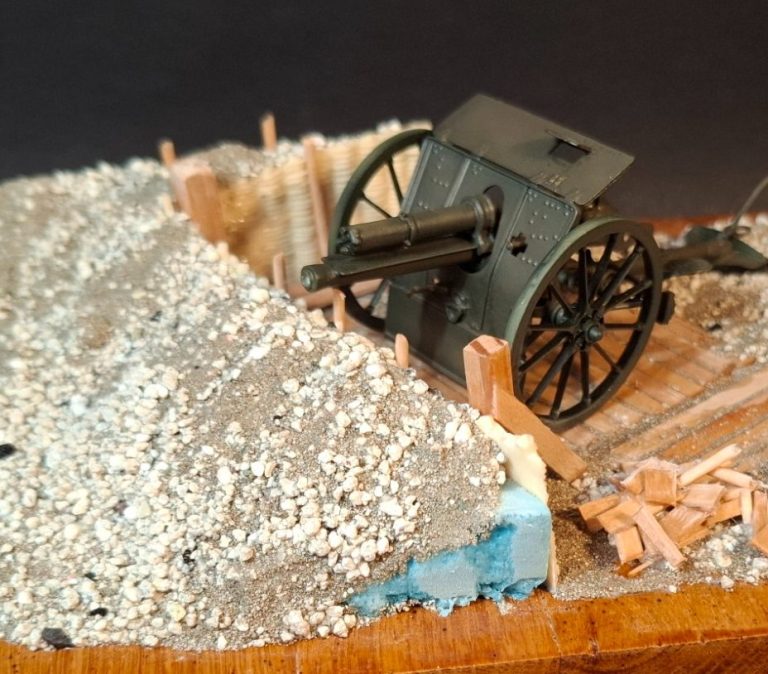
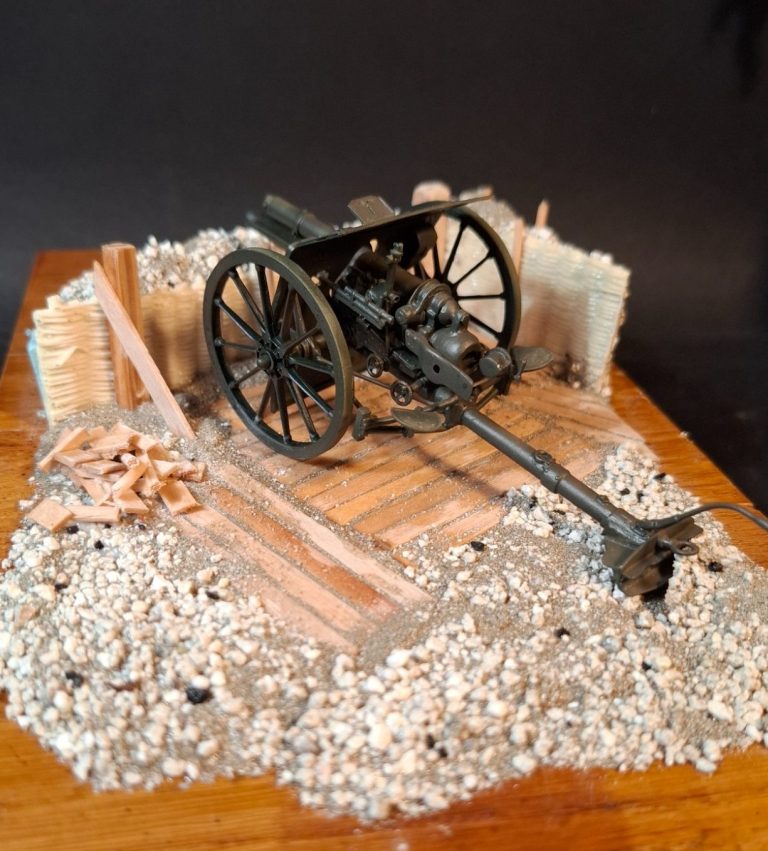
Photo #11 shows another view at this stage. It’s worth saving all the offcuts of the stirring sticks in cases like this, and I used them in a small pile to the left of the gun as a sort of waste pile where whoever constructed the emplacement just discarded any spare bits of wood.
Photos #12 and #13. The groundwork was painted with various coloured oils – Sepia, Yellow Ochre and Buff Titanium – and although when new, the wood and wicker sections would be a different colour, we’re talking here of the very end of the war and so dust, dirt and mud would have made all these components pretty much the same colour.
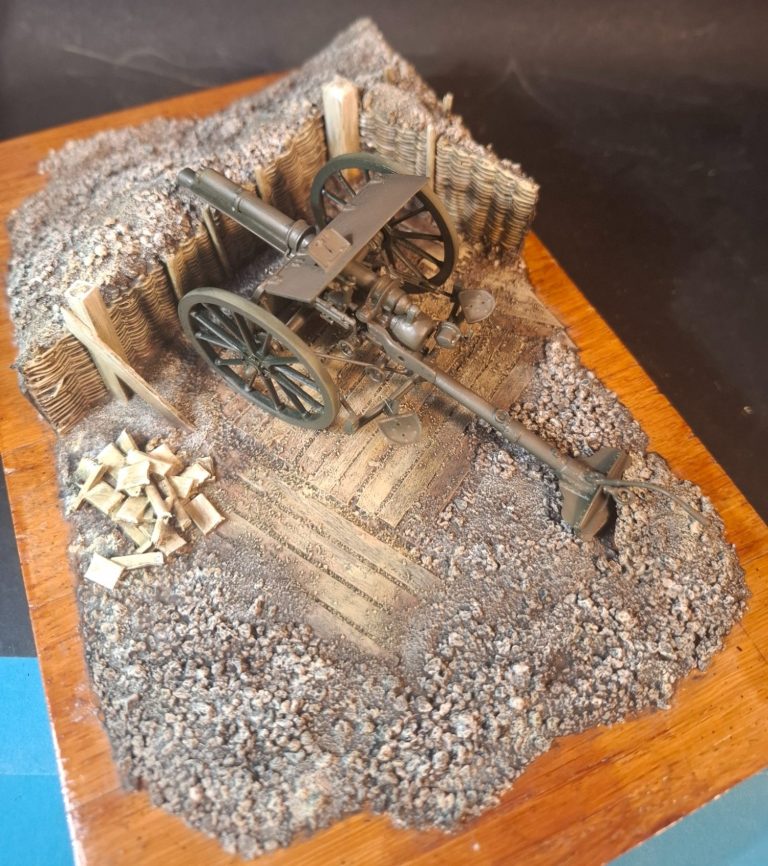
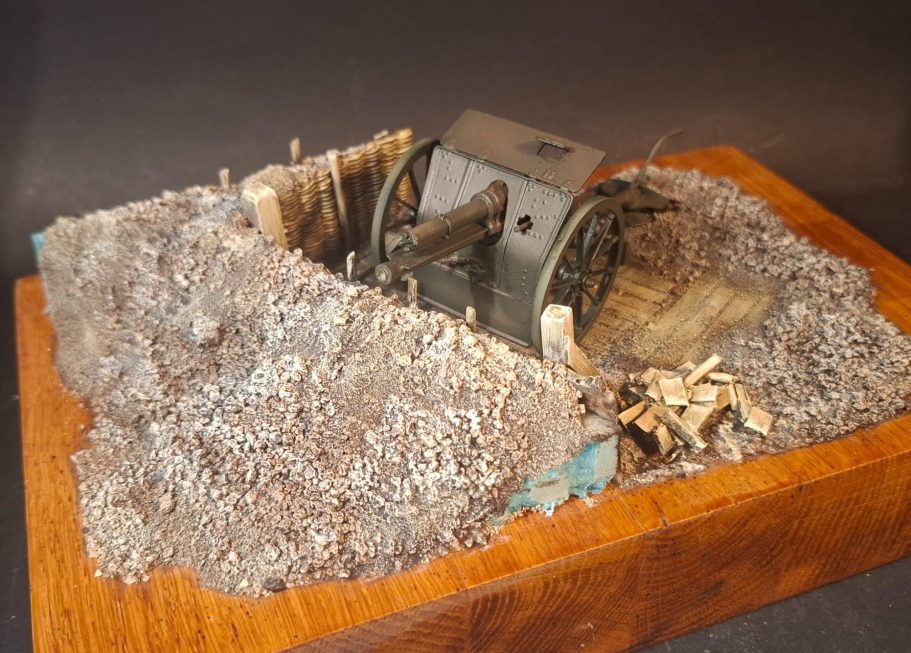
Photo #14 shows the front of the mound at this stage and the blue foam board is still visible on this and the opposite side, but I’ll add some wood veneer over that later on.
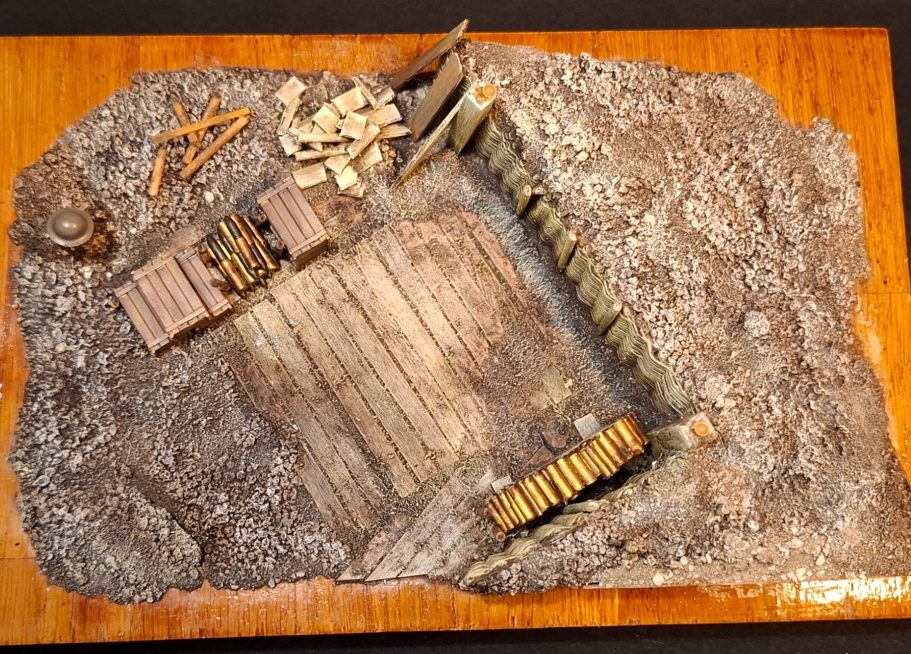
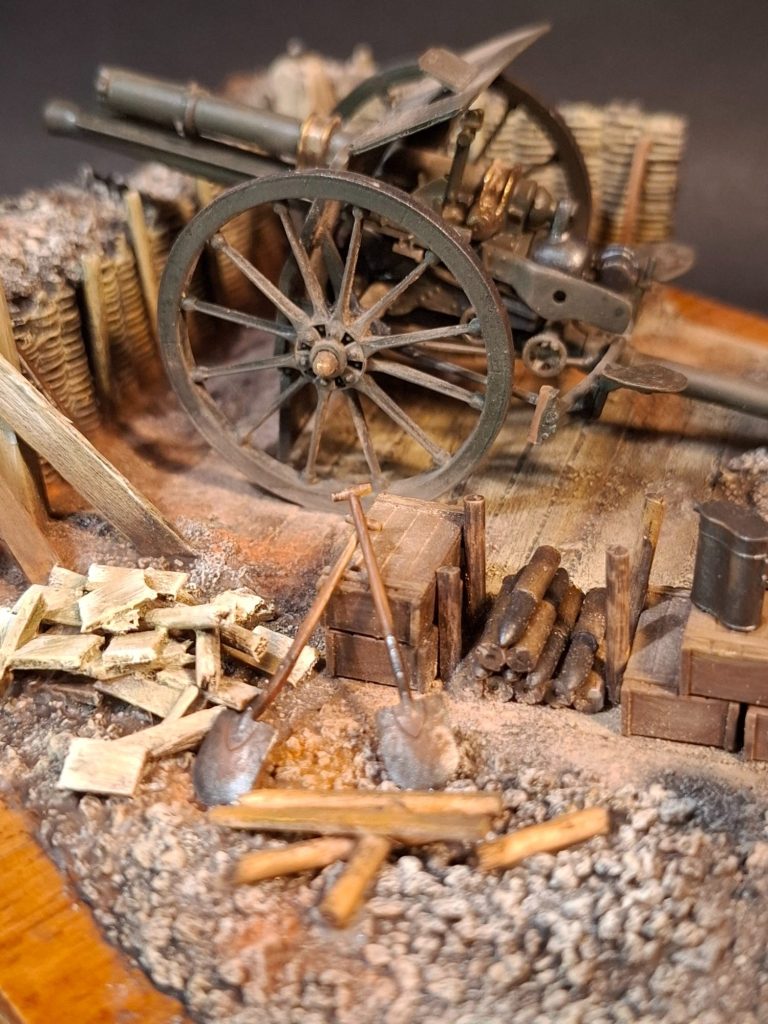
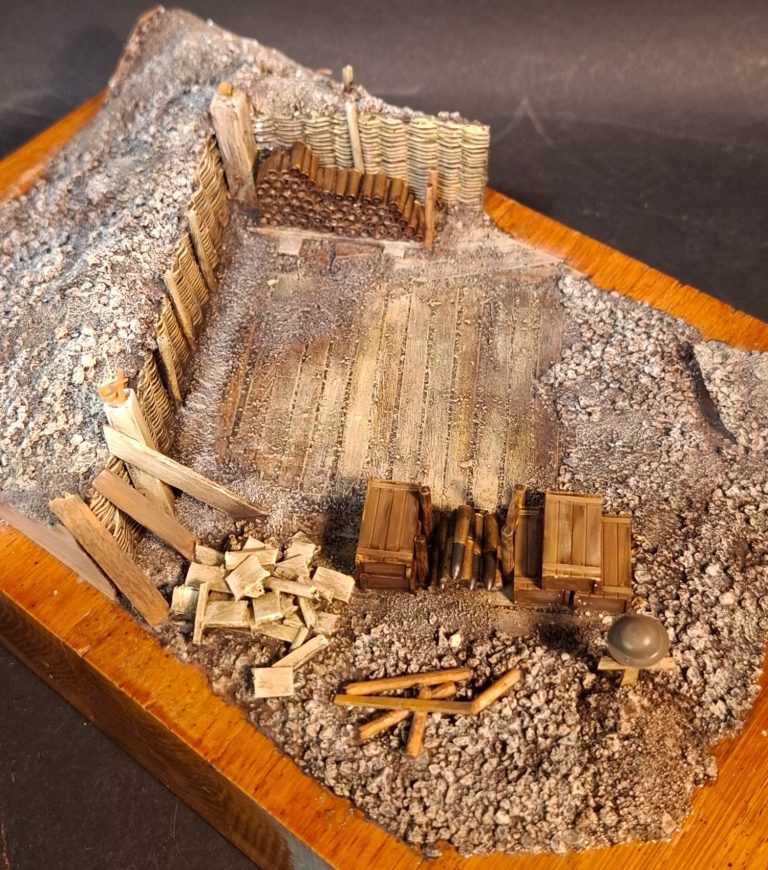
Photos #15, #16 and #17 show the addition of some of the accessories. I’ve got wooden cases from a spares box, the active shells are piled on one side that come with the kit and I’ve made more spent shells to add to the kit ones by cutting short lengths of plastic sprue and drilling out one end to show the hollow case.
There’s some spare bits of cocktail stick that I’ve broken up piled next to the offcuts of stirring sticks and I’ve used a couple of pieces of stirrer to make a little cross and added a British helmet to the top of it. The grave is made to look fairly recent by painting the grave mound with some of the Sepia oils.
Finally, a couple of longer planks rest against the edge of the wicker fence, just left there by the builders in case they came in useful later on.
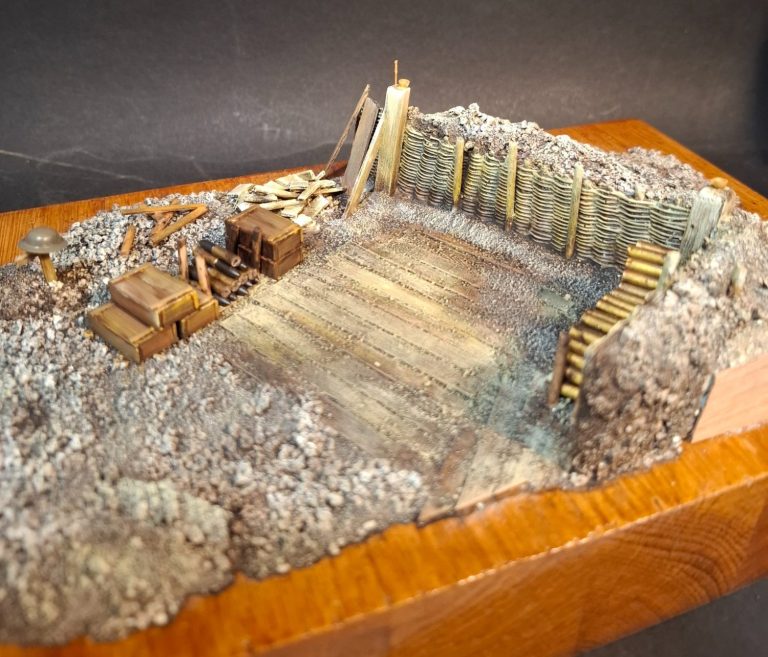
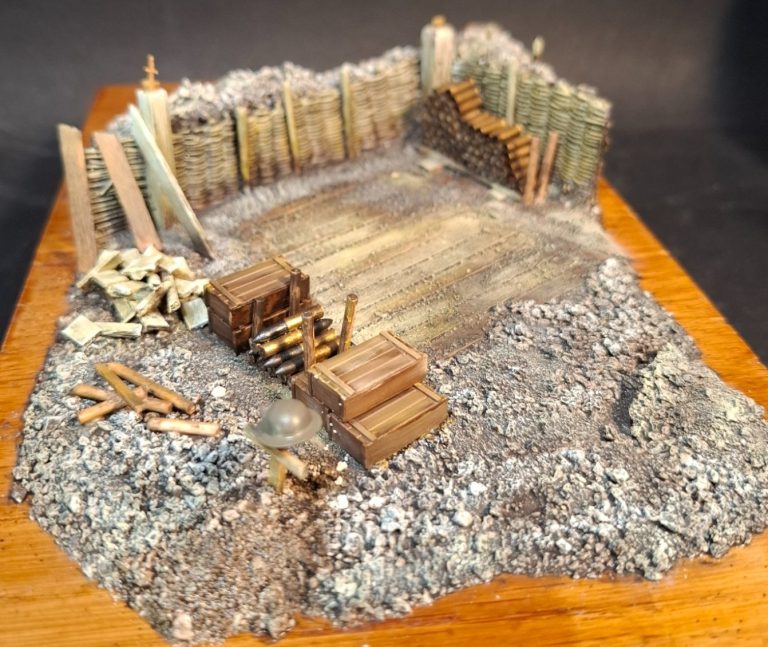
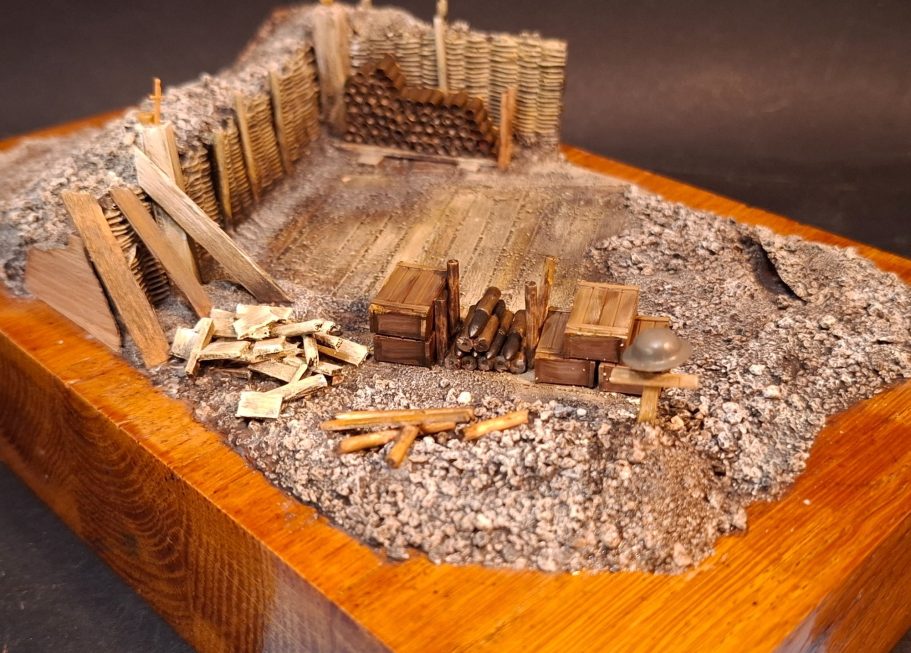
Photo #18 and another view of the base at this stage. The divot for the gun spade can be seen on the right, although I’ll need to add some more sand to bed the spade in once the gun is fastened in place, and the veneer has been added to cover the blue foam board.
Photo #19 There may not look too much change in this shot, but I’ve added four different colours of pastel dust to the base, working it in to the groundwork and creating slight differences in colour.
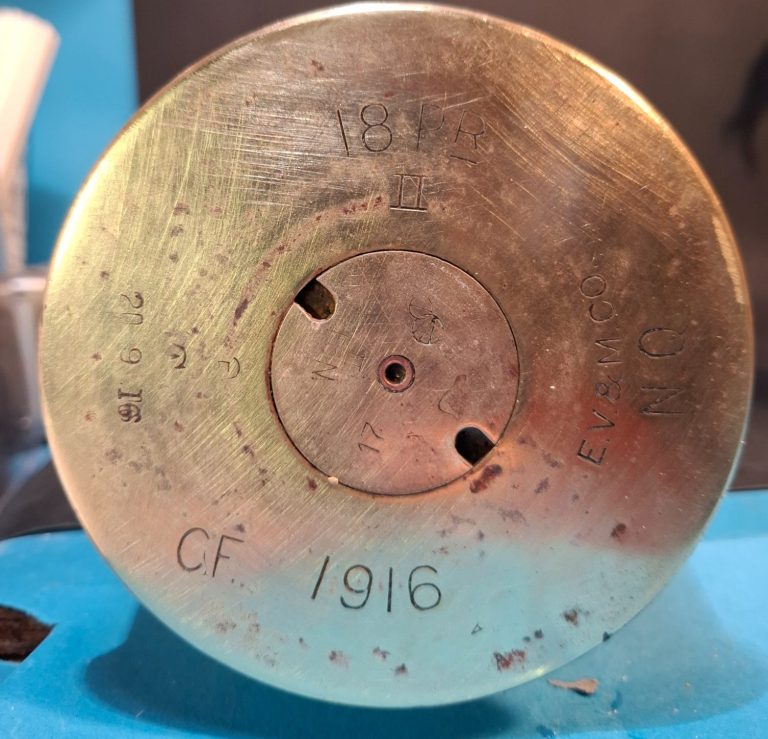
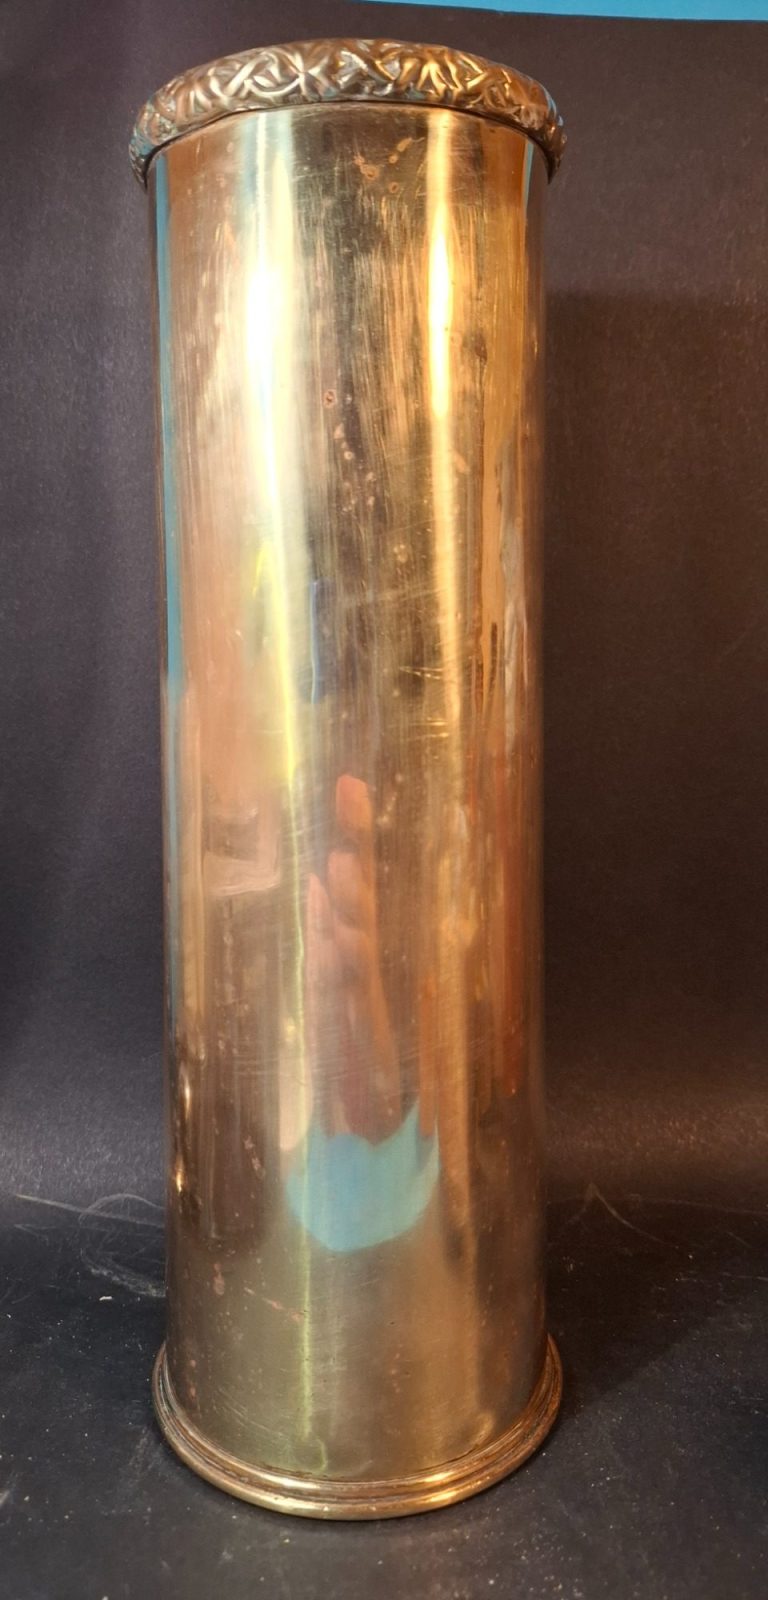
Photos #20 and 21 – the things we accumulate from our parents and grandparents.
this has been used variously as an umbrella stand, a holder for dried flowers and a doorstop over the last hundred years or so, but it is a genuine brass shell case from World War One, brought back I suspect as a souvenir by one of my grandfathers, both of whom were active within the conflict.
It’s been in the family ever since, and as it is actually an 18prd case, I thought I’d take a couple of shots of it to add here – it would have been used in a similar gun the the one I’ve made in miniature here.

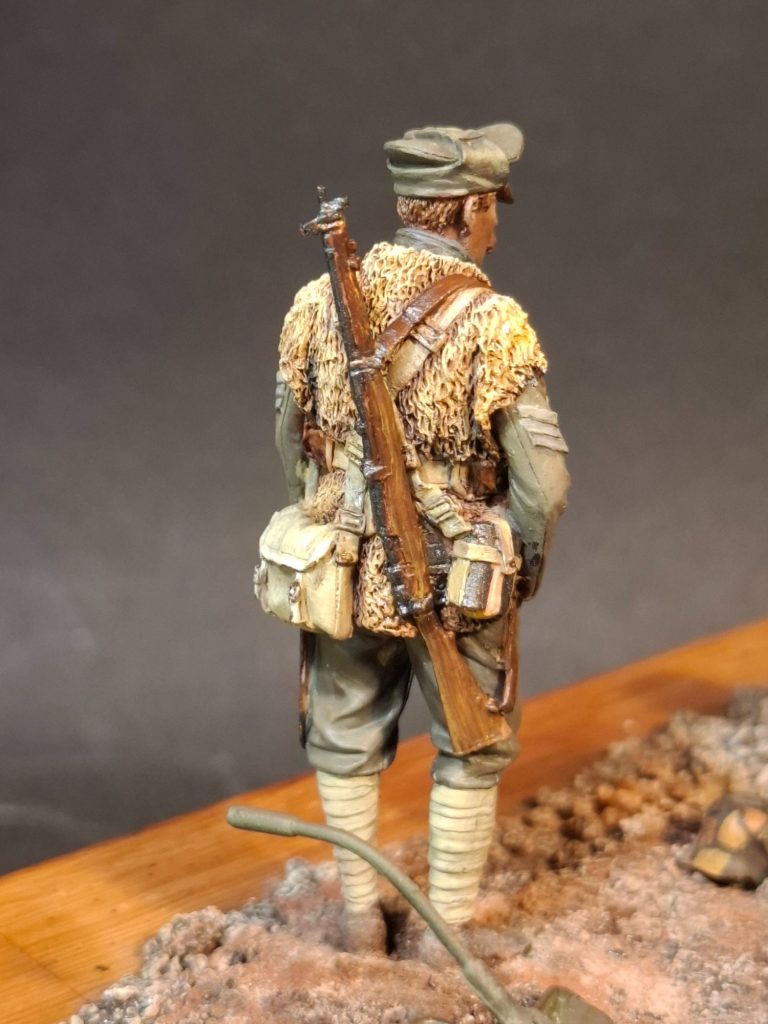
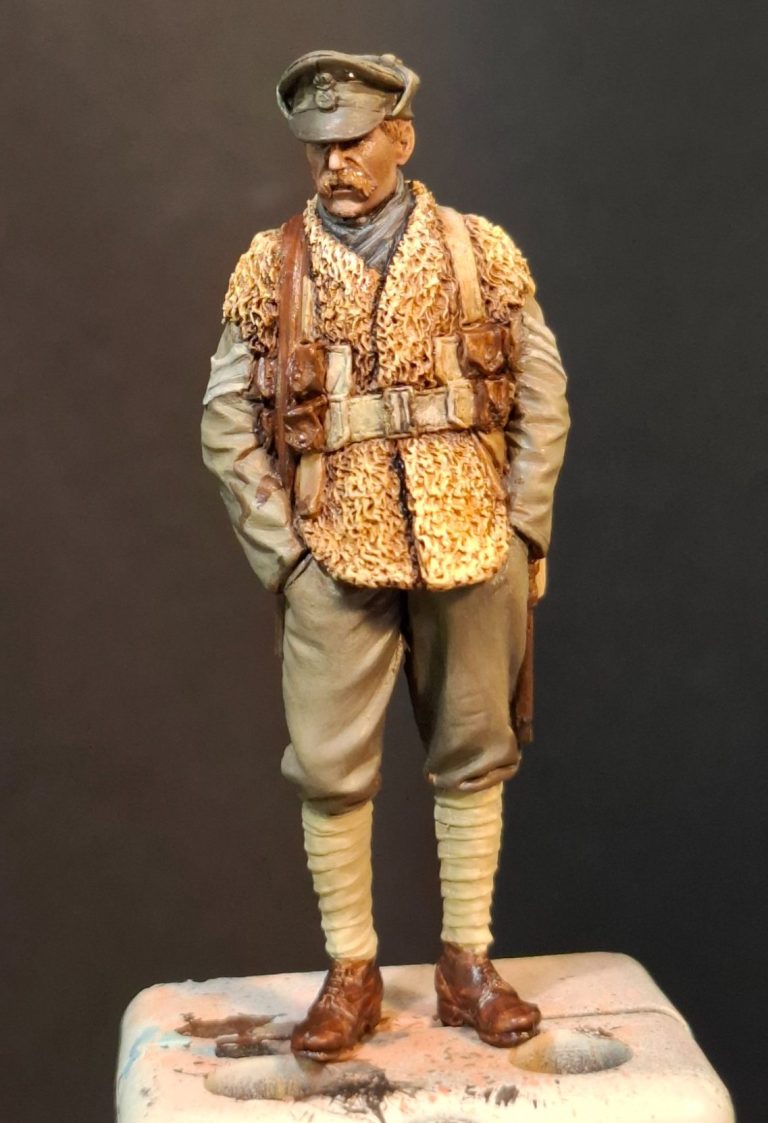
Photos #22 and #23. Initially I wasn’t going to add any figures at all, just have the gun and the accessories looking like the area had been abandoned recently with the armistice coming into action.
But having looked for things that I could add, I happened upon this excellent Tommy’s War figure that would fit in the scene nicely.
The sculpture and casting is of the usual high quality, and painting is pain free.
I kept him fairly clean looking, just dusting a little of the pastel chalks around his feet and lower legs once he was in position to blend him into the groundwork.
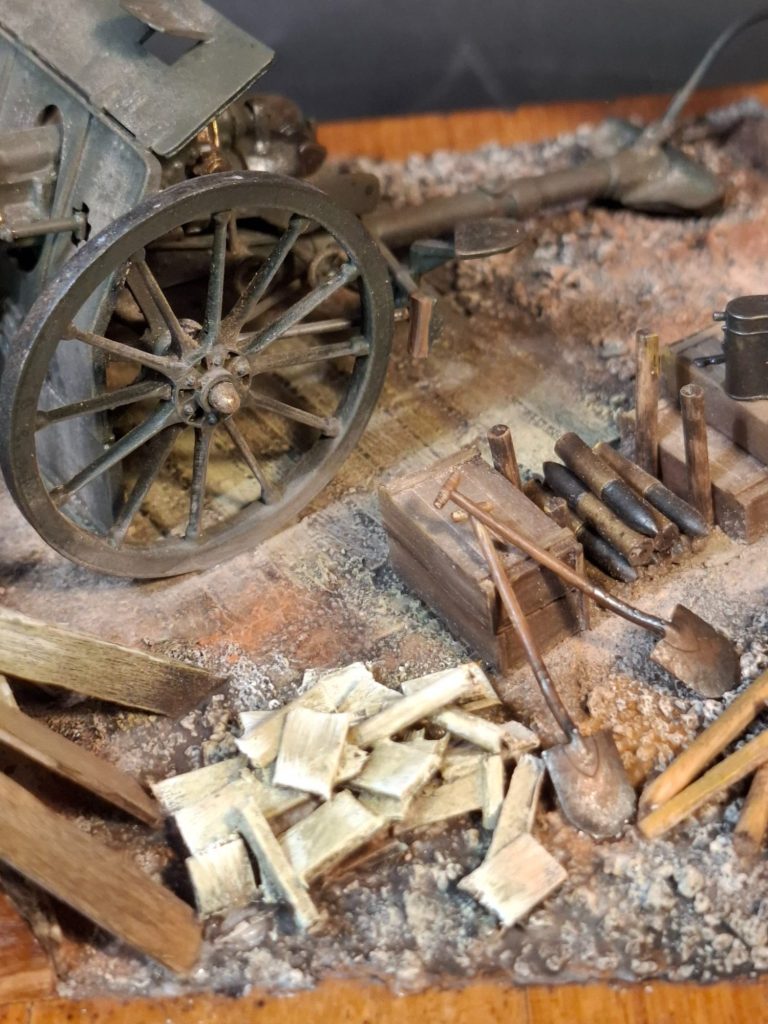
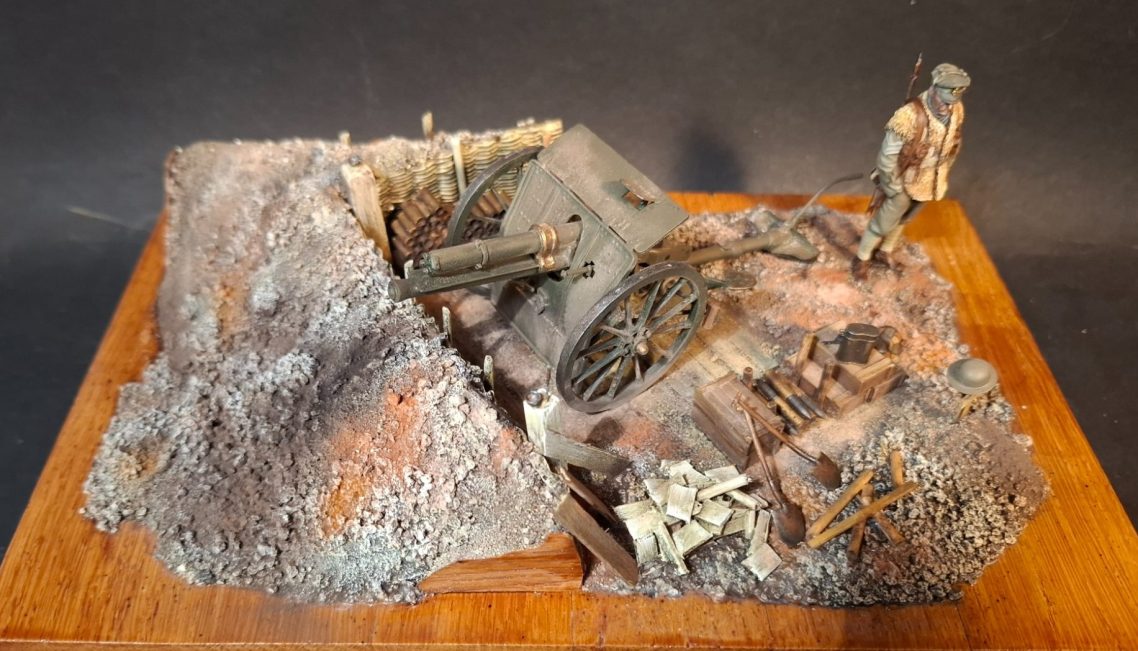
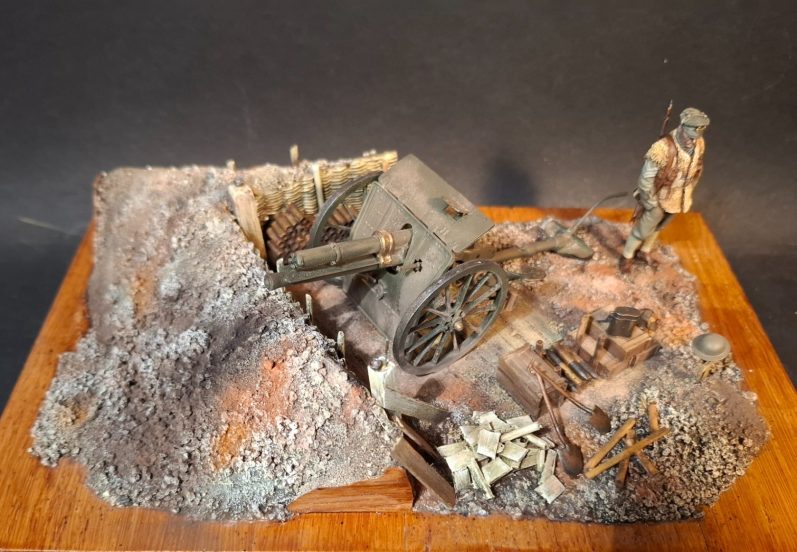
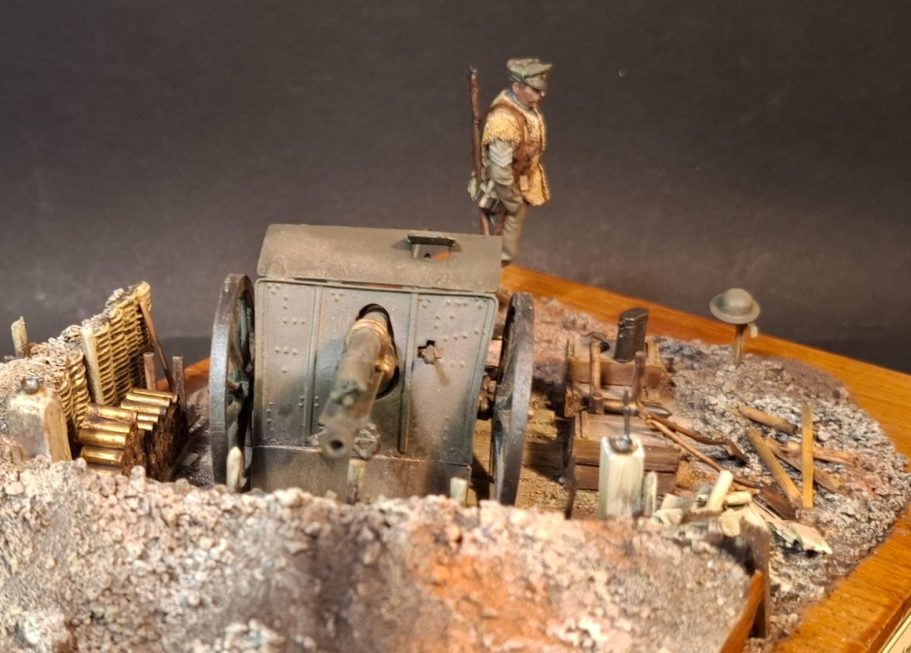
And now the final shots.
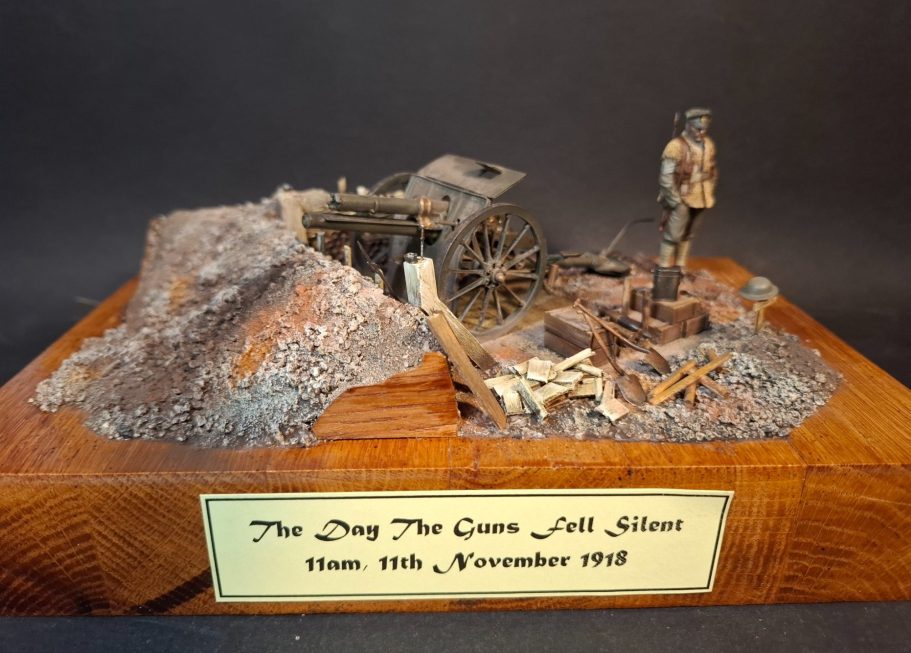
A few more details added – mess tins, a pistol, a couple of shovels and a German helmet on or around the wood cases, a couple of cups on the top of the square posts along with a knife plunged into the top of one too.
There’s and axe and a rifle leant up against the wickerwork fence too.
All adding to the used but recently abandoned appearance.
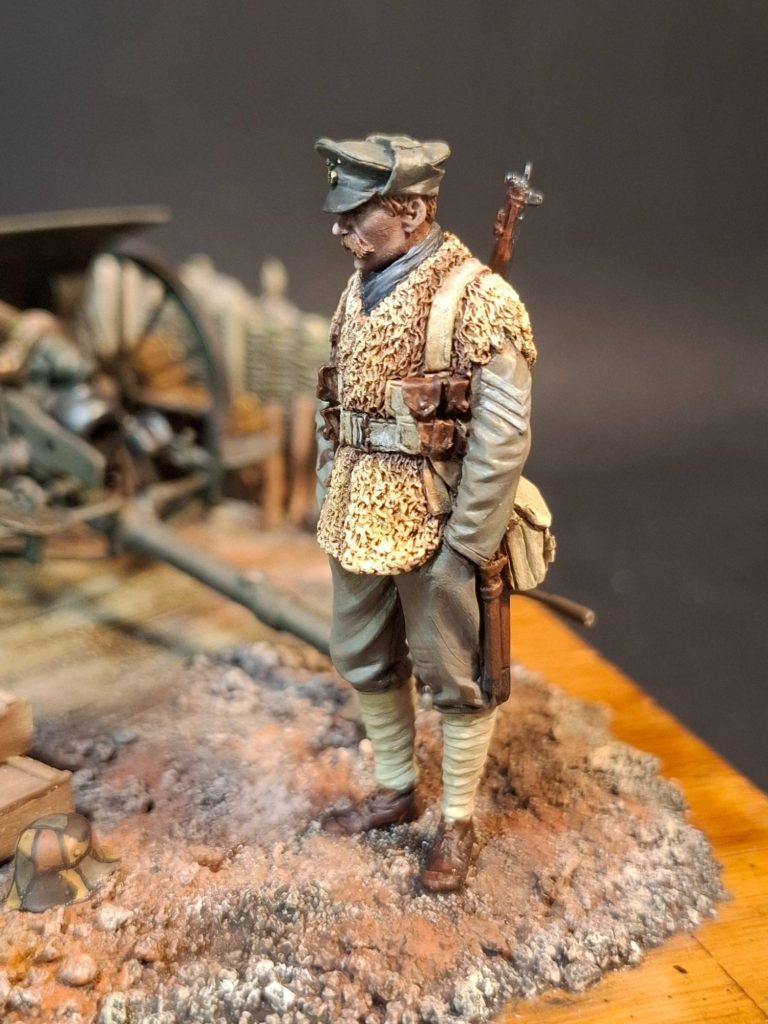
The figure was posed to be contemplating the grave.
My thinking here was how seemingly pointless to be killed so close to the ending of hostilities, adding to the age old question, what point is there to a war, especially on the scale of World War One where the death toll was so high.
Makes you think.
Final thoughts
This is a much simpler scene that the Nery diorama, but still I enjoyed making it. The quality of the elements helps make it so much easier to put together, and the groundwork setting isn’t all that difficult to source and construct.
I’m glad that Tommy’s War Miniatures has been taken over and made available again, it’s such a great range that covers WWI.
Resi Cast, this is the first of their kits I’ve had a go at and I think if this is anything to go by, then the casting and especially the instructions are excellent indeed.
All highly recommended.