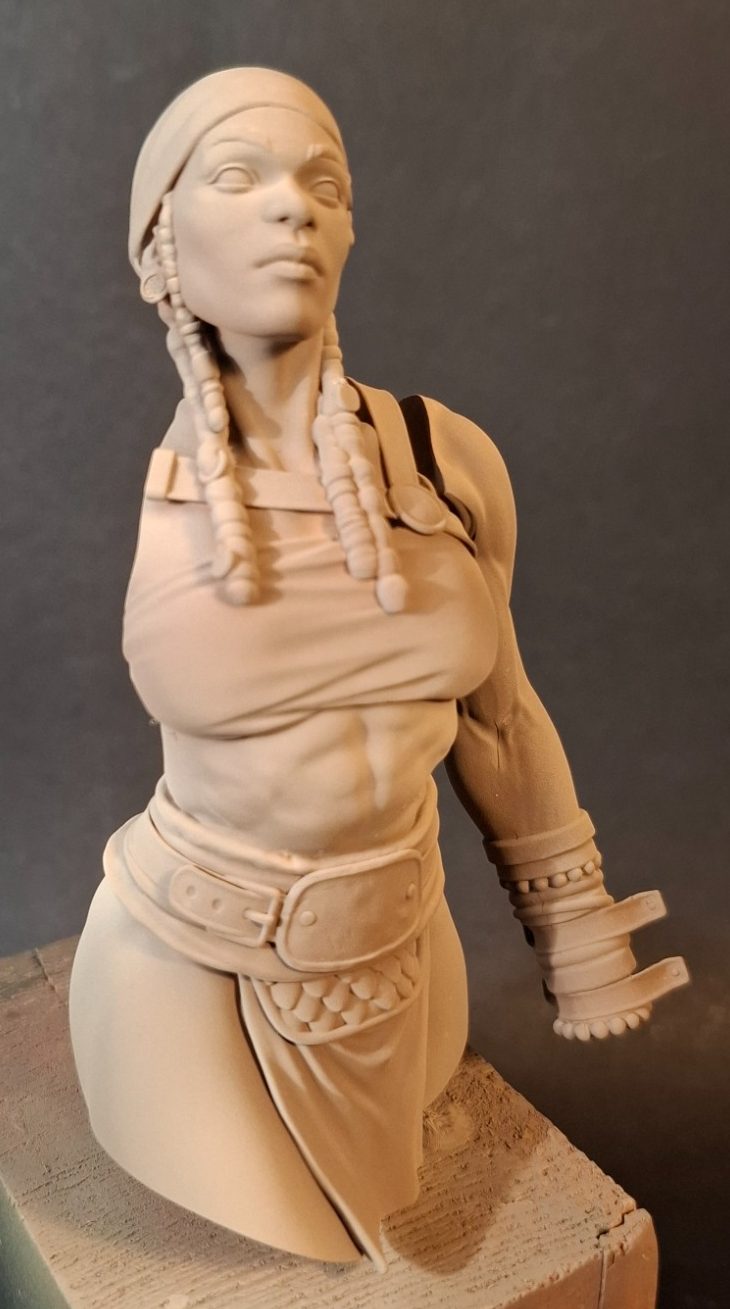
The Lioness
1/10th scale resin half figure from Stella Argentis
Painted in 2026
I thought initially that this company was completely new to me, but having had a “side-ation” - an old Lancashire word for sorting through and tidying up an area – I’ve come across a couple of other kits from Stella Argentis that I must have bought in the past.
Funnily enough one has gone straight onto the bench to get painted, but that’s a whole separate article.
This female gladiator was one of those purchases that seems to almost be a reaction, rather than a conscious thought or consideration. “I really like that, so I’m ‘avin’ it !” and the wallet is in hand before the eye can blink.
Bought at SMC 2025, and on the bench pretty darn quickly, although put aside on occasion to complete a commission, this piece really does fit into the classification of “almost pour paint in the box, shake a little, and out comes a lovely model”
The very simple and unassuming box art is shown in photo #1, and to be honest gives no idea of the size of the kit it contains.
Examples of painted pieces can be accessed on the Stella Argentis website Stella Argentis and there’s a lot of wild and wacky kits on there- skating ducks and cute axolotls – but also including some fantasy pieces from full figures to busts.
This particular model comes in three versions, a 1/9th scale bust, this half figure and also a 90mm full figure.
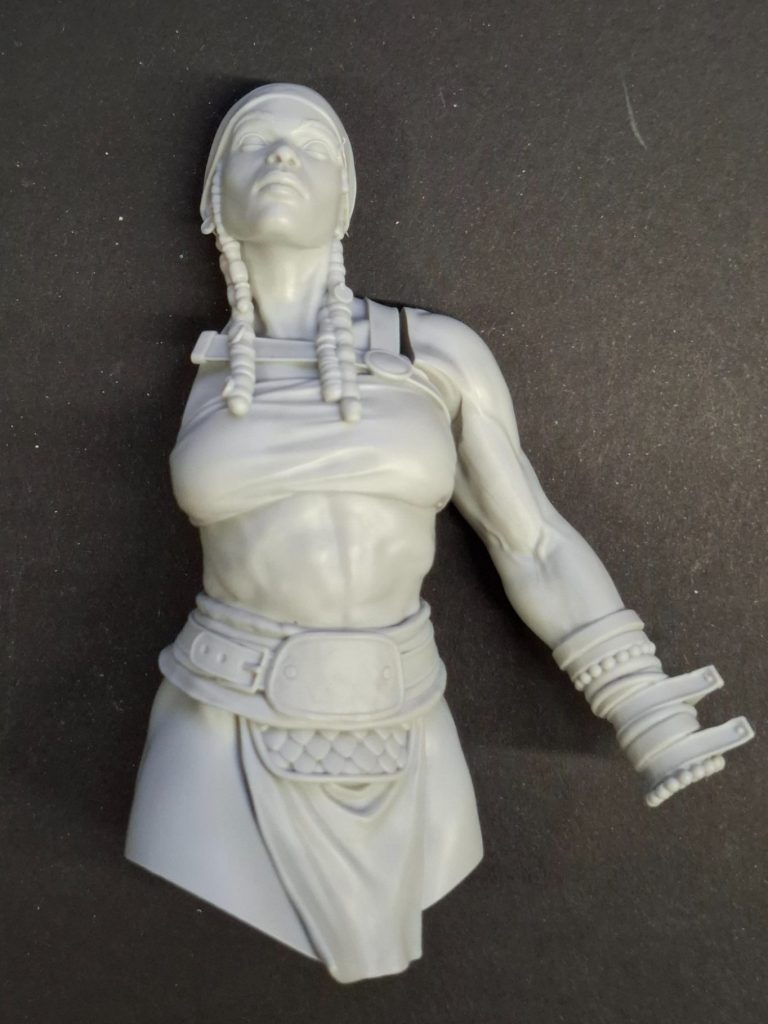
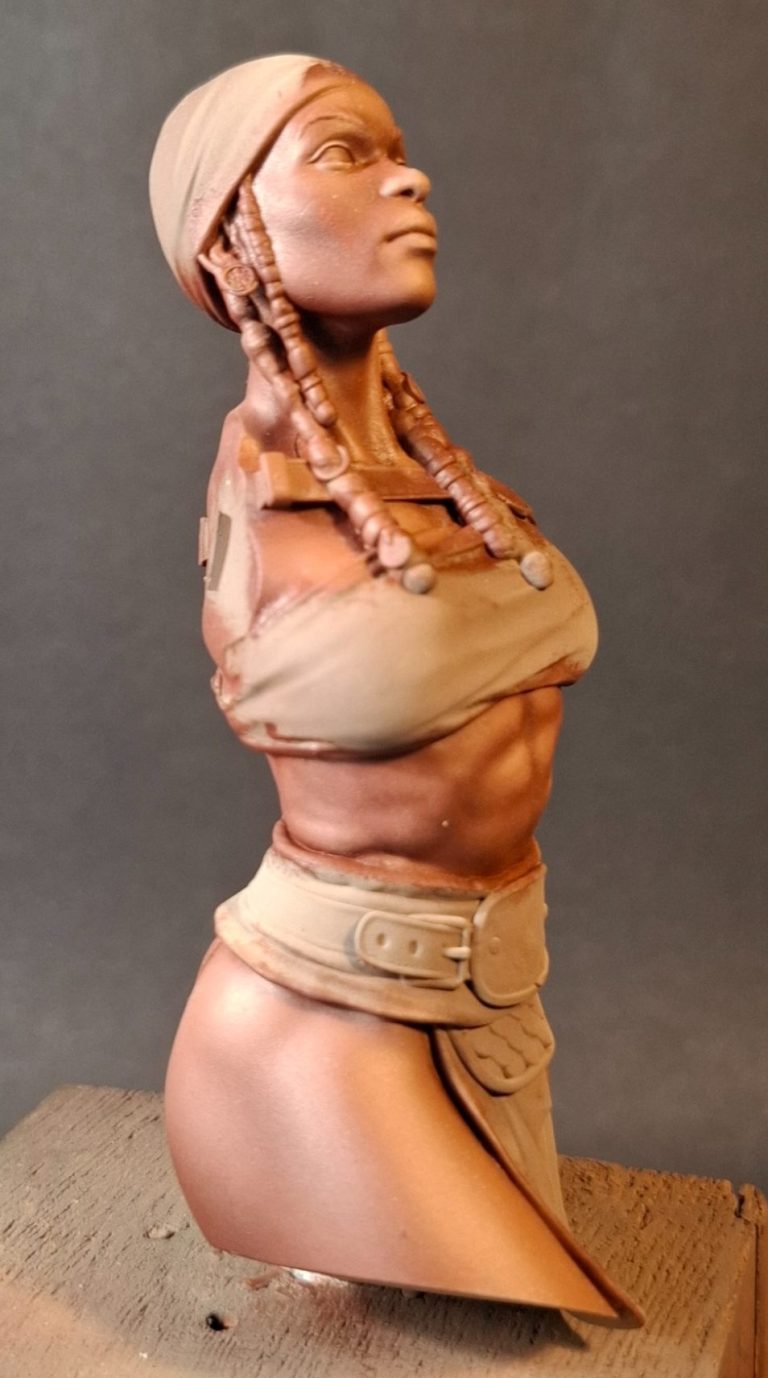
Photo #2 shows the main casting of the body and head along with the left arm. The hands holding the swords, right arm, the mass of hair and the shield are all separate and the way that the kit has been split shows an expertise with no need for filler of any kind when putting the parts together. All of the parts have large, positive and close fitting socket and plug joints, some have small amounts of the pour points to clean off, but nothing at all to catch the unwary or beginner.
In this day and age of small companies producing castings of 3D prints, this kit shows a lot of expertise and thought going into how the finished model will go together, how joints can be hidden, and generally be a very pleasing model to put together to reveal a fantastic finished piece.
Yes, I am impressed, and that’s before I began adding paint.
I kept all the components separate for painting, opting to glue them together towards the end of the project.
Photos #3 and 4 show the same parts primed, the left arm is held in place with some blu-tac, hence the large gap at the shoulder.
I’ve used a Brown Primer from World Wide Scenics WWScenics | Model Scenery Supplies | Diorama Supplies which has a superb range of primer paints in spray cans.
Over the top of this I’ve airbrushed a mist of Tamiya Flesh Colour from directed above so that the lighter paint catches on the highlights and mid-tone sections of the skin areas.
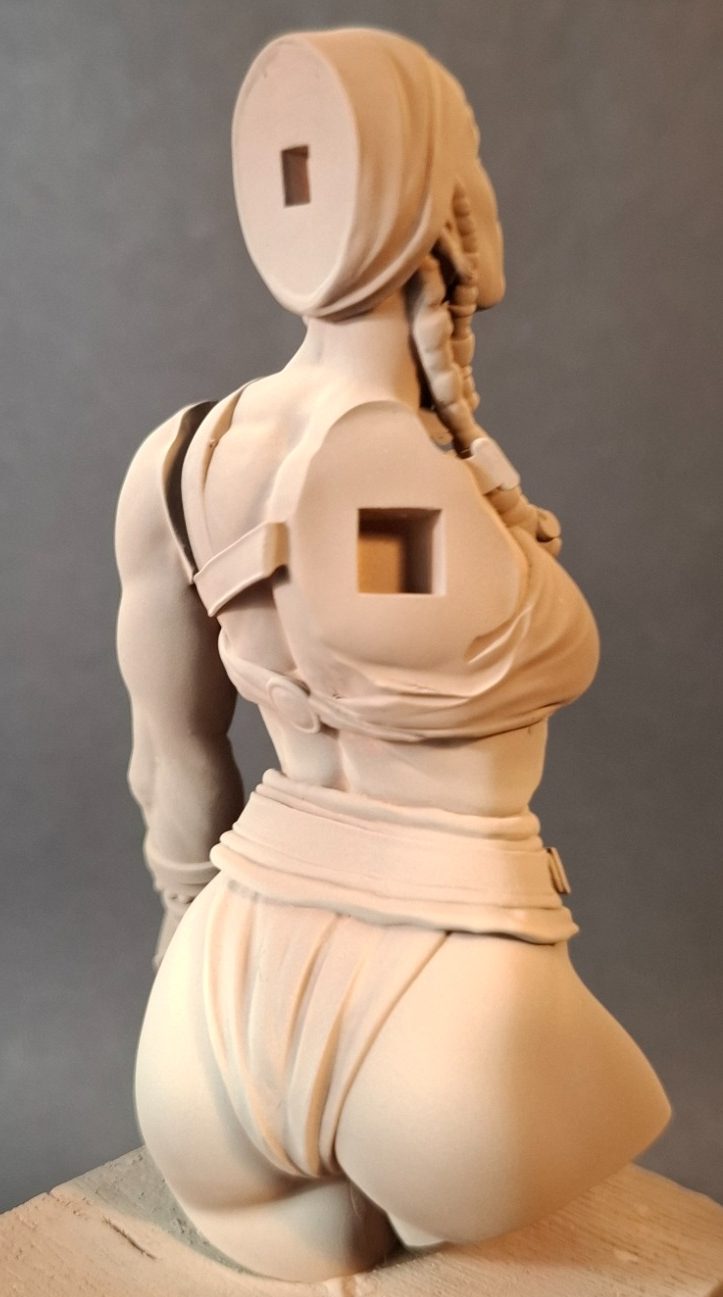
Photo #5. Initially the idea with the primer / airbrush colours were that I could simply add some slight staining to the skin areas, however, I once dried and the colours had settled, I felt that the flesh areas seemed a bit lifeless and much too matt.
So I reverted to some oil paints, using the sprayed colours as effective undercoats. In this picture I’ve begun on the right thigh, using a mix of Red Umber and Mars Brown oils to establish a relatively dark starting point, adding small amounts of a Mars Brown / Buff Titanium colour to build up mid-tones and highlights.
I’ve found and excellent source of soft brushes for using as blending brushes – the Make-Up section of Primark !
Cheap and really soft eye-shadow and blusher brushes of different sizes that are very cheap and whilst they may not last as a Winsor and Newton Series 7 ( why would one suppose that they even would ) they’ll do the job for a fraction of the price and can be disposed of without any guilt once they’ve reached the end of their useable life.
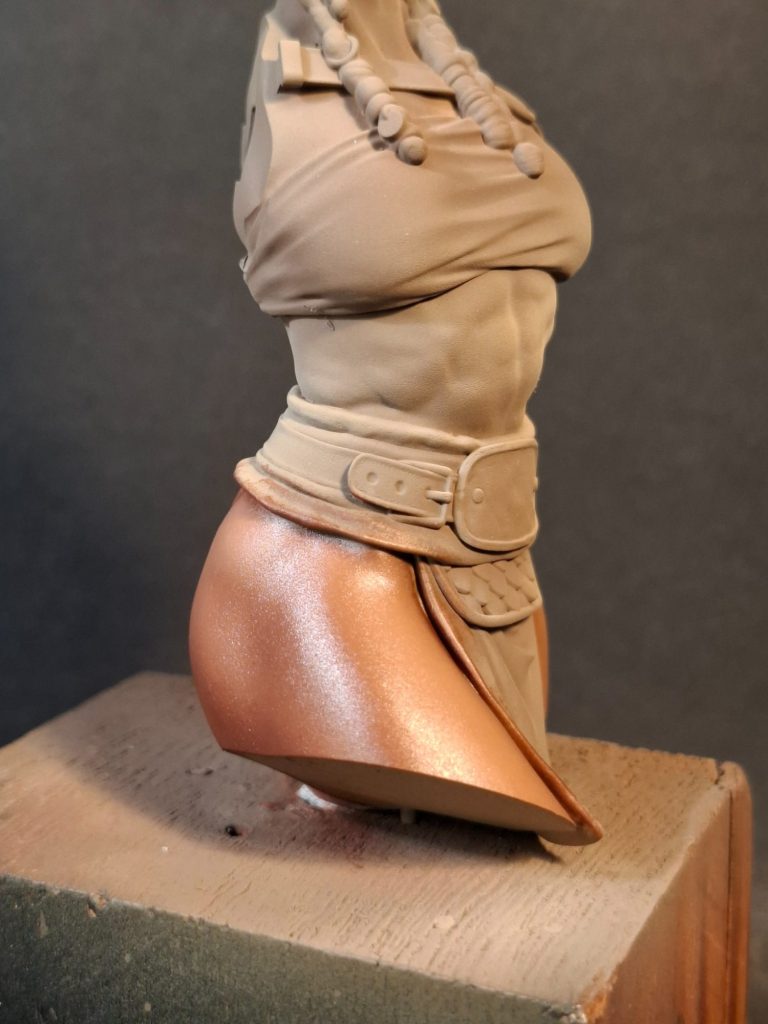
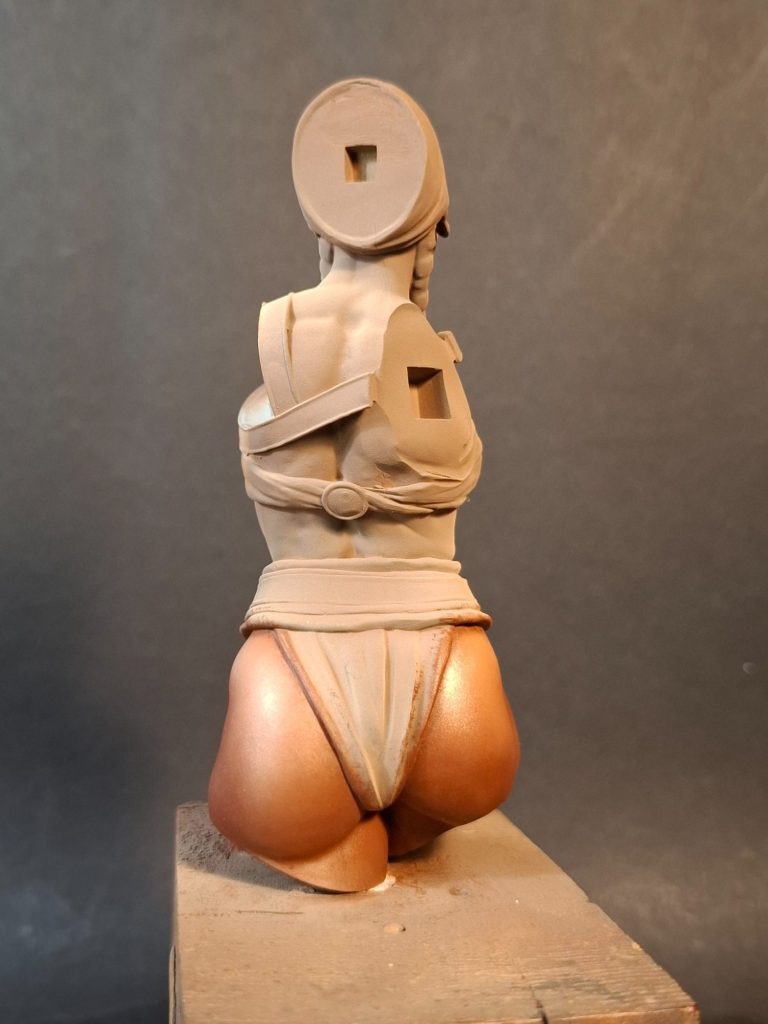
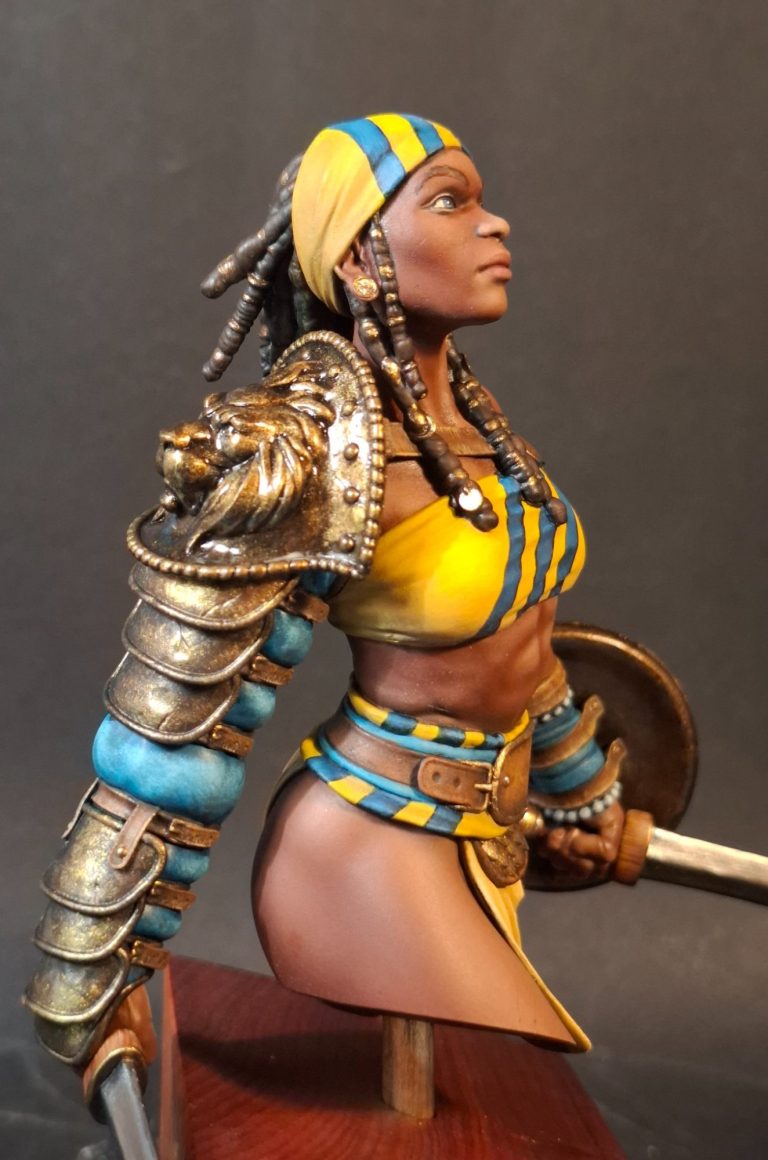
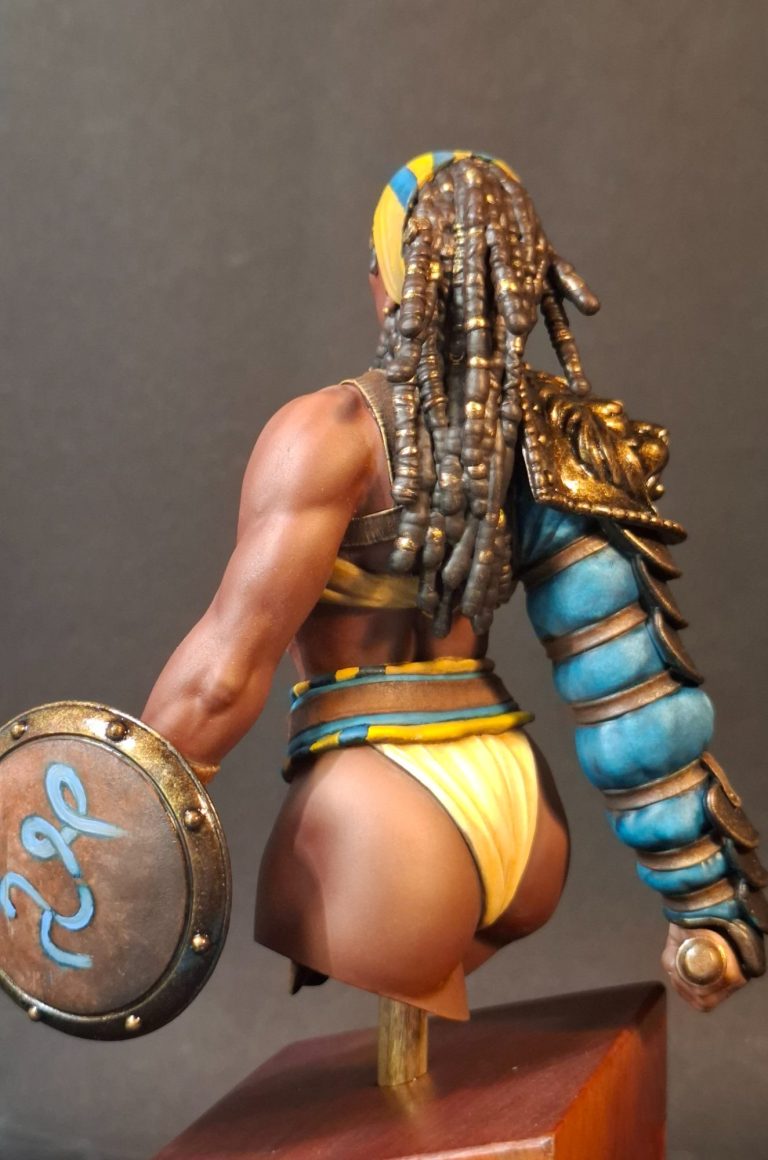
Photo #6 is an unashamed look at her bum, as I continued around the figure with the oil colours
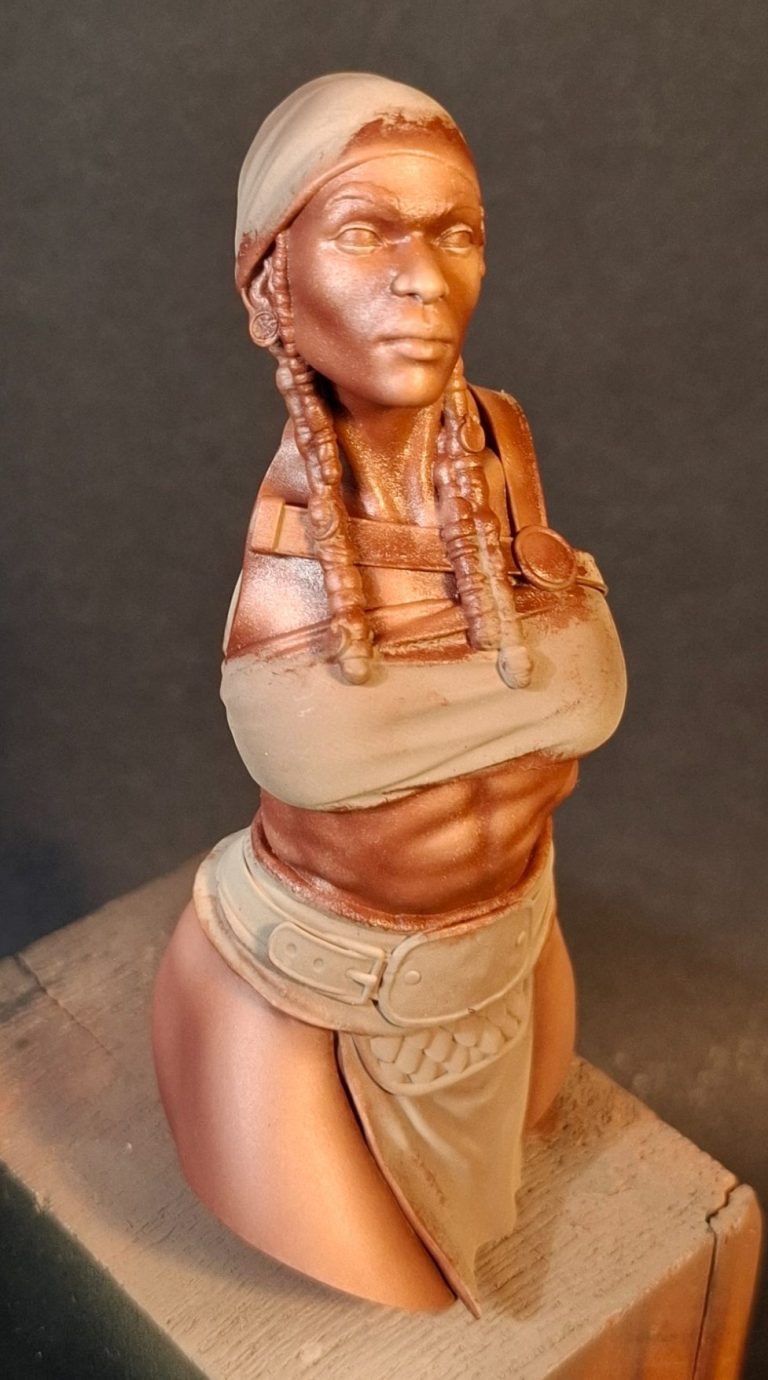
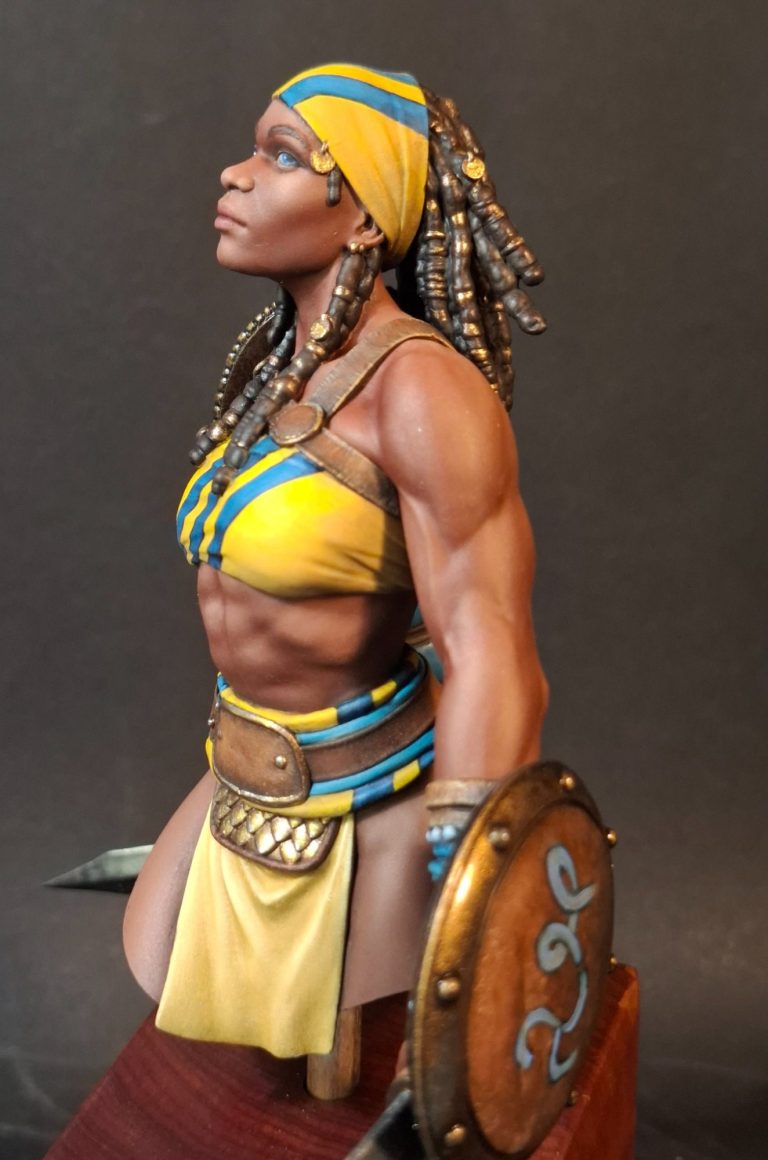
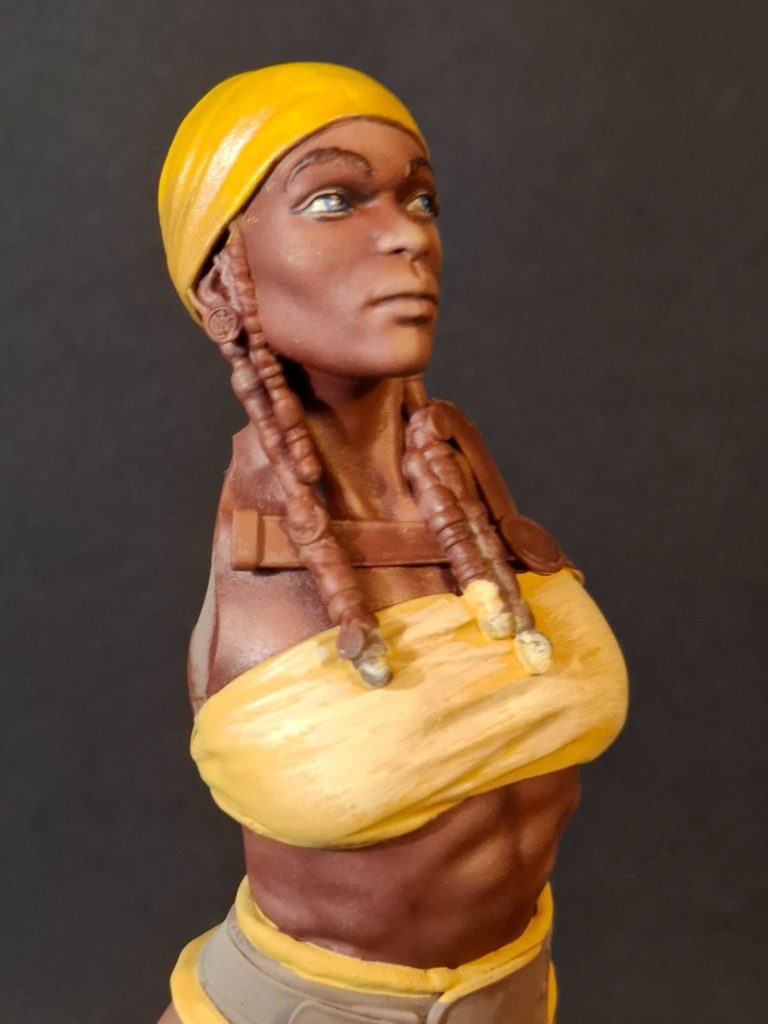
Photos #7 and #8 and confident now with the colour mix ( because if it looked somehow wrong, there’s always the White Spirit and a large brush to remove the evidence ) I moved onto the midriff, shoulders and face.
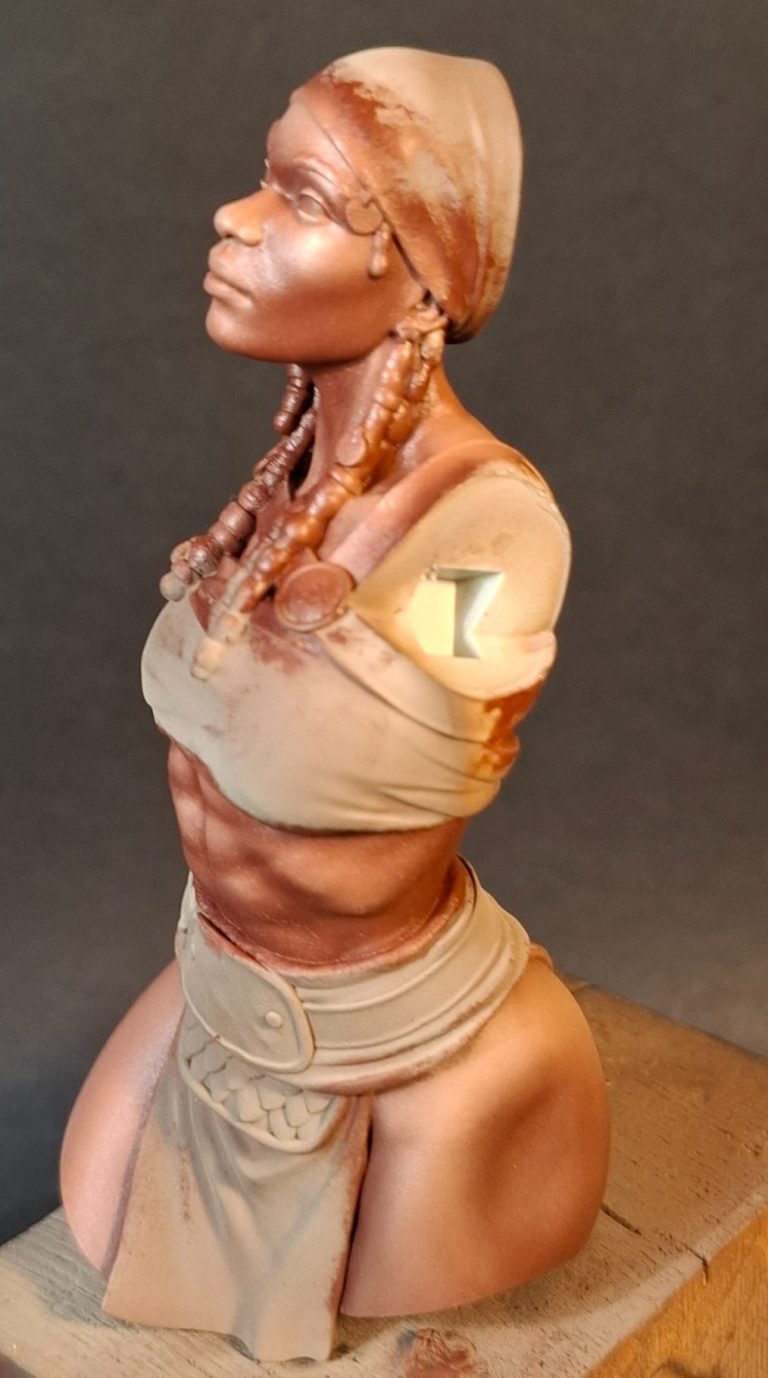
Photos #9, #10 and #11 and the glossiness of the flesh areas has calmed right down to a nice satin finish as the paints have dried for a couple of days in the drying cabinet.
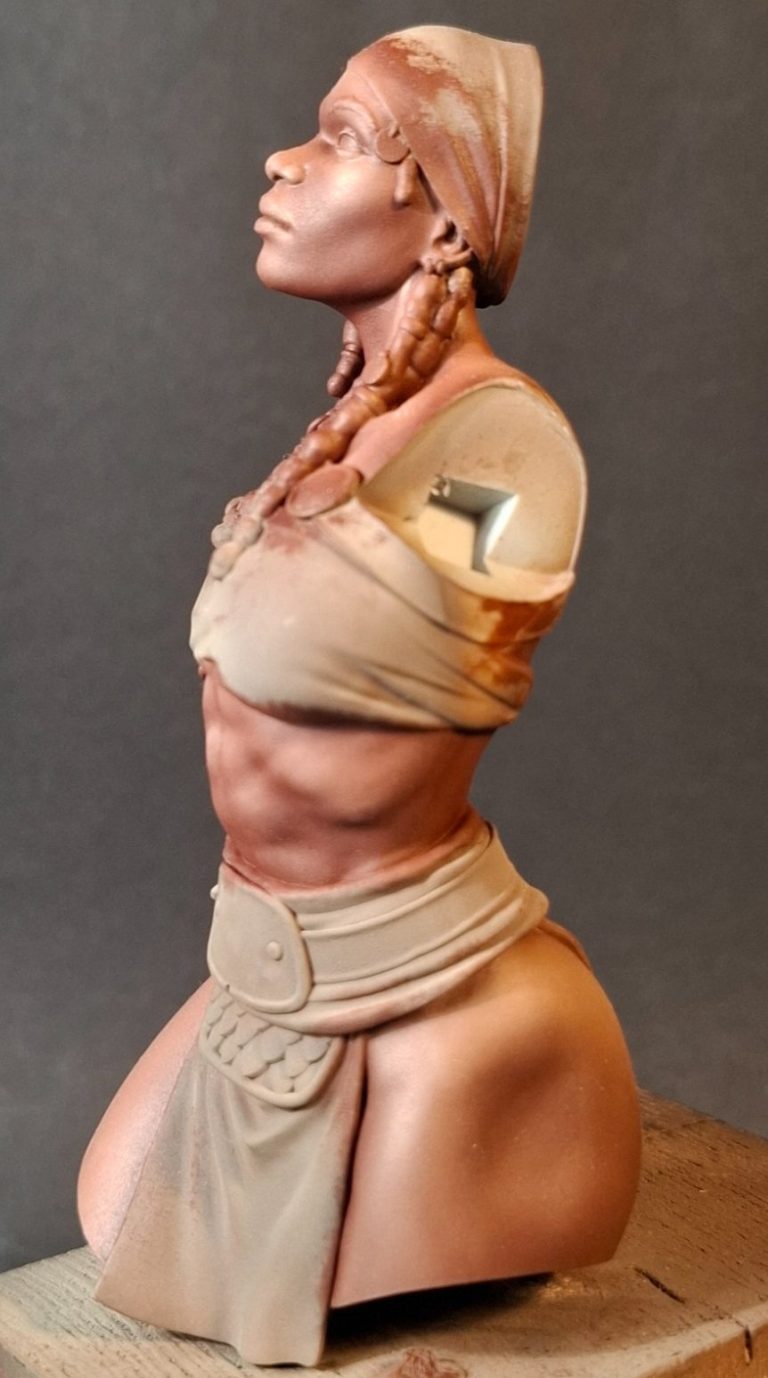
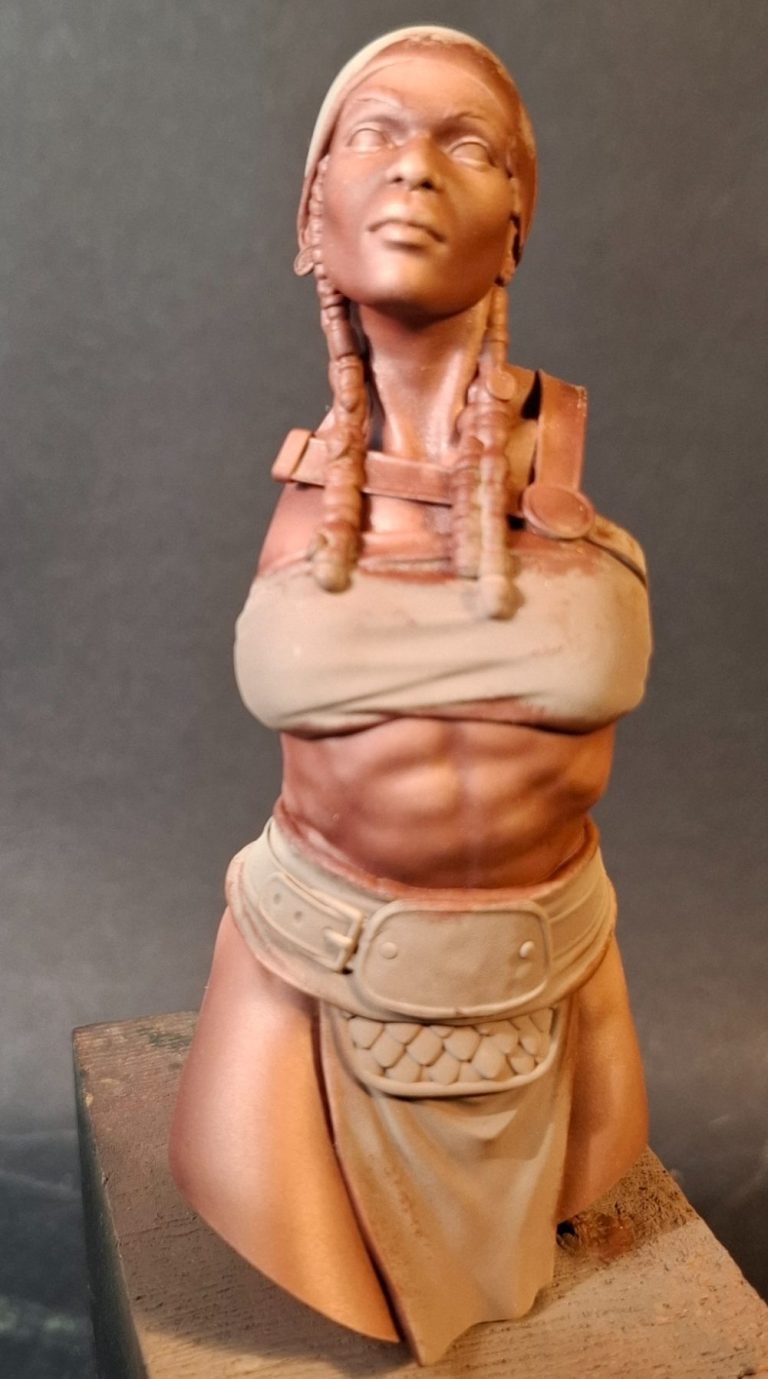
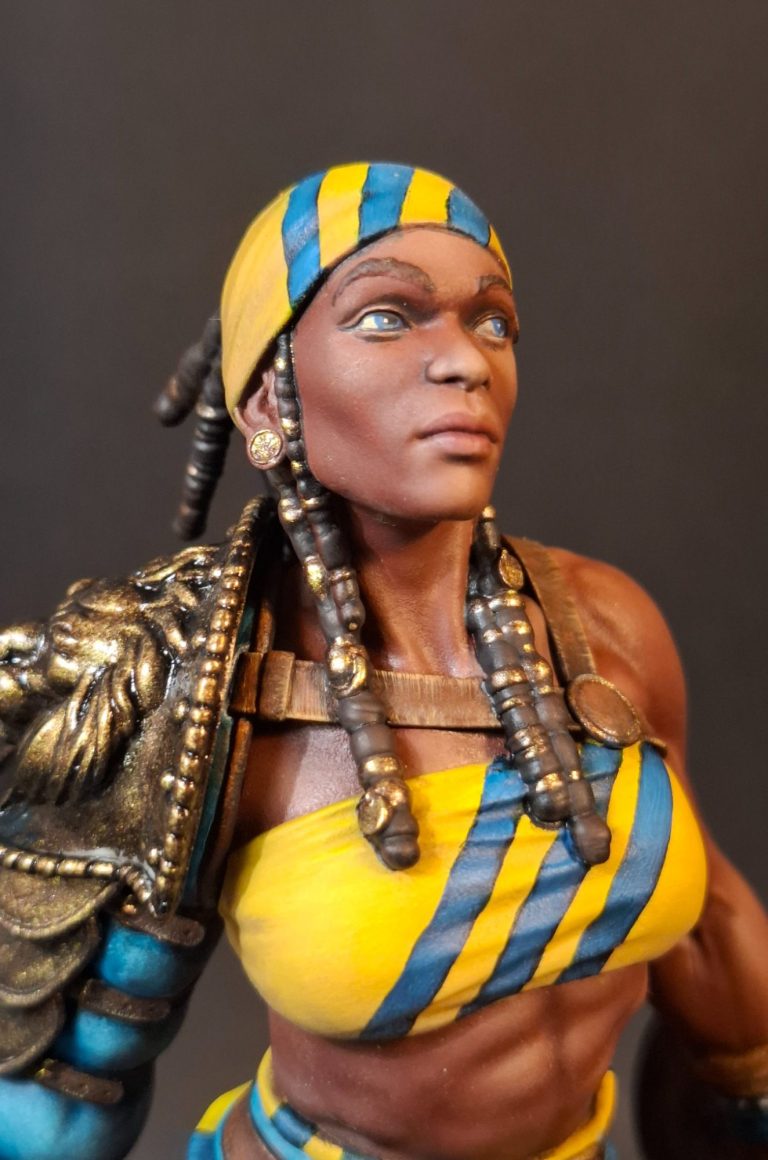
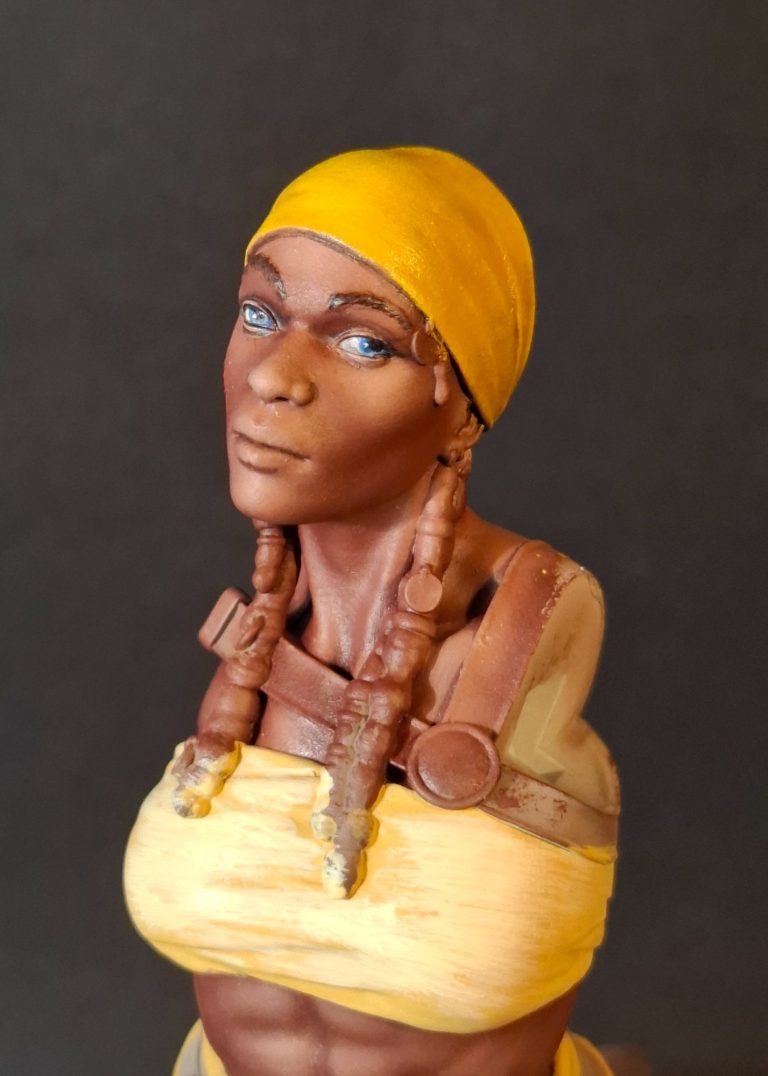
Photo #12 and #13 show how I’ve added the eyes, eyebrows and begun on the clothing.
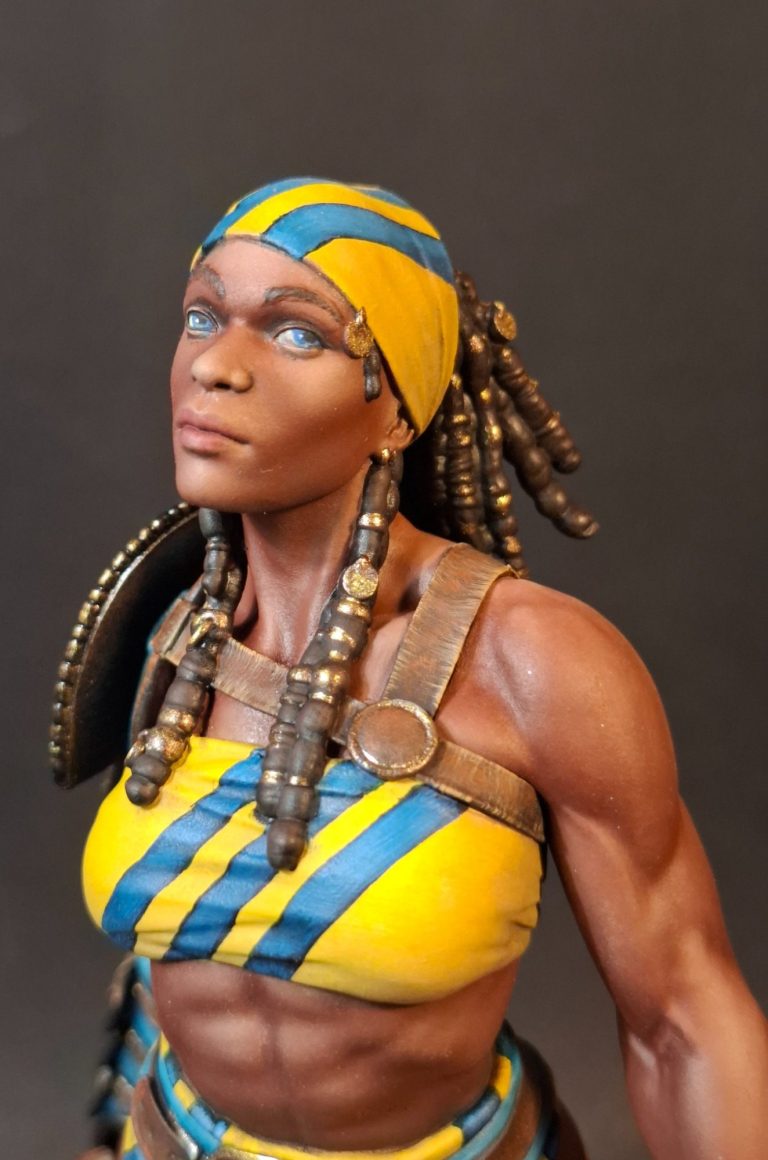
For the headscarf and other areas of cloth, I wanted some bright colours, and Yellow seemed to be one that I’ve not used in ages.
Bright yellow can be a pain to apply, the undercoat has to be absolutely solid without any faults in the colouration at all. Because Yellow oils are very transparent and will show any and every discrepancy the undercoat has to display.
The eyes though, I know they should probably be brown, but again I wanted to stand out from the crowd, and though a blue matching some areas that the clothing would eventually be, would contrast well.
Eyebrows, Oh my nemesis !
I detest ( possibly not a strong enough word, but it’ll do ) painting eyebrows. The kit has moulded on eyebrows, which I really wish I’d shaved off and just painted the hairs on freehand.
However, that would mean ruining the skin and having to repaint, so I went with the moulded on eyebrows. Some of the Red Umber and a little bit of Mars Brown oils, added with a fine brush, and trying to depict the separate hairs, but still ending up with a somewhat “Scouse-Brow” appearance….. Hey ho, can’t have it all ways.
For the yellow areas, I began with three thin coats of GW Iyundan Daarksun, which is a densely pigmented sand colour.
Over this I added two thin coats of MP paints Bright Yellow, and a third coat to build up some very basic highlights ( which can be seen on the chest covering ) which had some MP Paints White mixed in.
Now for some oils, and I used W&N Chrome Yellow as a base, adding very, very small spots and lines of the Red Umber to bring in shadows.
Yellow as mentioned is a beggar to paint, and any dark colour added for shadows will try it’s very best to muddy up any area of the model that you don’t want it to.
So, regular wiping of brushes, and the dark brown is ONLY added to areas that require shadows.
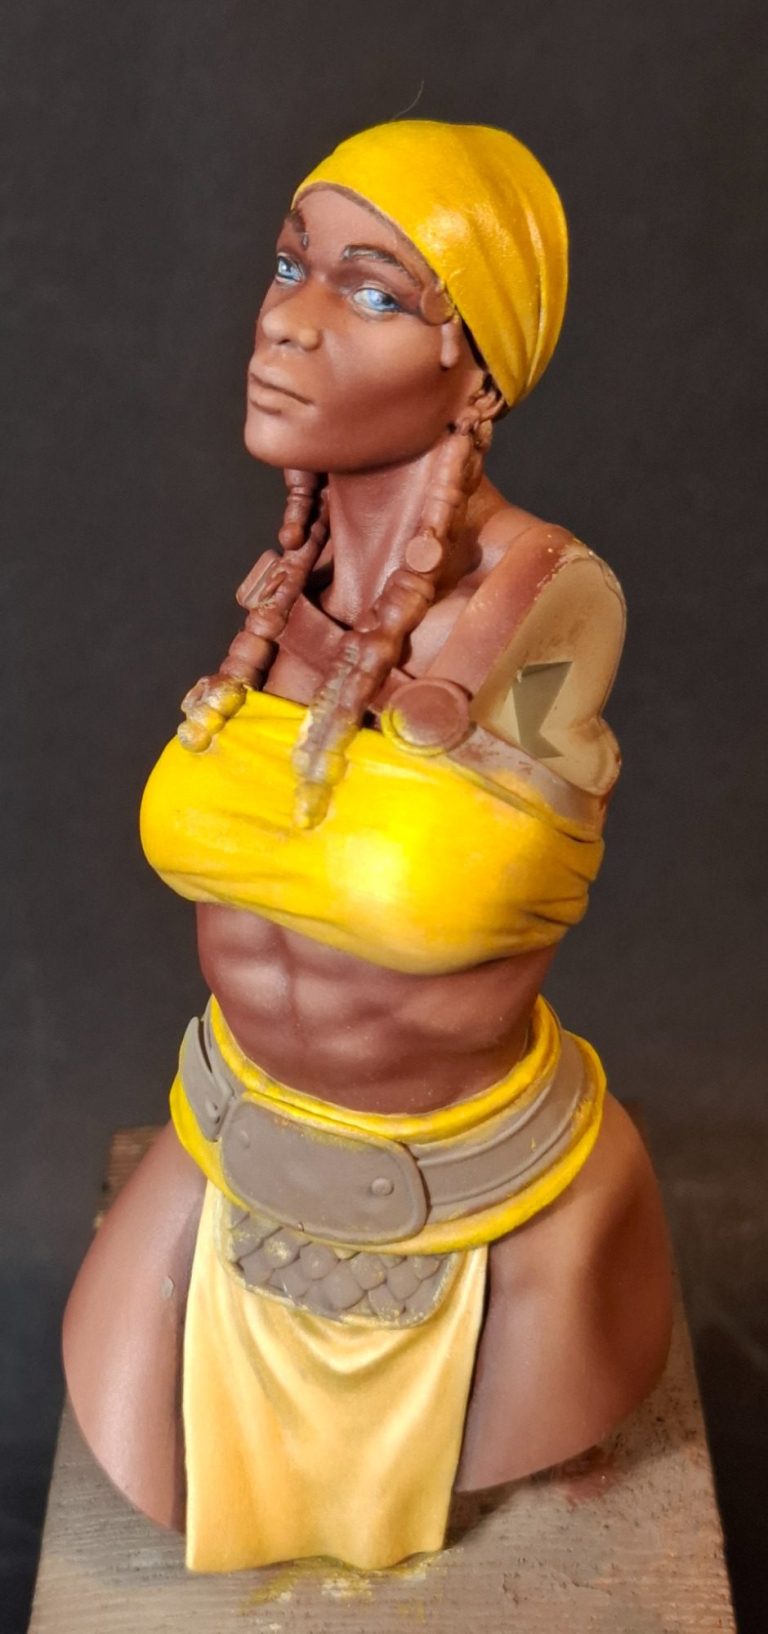
Photos #14 and #15 and the bright yellow continues on the chest covering and around the cloth of the waist.
The loincloth I chose to paint with more of a sand colour, using just the GW Iyandan Darksun as an undercoat, and then adding Mars Yellow as the mid-tone, darkening the shadow areas with Raw Umber and blending Titanium White into the highlight areas.
Why the different colour ?
Well, the yellow was very bright, but also I though that whilst the headscarf and chest covering, along with the padding for the belt, might be clothing that got less dirt and wear, the loincloth didn’t need to be as bright, and would possibly be of a more functional and cheaper material.
Of course the other problem with the bright yellow oils is that they take a good while to dry. To be safe, a week or more in the drying cabinet, and I was still cautious to see if drying was complete.
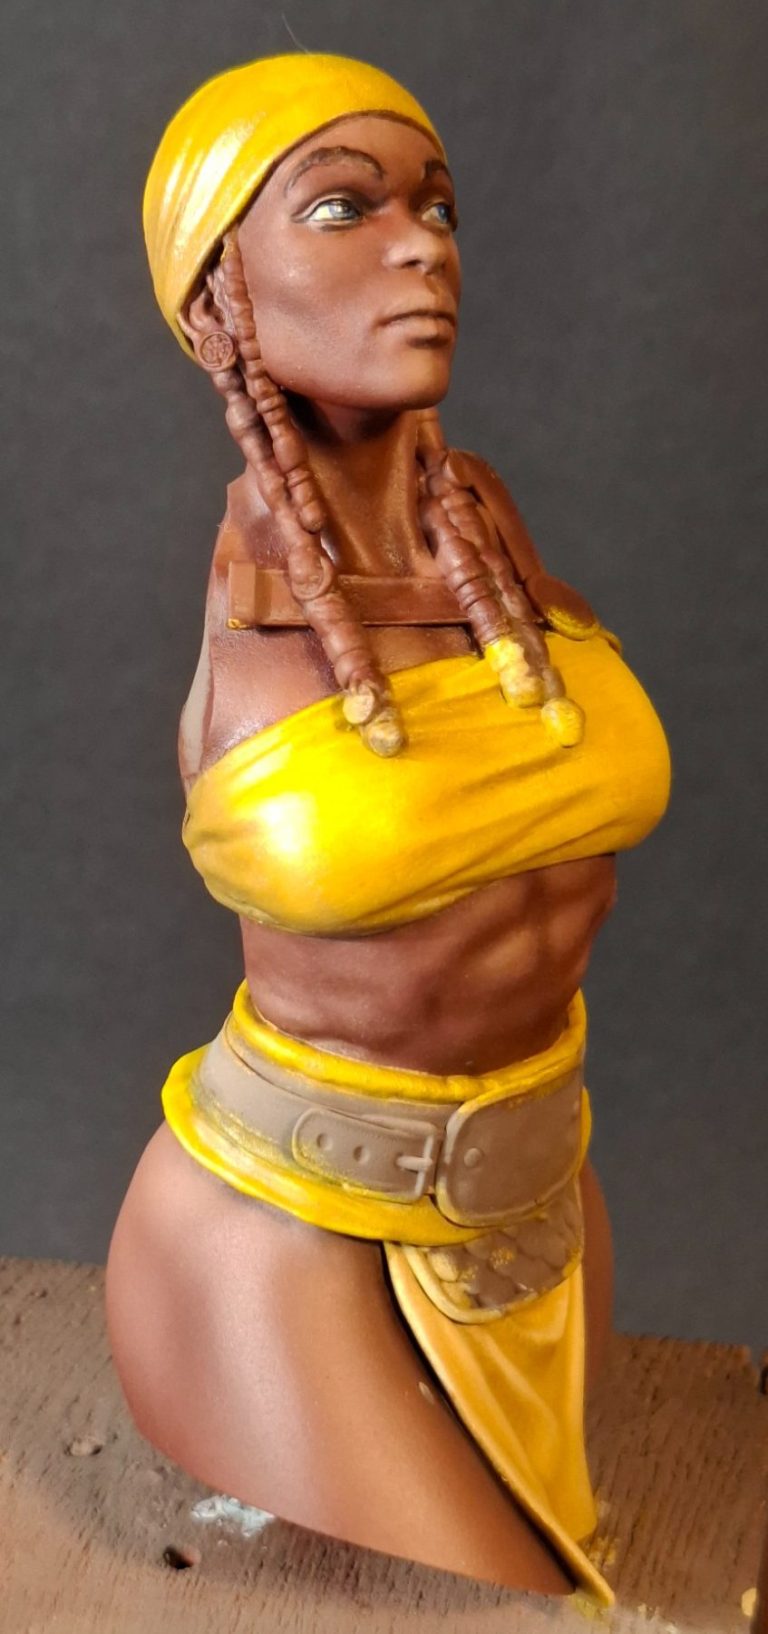
Photo #16 In the meantime the swords needed a look at, the hands having been painted, and whilst the blades could wait until later, I undercoated the fist guards with some of the left-over GW Iyandan Darksun in readiness for a woodgrain effect later.

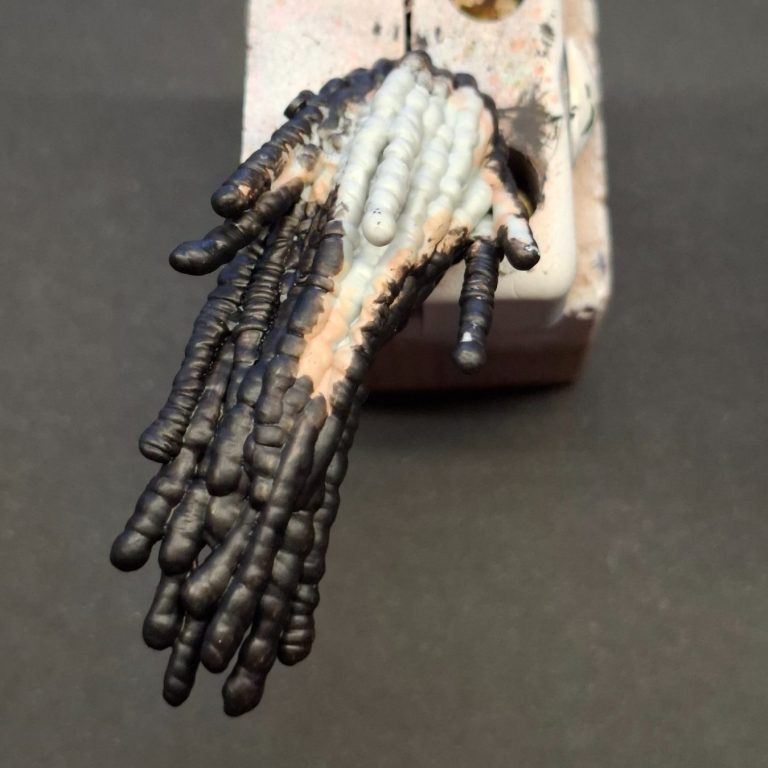
Photo #17. Whilst I was in an undercoating mood, I painted the underside of the hair with some MP Paints Black, making sure that although a lot of this might be hidden once the hair was in position, I didn’t want any of the grey of the resin showing.
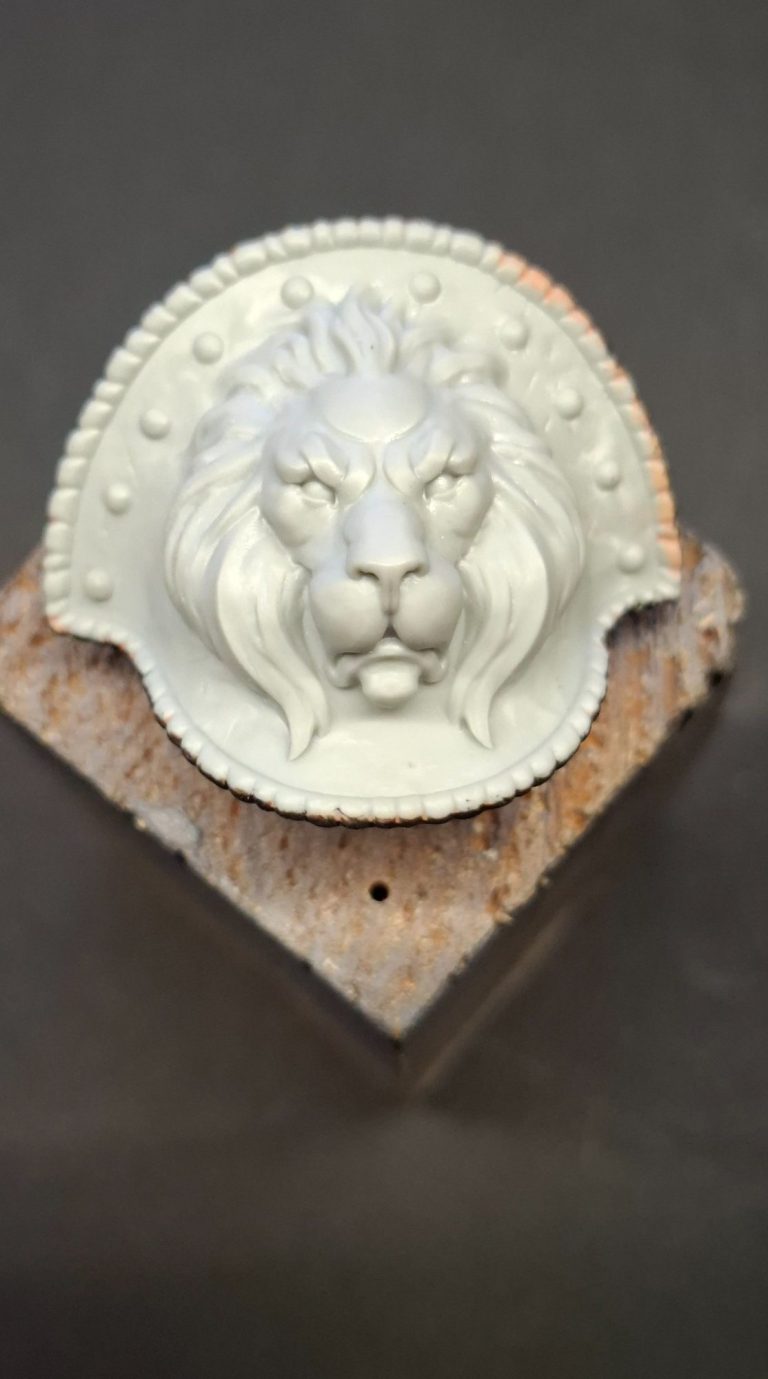
Photo #18. Now for some metallic areas.
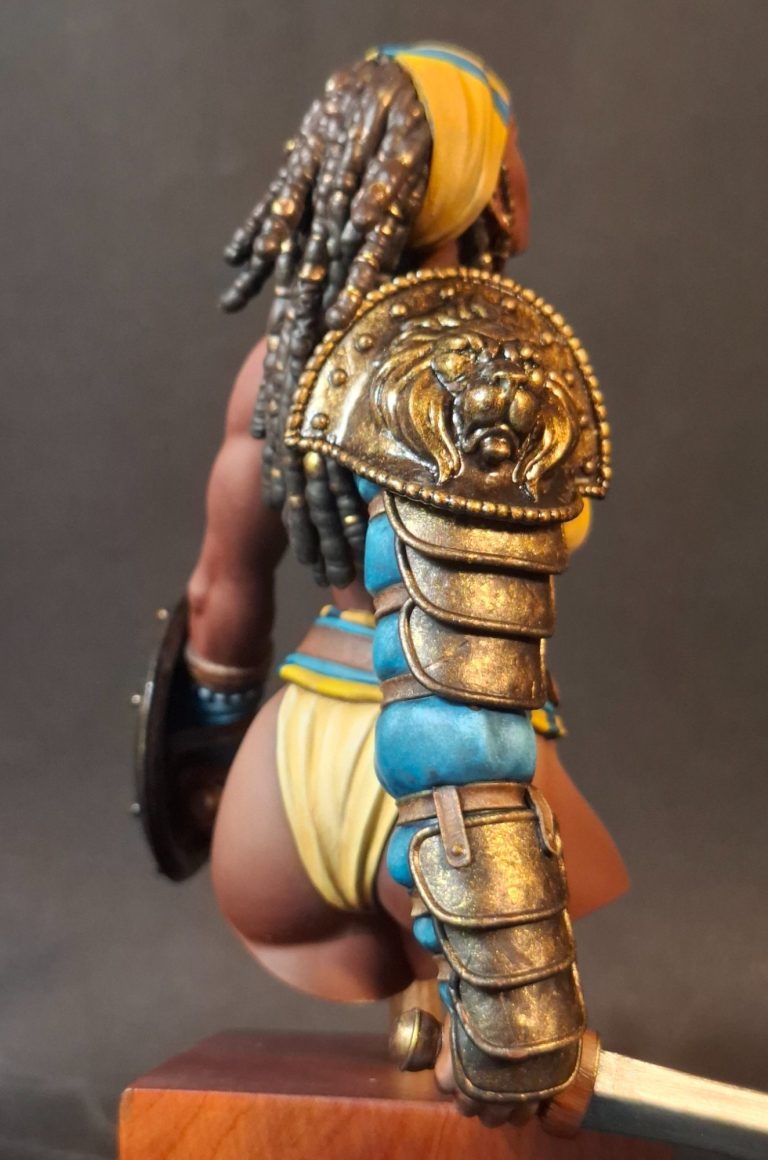
The large lion motif shoulder guard was primed with Isopropyl Alcohol with a spot or two of flesh coloured acrylic added to let me see where I’d painted, along with the scales of armour on the right arm – Photo #19 – in readiness for the metallic colours.
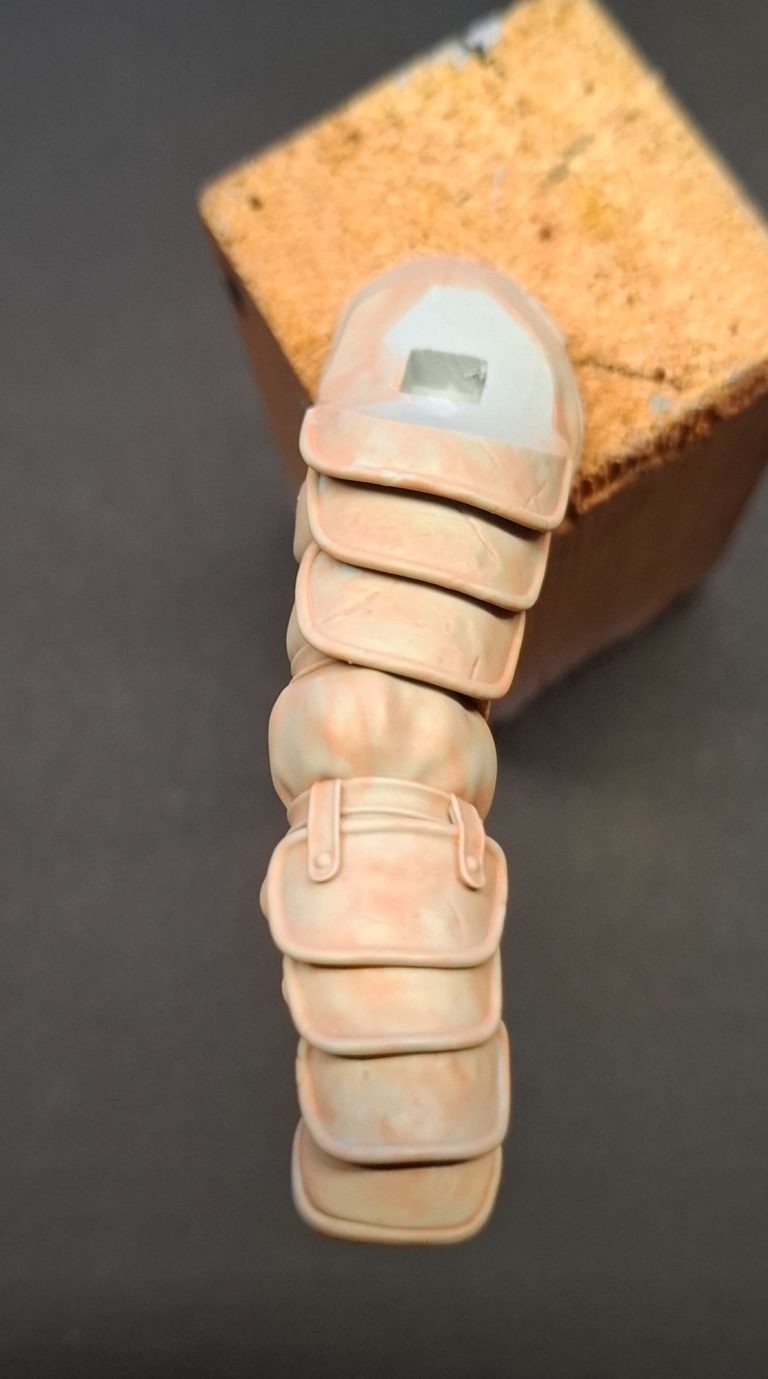
Photo #20, oh and the back of the shield.
I wasn’t absolutely sure how much of this was going to be on show on the finished model, so I treated it as though most of it would be seen, and worked out how it was being held so that shadows and highlights could be painted on accordingly.
Beginning with a solid black undercoat, I then stippled on Darkstar Bronze acrylic with a fine sponge, following this with two progressively lighter gold colours from Darkstar..

Photo #21, once fully dry, the shield can be flipped over and the outer face primed.
And to make sure I had the highlights in the right place, I used a felt tipped pen to mark on arrows on the paint handle, arrow down for the bottom edge of the shield, arrow up – on the opposite side – for the upper edge of the shield.
Photo #22 shows the same Darkstar metallic colours applied over the black undercoat with a sponge. The central portion I decided would be covered in leather, so I’d need to undercoat that area again.
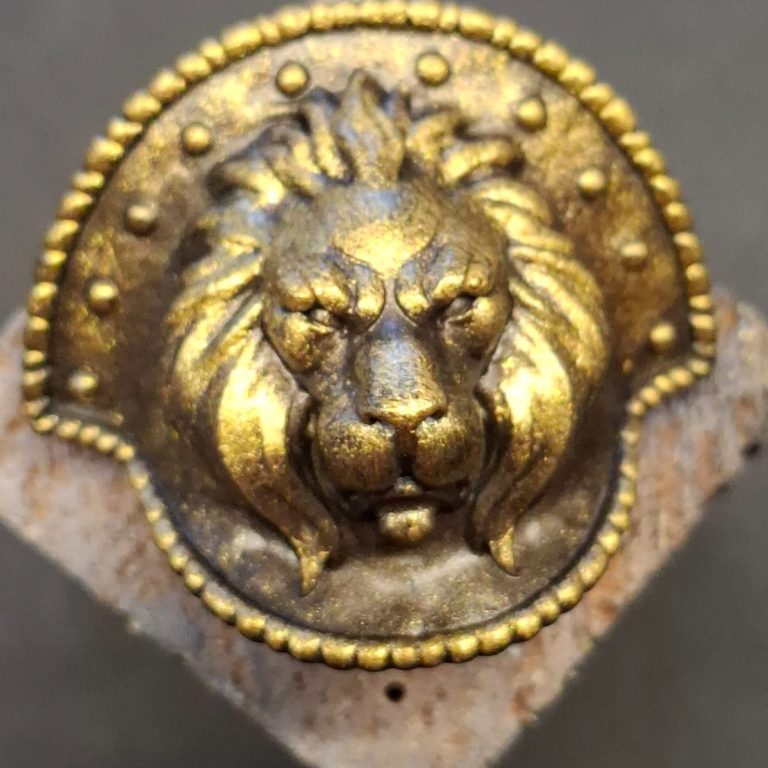
Photo #23 shows the lion-headed shoulder guard. The back was painted black and Darkstar metallics used, again applied with a fine sponge, working with Bronze and two different gold colours.
Once they were dry, I coated the shoulder guard with Tamiya Clear Smoke mixed with an equal amount of water so that multiple layers could be added to build up the gloss effect.
Although I used the same metallic colours on other areas like the shield back and edge, the scales on the right arm and the small guard over her groin, I didn’t add the Tamiya Smoke to these so that they appeared more serviceable rather than decorative.
Photo #24, as mentioned above, the central part of the shield was undercoated again, this time with MP leather acrylic.
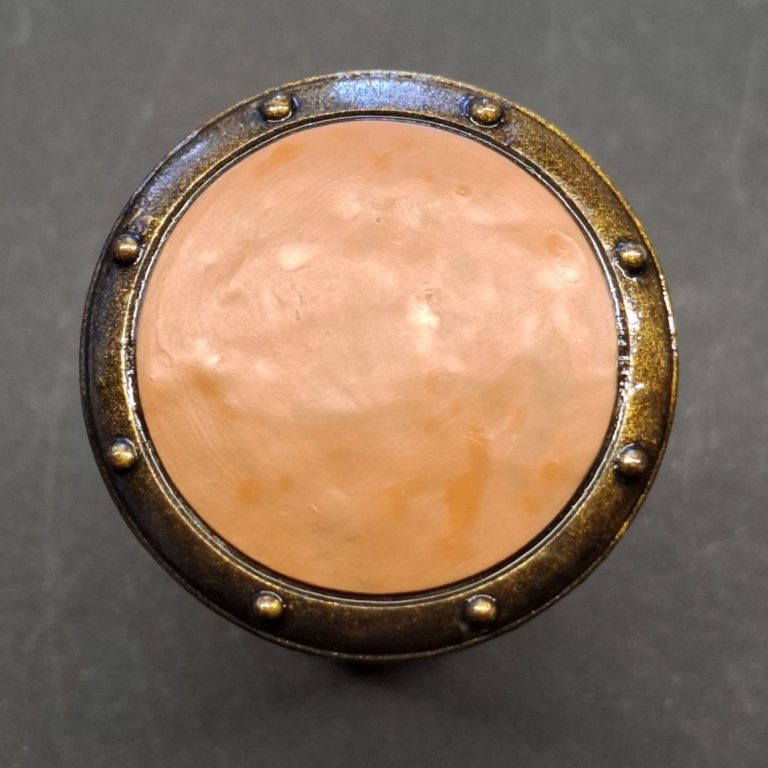
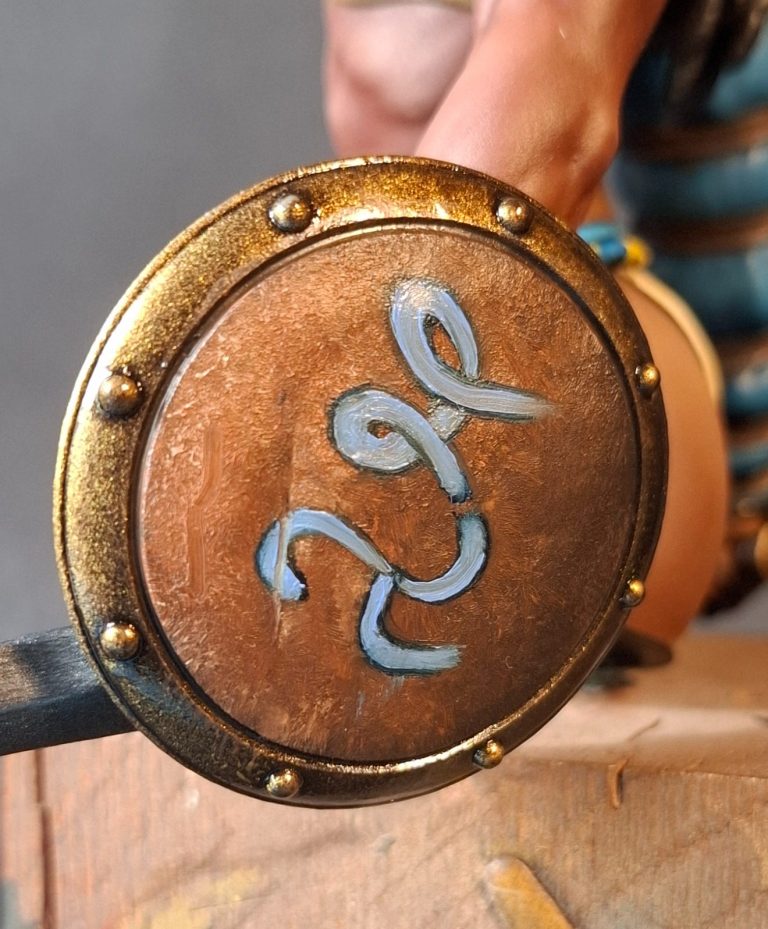
Photo #25 shows the finished shield, I used several colours of brown oils – Sepia, Mars Brown, Venetial Red and Buff Titanium – to build up the leather effect, working from the darkest brown to the cream colour, again with a mind as to where the “top” of the shield would be, and with the darkest colour applied to the whole of the area, then used a quite stiff brush to stipple on the other colours, continuing to work from the darker shades through to the lightest one.
The shapes in pale blue are ancient African “lettering” probably better describes as glyphs and which I found a whole alphabet of ( without translation or relative connection to our sounding of present day alphabets ) on the Internet.
They began as a dark blue colour, with the paler blue added afterwards to the centre of each stroke.
I made a slash mark across the top of one letter to indicate that she has been in a fight
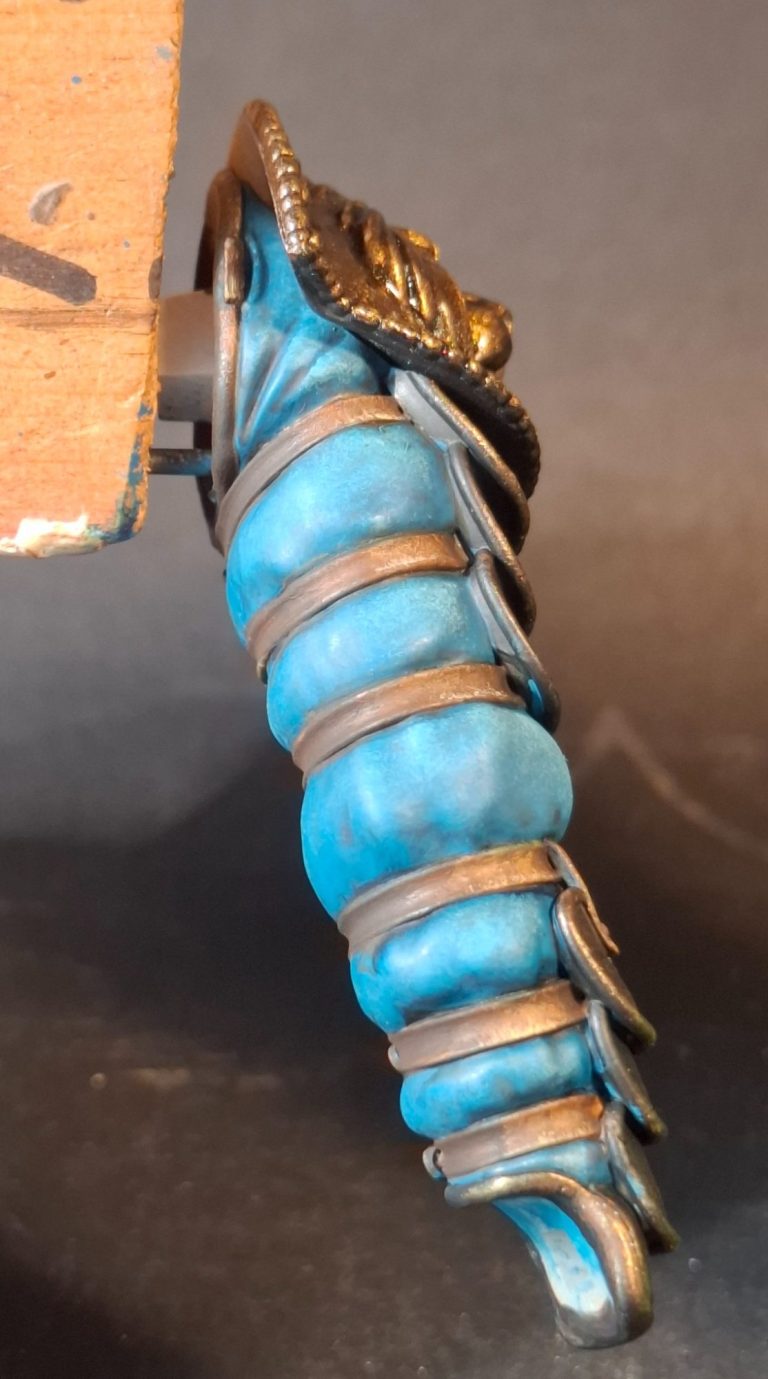
Photo #26 shows the right arm painted to represent a blue coloured cloth covering the padding on that arm.
Over a pale cream coloured undercoat, I added Prussian Blue oils to the deeper recesses, then stippled a mid blue followed by a pale blue to build up the mid-tones and highlights.
I’ll have to adjust the colours though once the arm is in place, probably with a thinned wash or two, to refine where the shadows will be.
It’s also worth comparing the difference in shine between the shoulder pad and the scales of armour on the arm in this shot. The shoulder pad having several layers of the Tamiya Smoke applied.
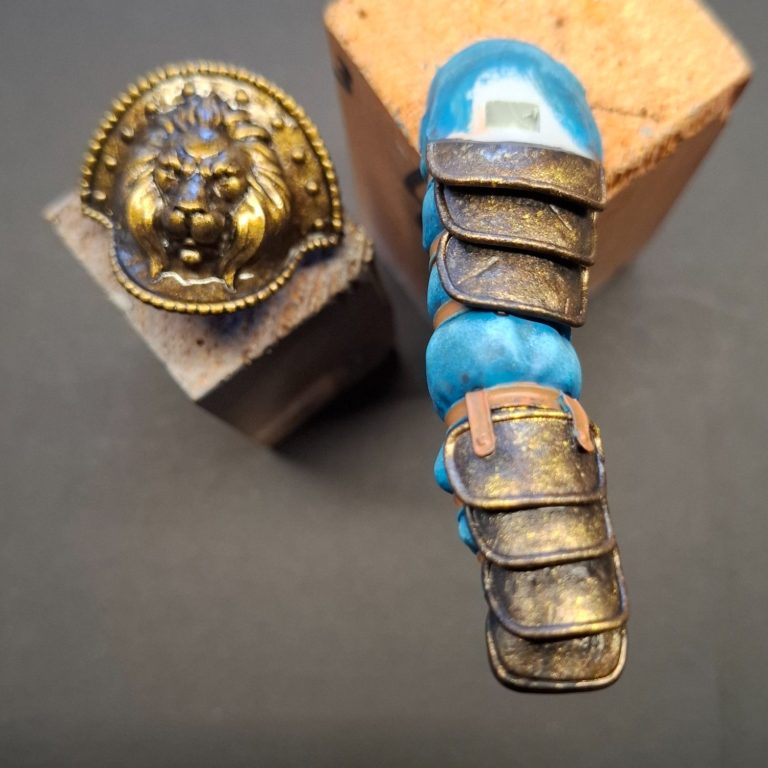
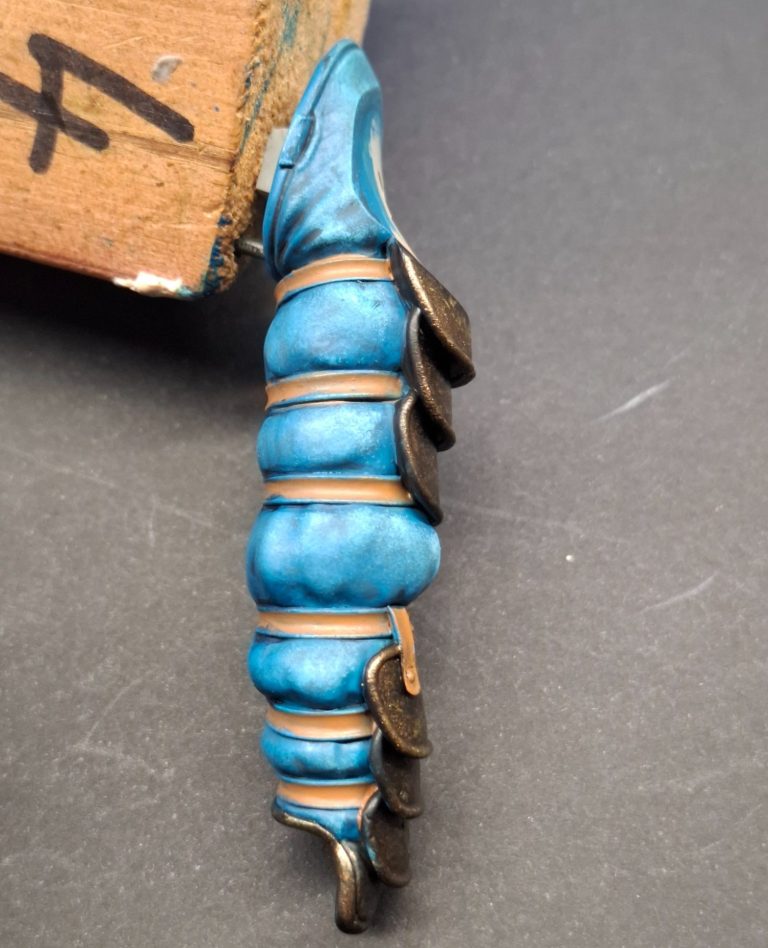
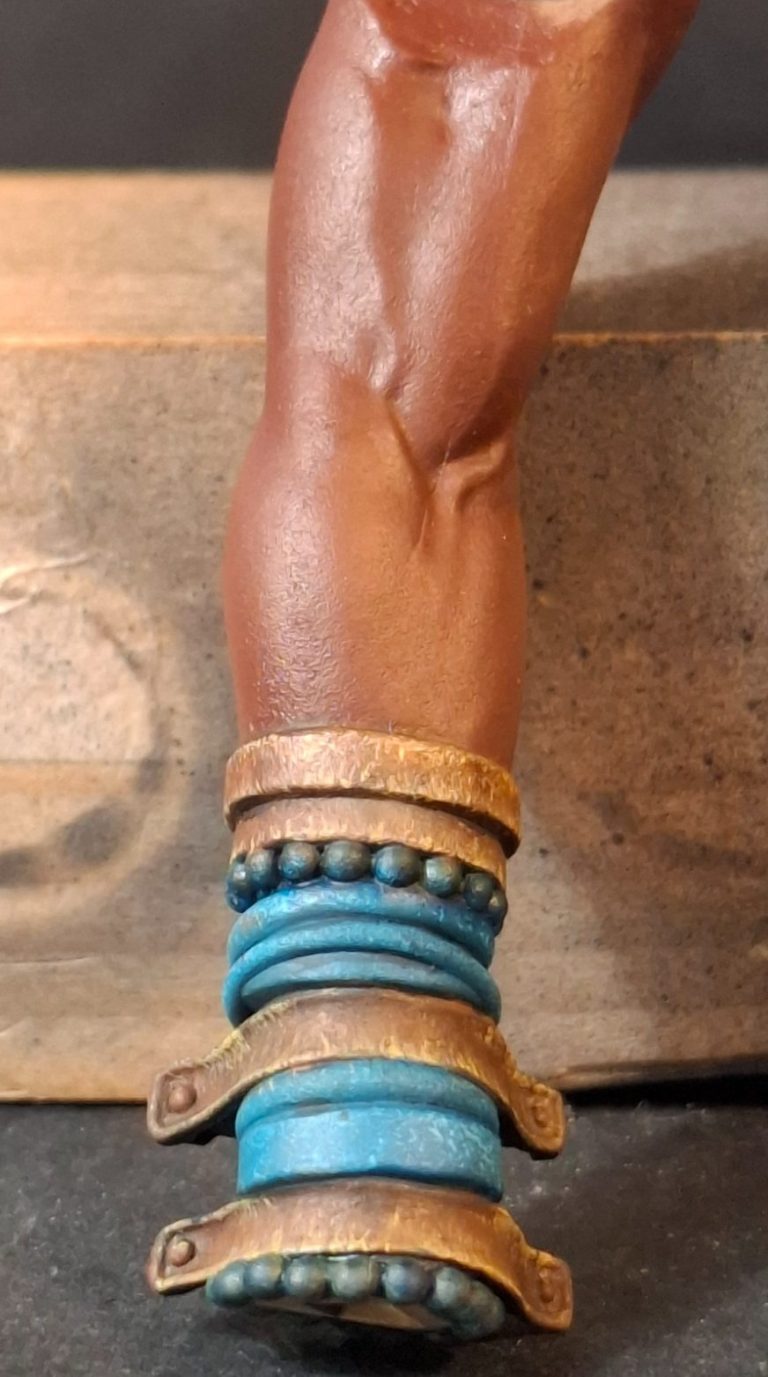
Photo #27 shows the belts that hold the scales of armour in place, these, like the centre of the shield, have been undercoated with MP Leather acrylics in preparation for being painted with oils.
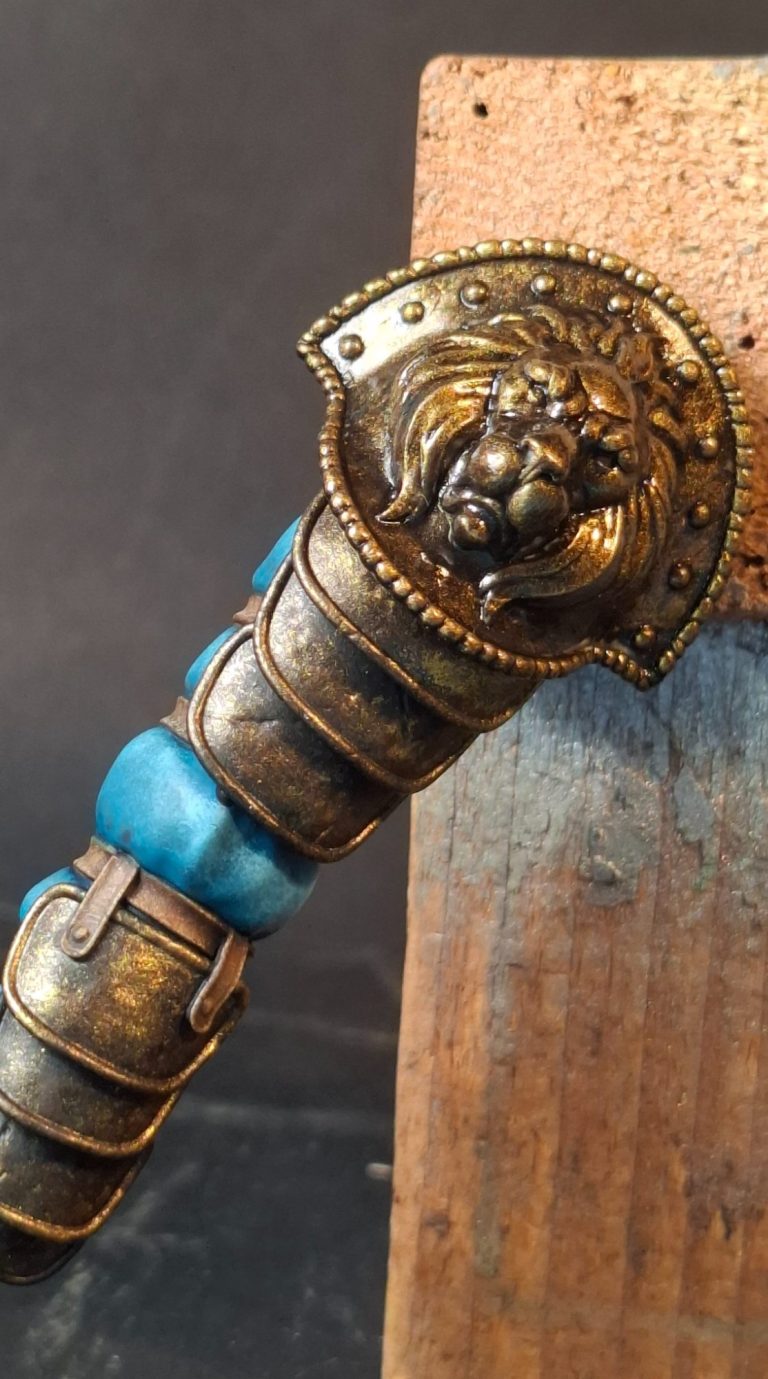
Photo #28 and the shoulder pad is fastened in position.
Photo #29 and a second coat of the MP Leather has been added to the belts, but more importantly, note the blue colour that has crept onto the underside of that scale armour. This will need some thinned black oil paint to cover it up before anything further is done.
Moving over to the left arm in photo #30, the blue mix used on the padding on the right arm has been used for the small amount of cloth on the left wrist, the straps and bead details will be painted later.
Photo #31, and the leather has been painted – same oil colours as the central part of the shield face, just a smaller brush used.
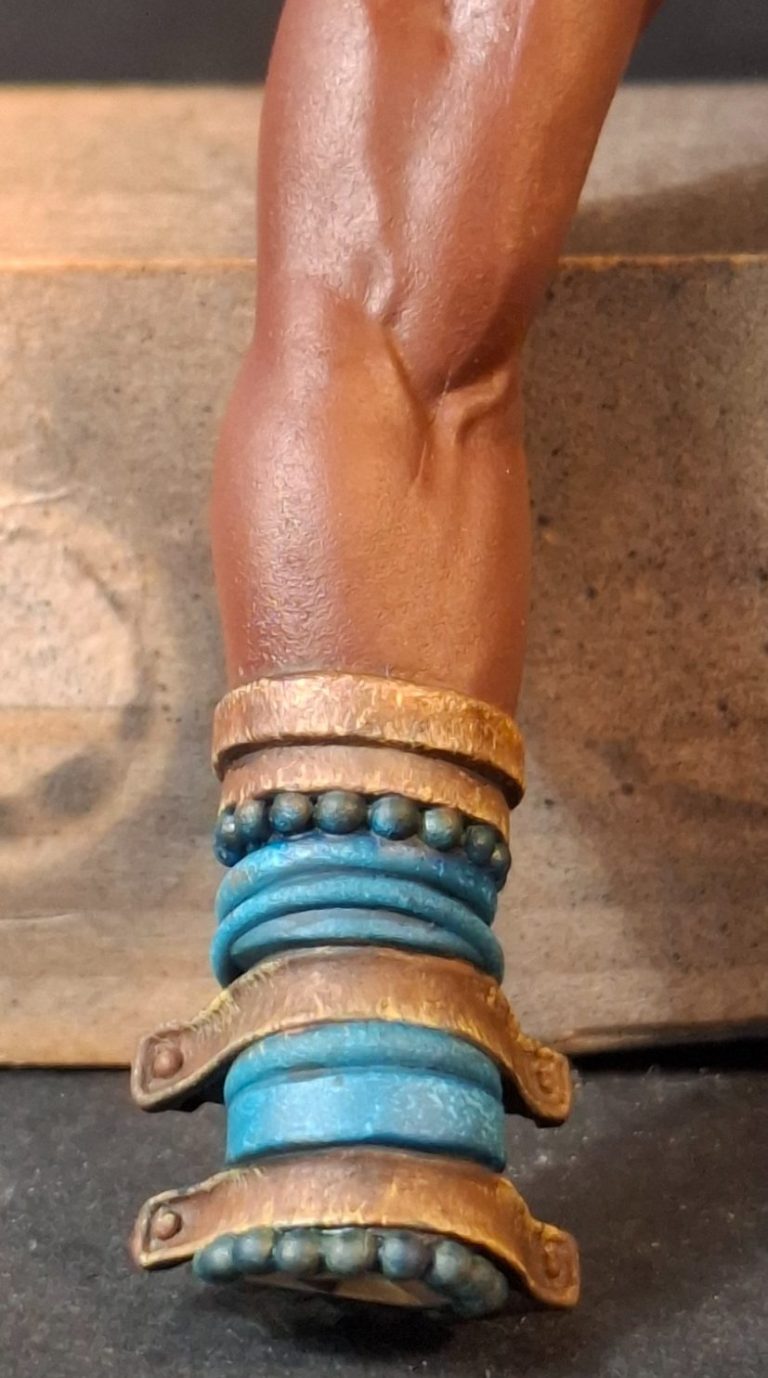
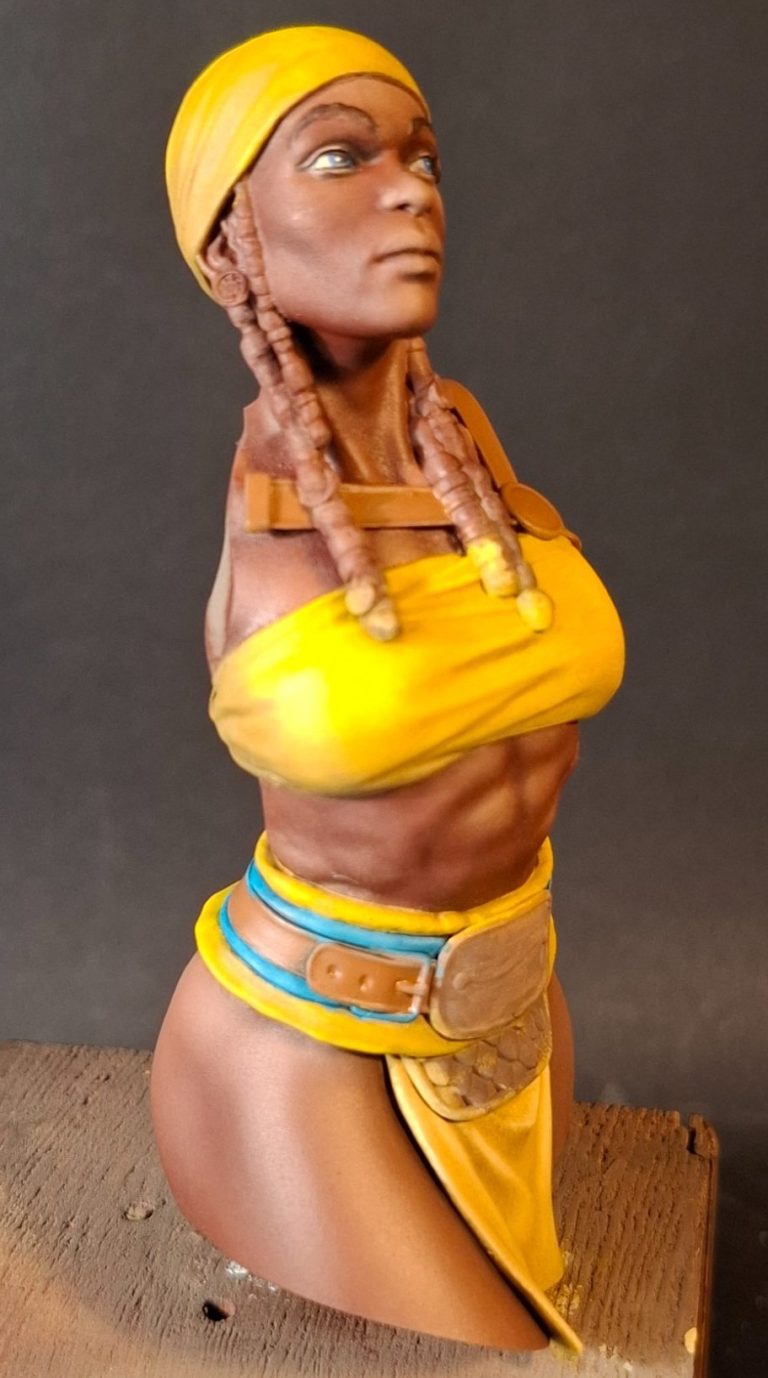
Photo #32 and the painting of the different sections of the kit are coming together now, I’ve undercoated the leather belt and the belts across the upper chest / shoulder in readiness for oil colours.
Photo #33 and the belt and tummy guard have been painted, and I’ve attempted again to add a rough texture to the finish on the tummy guard, similar to the effect on the shield.
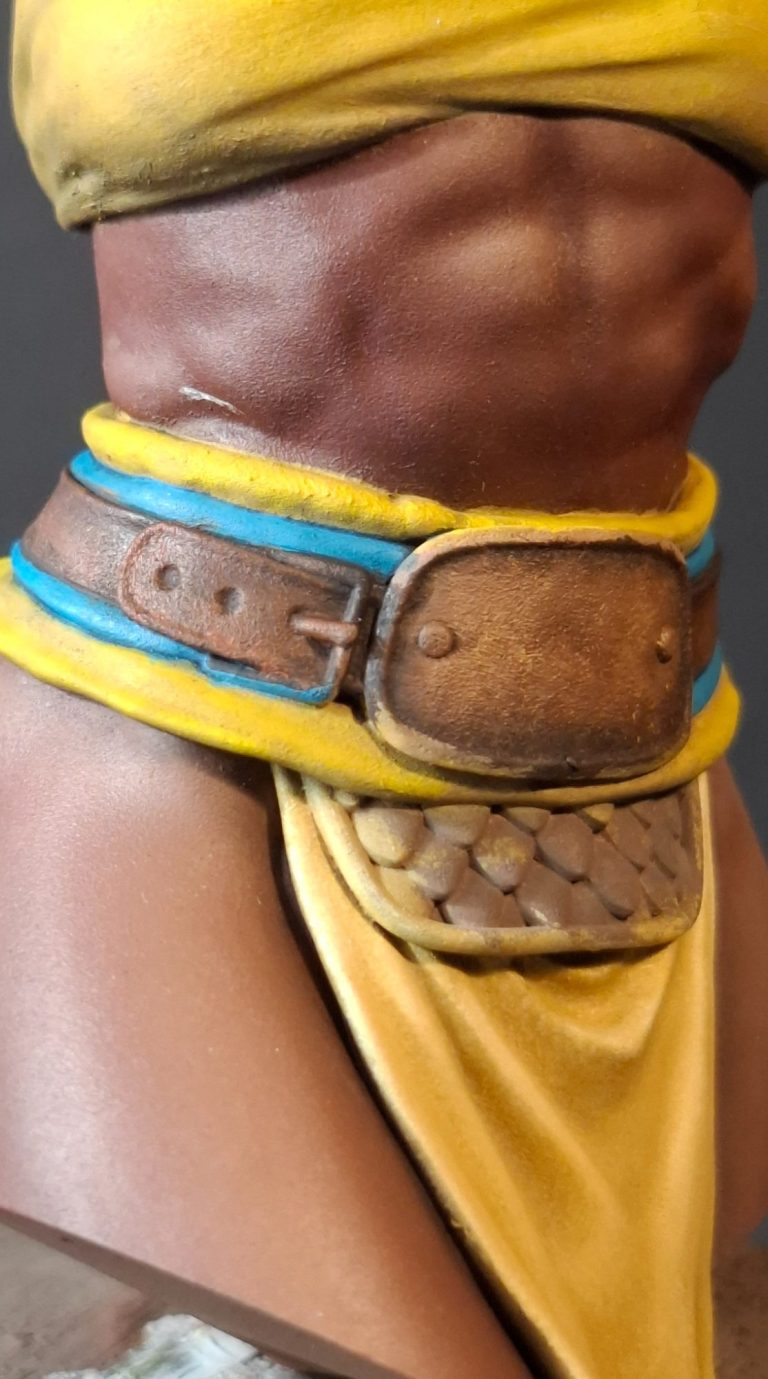
Photo #34, and although a small detail, I’ve painted the fist guards of the swords to look like wood.
I recently found out that the Darkstar metallic paints are “buffable” and I thought I’d give that a go with the sword blades.
Beginning with a black undercoat, I then added Dark Steel over the top, followed by Silver on the surfaces that would be brighter and reflect more light.
After allowing these to dry for a couple of hours, I polished them lightly with a soft cloth, dampening it a little with some clean water, as this seemed to speed up te process.
Whilst not completely free of pigment flecks, it does look like well worn steel in this shot.
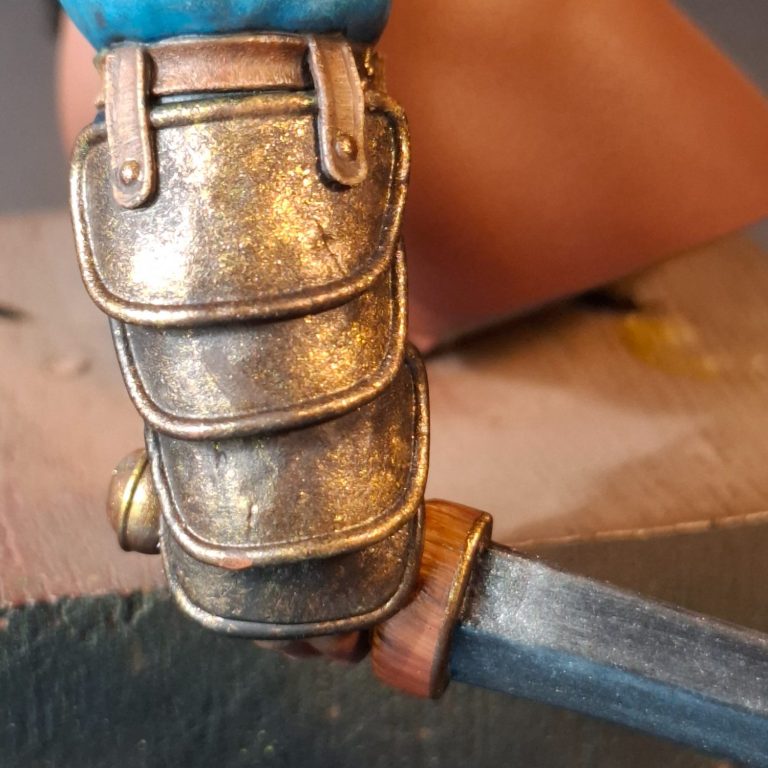
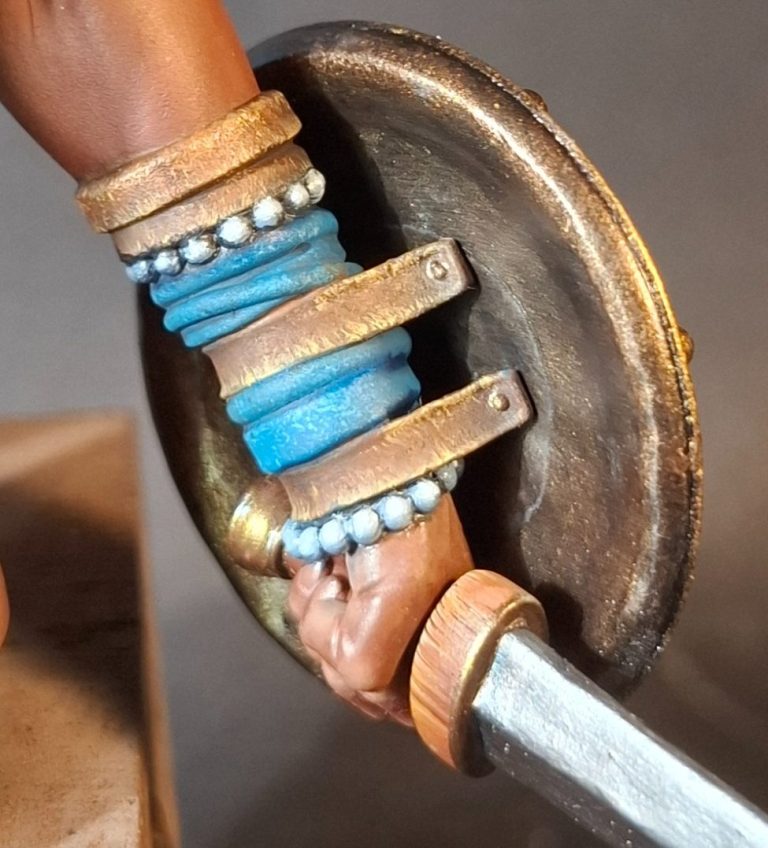
Photo #35 shows the back of the shield in position and also the bead detail finally painted.
I decided that instead of coloured beads, I’d paint them to represent pearls, starting with a pale blue / red /white mix of oils – heavy on the white and very little of the other two colours – and adding a spot of white to each pearl as a highlight.
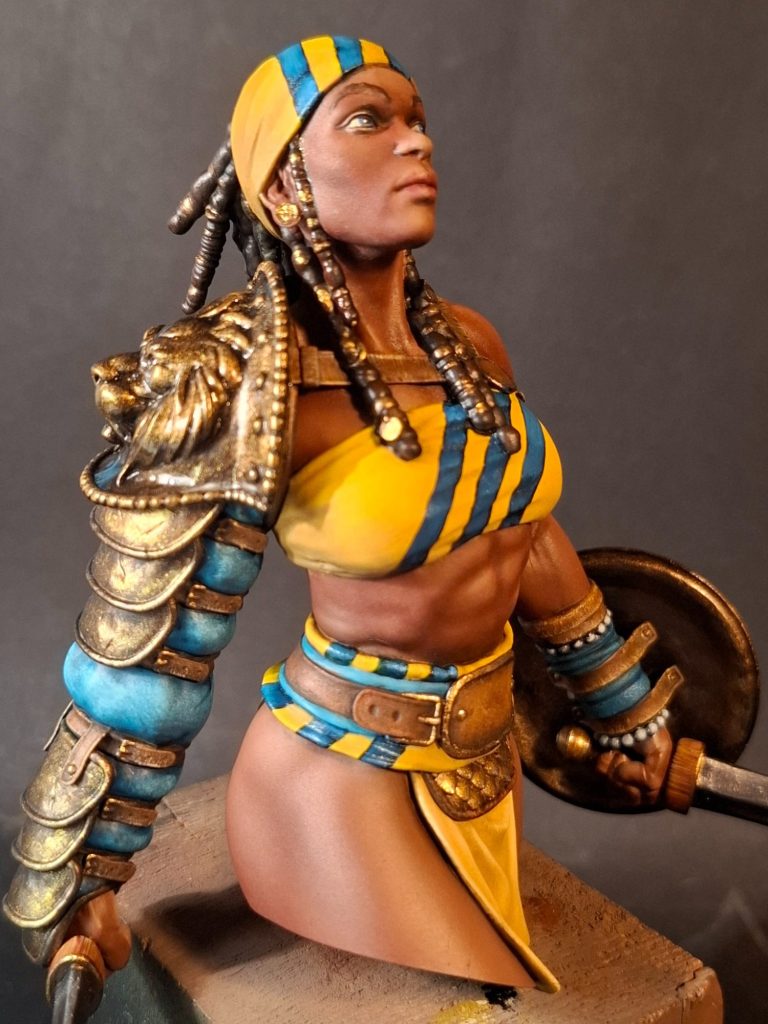
The front of each of the fist guards on the swords was painted with the mix of bronze and gold Darkstar metallics and with all the separate parts glued together, it was time to find a nice plinth to put her on.
Final thoughts.
A superb model to work on and paint, I can say little else really.
It was great to work with some bright colours after a period of khaki and green that had been necessary for some WWI projects, although they had in fairness given me my mojo back so that I was back to really enjoying painting.
It’s a long time since I’ve painted an African skin tone, so added to the renewed enthusiasm, the difference that this introduced enhanced the feeling of accomplishment.
So, this is a very nice kit, very well designed and produced, and I enjoyed painting it immensely.
Very highly recommended, and I encourage you to follow that link to the Stella Argentis website.