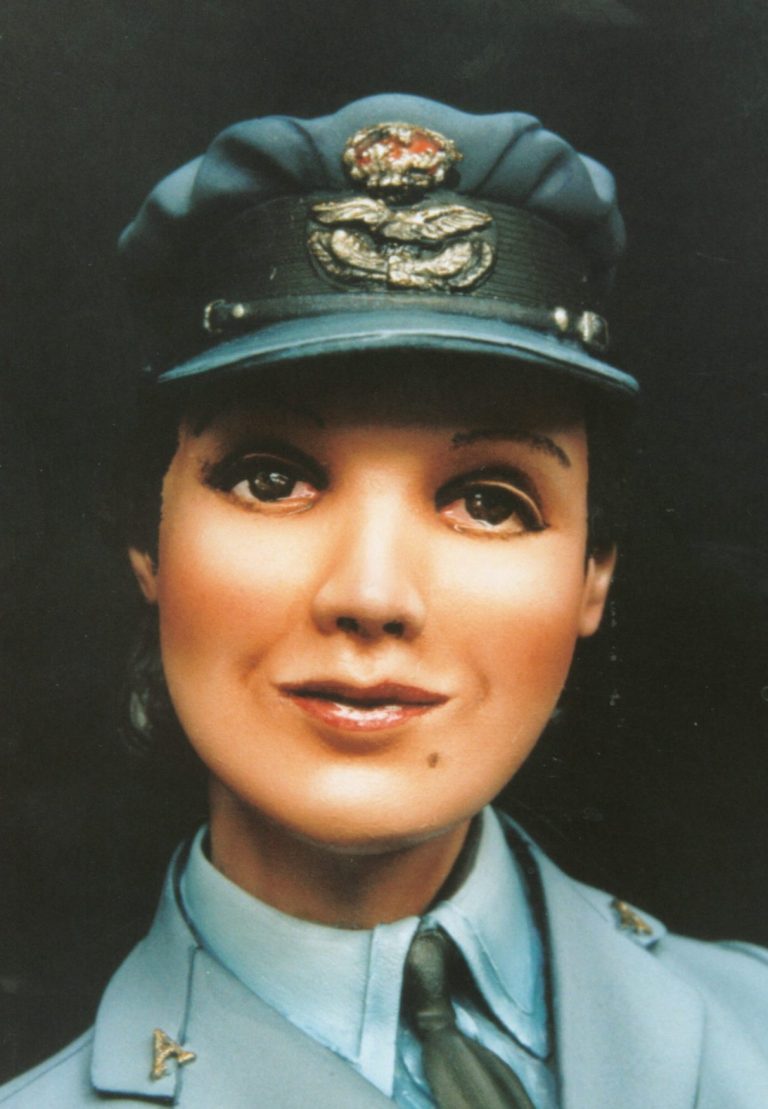
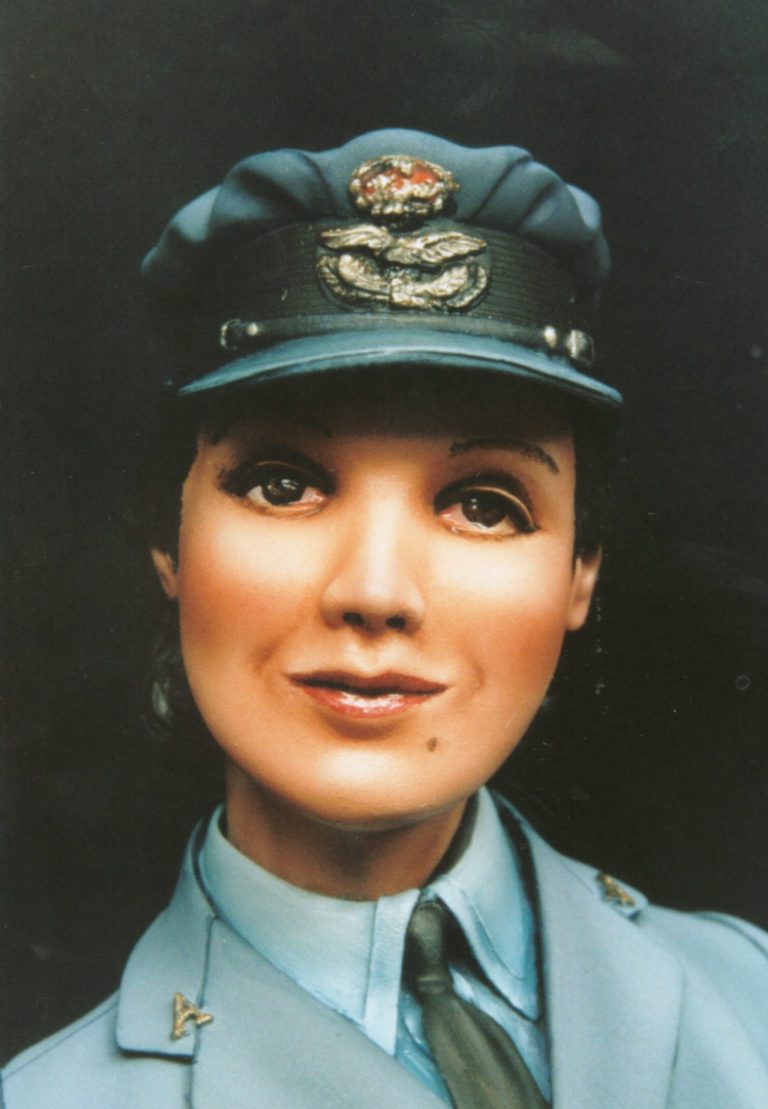
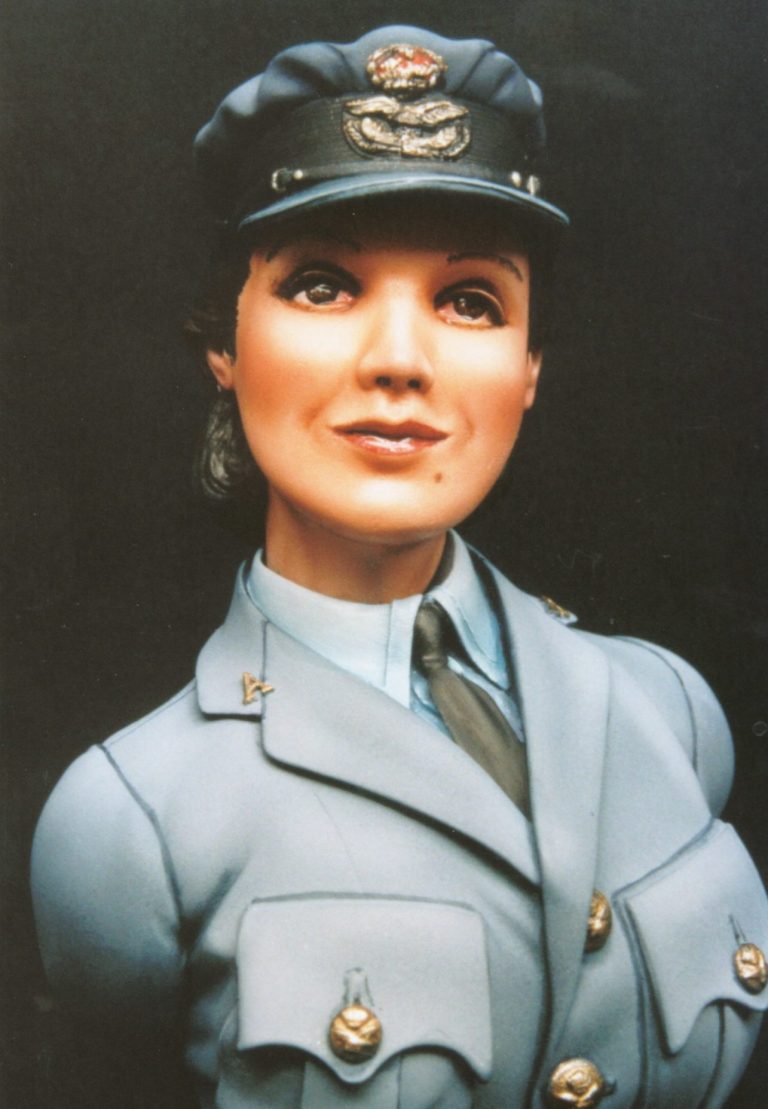
WRAF Girl
1/9th scale resin bust from Yellow Submarine
Painted in 2004

During World War I the loss of life was so great on the battle front that there came a situation, certainly in Britain, that there were too many jobs and not enough manpower to fulfil them. Women had long campaigned for rights similar to men, and groups such as the Women’s League openly promoted this belief.
The situation created by World War I made the opening for women to enter into the workforce, and helped to change society views.
As the war caused further loss of life, women were integrated into more and more of what ten years before would have been considered “men only” positions, and women acquitted themselves admirably.
Although initially there was great opposition to allowing women to enter into the factories, and certainly any position in the armed forces, albeit well behind the lines, the situation had to be accepted simply on a logistics level.
Women were allowed to enlist as drivers in the British Legion in 1916, and attitudes soon shifted, the government soon making it impossible for a woman to claim unemployment benefit, so that they were in some way forced into the war effort.
By the end of 1917 the Royal Flying Corps had all women units, living at home, but working at the closest RFC unit to them. These women worked alongside the men, who were training them to take over their jobs.
By 1918 the RFC and the Royal Naval Air Service were amalgamated, and the Royal Air Force was formed, and it was now that women were openly encouraged to join up to the main forces, as opposed to just the volunteer sections. Under these new terms, the Women’s Auxiliary Army Corps, The Women’s Legion motor drivers and the Women’s Civilian Subordinates joined forces to become the Women’s Royal Air Force. The numbers in these three forces were quite staggering, totalling 25,000 at this point.
The main thrust of WRAF was for the women to train and eventually take over from the home based mechanics so that the men could be moved to combat areas.
Women found this an attractive proposition, being allowed to train in posts that only a matter of years previously would have been barred to them. They were enlisted through local labour exchanges, signing on for a minimum of one year, or the duration of the war, whichever was longest.
Initially issued with uniforms from Queen Mary’s Army Auxiliary Corps, these were soon changed for new uniforms by November 1918. Although the war had ended, some women chose to stay on in the WRAF.
Just as a small note to show that all was still not quite equal, the women were issued with new uniforms only when the old one was worn out, rather than every year like their male counterparts. Also, women still wore skirts, even when working as mechanics. They could do the men’s jobs, but couldn’t dress like them.
By 1919 women were being employed in 43 different trades within the forces, these including armourers, radio operators, fabric workers ( remember even in World War II, the Hawker Hurricane was partially covered in doped Irish Linen ), parachute packers, balloon operators, flight mechanics, drivers and pigeon keepers.
Women were trained on the job, and also had to do their share of military drill or “square bashing” as it was felt that it was good for morale. Women now had their own billets, and men were certainly not allowed near or in them. Women were under strict orders, and even at organised functions and dances, men could be left standing alone half way through the night because a curfew had been called.
This all gives the background for when the Second World War broke out. The WRAF was already in place, and women yet again enlisted in great numbers to help with the war effort within civil defence duties.
The jobs done by the women were basically the same as in the First World War, and so desperate was the situation at home, that conscription for unmarried women between the ages of twenty and thirty was made in December 1941.
The initial strength of the WRAF in 1939 was 1734 women, but this had escalated to 181,835 by the middle of 1941. Jobs extended by the middle of the war to encompass electronics and radar operation and maintenance, and enlistment was for four years, or until the end of the war.
It wasn’t until 1944 though that volunteers were called on to go abroad, firstly to Egypt, and then once the invasion had gained a foothold, into mainland Europe.
The Model.
Following on from the Lilya Litvak bust I did a couple of years ago, I’ve returned to the Yellow Submarine Company to look at their second release in their female busts range.
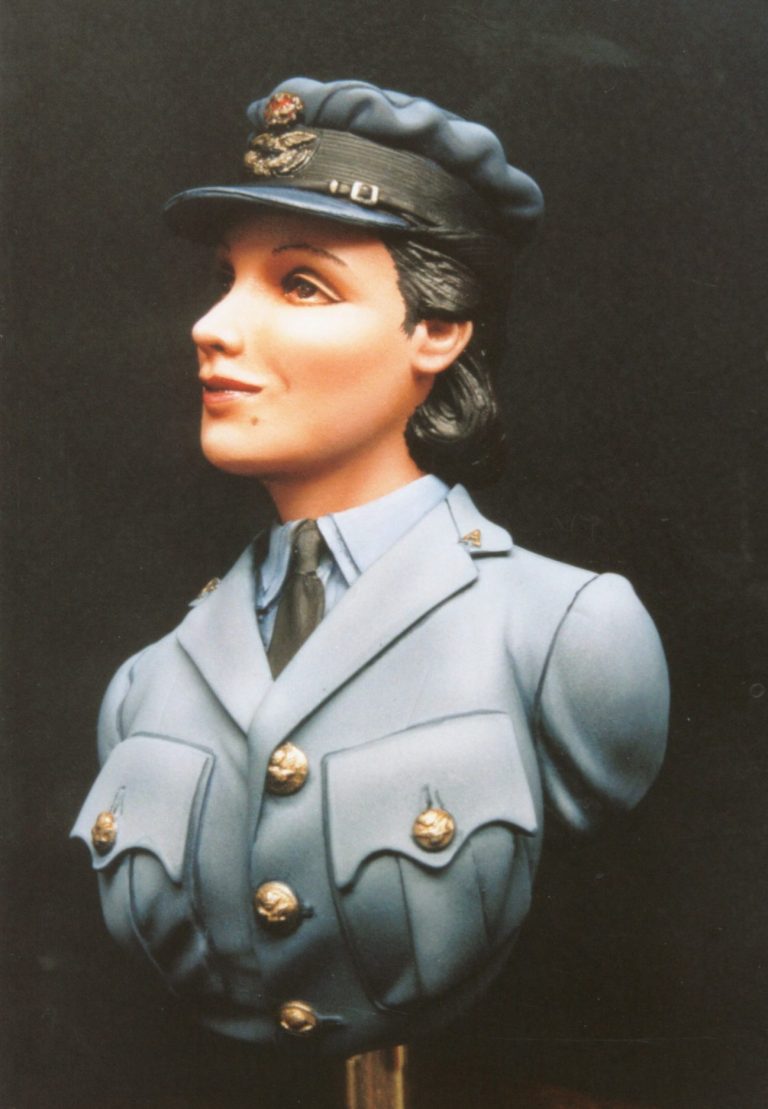
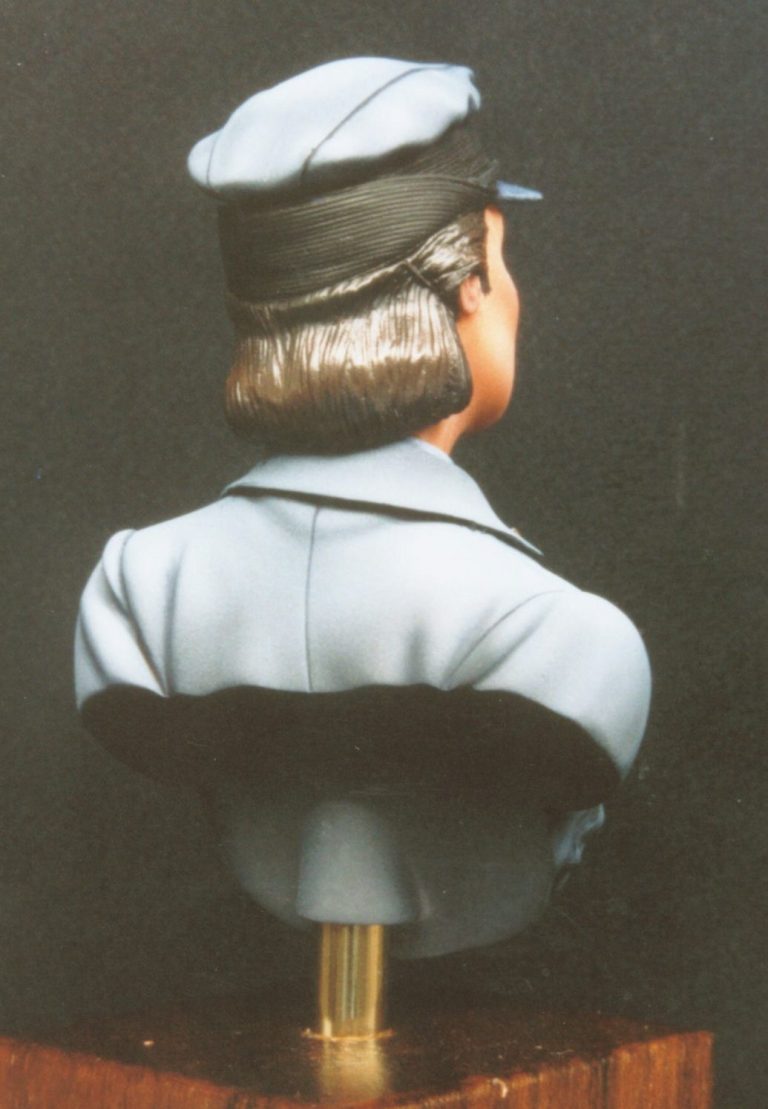
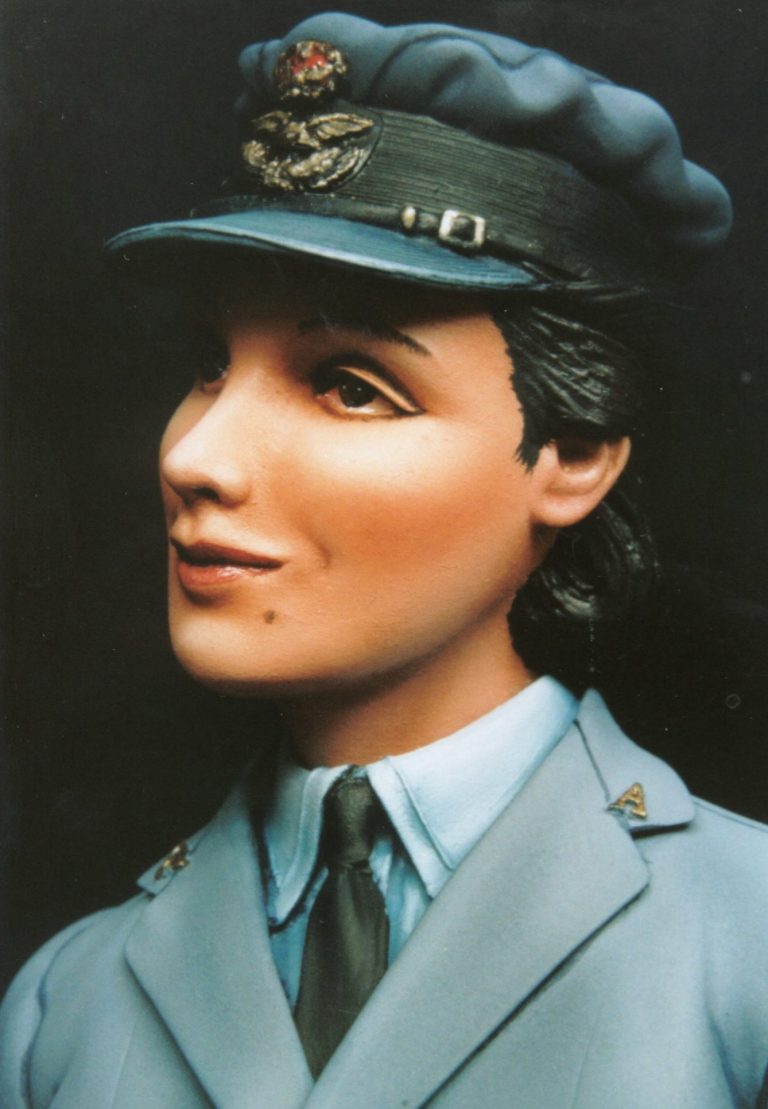
This is identical in style to the Lilya bust, being a true bust, and split logically into just four components. The head is separate to the hat and the body, and a plinth is also included, should you wish to use it.
The casting is all very cleanly done in a very soft and easy to work white resin. There are some very small areas to clean up, but nothing to cause any concern apart from the mould line that runs up the sides of the hat.

This is actually only a very small line up each side of the hat, just above the ears, but with the finely detailed ribbing in that area, it is a bit of a beggar to get rid of. I eventually had to add a little putty to the area, and re-sculpt the ribs in. This was because I was a little too eager with the file, and I’d suggest going quite slowly if you’re doing this model.
Part of the problem was my impatience; part, the fact that the resin is very soft, and it’s not easy to see the amount of detail that’s disappearing. Keep checking what you’re doing though, and you’ll be fine.
The only other necessity was to drill into each part so that I could add a piece of wire to allow me to hold them without touching, and smudging the paint, and also to add a larger hole into the underside of the main shoulder / chest component, so that a brass rod could be used to attach her to a plinth when she was finished.
There were no other problems encountered with the model though, and with this bit of the cleaning done, it really does become a painter’s model.
A bit of luck.
The commonly accepted “law of Sod” when applied to modelling, will usually mean that the one most useful piece of information will come along precisely when you don’t need it. Like when you’ve finished the darn thing and got it either on a show bench or in a magazine article.
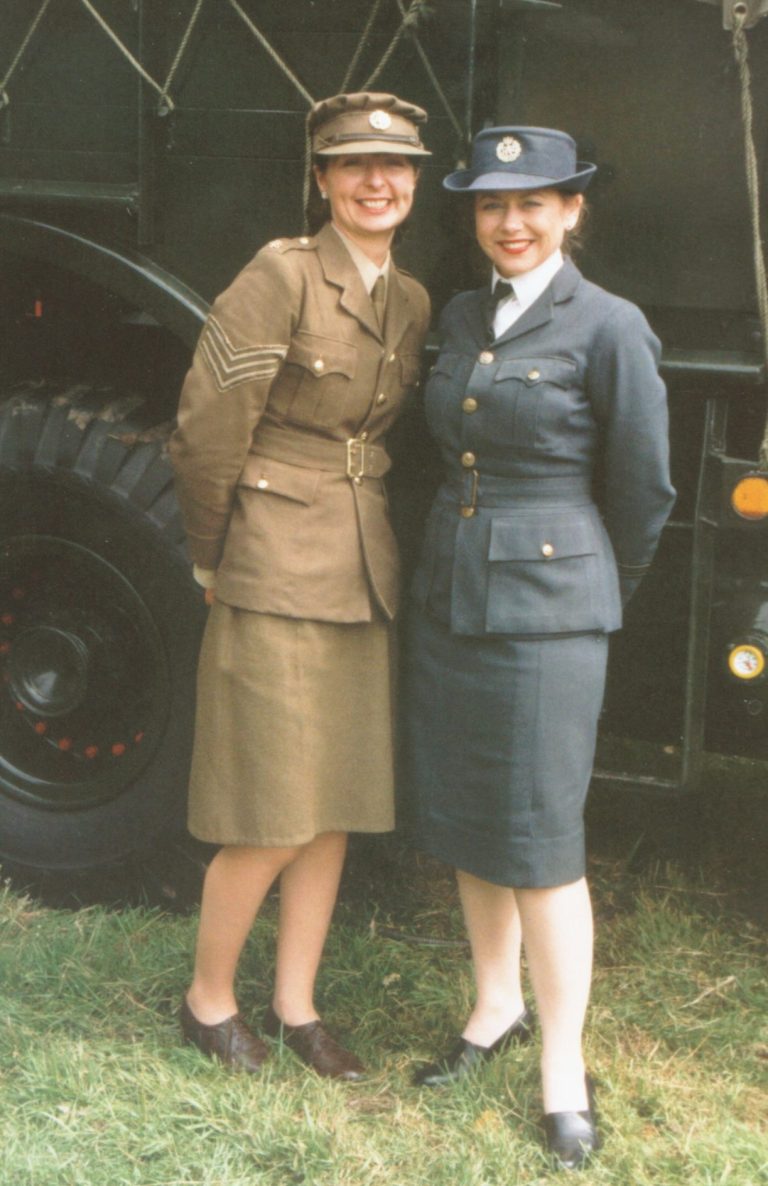
For once, I had the luck to be told about a local military vehicle show – at Hornby Castle near Lancaster – that one of my workmates was displaying at.
This was the first military vehicle show held at Hornby Castle, and very impressive it was.
Obviously the various hardware on display was of interest to the AFV modeller, but I was surprised at how many enthusiasts were dressed in period clothing. In particular were two ladies one of whom was in almost the same clothing as this model sported.
Very kindly she and her friend let me take a couple of photos, even though I disturbed her from having a cup of tea. Unfortunately I forgot to take a note of her name, but if anyone recognises her, then please forward my thanks for her help.
Said photo is shown here, and although it’s not perhaps as close as I’d have liked it, it does give a fairly good idea of what I was aiming for on the model.
The painting.
This really was a relatively simple job, partly because of the way that the model has been split up, and partly because of the method I chose to use.
Keeping the components separate helped too, and I decided to paint clothing with an airbrush, and then add the fine detail with a brush afterwards.
I began by coating all the parts with a primer coat of Humbrol Matt White, thinned down with some Cellulose Thinners. This grabs onto the resin very well indeed, providing a stable base for the following applications of paint.
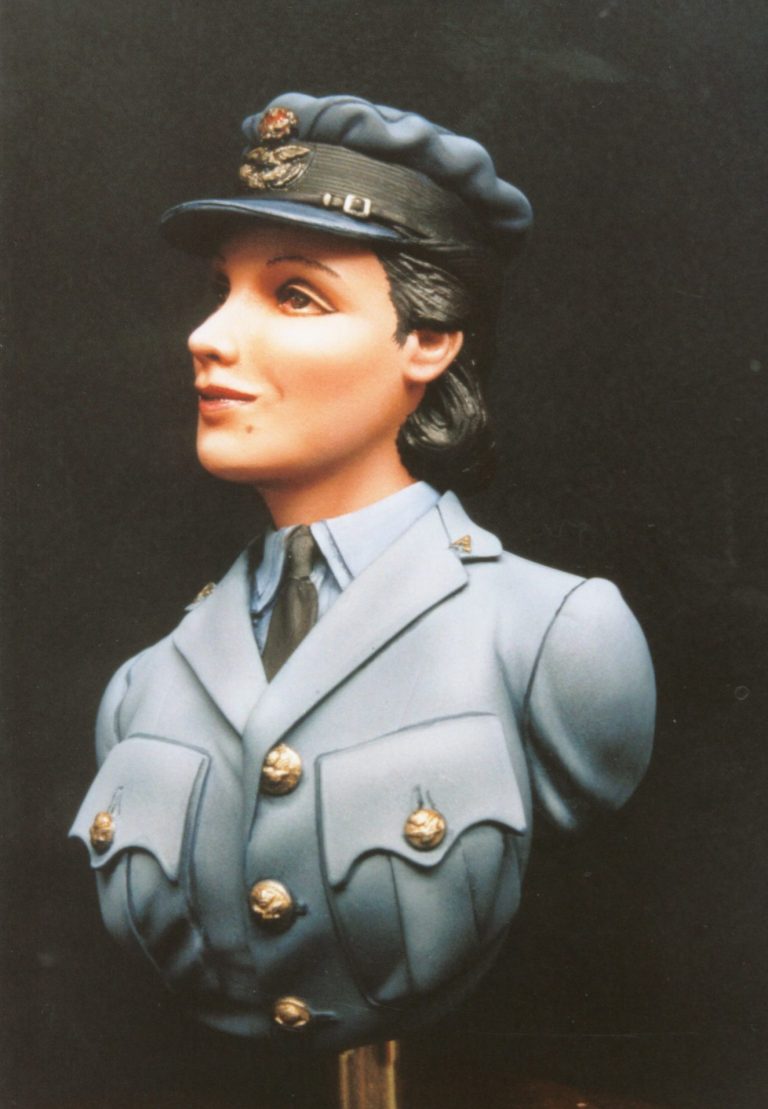
For the blue I used a mix of Matt Black and Matt White enamels from Humbrol, and added the blue from Winsor and Newton Indigo, thinning the whole mix down with some more of the Cellulose Thinners. I split this mix into two pots, adding a small amount of the black and the white to one of the pots to give a slight difference in colour.
By doing this, I could use separate paint mixes for the jacket and the hat, so that they looked slightly different in colour, but with having been made from basically the same mix initially, they would still look pretty much similar.
Beginning with the darkest shade on the jacket, I sprayed the deeper creases in the armpits and around the collar, concentrating on any area that would be in the deepest of shadows. The mid-tone was made by adding some more of the blue and white to the mix, and thinning again so that the consistency of the paint wasn’t compromised.
As some of the white primer was still showing through, this gave me a very basic map of where the lighter mid-tones should be added. I painted these on, gradually letting the colour build up in strength, but being careful not to allow too much of the lighter colour to mist over onto the darker shadow areas that I’d already established.
A further addition of white made a highlight colour, that again was misted on to selected areas to further build up the upper areas of the jacket. One final addition of white was made, this was just to top off the shoulder areas and the very edges of the collar.
Using the second mix of paint, and basically the same method, I applied colour to the hat. Both the jacket and hat were then left to dry fully for over a week - more due to work commitments more than wanting the colours to be thoroughly dry !
The colouration – so far looked fine, but a little flat, and so I added some very dark shadows with some thinned down Mars Black oil paint. This was run into the deeper creases and also used to mark out the seams where the cloth making up the hat and jacket is sewn together.
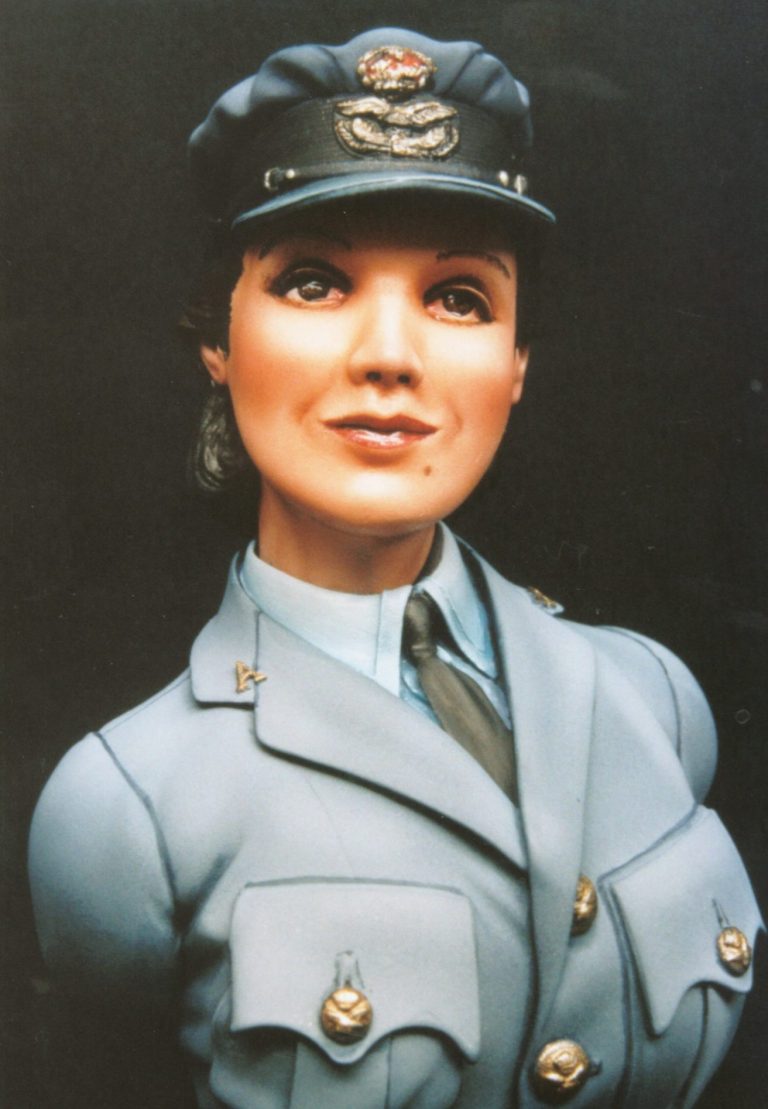
Whilst this was drying, I added in the buttons and the “A’s” on the collar using Testors Gold enamel mixed with some Mars Black for the shadows, and then highlighting this with some of the pure gold colour, with some final touches of silver to just add the illusion of a highly polished metal.
As a final touch, some mid-green colour ( GW Woodland Green and Skull White acrylic ) were added to the underside of the peak of the hat.
The face was the last area to get paint, and having primed this with the white, I then added an undercoat of Humbrol acrylic flesh. Over the top of this I used my usual oil paint tricks to get the flesh to look as life-like as possible.

A problem often encountered by modellers is that their female models “don’t look right “. Much of the time, we paint male subjects, and a rugged and ruddy look is what we’re searching for in the paint finish. With a female face, the effect needs softening, the harsh angles breaking down to form a more rounded impression.
Also, the tonal values need to be changed. A more ruddy rugged look is swapped for something with a little more glow to it. This is done quite simply, by making the base colour used for the flesh a tiny bit pinker than normal. The mix I use is described below.
I began with my normal mix of Winsor and Newton Flesh tint ( which is very pink ), and to this add some Mars Yellow and some Titanium White. Normally for a male face, the ratio is around 5:2:1 respectively, which I find gives a relatively good base mix for a male flesh tone.
For a female flesh tone, I would add more of the Flesh tint, knocking that up to 6 or 7 parts to the 2 of yellow and 1 of white. To further enhance the colour though, a little bit more white can be added too, but this is purely a matter of taste.
Then it’s simply the addition of the Mars Brown oils for the shadows, and some more Titanium White for the highlights to block in the various areas of the face.
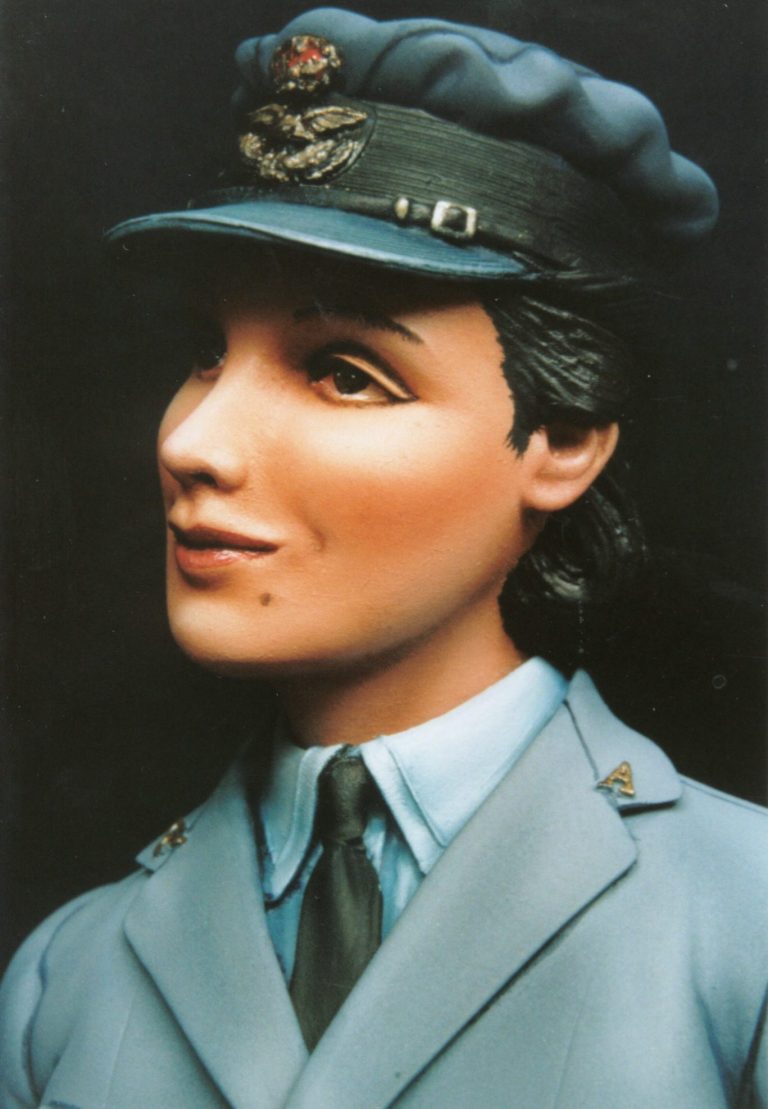
There are further touches to be added once the initial flesh colour has dried fully. Thinner than normal eyebrows, and giving them a definite shape too, will add to the effect. Depending how brave you are, and how well you can vocalize an explanation, watching your nearest and dearest pluck her eyebrows into shape is an option to get more idea of the mechanics.
Lips; these are another tricky area, simply because its ever so tempting to find the glossiest bright red, and use that !
It simply won’t work, and the model will tend to look silly. By adding a fairly bright red to some Mars brown, a shadow colour that can be added to the crease between the lips can be made, and this can also be used to outline the lips ( for those with a steady hand that is ). Highlights can then be added using the initial dark mix, lightened with some of the mid-tone flesh colour, using the brush to paint small lines on the lips in the direction beginning at the crease between the lips and going to the outer edge. A final highlight using some white to this mid-tone, but just using this paint along the bottom lip, will add the glossy look to the whole area. To further enhance it, a thinned coat of either Gloss Medium, or varnish can be added once the paint is fully dry.
Eyes are the only part of the face that are done in the same way as on a male subject, and as I’ve detailed how they’re done in previous articles, I’ll not bore you with more of the same in this one.
Finishing off the face can then be done with some slight blush added to the lower cheeks, nose and ear lobes. I tend to use thinned Carmine for this, but any deep red will suffice. Less is definitely more in this case, and a small amount of any red paint goes a long, long way. Be careful how much you add, and it’s better to add a couple of coats of well thinned colour, rather than trying to “get it in one go” and end up with something clown-like in appearance.
Eye liner can be added, and I usually opt for a very dark brown, rather than black which can look a little stark, and try adding it to just the top eye lid first, before going the whole hog and doing the bottom one too.
On this model, I’ve also added some darker colour to the skin at the inner corner of the eyes, and also above the eye where there would be a deeper crease of skin where the eyelid causes a fold. These two areas, along with the nostrils and inner ears are the
only places I’d add this darker brown.
Adding it to the lower cheeks to lift the cheekbone will make her look gaunt and masculine. You can try it, but unless the subject calls for that hollow cheeked look, you’ll be risking ruining all the hard work you’ve done.
With the painting just about finished, only the underside of the chest to be painted with some Matt Black, the finished parts could be glued together, and the model fastened to a decorative plinth. I chose one from the Armstrong Bases excellent range, using a short piece of brass tube to join the two together.
Just a hint here; the brass tube can be polished up using some “T-Cut” car polish, and the shine retained by painting on a thin coat of Tamiya Smoke acrylic.
Final thoughts.
Although, like the Lilya bust, this looks a little caricatured, I still like it. It does hark back to poster art from the 40’s and 50’s era, and for that alone I find it an attractive addition to my collection of models.
The casting is very fine indeed, and is brought out quite easily with some careful painting. The reproduction of the smaller details is very good, and something that seems to pop out once the final shadows are added.