F89J Scorpion - A plane old disaster
1/72nd scale plastic kit from Hasegawa
Assembled and painted in 2024
It’s of my own making though – the disaster - but as I always say, it’s good to learn.
But why post up and article detailing how I made several mistakes, misjudgements etc.
Well, I think it’s occasionally good for the soul to admit failure with a project, and admit it’s my own fault. It also show that no matter how experienced someone is in painting one type of model, there’s always something to learn with another genre, and whilst methods can be transferred between those different subjects, it doesn’t always go as planned.
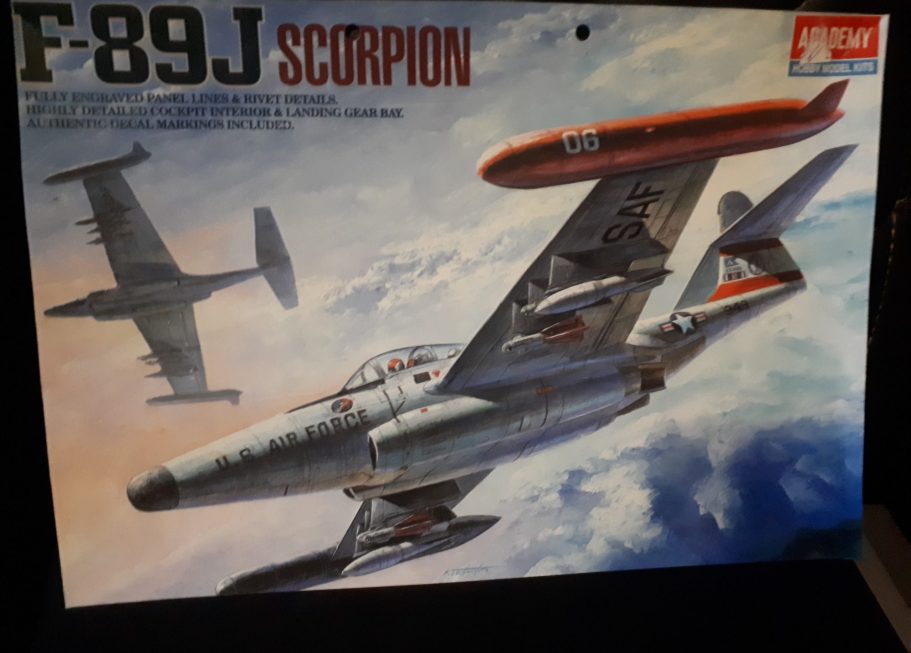
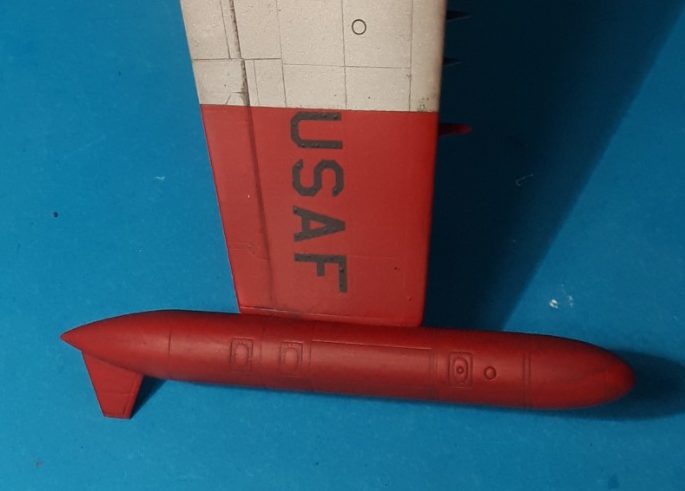
So to begin with, photo #1 shows the box art of the F89J Scorpion, and interesting subject as it is the first aircraft to fire a rocket propelled air-to-air nuclear warhead, albeit to as a test, and not in anger.
It’s a large aeroplane, more akin to a small bomber in size than a fighter jet, and was developed by Northrop of America during the late 1940’s, the design being for an interceptor that went through several upgrades from F89A to this last iteration of the aircraft, the F89J.
It entered service with the USAF towards the latter part of 1950 and was flown operationally until 1969.
So before I run through my list of failures on this model, I really do need to say that the kit is actually very good. The model went together quite well, the instructions are clear and assembly followed a logical path.
As usual with most aircraft models, the cockpit tub is assembled first, painted and then installed into one half of the fuselage and then the other half of the fuselage fastened in place.
Photos #2, #3 and #4 show this from different angles, and the moulding of the control panel and seats, including the seat belts are good enough to help the painter without the necessity of an aftermarket set being necessary.
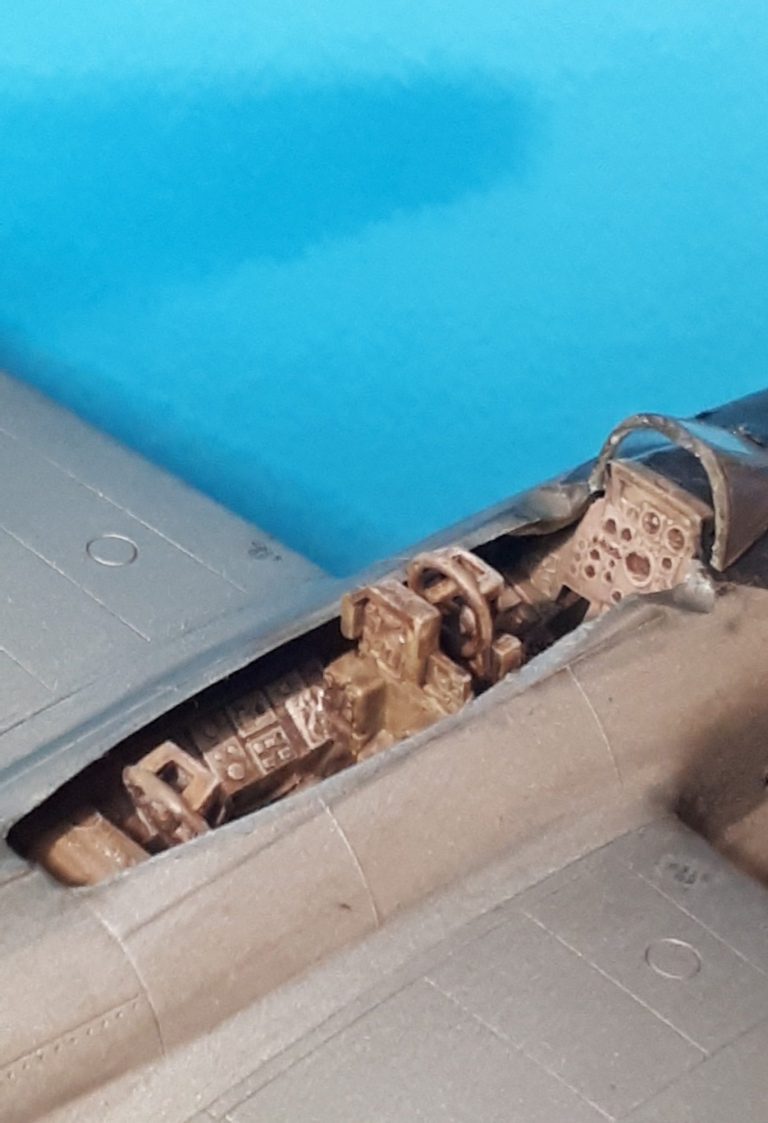
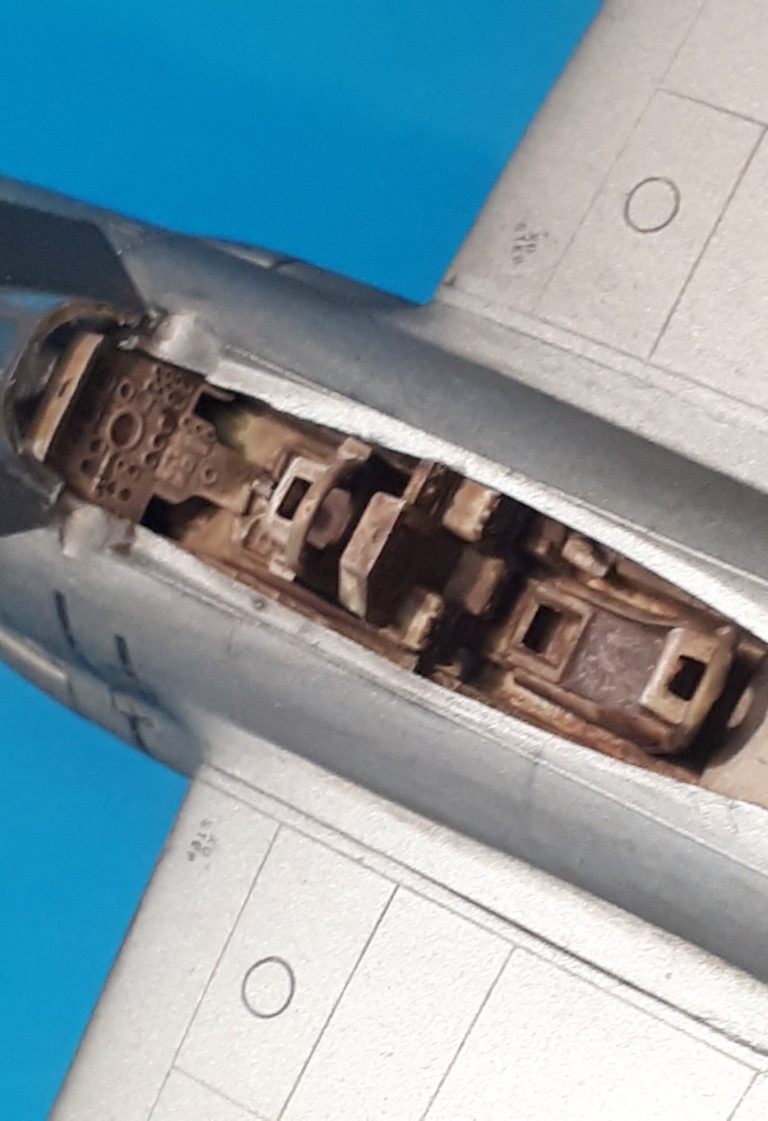
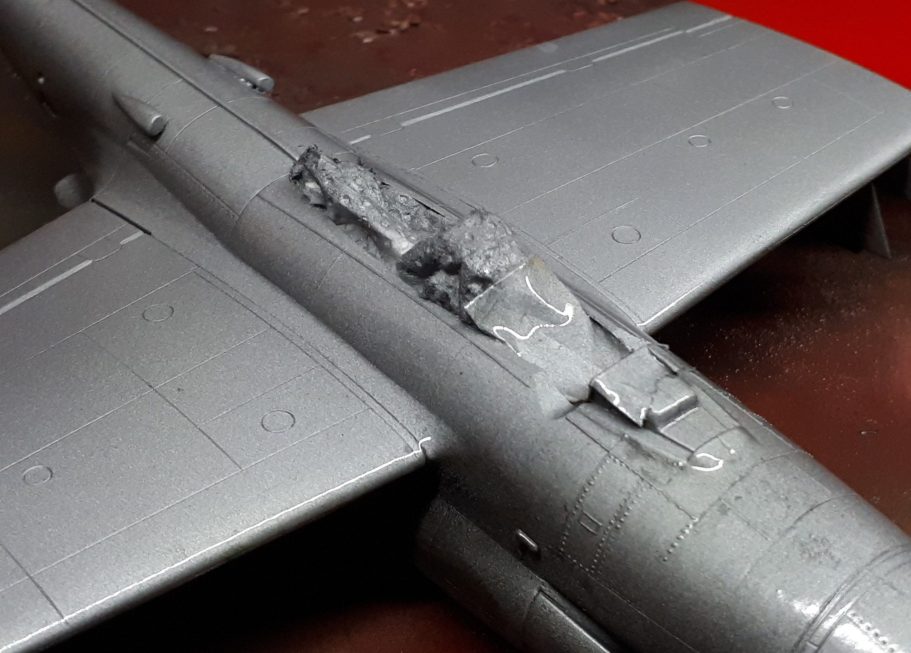
Photo #5 shows the cockpit masked off with some very high tech material – loo roll – pushed and prodded into position to stop any paint from the airbrush getting to the parts already painted.
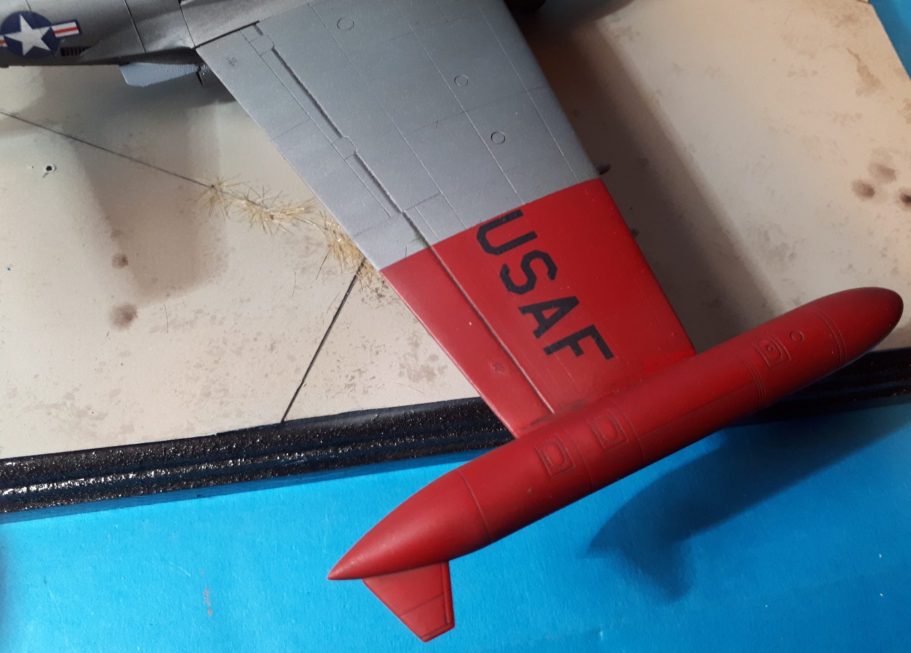
Photos #6 and #7 show the paint having been added. I decided to use a couple of colours from the Alclad range, which have, admittedly been in the drawer for about twenty years or so. However, with a little thinner added to make them flow through the airbrush better, they covered the Halfords Grey Primer really well.
I used some Tamiya Masking tape and some post-it notes to mask off the silver areas so I could spray on the red – a Tamiya Italian Red – and then these shots show the results.
Looks good. eh ?
So then it was decal time.
OK I’ve heard about spraying on a gloss varnish before adding decals as it helps prevent silvering around the edges or any clear areas of the film, but on the few pieces I’ve done with decals so far, I’ve never had that problem arise,
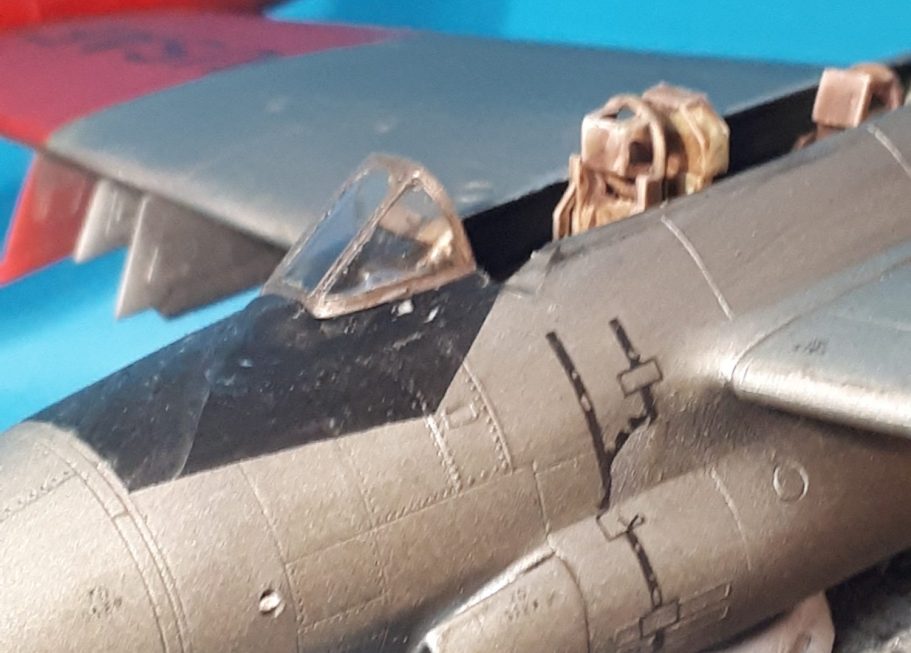
And in photo #8 the decals seem to have gone on well enough. In this shot they’re pretty fresh too, as you can see from the black decal in front of the cockpit – it’s still shiny from the Micro Sol / Micro Set liquids.
In fact I was pretty pleased with how they’d gone on, the decals are nice and thin and positioned easily. All good then…..
Oh, no, two problems surfaced…
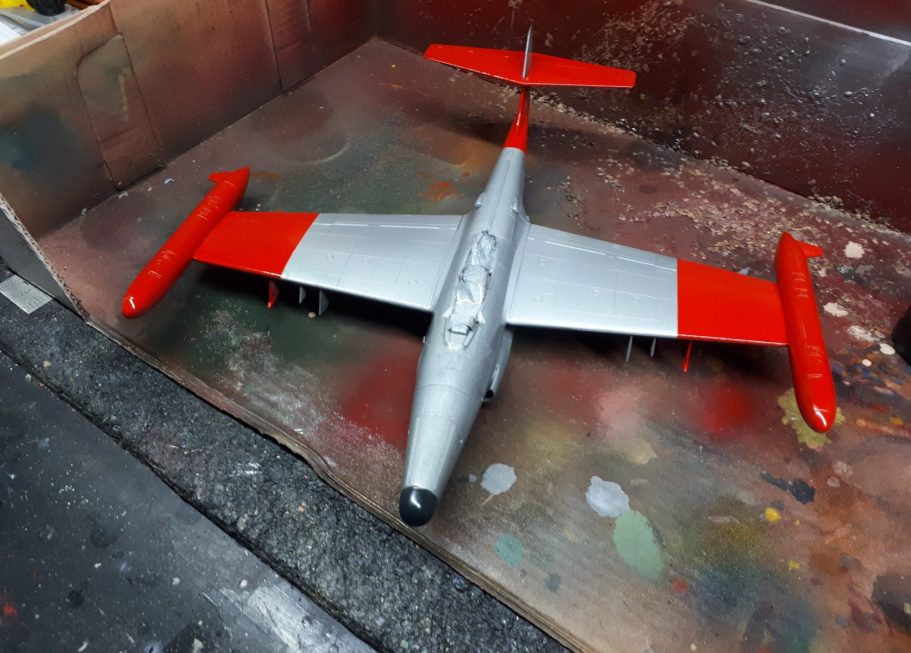
The darker of the two Alclad paints hadn’t adhered to the primer coat, in fact it rubbed off really easily as soon as it was touched – see photo #9. I’ve never experienced this before, and I resprayed the worst areas with what little of the paint I had left. Also seen in this shot is the silvering of the decals.
Ooh look, a two-fer-one picture of problems.
At this point I had two choices:-
- wash all the offending paint off ( Which is what I should have done, by the way ), and repaint with a different colour.
- In the most masculine way possible, try and fix both problems at once ( The experimental, but foolish choice in hindsight – well, we’re all wiser in hindsight ).
The answer I thought would work was spraying with a matt varnish rattle can from the Mr Models range.
Photo #10 shows the first pass with this, which was very light and although it got rid of the glossiness of the red, it didn’t kill the silvering.
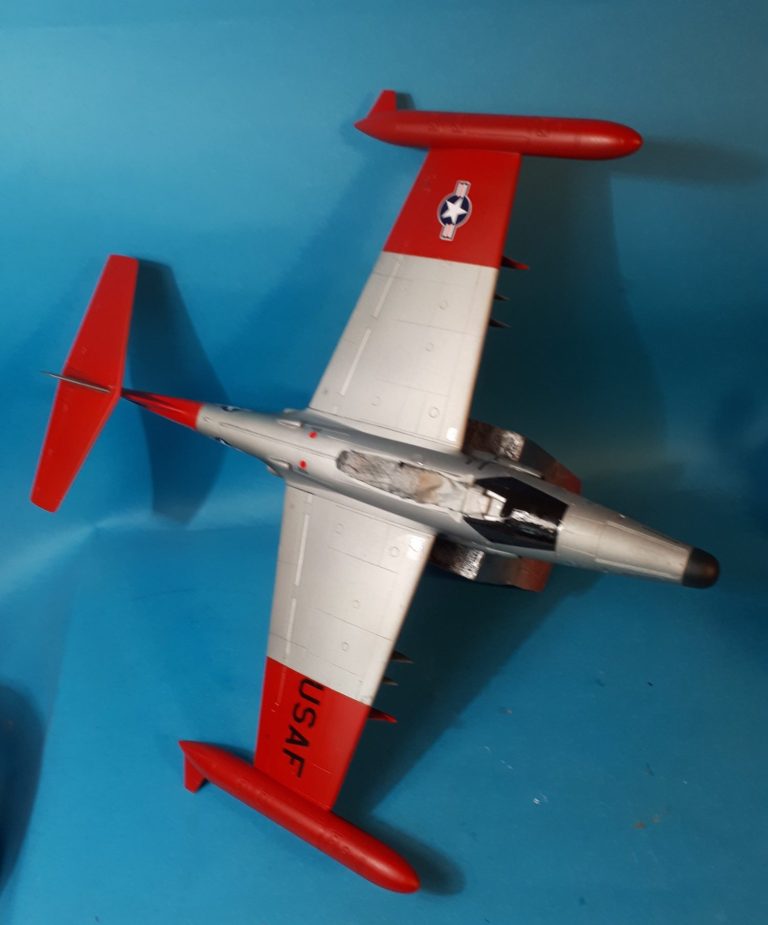
Photos #11 and #12 though, with a couple more coats fixed the silvering completely, and also sealed the silver areas to the point where they didn’t leave the model surface for the transient safety of my fingertips.
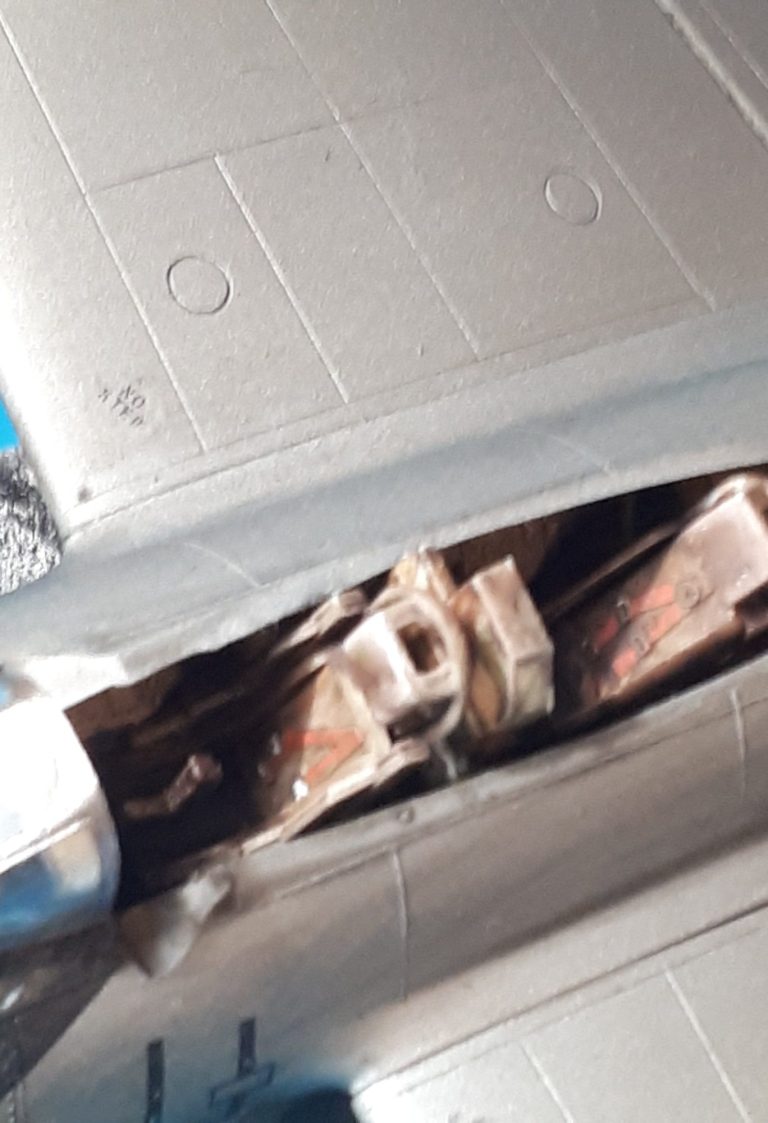
But now another problem appeared. The varnish dried fully and appeared to make some of the paint bubble – see photo #13 near the wing root.
I have to admit that at this point the project was somewhat losing its shine for me, can’t think why.
However, every day is supposed to be a learning day, and I wanted to see if I could lift any positives at all from this, if only finding out “things not to repeat” for future reference.
Having run out of both of the Alclad colours, I realised that I needed to paint the canopy frames, and searched through the acrylic colours I had from the Darkstar range.
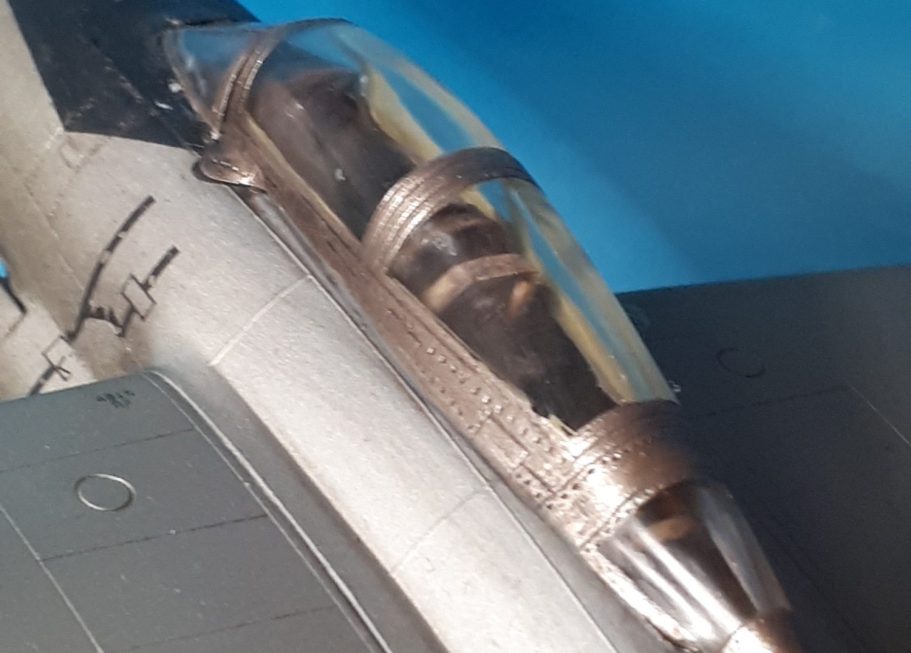
Nothing matched, and as at this point I just wanted to finish the project, I chose one that was the closest.
Admittedly when dry, it was a country mile away as a colour match, but it got the job done.
The mismatch in colours can be seen clearly in photo #14 though.
A trick I’d read about and tried previously was to paint the framework first with the cockpit colour, and then go over that with the outer paintwork colour, this method has worked well in the past, and didn’t fail me this time either.
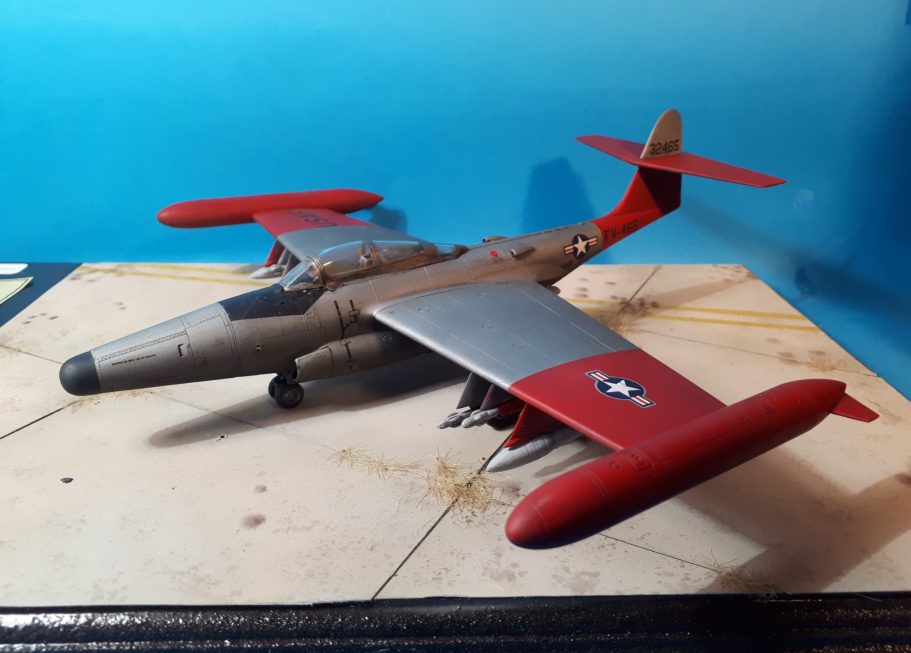
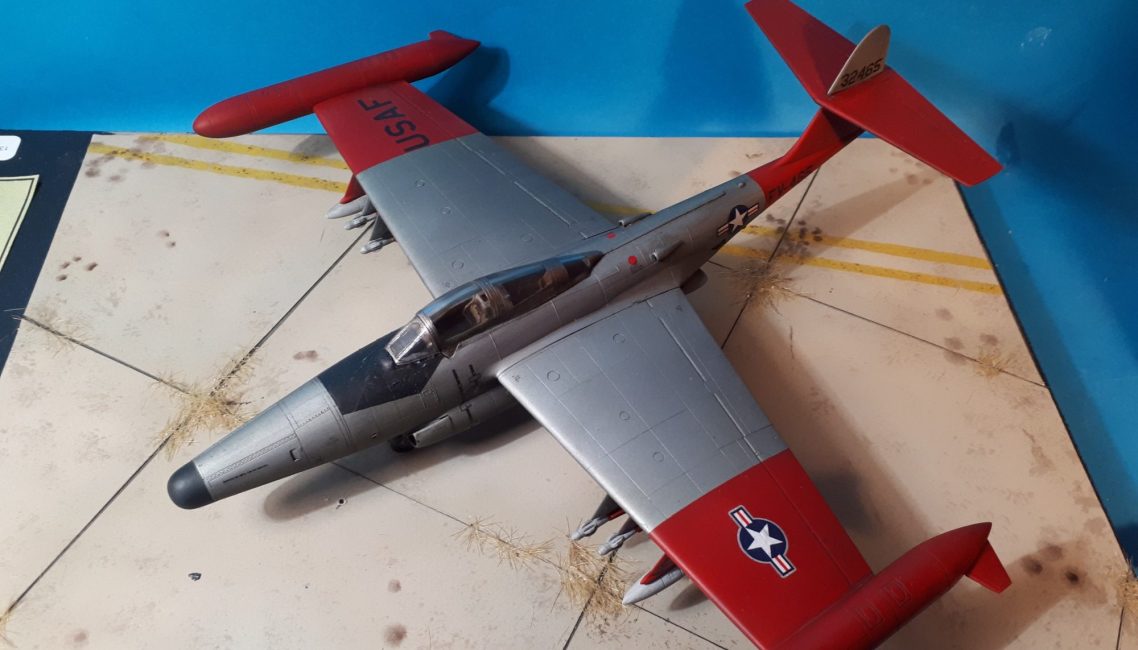
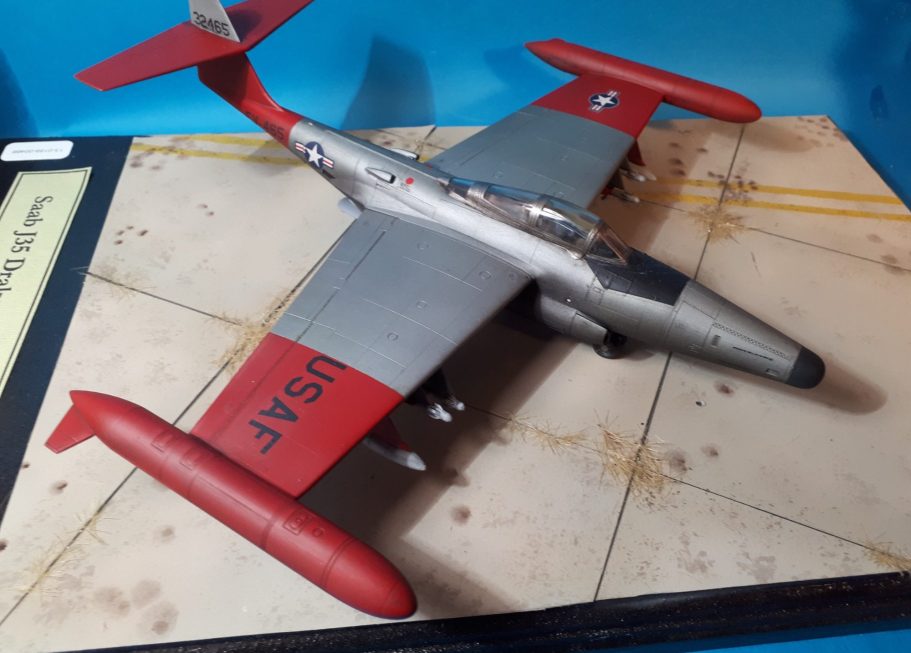
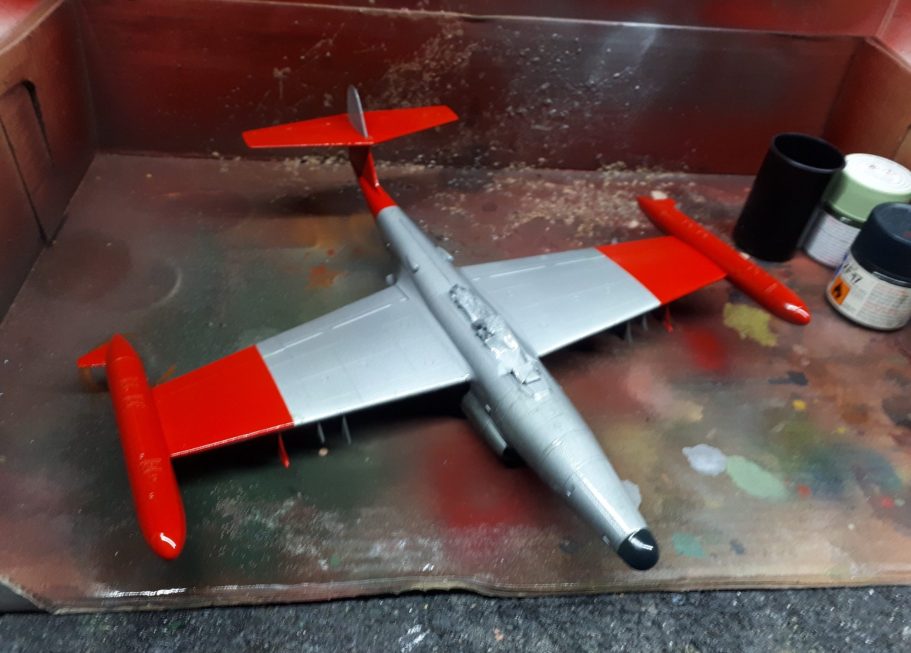
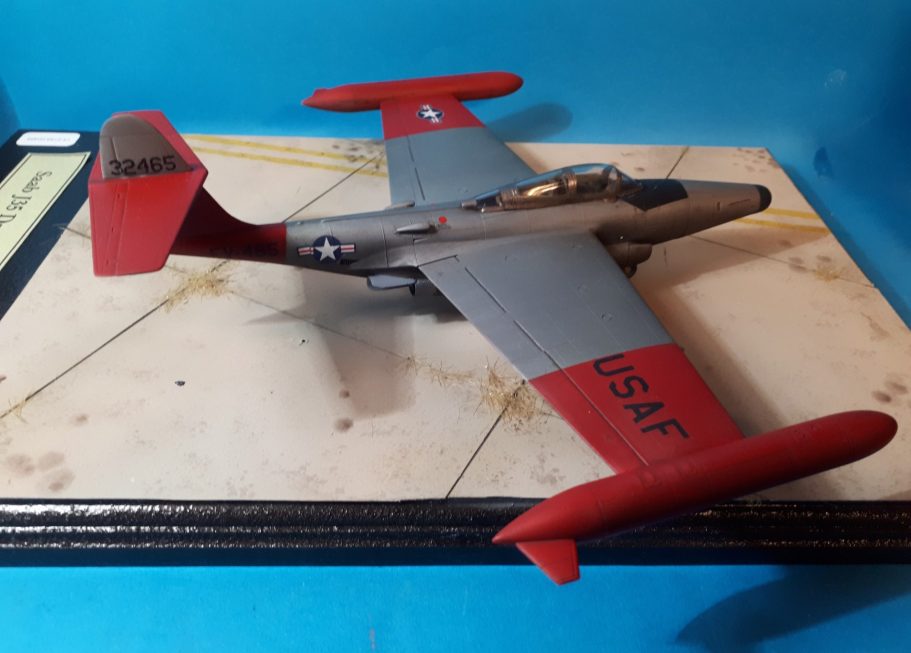
The final shots.
These probably don’t look too bad, considering I mainly paint figure models, and whilst I’ve detailed quite a few flaws in my methods, it’s allowed me to test out a couple of different paints that I shall avoid in the future – Old paints that is, that have been opened a long time ago and had thinners added to make them useable – and trying to fix glaring problems by continuing forward, instead of stopping and perhaps replacing coats of paint and starting the process over from scratch. It’s not like I don’t have a stock of oven cleaner now to remove paint from plastic kits, since having problems with coatings on car models.
Also realising that decal sets can be replaced, and in some cases with more colourful or interesting alternatives, so fearing the loss of the originals isn’t the disaster I have considered it to be in the past.
So overall, my apologies to Hasegawa for making a pigs ear of a very good kit, as many school reports told my parents – “Adrian could do better”