Messerschmitt 262 Mk III
1/48th scale plastic kit from Amusing Hobby
Assembled and painted in 2022
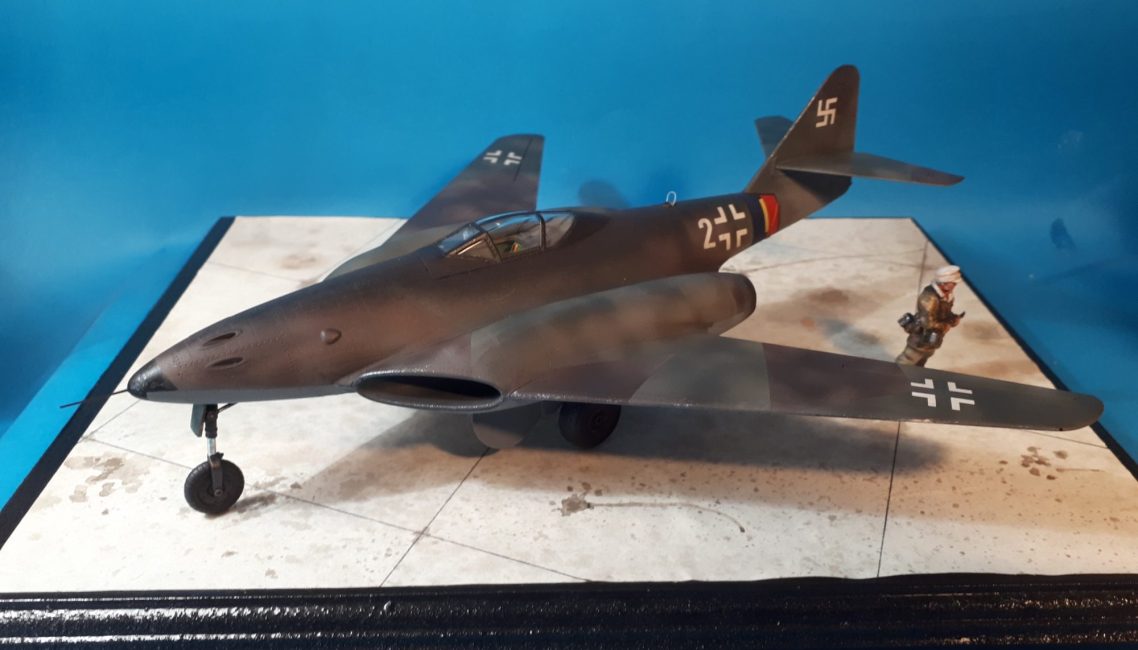
As an early jet, the ME262 was something completely new, and I would guess quite a shock to any Allied pilot in a piston driven aircraft.
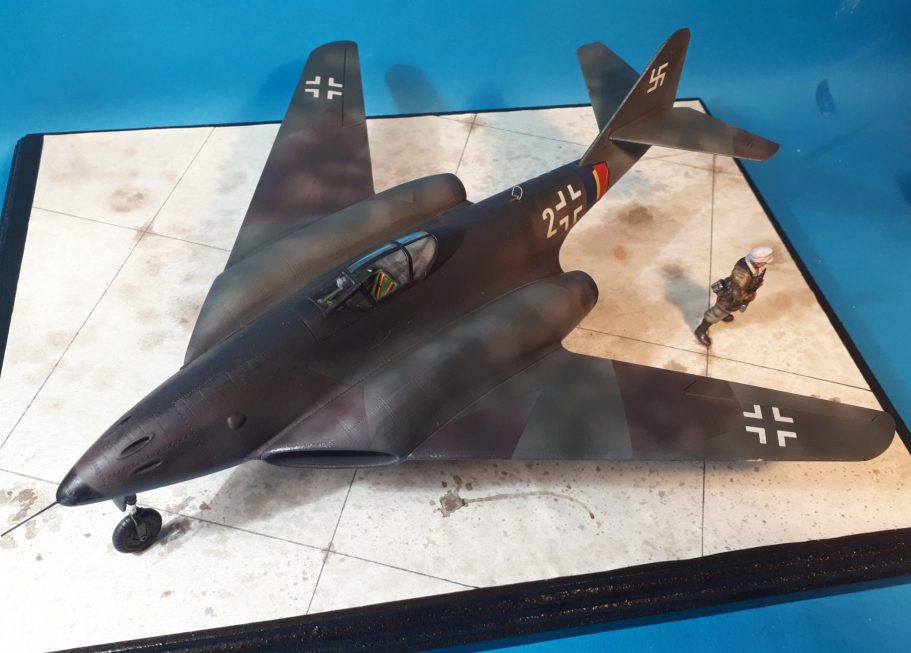
Taking the design from realism to conjecture, Amusing Hobby supply us with a Mark III version that is even sleeker than the original 262, putting the engines within the wing roots and smoothing out the transition from the fuselage to the wings.
Would this version have been any more effective than the original ?
I guess we’ll never know; but still, it does look good; and if, like me, you like the shape of the original 262, then like me, you’ll probably want to build this kit….. Or at least have the box on your shelf.
Having assembled a few vehicles and aircraft kits over the last few years or so, I’m realising that the armour modeller generally has a lot more parts to deal with in a standard kit. This offering from Amusing Hobby seemed to build up very easily, and quickly, to get me to the painting sage before I thought to take a couple of pictures.
What I can say is that parts fit well, there’s not a lot of clean up to be done, and the instructions take you through a logical process to build the cockpit tub, do a bit of painting of that and the inside of the fuselage, then join that and the wings together and that’s pretty much it.
OK there is more, but I’ve got to say it does pretty much fall together.
So having admitted there is no actual photographic evidence of me building the kit, I’ll move on to painting.
I liked the idea of the splinter camouflage scheme seen on the German aircraft during WWII and seeing as it’s an option given by Amusing Hobby at the end of their instructions, that’s what I went for.
I began with a primer coat of Halford’s Grey primer, followed by a light coating of one of their silver metallic sprays. This was left to dry for 24 hours, then I could break out the airbrush.
With the silver absolutely dry, I added some Marmite to the leading edges of the wings, tail and fuselage etc, using a fine sponge to apply this, and taking care not too add too much.
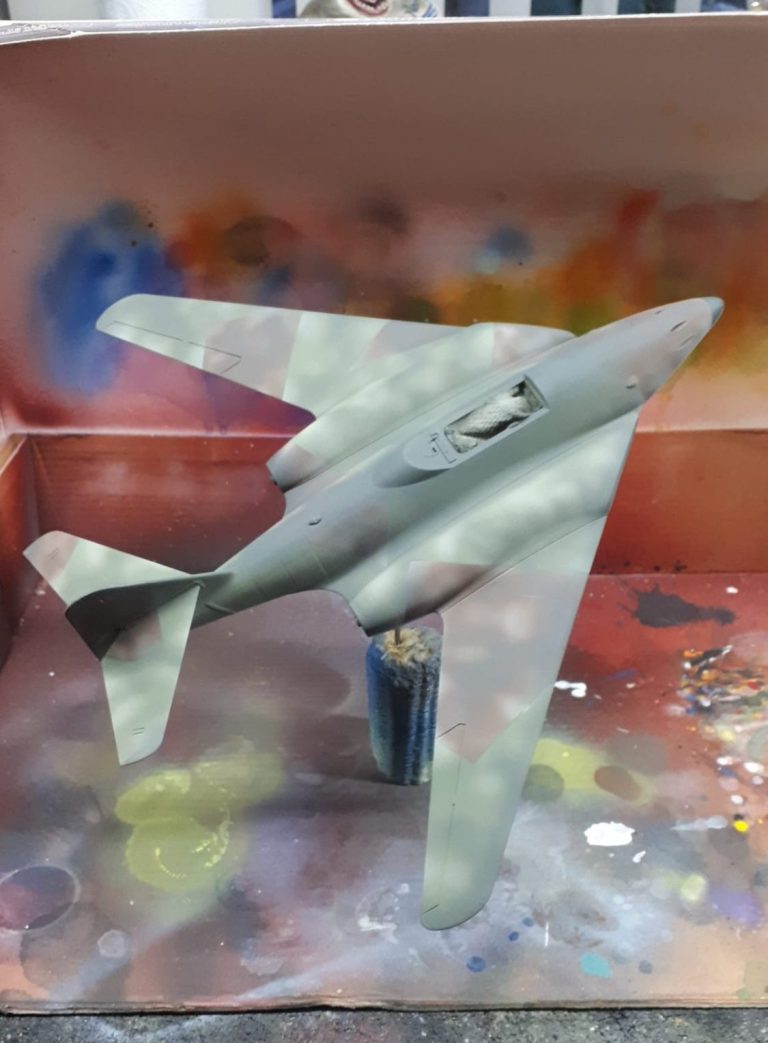
I sprayed the underside of the airframe with a pale blue /grey colour, then sprayed the upper areas with a light grey.
Allowing this to dry for half an hour ( time for a biscuit and a brew ), I then washed the aircraft using a soft toothbrush ( yes, an old one ) and some detergent. This exposed some of the silver undercoat whilst leaving most of the grey in place.
Once the water had completely dried off, I could add the masking – a mix of Tamiya tape and post it notes, the latter to cover the larger areas.
I added more marmite to the exposed areas, then misted on in a cloudy pattern a red brown acrylic though the airbrush allowing the grey to show through in places.
Removing the masking tape, I then masked off the brown areas, added some Marmite to the newly exposed areas and sprayed on a cloudy pattern, this time using a mid-green colour.
Another cup of tea, and then the masking could be removed and another dose of detergent, warm water and a toothbrush for the airframe to reveal what you see in the photo #1.
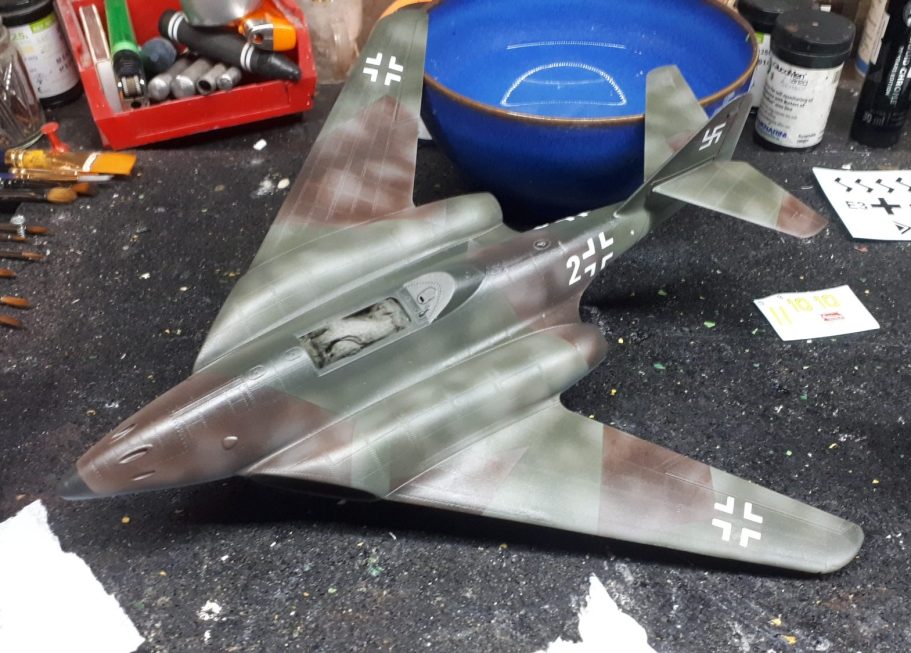
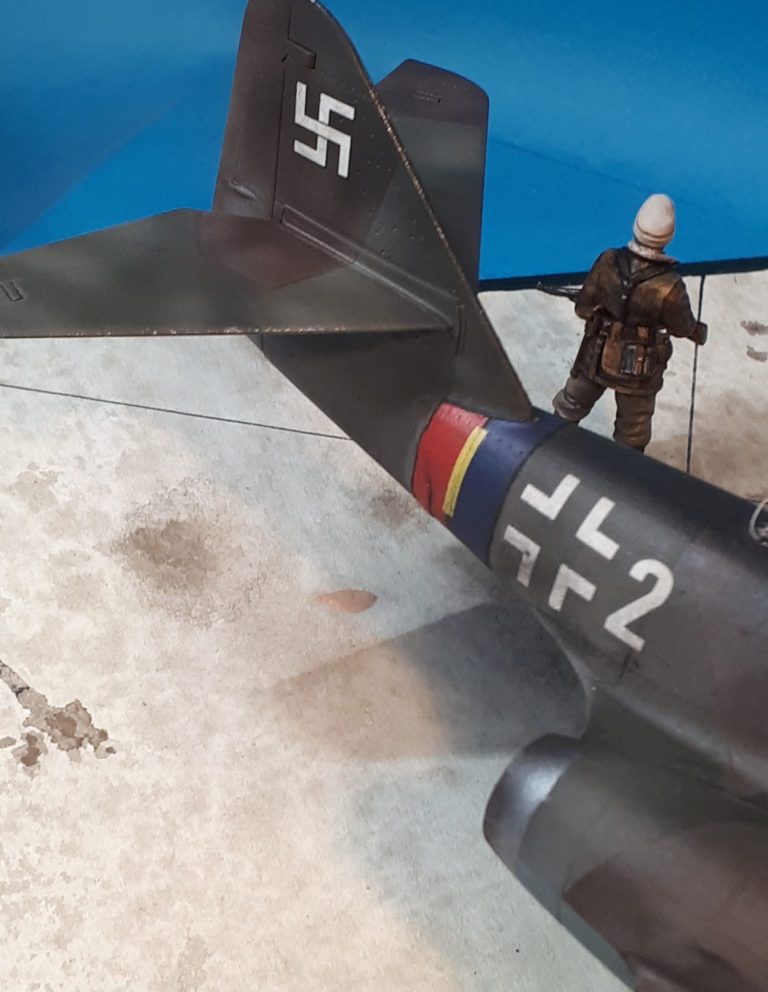
Photo #2 shows the model having had a coat of gloss varnish ( Mr Hobby rattle can ), and the minimal decals applied. The colouration really stands out in this shot, and you might notice the small amount of loo roll stuffed into the cockpit opening to act as a paint mask.
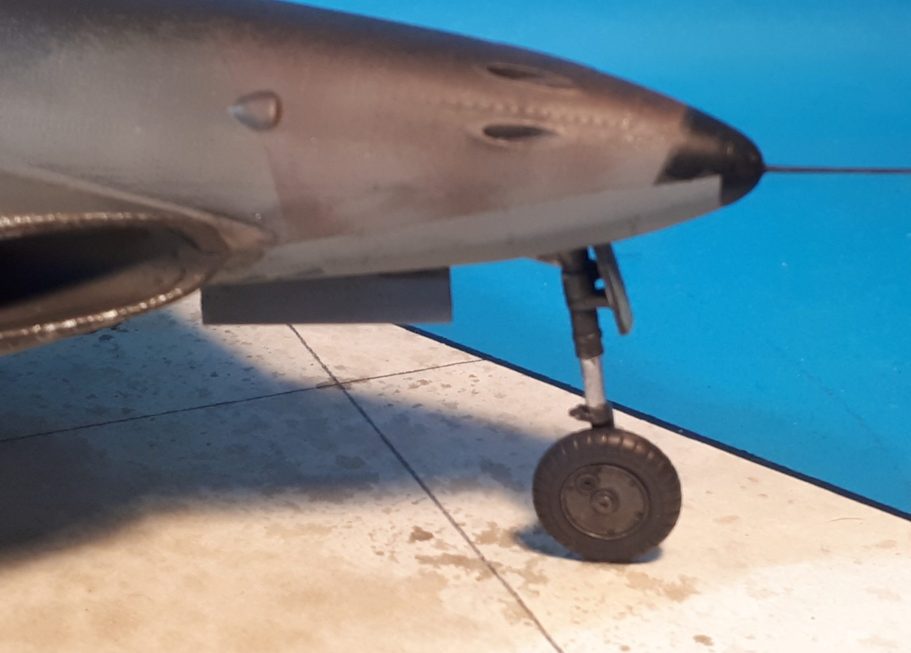
After the decals had dried, I painted on the smaller details – the burnt metal of the jet exhausts, the small black nose, and a small amount of chipping to the leading edges. After that, I added two or three coats of Mr Hobby Matt Varnish, and finished off the assembly by adding the wheels and painting the insides of the undercarriage housings green.
I used a thin wash of Burnt Umber on the undercarriage housings to bring out the details, and a Molotow Chrome pen to bring out the chrome effect on the undercarriage pistons.
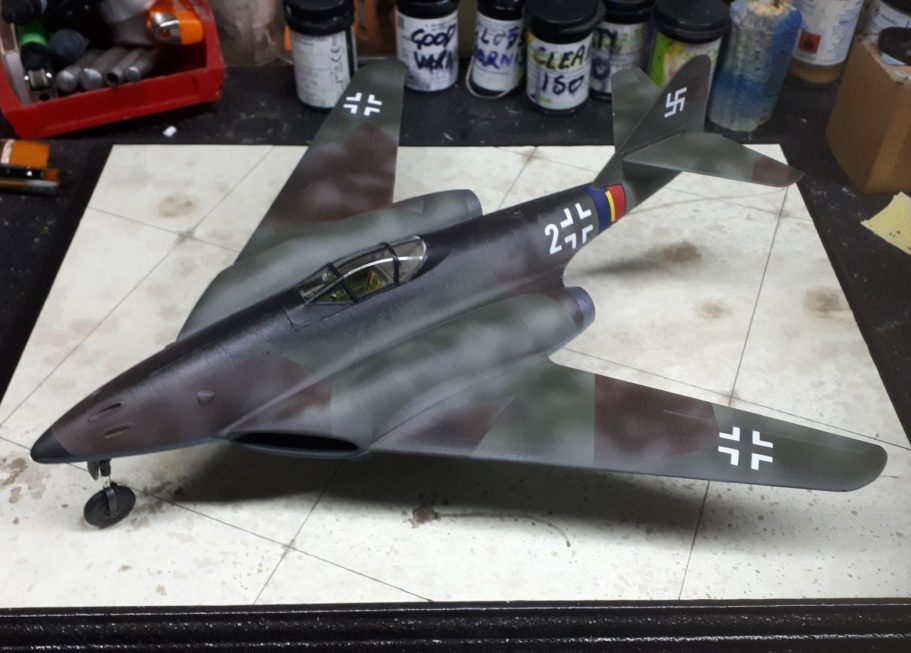
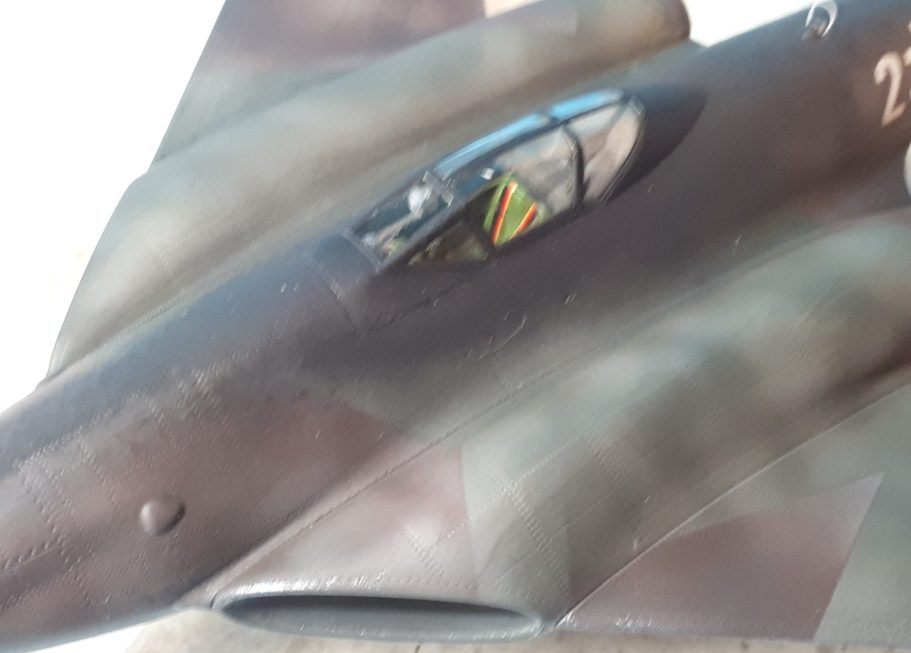
Some careful brush painting of the canopy, adding the green colour of the cockpit fist so that this would show through the clear glazing on the inside, and then the black of the outer colour to hide the green.
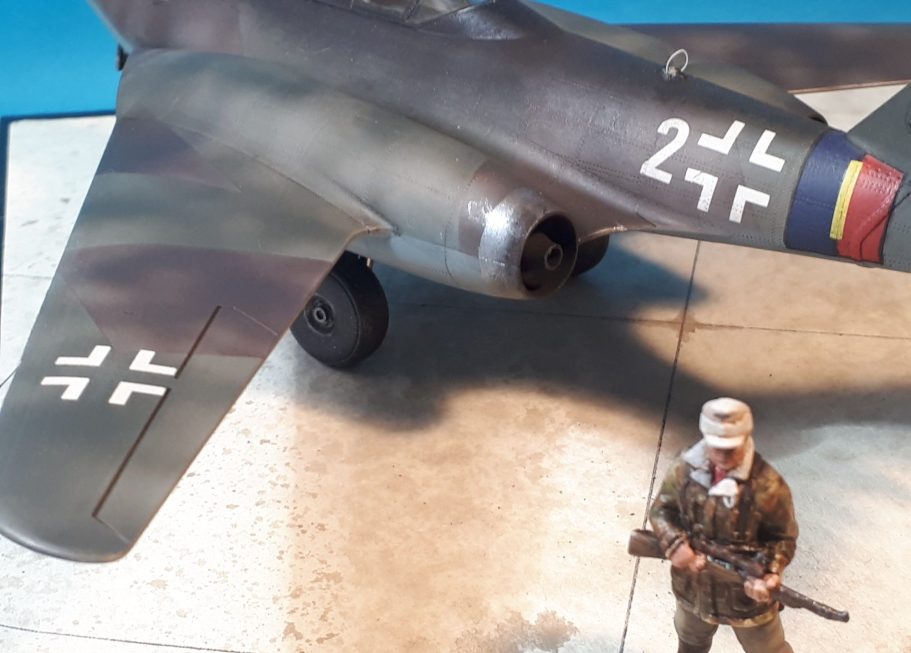
The base is simply a sheet of off white card with lines marked on it to replicate the squares of a concrete runway, I added some Burnt Umber oils that had been heavily thinned with White Spirit to appear like oil leaks or fuel spillages, and marked in some cracks at the corners of the concrete slabs to show wear in the runway surface.
The plinth itself is a sheet of MDF cut and shaped by Oakwood Studios and painted black with some Hammerite paint.
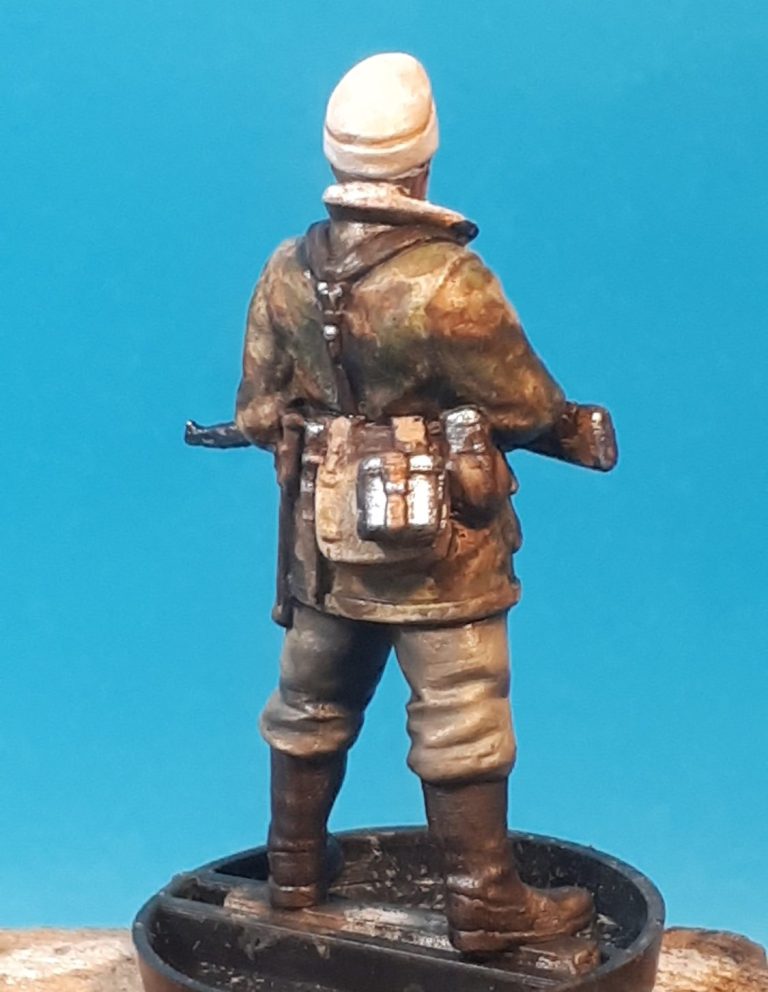
And the figure,
This is a Bauer Tactic White Metal figure. I’m pretty sure that this range are meant for wargaming, but to be honest, they’re superb little figures in 1/48th scale.
The range – as far as I’m aware – covers Allied and Axis ground troops, but I thought I could ease under the radar by using a German Infantryman on guard duty, watching over this “new design, possibly Top Secret” aircraft.
I hazarded an attempt at a camouflage jacket, with the use of a fine brush, tongue firmly in cheek and a smattering of expletives. The grey trousers and boots were a lot easier to render.
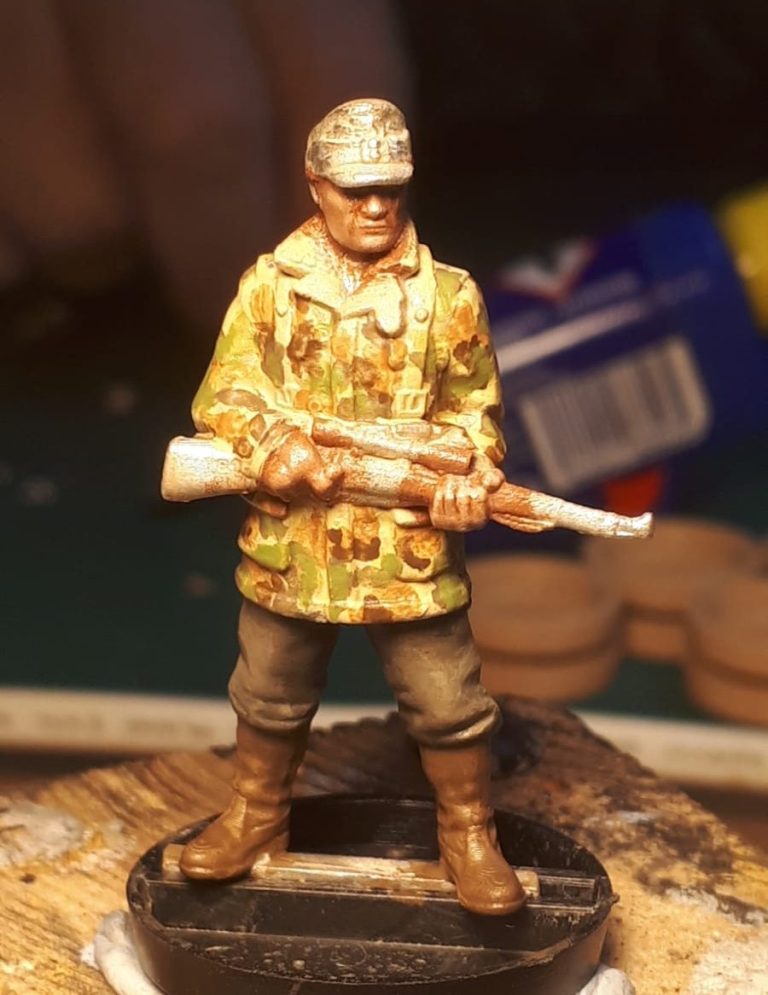
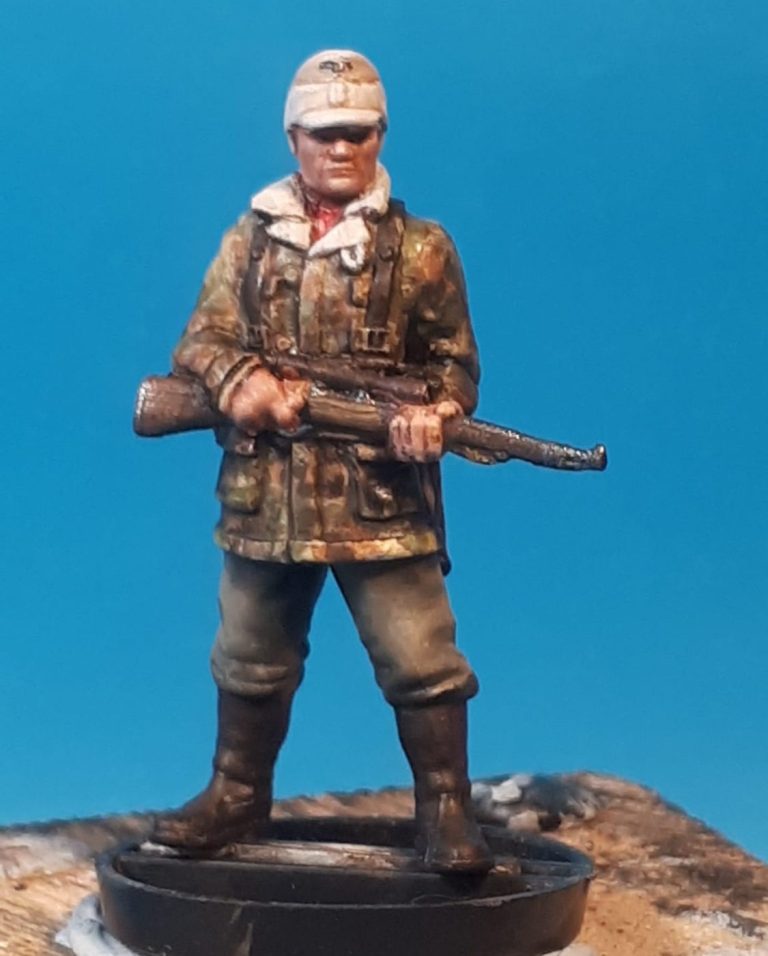
In all honesty, the sculpting of these is so good that the casting helps the painter a great deal, so I can’t take all the credit if you think he turned out OK.
Once I got the belts and webbing painted in, that camo began to look a bit better, and details like his red scarf and winter hat set off the darker colours nicely.
A couple of holes drilled into his feet to accept wires and he could be glued in place near the aircraft to begin his guard duty stint.
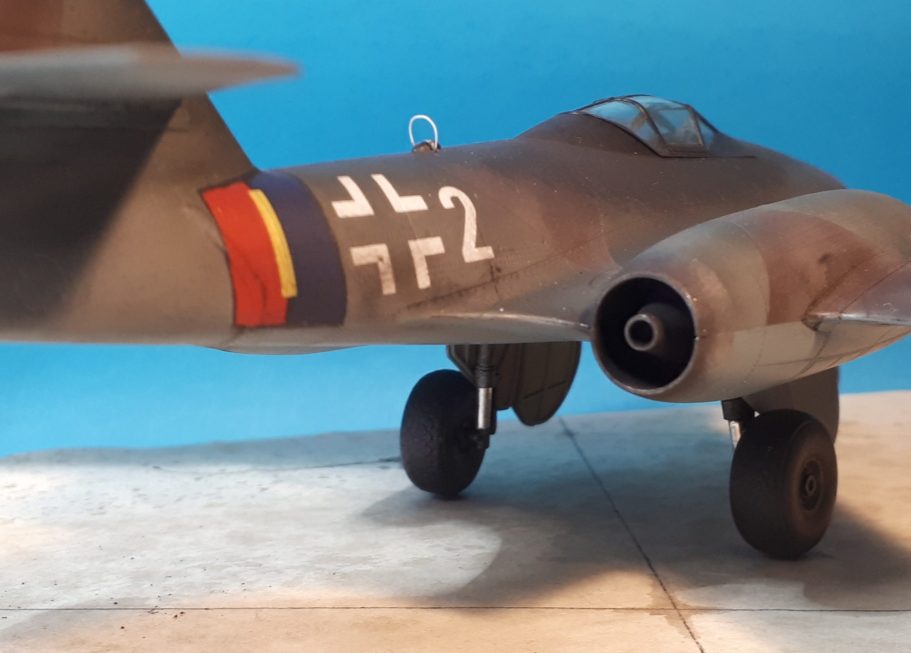
Overall, I enjoyed this build and paint immensely. It was relatively simple and quick, with nothing to trip up the modeller. Clear parts seem to be less of a problem for me these days, maybe because I’m less nervous of making a mess of them, and perhaps the practice is actually improving the way I deal with them.
Lorem ipsum dolor sit amet, consectetur adipiscing elit. Nulla euismod condimentum felis vitae efficitur. Sed vel dictum quam, at blandit leo.