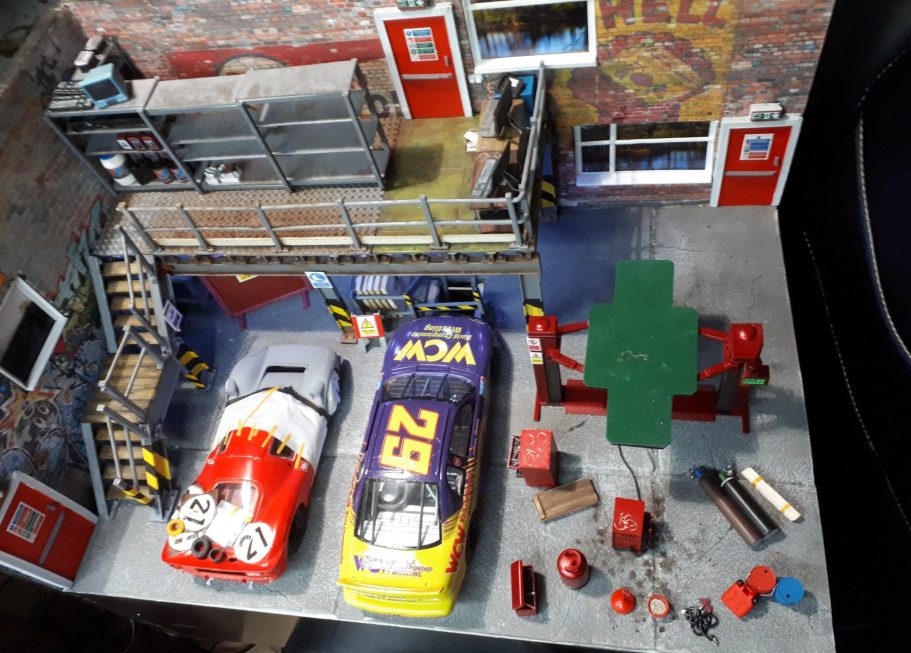
1/24th scale Car Garage
Mainly scratch built, but with a lot of accessories sourced from eBay
Constructed in 2023
The idea behind this was to build a display area for the 1/24th scale cars that I was building on and off through 2022 to 2023.
My thinking being that whilst it’s nice to see loads of cars lined up on a display stand at a show, maybe I could just have something that would take two or three cars, and build a little scene around them.
The cars wouldn’t be glued in place, so that I could change out older ones for newly built additions to my collection.
To say that this project “grew arms and legs” is an understatement, and what started off simply as a flat base with a front and side wall, developed quite quickly into something much more complex.
To begin with I marked out on a scrap piece of card what sort of space I thought I’d need for three cars. This came out at an necessary area of about 300mm x 450mm (12 inches x 18 inches in old money ).
Then I began to think of what space that would take up height –wise, and what sort of transportation box I’d need to carry it around in.
In the meantime I began looking – just out of interest mind – at what sort of accessories one might get on t’internet for a garage setting.
There’s a fair variety, from Fujimi come three ( I think ) different garage tools / accessory sets, giving lots of tools, desks, servicing equipment and floor / wall sections. Although each set retails for around £20 or more on Ebay. I did find the no.2 set going cheap, so thought I might as well get that.
Then there’s loads of 3d printed stuff, again, depending on what you want and how deep your pockets are, plus a good friend of mine – John Vickers – designs and prints items, and said how about a small lathe ?
Other suggestions like having an inspection pit ( Granted I’d considered the idea already ) were made by another good friend – Paul Dobson - and now you see why it’s getting beyond a simple display base.
But I liked these ideas, they were cool, plus would stretch both my imagination and my capability to construct......... Stuff.
So this isn’t really going to be an article as such, rather more an ongoing guide to things I’ve done, things I’ve yet to do, and things I’ve learnt along the way.
Beginning construction.
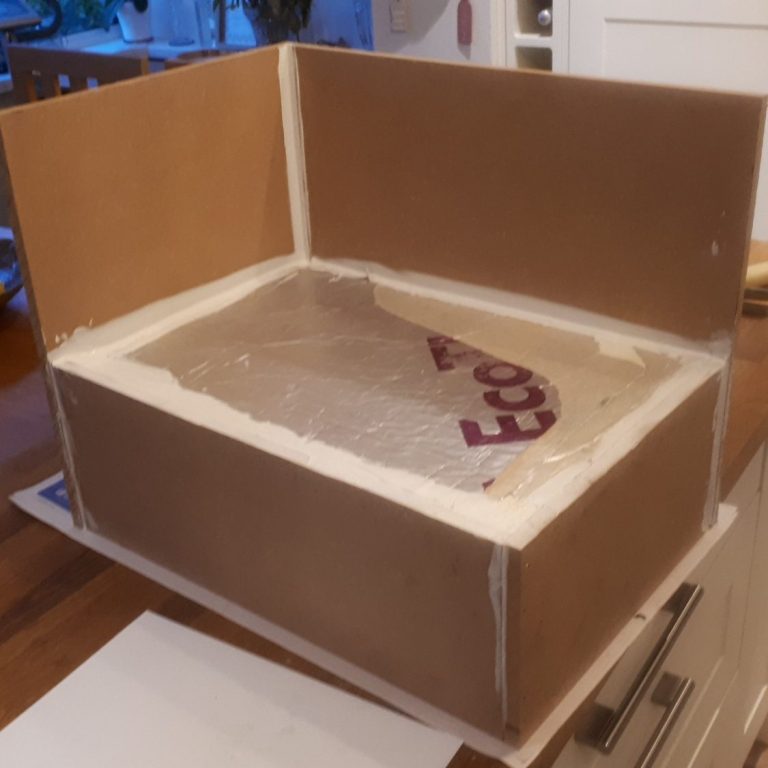
So the first shot shows the construction of the base. I used MDF for this, getting a sheet from Wickes DIY suppliers, and choosing a 1200mm x 600mm x 12mm piece and then marking it out and cutting it to size.
Fastening the bits together and instead of adding a section for the garage floor, I put in a block of Kingspan insulation foam that I could dig sections of for the Inspection pit once I’d decided on its position within the garage.
As mentioned, this was just developing from a very basic idea, and once I’d got the base constructed, it hit me that whilst there was space for three cars, there wasn’t really space for other things you’d normally see in a garage – an office, storage space with shelves, lockers for the mechanics etc.
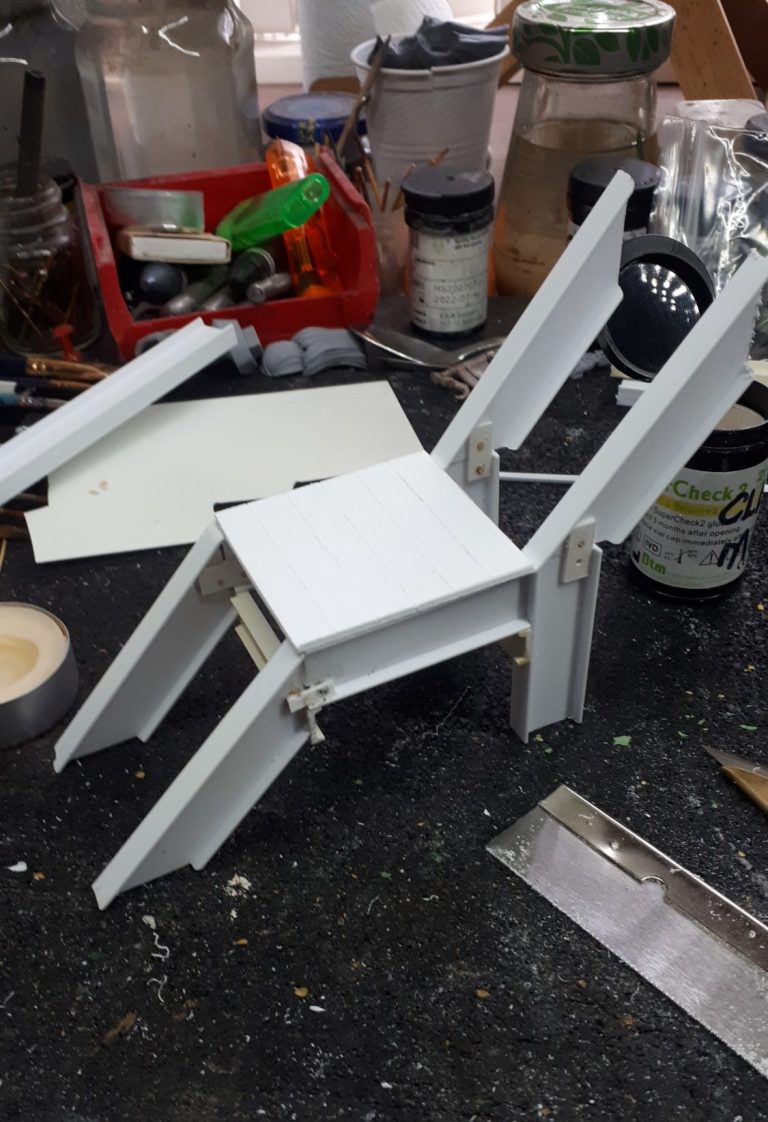
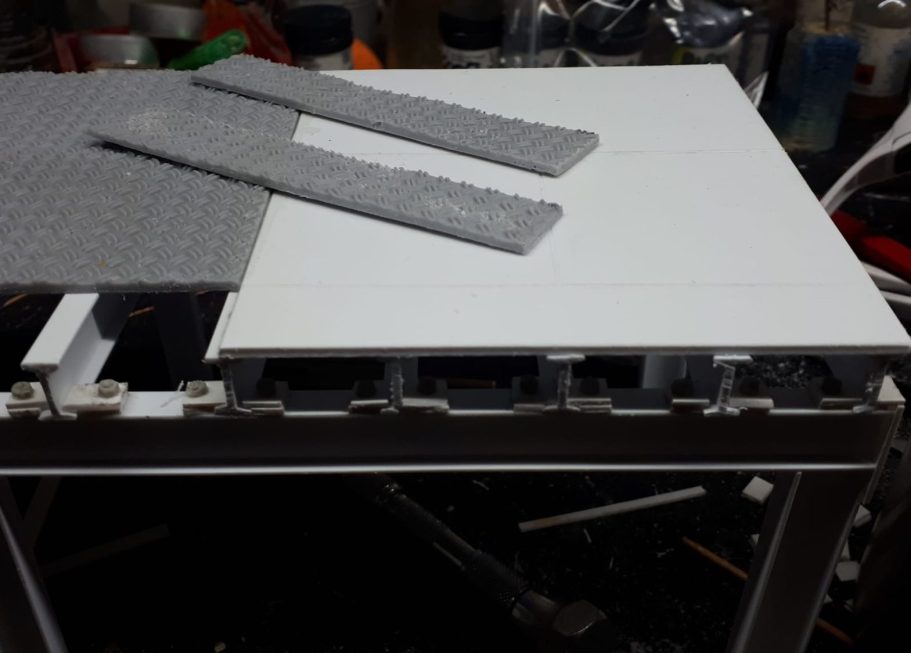
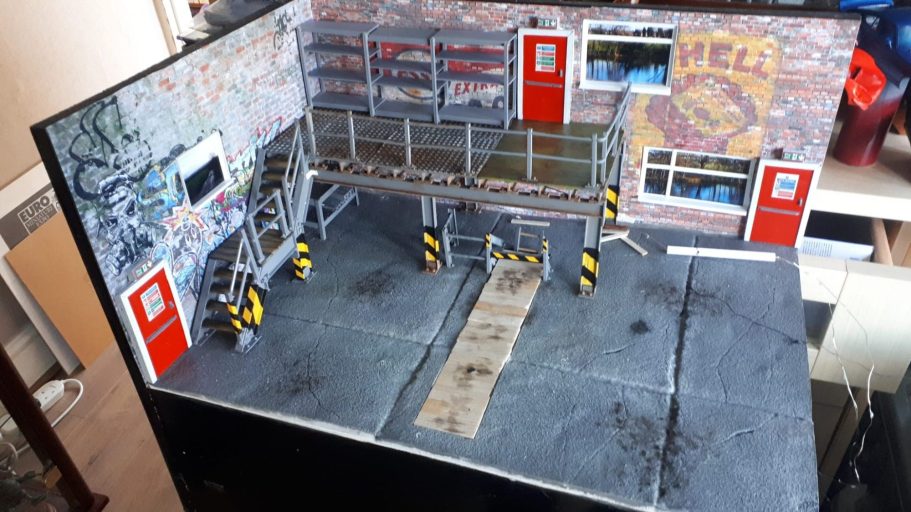
So my answer was to install a mezzanine floor. Simple enough, get some Plastruct girders, cut and glue them together, build some stairs so people could get up there - pictures #2 and #3 for the stairs
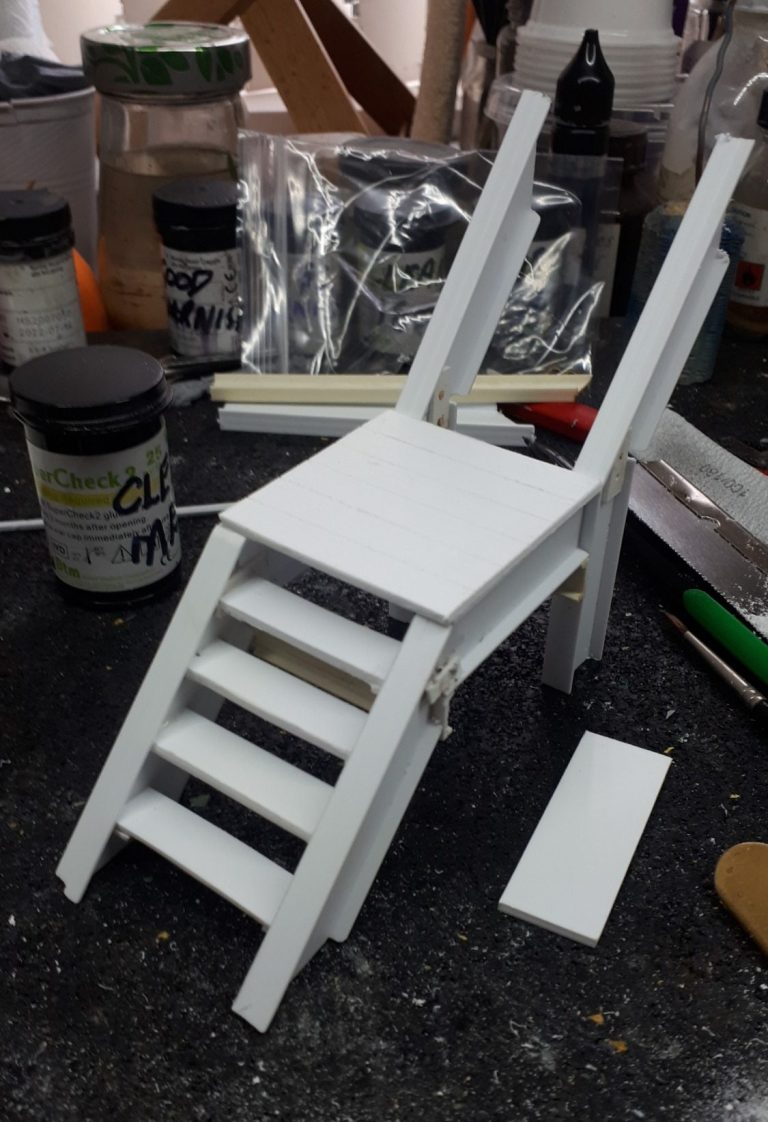
Also at this point I was thinking about the floor of the garage itself, and as I’d made a cracked concrete road section for the Bash Models range, I thought I could use several pieces of this to make up the floor of the garage ( visible in shots #4 onwards ).
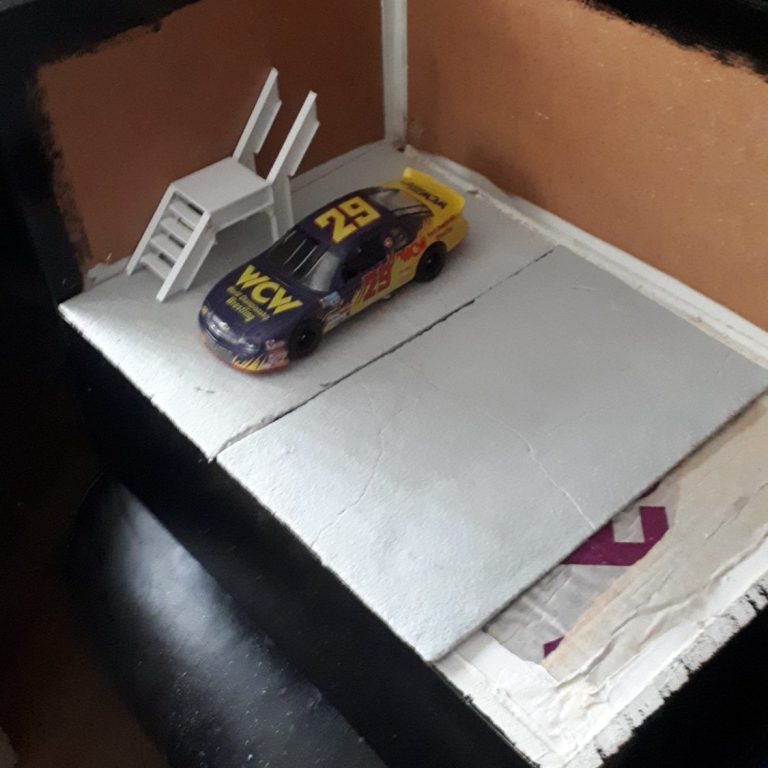
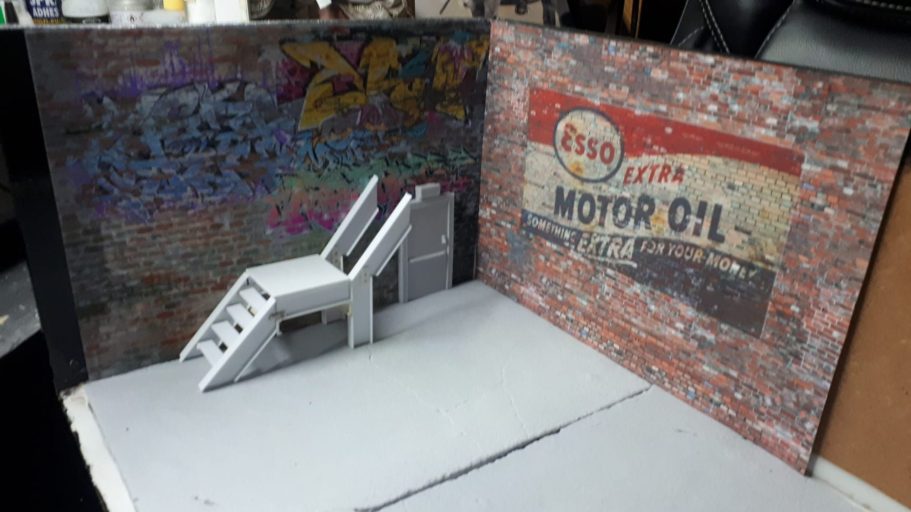
I was regularly checking spacing for the cars on the floor of the garage using a Ford Thunderbird WCW Nascar ( Photo’s #4 and #6 )as these are pretty long and a smaller Chrysler Crossfire ( because it was handy ).
Photo #5 shows the stairs being tested for size. Yes, I know I measured these and cut them to those measurements, but it’s sometimes a case of “seeing” that they look right.
The girders used are a bit big, but it was all I had in stock, smaller gauge Plastruct was on order.
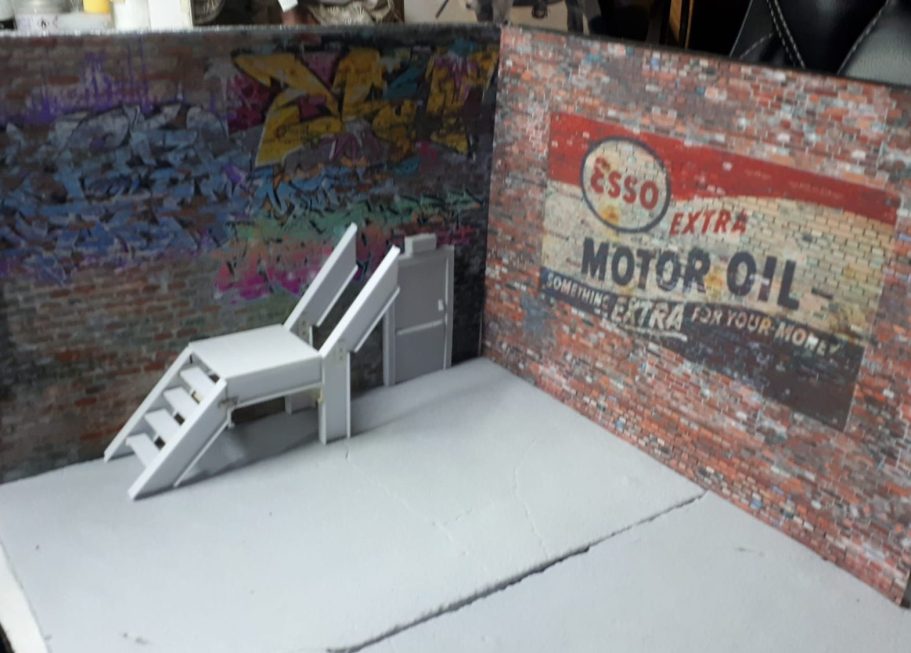
Photo #6 shows the addition of a fire door that I scratch built….. Well, a few years in the Oil and Gas Business makes you aware of a lot of necessary safety features, so fire escapes, fire doors and dousing systems kind of become second nature. But more of that later.
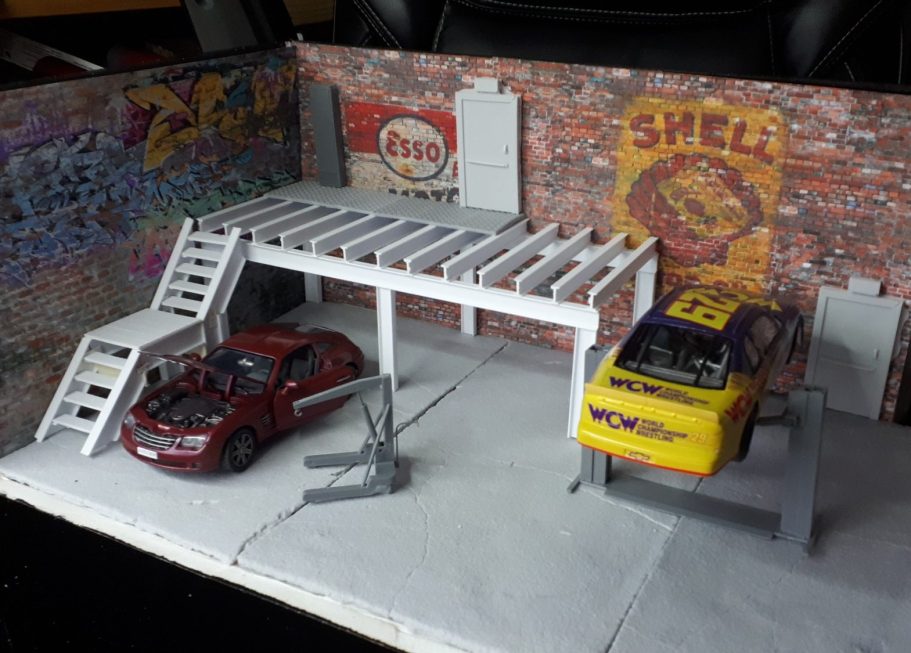
Photos #7 and #8 show the skeleton of the mezzanine floor. The construction was simple enough and was based on a mezzanine floor that was at a previous workplace. These free-standing structures usually need diagonal ties to keep them rigid, and I added these from electrical flex that had been stripped of its insulation and twisted, making anchor points for it to fasten to the outer vertical girders....... Easy, but to be honest I doubt that the ties will ever be seen outside of these photos.
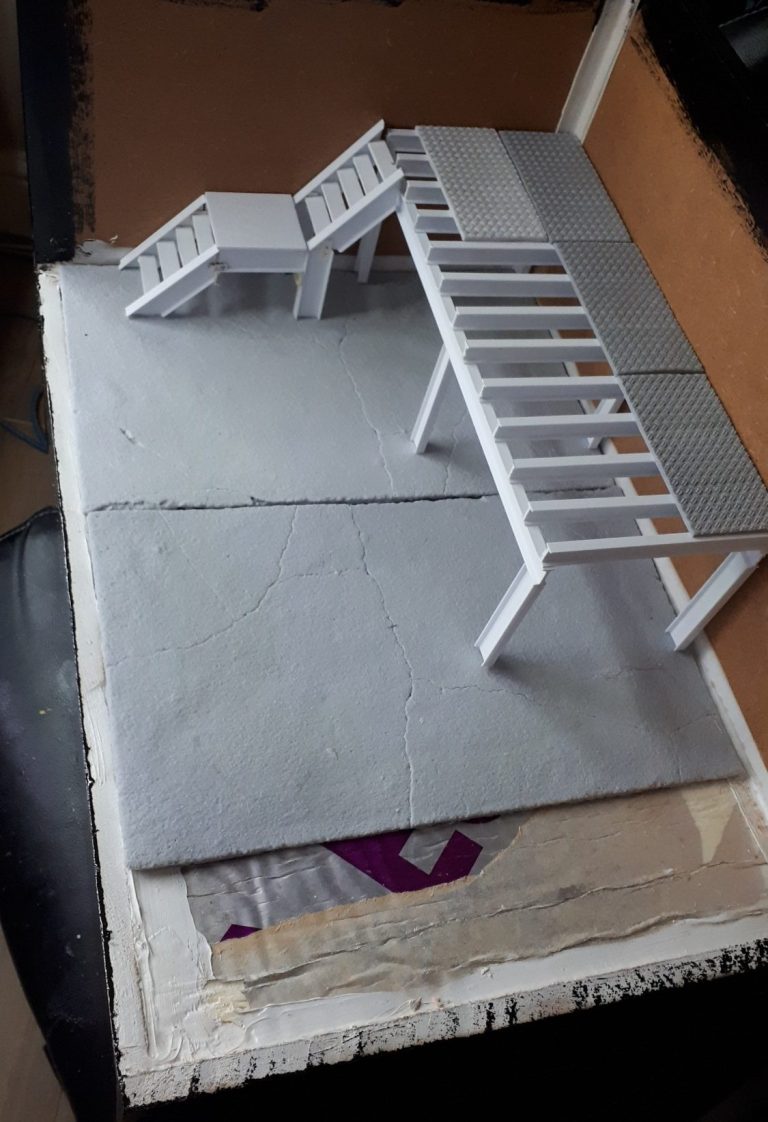
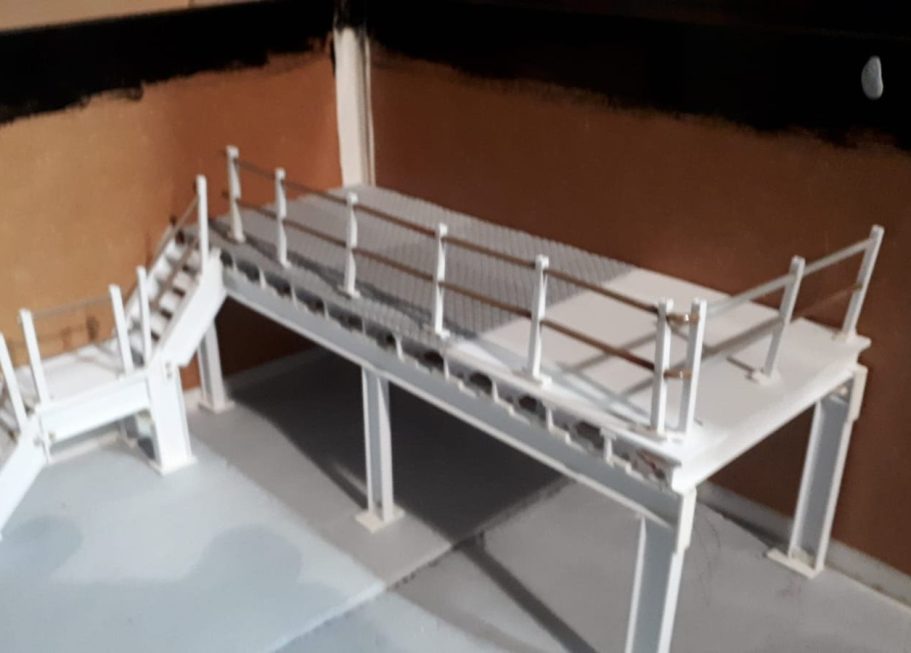
Obviously Health and Safety reared its head, so banister rails were added to the stairs and mezzanine ( Photos #9 and #10 ), these being made from square section Plastruct for the uprights and lengths of plastic sprue for the rails. But what about fire doors ?
Yup, back to the store of plasticard to scratch build one of those.
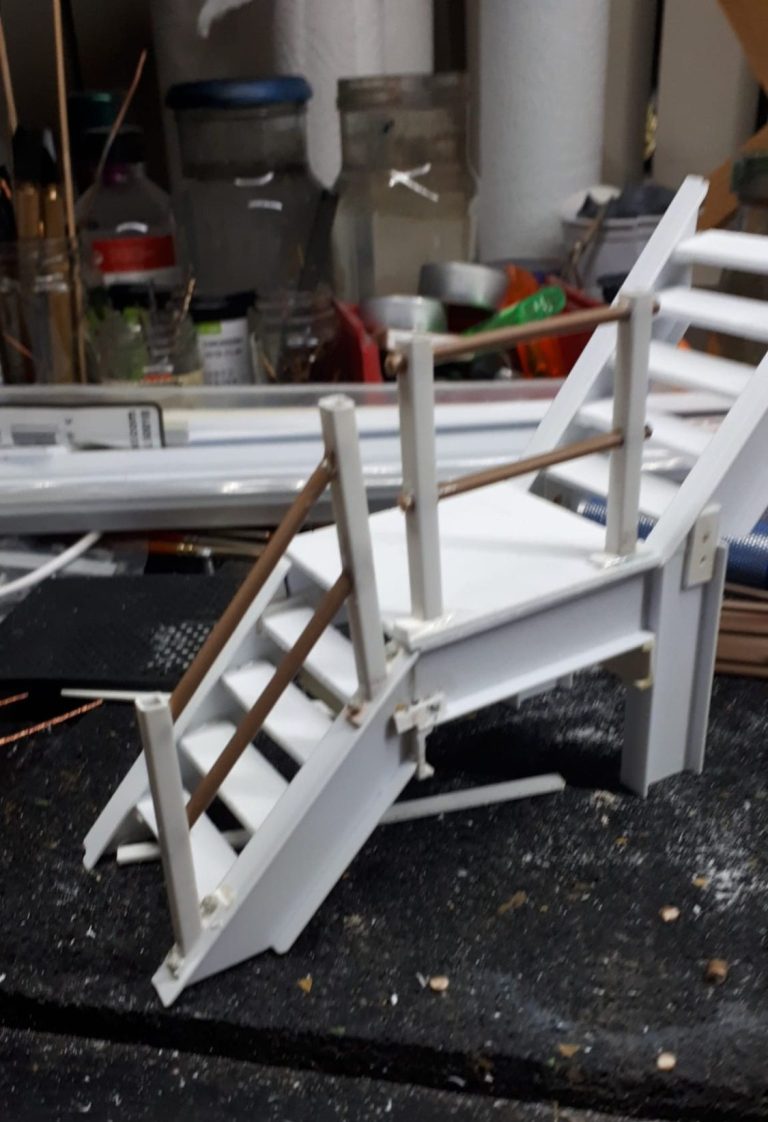
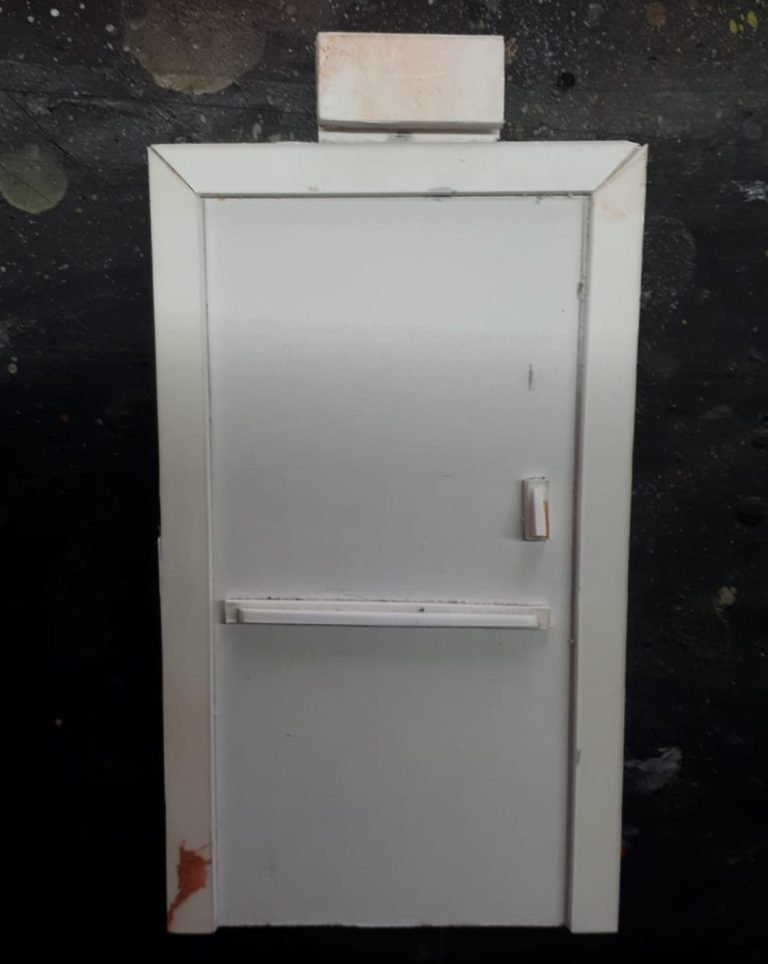
Again a mould was made – not least because I needed more than one of these, but also because no one else seems to supply castings of such things and Bash Models might as well have them in their range ( Photo #11 ).
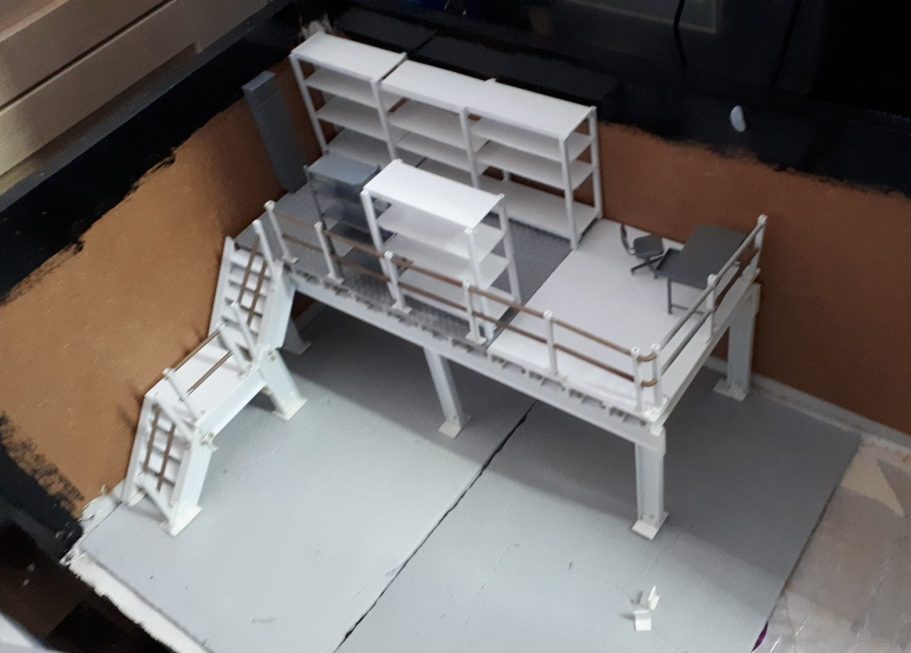
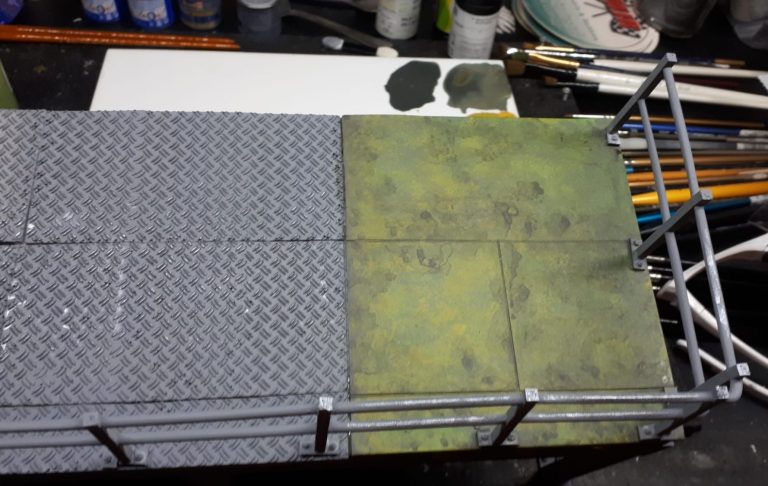
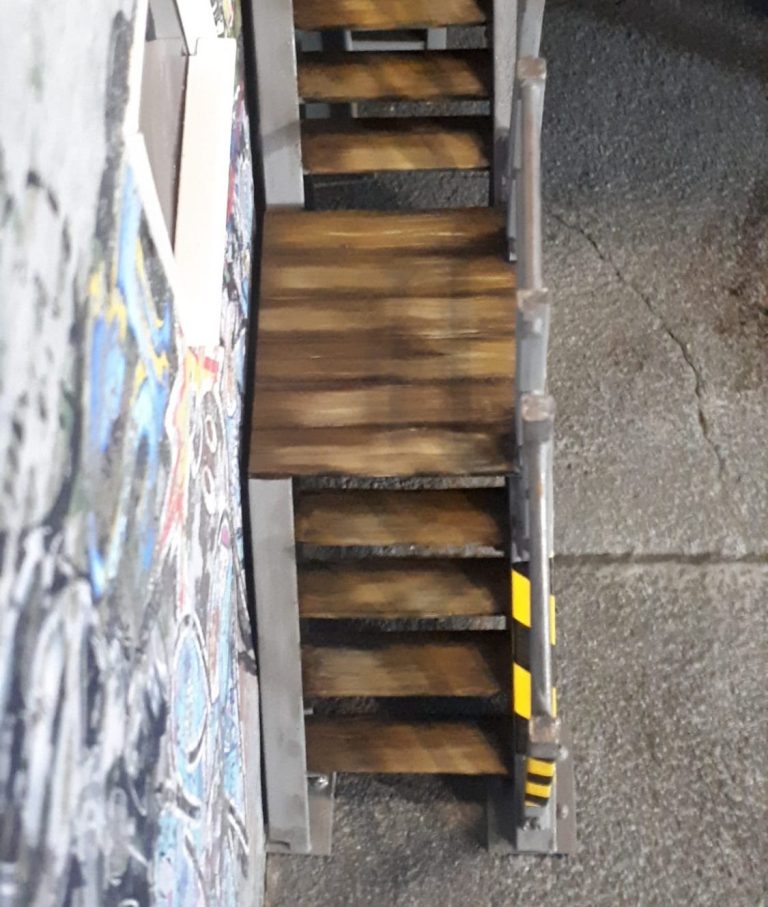
You may be aware that Bash Models produce a range of groundwork sections – cobbles and flagstones, plus walls and archways. So it’s handy to have a mould for some 1/24th scale diamond treadplate ( also have it in 1/35th scale if you need it ), and it comes scaled to a 2400mm x 600mm sheet, just like in real life. So this was used for part of the floor on the mezzanine, whilst the actual office section was to be a wood floor – easier on the feet and also safer to scoot about on a wheeled office chair ( Photo’s #12 and #13 )
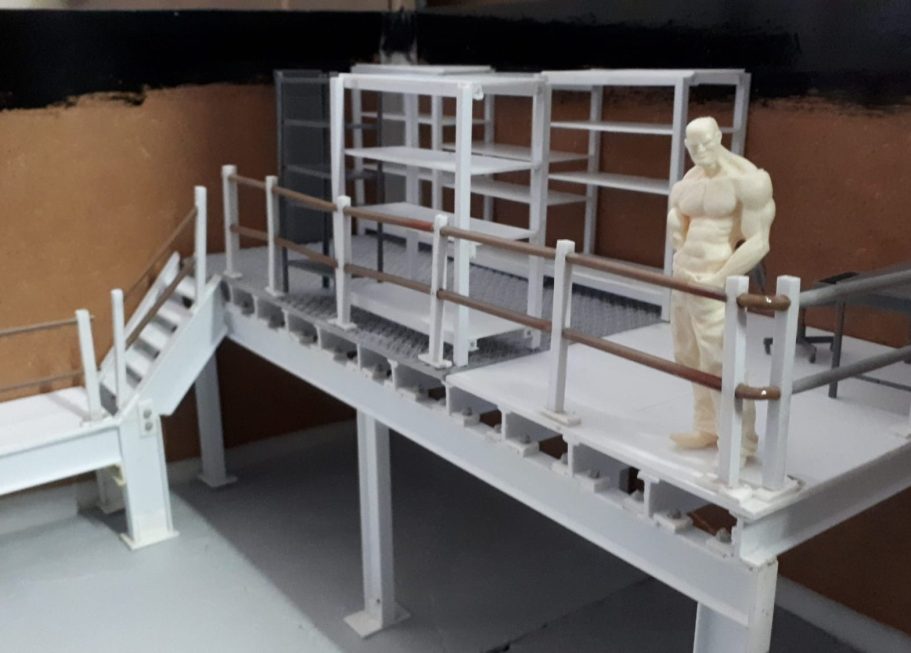
Up to this point I still hadn’t dug out that inspection pit, mainly because I’d got sidetracked with building the other bits. As with using the cars to check for size, I also tried a figure – Bario Guy from Industria Mechanica was the right scale ( Photo #14 ) - although later on when compared to other figures I got hold of, he seems a little short. Anyhow, he seemed to be OK size-wise, so work could carry on.
Oh, forgot to mention, in those first few shots, the walls have got a covering of bricks, then they disappear. As mentioned, there is simply loads of cool stuff on the internet for this kind of project, and self adhesive brickwork is one such thing. Plain brickwork, old brickwork with Oil Company signs painted on and even some with graffiti.
It’s actually a shame to cover it over, but it is visible in parts even when the Mezzanine and steps are added. The sheets come in A4 size, and are easy to apply, best of all, pretty cheap at £8 for three sheets. A lot easier than painting it up yourself.
Digging myself a pit
After trying out a few different layouts, I decided that the middle car bay would be best for the Inspection pit. As I’d not fixed the concrete floor sections down yet, I measured out how big the pit would be, transferred that to the floor sections and cut then to shape. Then drew on the Kingspan where the pit would be and commenced digging.
I dug out enough of the insulation to allow a 80mm figure to stand up in it ( photo #15 ),then turned my mind to how I could add a floor and walls to the inside of the pit.
Back to the scratch building, and production of a wood shuttering effect like you’d likely see where concrete has been poured into a former made from wood planks. If you’ve ever been close up to something like this, it’s quite amazing how the grain and imperfections in the wood planks making the mould, transfers to the concrete.
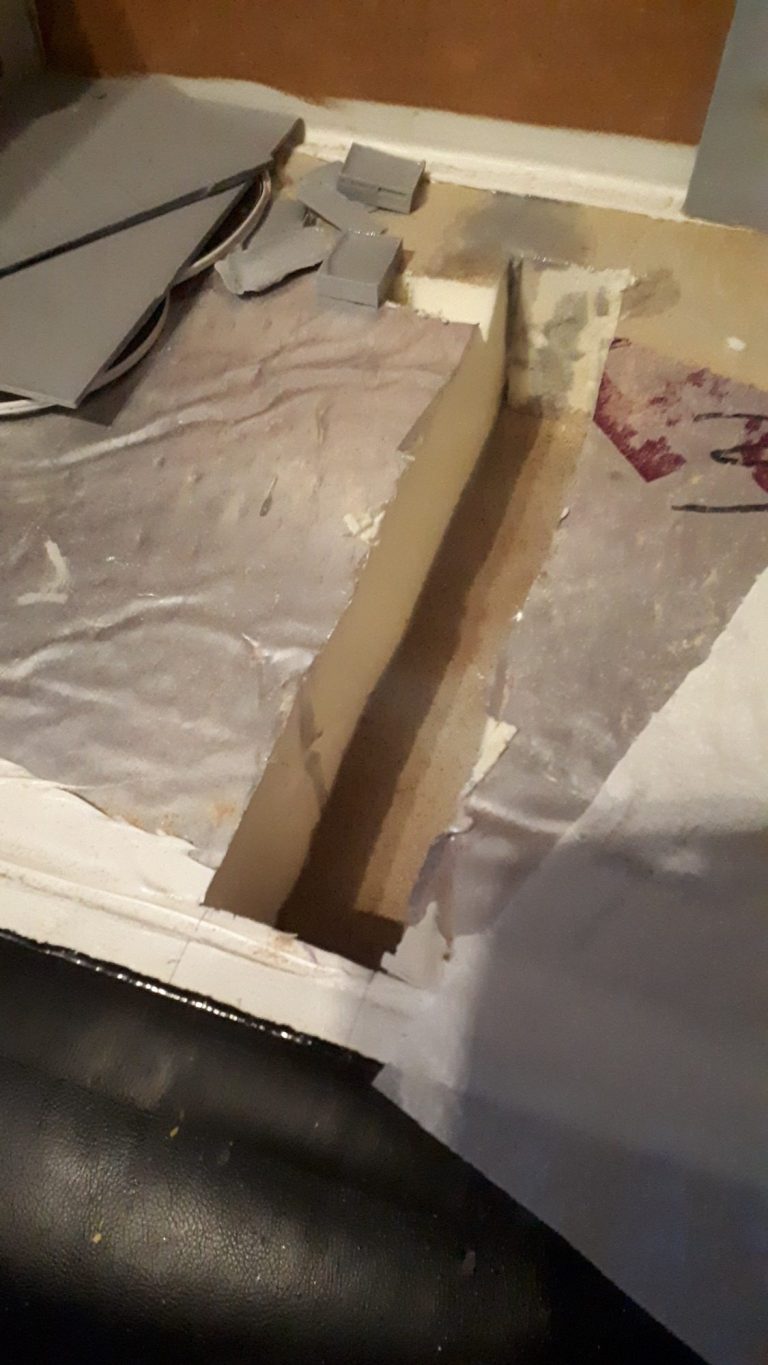
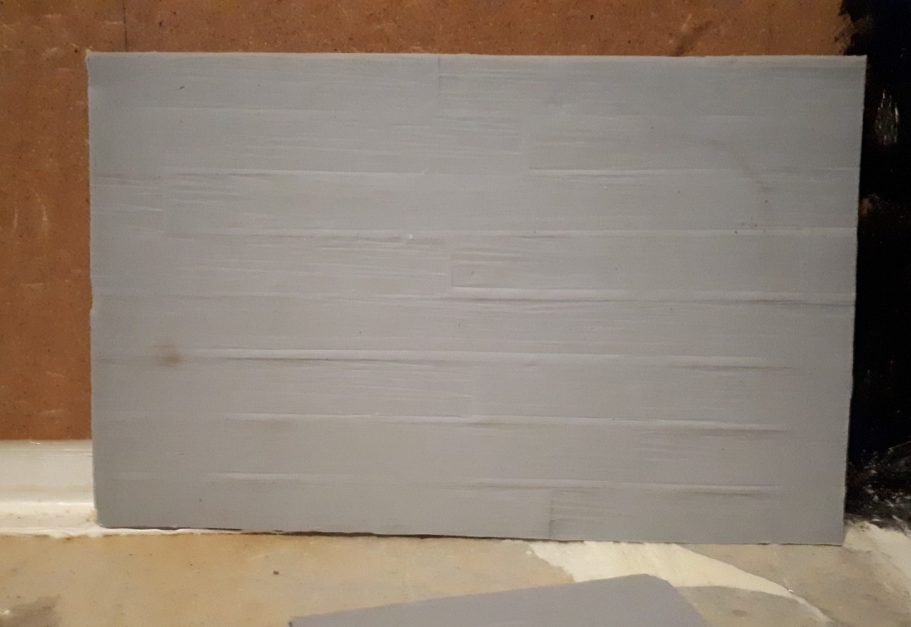
Again, it’s easy to make a mould, and I produced five sections to cut to size and add to the walls of the inspection pit (One such section shown in photo #16 ), then poured some sand into the bottom, setting this in place by dropping in superglue to give a solid floor to the pit.
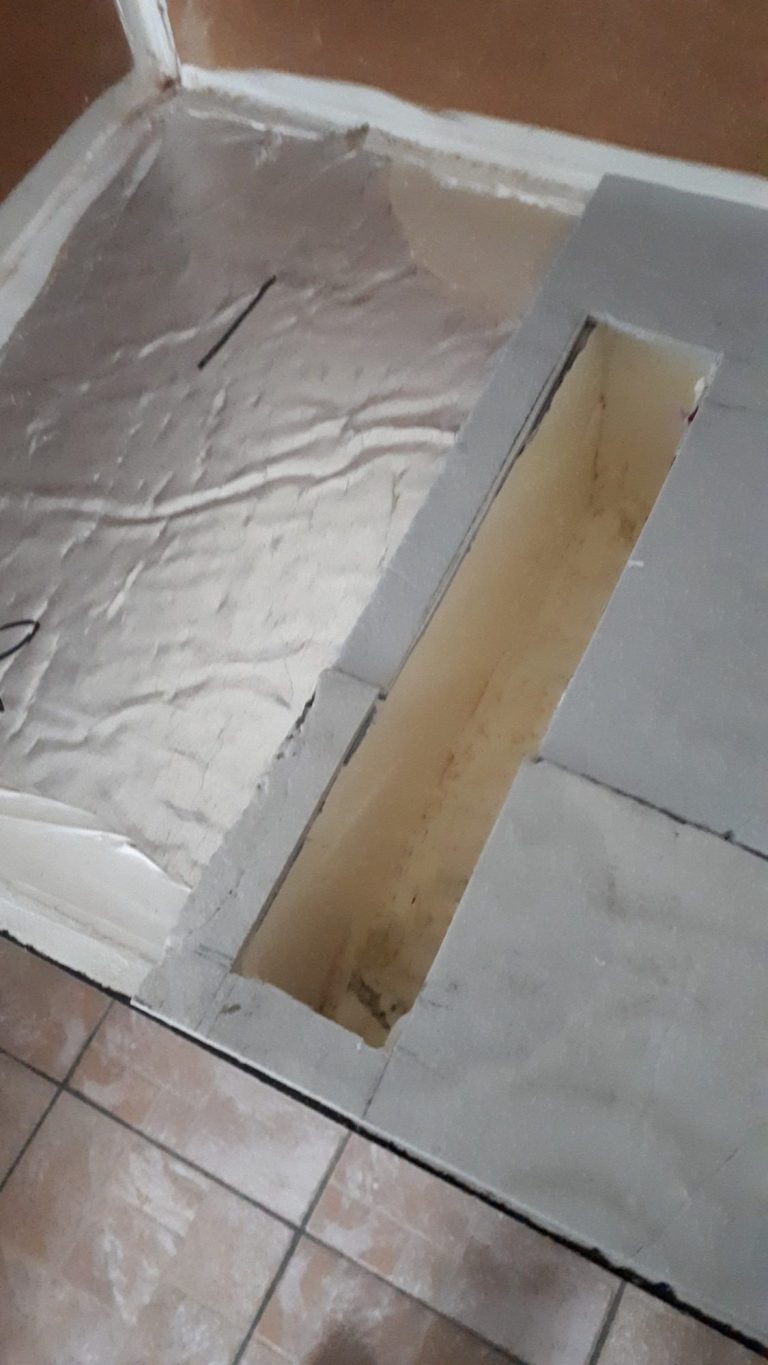
In photo #17 I’ve cut the concrete flooring sections to allow for the addition of the inspection pit. What struck me next was the fact that there’s a lot of wasted space under the floor of the garage. Apart from where the pit has been dug out, there’s probably plenty of room to store a couple of cars to transport to shows.
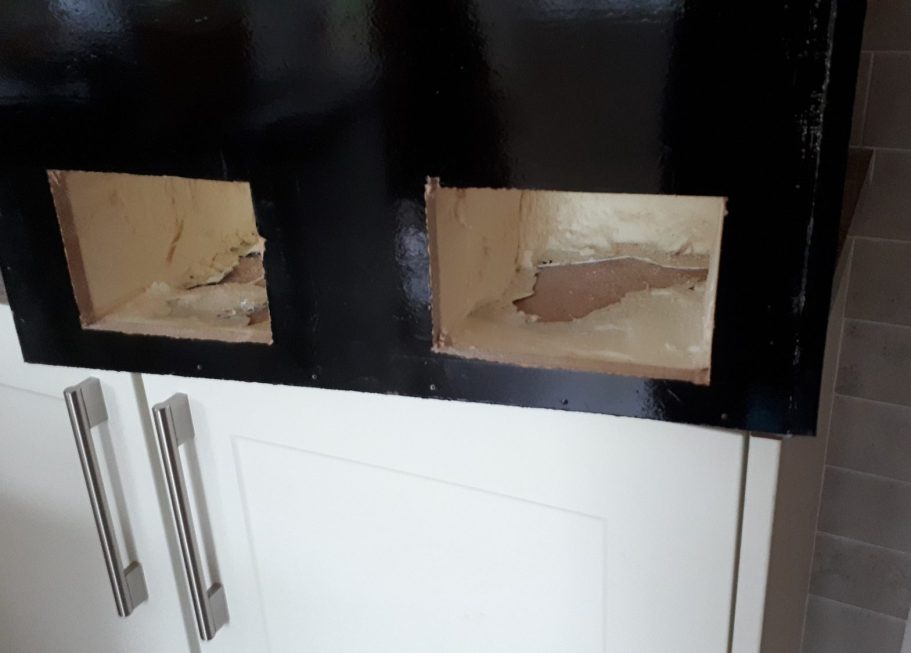
So a little drilling, jigsawing and digging out of the insulation ( A right proper messy job ), and there’s a couple of spaces at the back of the base for cars to travel in ( photo #18 ).
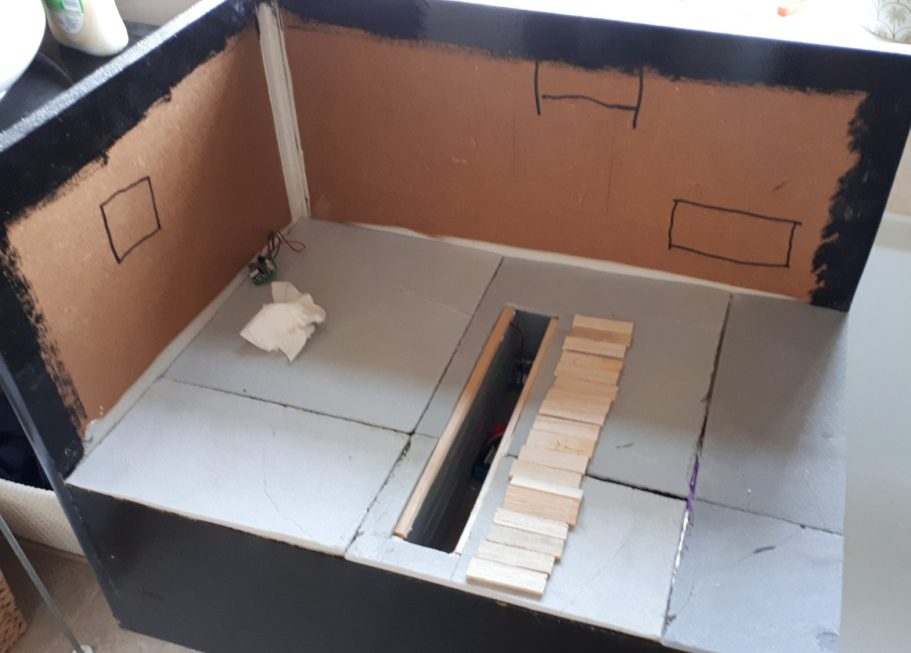
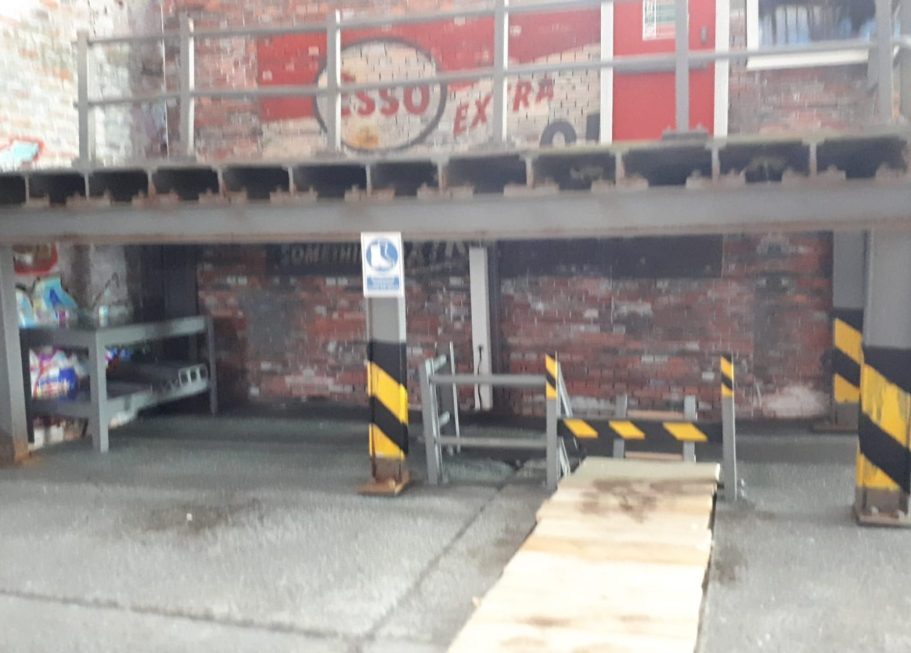
Thinking back to the pit, it would have to have covers when not in use, and a ladder for access and a safety barrier so cars didn’t run onto it too far....... Yup, you guessed it, all needed building from scratch. The coverings for the pit from Balsa wood ( photo #19 ), the ladder and safety barrier from Plastruct.
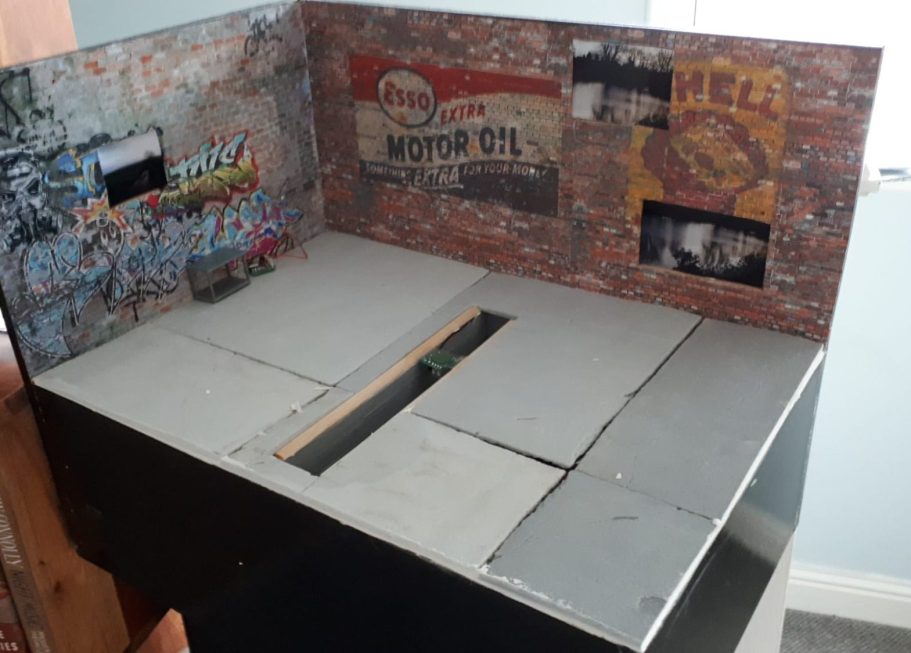
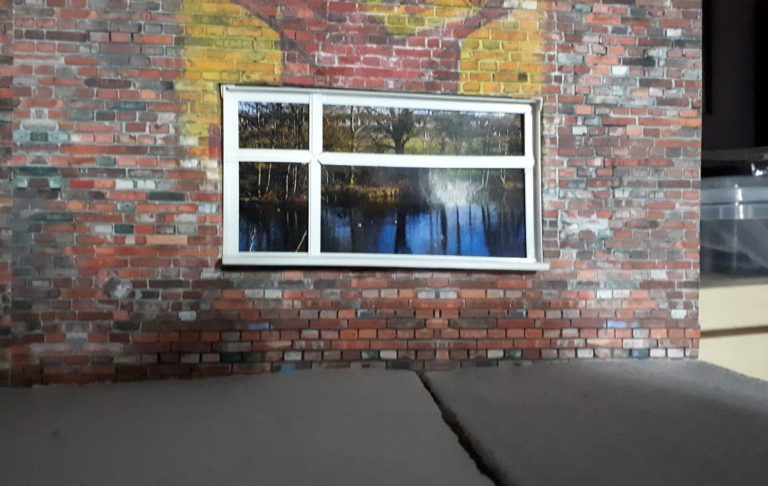
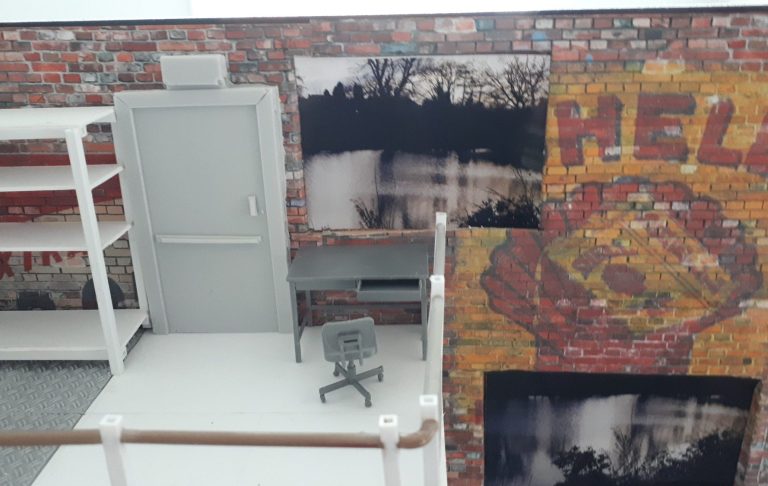
Windows...... The Garage I send my car to –Wide Cross Garage at Up Holland ( Brilliant Mechanics, friendly and very reasonable too ) have an office that has a window overlooking a fantastic view. It’s probably about six miles or more to the Winter Hill Communications mast, but they have a clear view right over a valley, across the M6, the M61 probably somewhere in the distance, the Heinz 57 factory and a whole lot of green fields making up for a fantastic panorama....... you’d pay a lot for that view, and it got me thinking that maybe my miniature garage should have some windows.
Some routing of walls, digging out the MDF with a chisel, and taking a few photos for possible scenes visible from said windows. Printing onto glossy photo paper and then making some plastic double glazed frames ( photos #20, #21 and #22 )...... This is getting easier, honest.
Next on the agenda was going to be fastening the floor down, but Paul Dobson suggested how cool it would be to have someone working in the inspection pit doing a bit of welding........
“Yes, it would, but how would that work Paul ?”said I.
“You can get them on t’internet, from model railway suppliers usually” Paul replied.
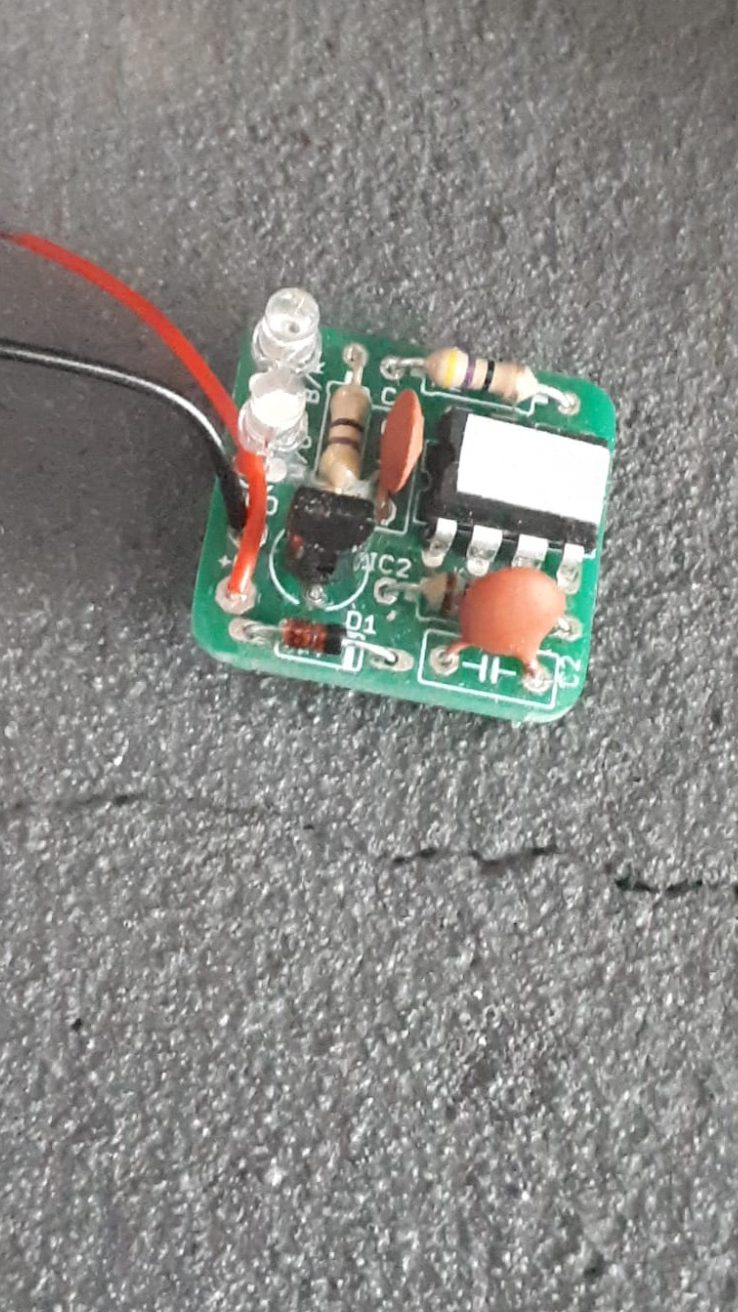
And he was right too, £12 each, with a small circuit board, two LED’s and a microprocessor ( photo #23 ), to make the lights flash in a random manner and they do appear to be someone welding.
I just had to have two sets....... Um....... Well.......Because !
So there’s one set in the pit, and one going into an area under the back of the mezzanine.
Both of these needed the wires extending and hooking up to power sources – battery packs for 9v batteries again sourced of t’internet for about £3 for two packs.
Holes dug through the Kingspan, wires threaded through and hooked up, batteries in and hey presto, two little welding sets looking like they’re working.
Amazing stuff.
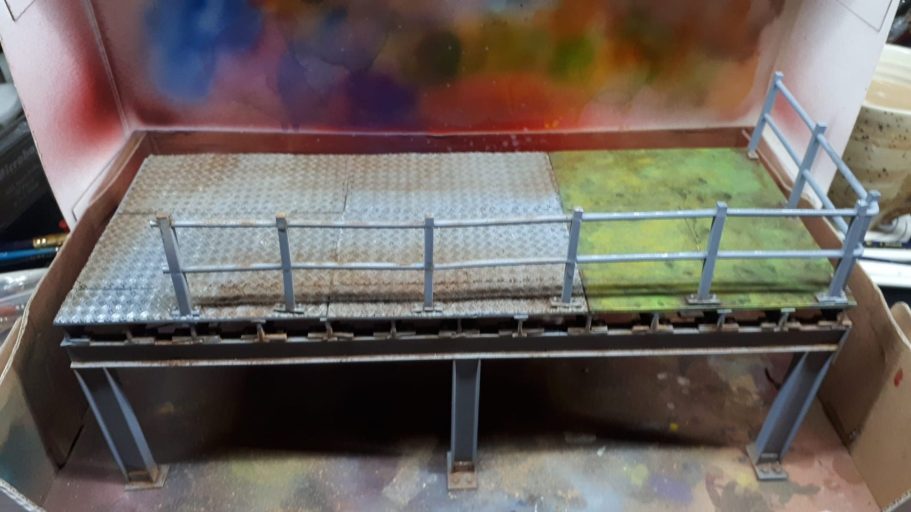
At this point I thought I’d like to add a bit of paint, so photo’s #24, #25 and #26 show mezzanine still separate from the main garage, but with some paint added.
When building anything, let alone something as involved as this, it’s always good to test fit parts or sections to see that they go together OK.
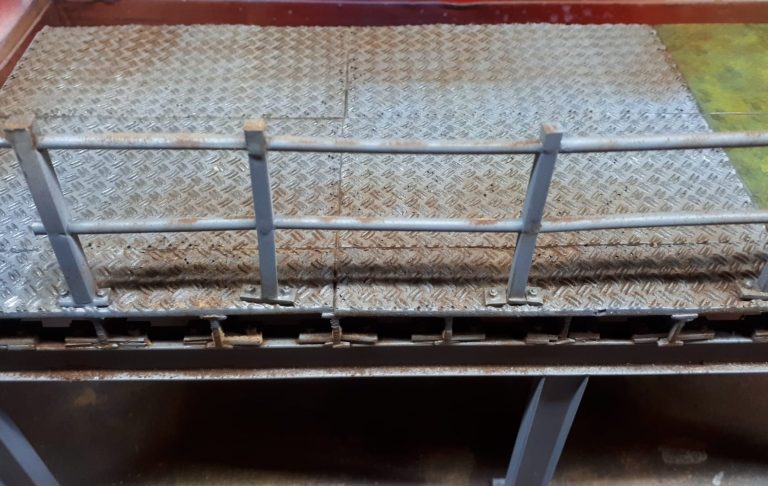
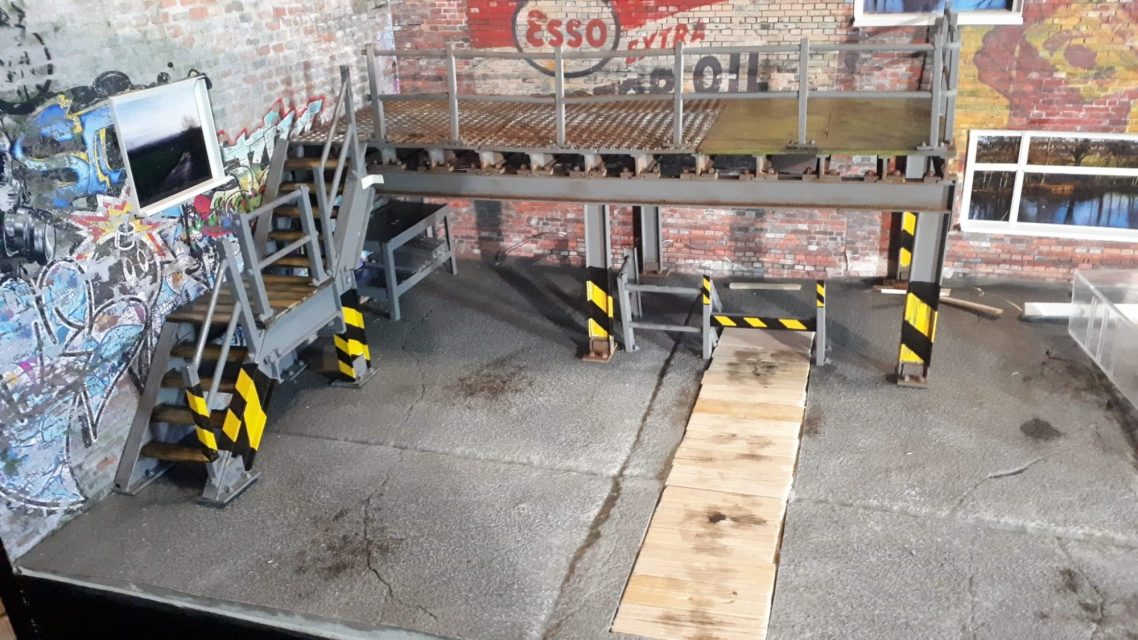
In photos#27 and #28 I’m doing just that with the painted mezzanine and stairs.
I’ve added some MIG pastel powders to the girders to represent the dust that just doesn’t get cleaned from hard to reach places in a busy workshop or warehouse.
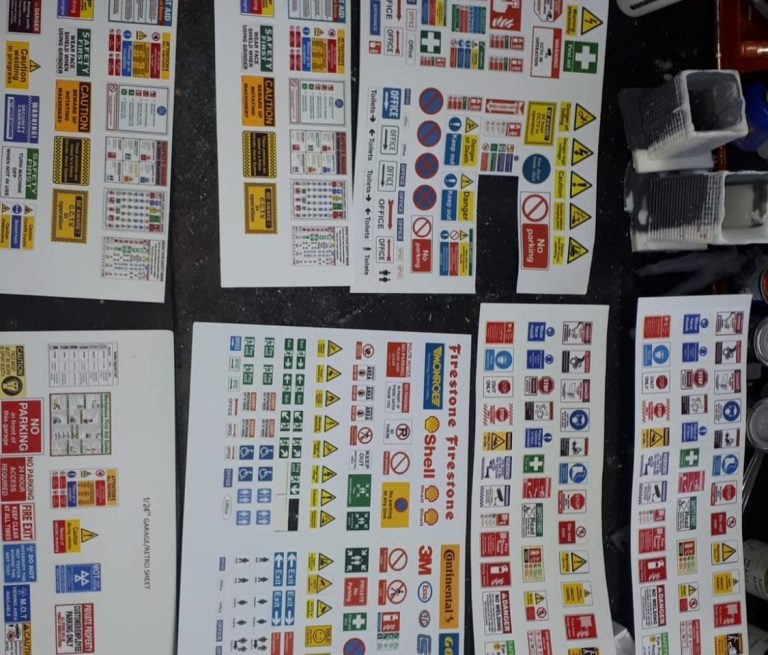
There’s a lot of possibilities for notices – safety, fire hazards, staff only, plus automobile and supplies advertising and memorabilia. And yes, you guessed it, the internet is a fine and varied supplier of these type of things, and usually relatively cheap too. Photos #29, #30 and #31 show a selection of these on the sheet that they come on, and also when placed in the garage, simply cut them out, use some double sided tape and hey presto, loads of useful signage.
Worthy of note is that they are available in different scales – 1/43rd, 1/24th and 1/18th that I noticed whilst looking on Ebay.
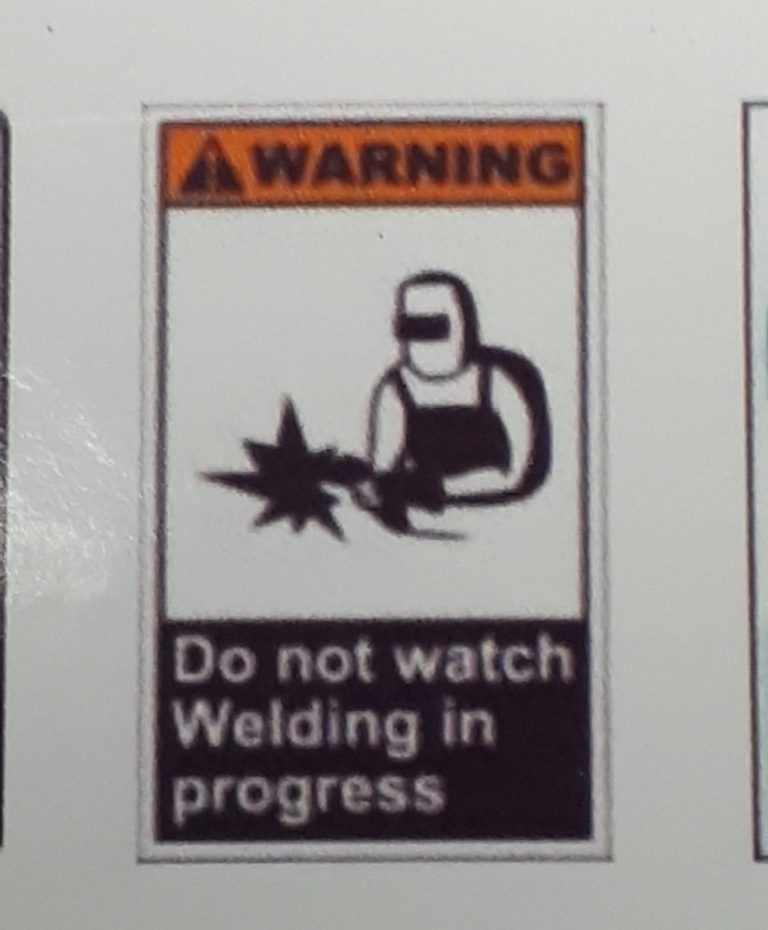
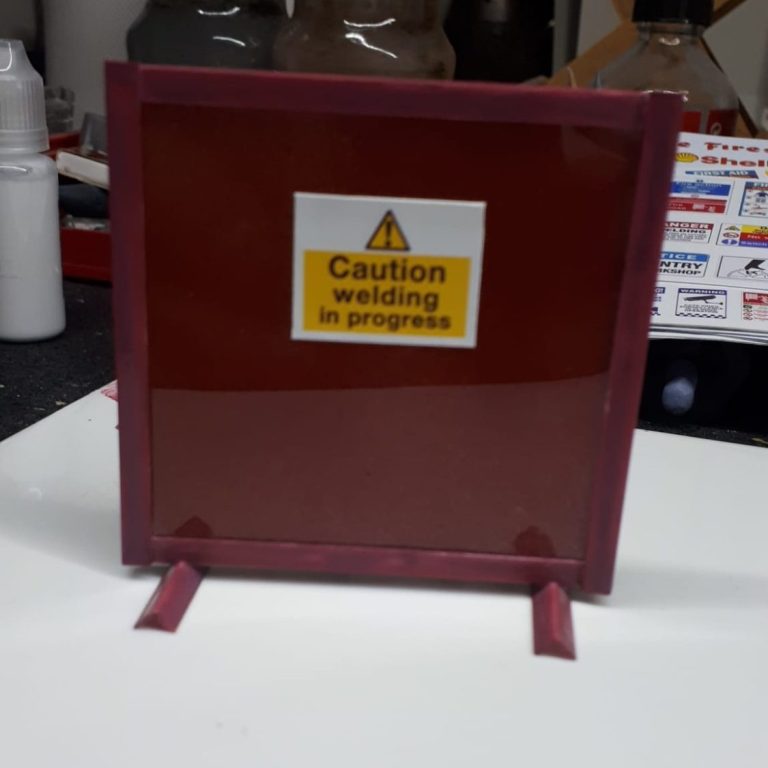
As I’d got a chap going to be welding at the bench under the stairs, I thought I’d best have a safety screen. Again this was scratch built from plastic strips and some clear plasticard, spraying a rusty colour over the clear screen so that it became translucent. And it wouldn’t be complete without a warning sign now, would it ? ( Photo #32 )
Paul then said “Rather dark under that mezzanine, don’t you think it’d benefit from some lights ?”
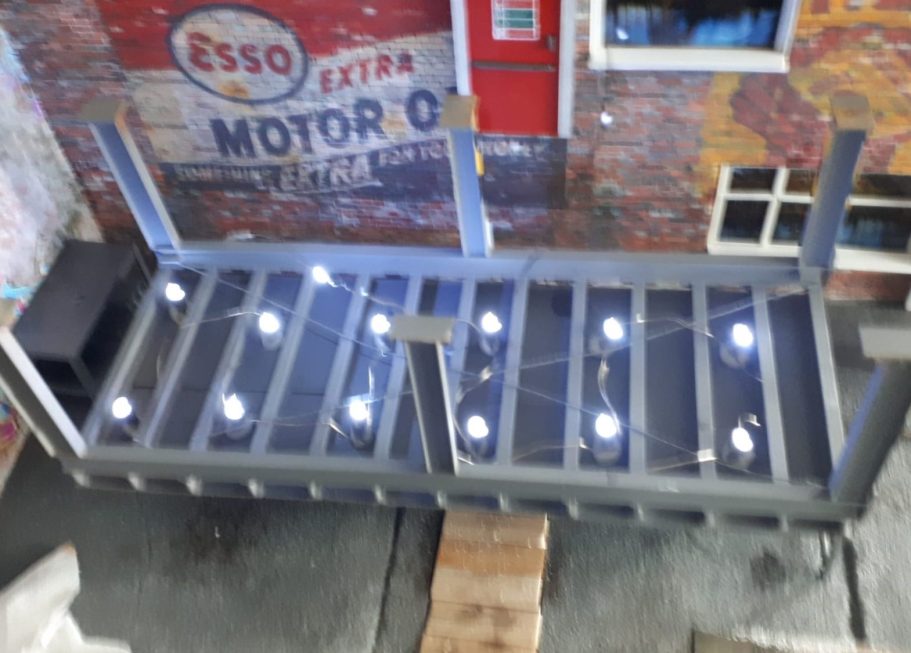
His next question being “You know what this is ?” proffering a conical metal tip from a biro.
“Um...... ?” replied I, not having much idea other than “It’s the tip off a biro Paul.” Which I kept to myself, because that answer was just too obvious.
Turning it the other way up, Paul said “It’s an industrial looking light shade !”...... Admittedly, it was pretty obvious when you were told.
“And here’s some grain of rice sized lights that just fit inside it.” said Paul, proffering a string of what looked like miniature Christmas Tree lights, complete with battery pack.
They worked too ( photo #33 ) and any bulbs that are in the wrong place or surplus to requirements can be painted over with black acrylic to prevent any light escaping. Although Paul had collected a few of the pen tips, I decided to buy a set of twenty pens, so I could have twelve lamps spaced down the underside of the Mezzanine.
So what other things could I add ?
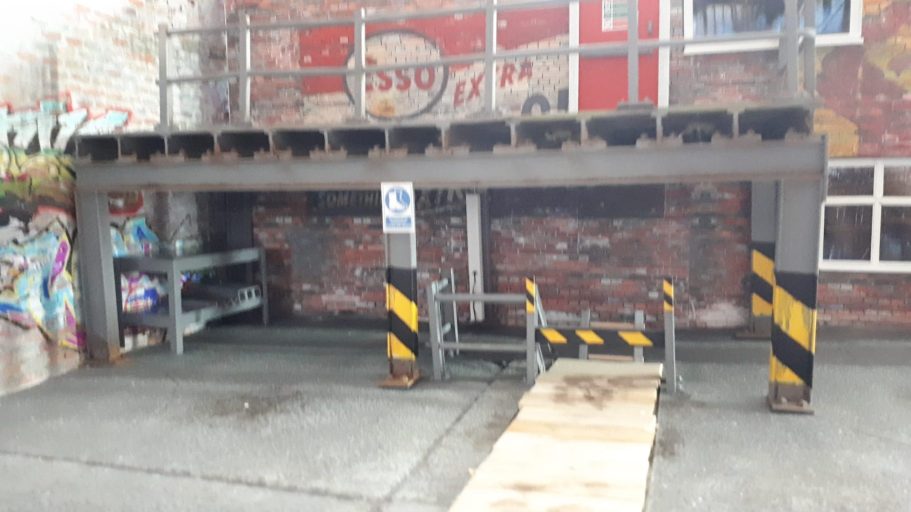
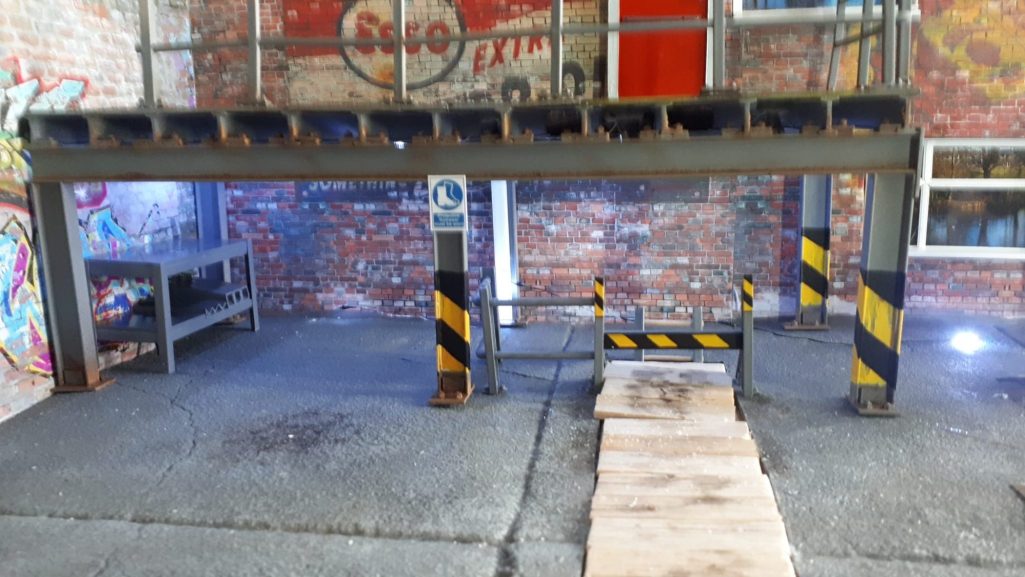
A comparison to lights on ( photo #34 ) and lights off ( photo #35 ) shows how necessary the lighting is.
Visible in both shots is the barrier to stop cars going too far over the pit, and the bench that will have someone welding at it. The light for the welding bench is hidden underneath the bench top, with holes drilled through to allow the lights to look like he’s welding on the bench top itself, and I’ve built storage for welding rods and pits of steel underneath the bench, although they’re empty as of yet.
I’m still thinking that there should be lockers and perhaps access to a restroom and toilets for the workers...... More stuff to fit in.
Thinking back to the pit, it would have to have covers when not in use, and a ladder for access and a safety barrier so cars didn’t run onto it too far....... Yup, you guessed it, all needed building from scratch. The coverings for the pit from Balsa wood ( photo #19 ), the ladder and safety barrier from Plastruct.
So my next thought was to outfit the office, after all, once a mechanic has had a sharp intake of breath at how poorly maintained your vehicle actually is, he needs a way to order the parts, work out the man-hours it’s going to take to fix it all, and how much the bill will be.
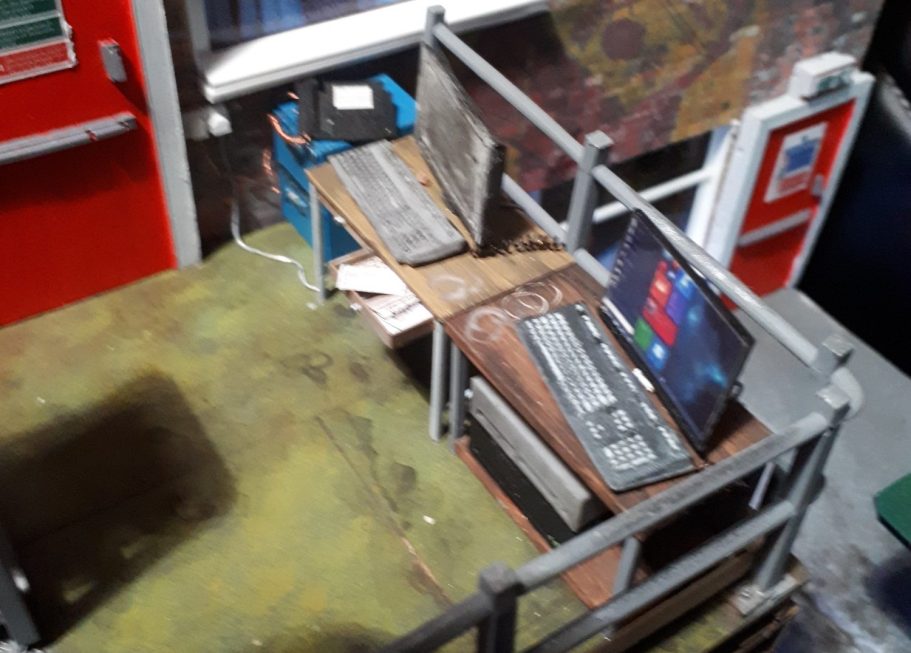
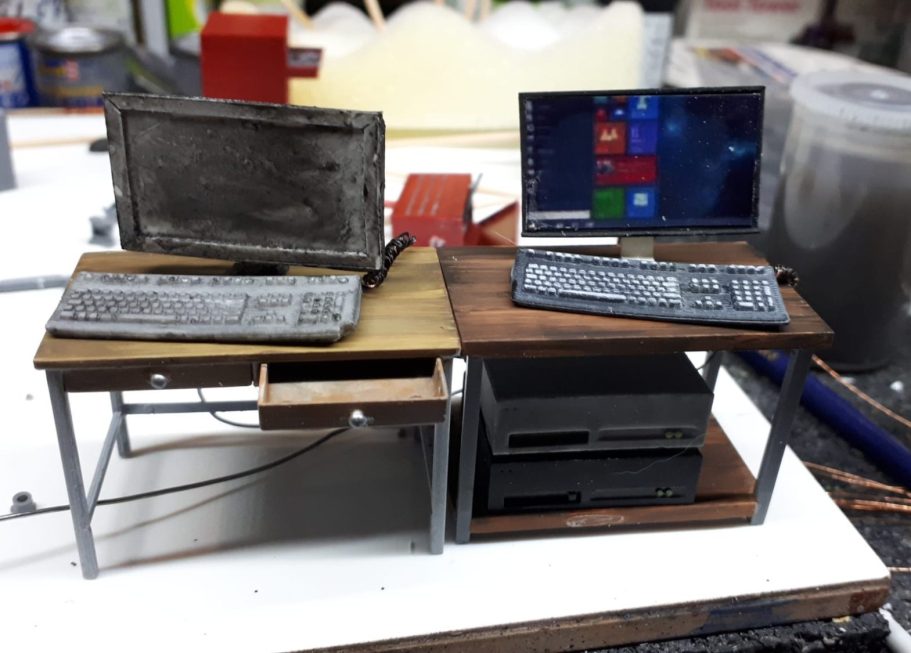
Ebay, as mentioned earlier, is a great source of bits and bobs for that I’ve needed, granted some things I have had to make myself, but sometimes someone else has already had the thought and produced it. Tis was the case for a computer setup, and although the 3D prints weren’t brilliant, I could use them to work from. The keyboard I was stuck with, but I could add some plasticard to the screen and base unit, make a small mould and cast a couple off – see photo #36.
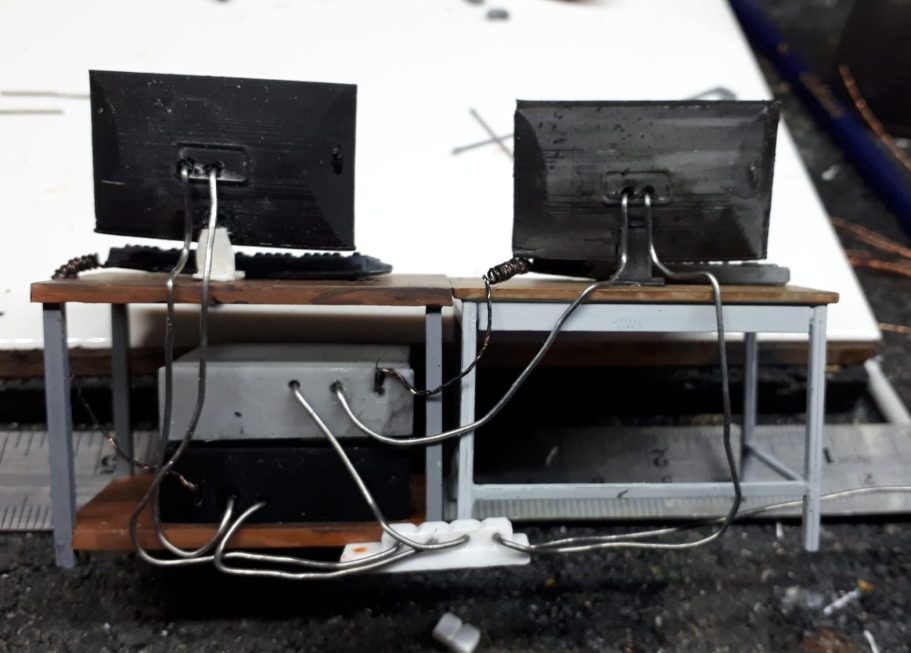
I also found an old style monitor that I could use as a part that was stored on one of the shelves – you know the things that still work, and are kept, just in case the 20th century ever comes back.
Oh, wires, yes, I had to add those to the backs of the computers, linking the keyboards and the base units to the screens, and also to a power source.
I had to make an extension lead with a “block of four” and the tops of plugs, and the two gang socket for the wall which this all plugs into. Shown in photo #37 is the rats nest of wires I created, accurately depicting the back of office tables the universe over.
For the wires I used some soft lead wire, and the plugs and sockets I used some plastic stock.
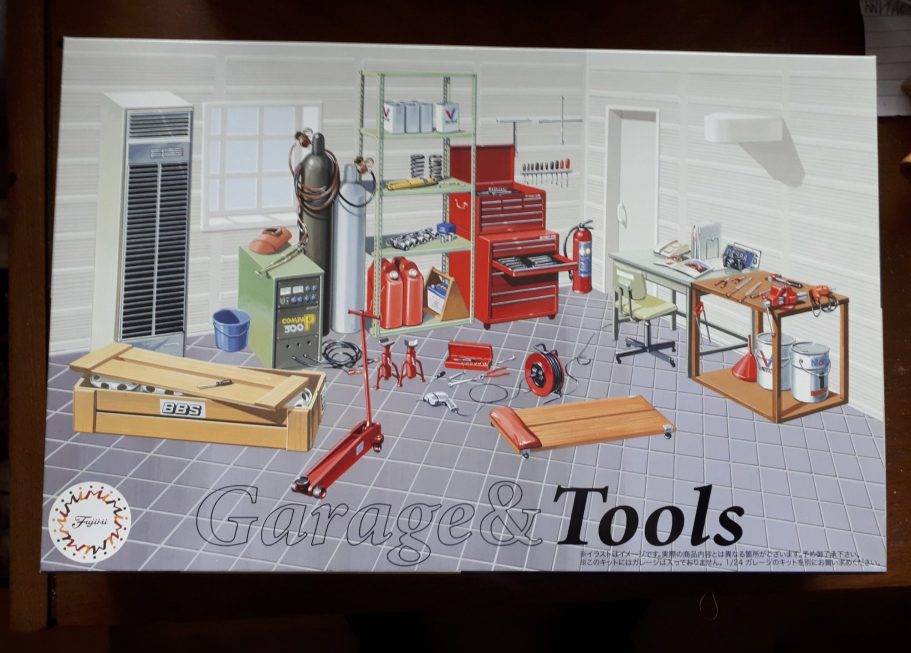
One of the useful things, that I found on Ebay was the “Garage Tools Set” from Fujimi. The box top artwork is shown in photo #38, however don’t be fooled, there is a LOT MORE in this kit than is shown on the box art, it can be expensive to get hold of, but it is worth it, with everything from an air conditioning unit to a lift to remove engines.
Locker space for the workers…
I could find some 3D printed ones on ebay, and they were quite good when they arrived, however I measured them up and compared the sizes to those at my workplace ( Strange looks from other fellas in there at the time – Adrian coming into the locker toom and measuring the lockers, what’s occuring ?
Also, the 3D prints were of closed lockers, I wanted some that could be open, showing things that were stored inside.
So I built a single locker, cast up three and made a mould for that too. Photo #39 shows the set of three lockers with one of the separate doors fitted in a closed position.
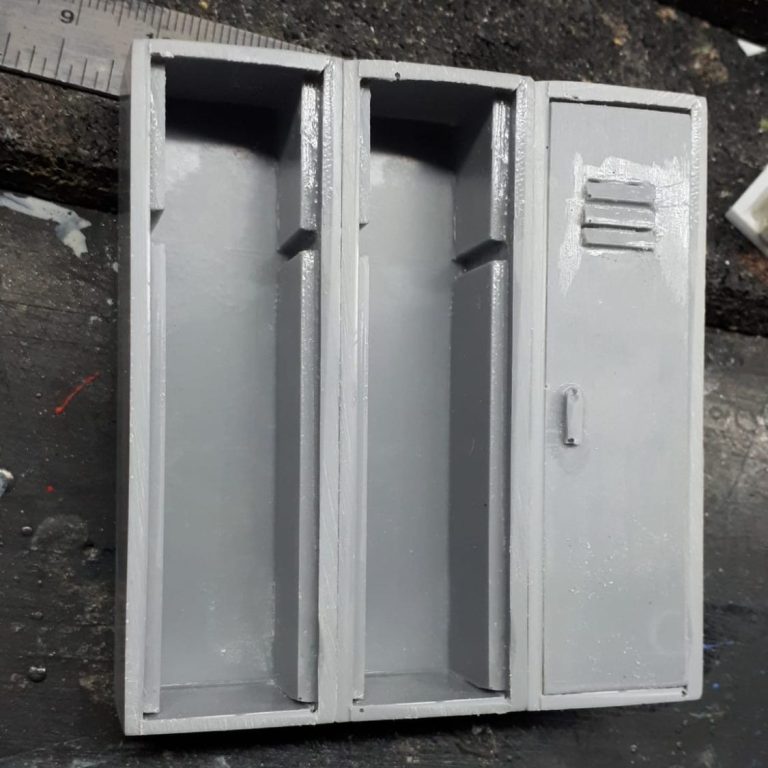
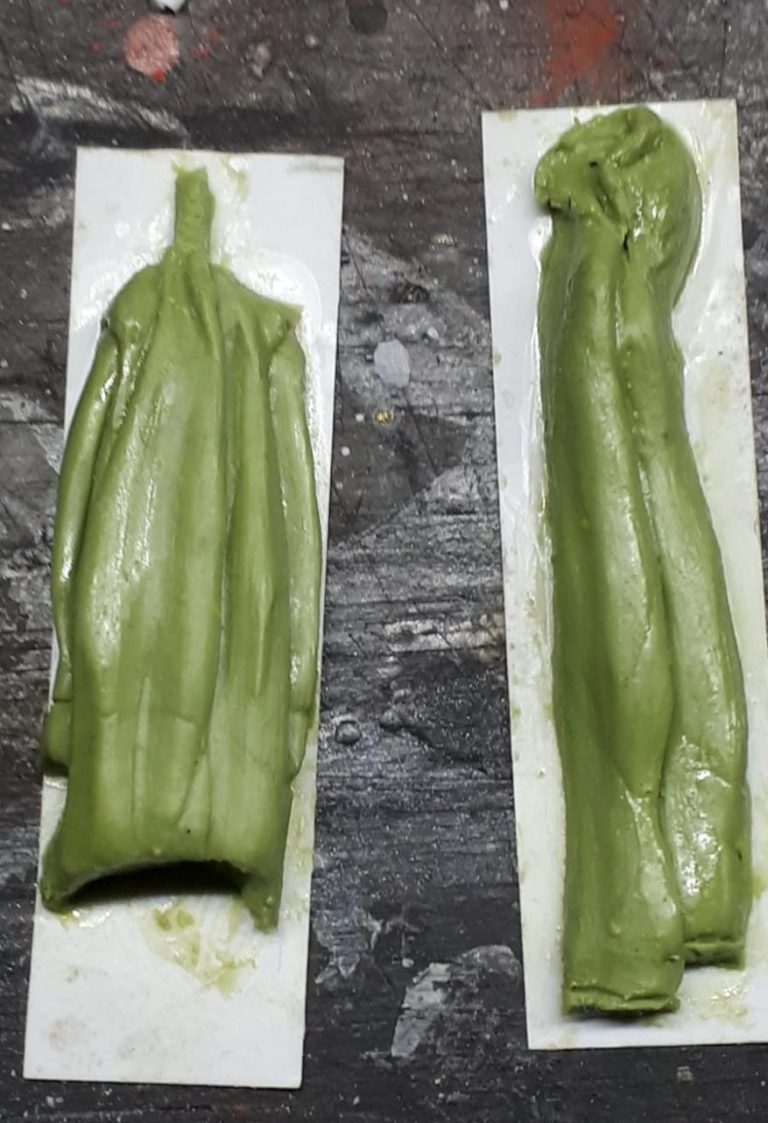
Of course I then needed to sculpt some things to go in the lockers, and photo #40 shows a jacket and a set of jeans that are hung up on the central clothes hook that these type of lockers have.
Photo #41 – a set of clean and folded overalls for on a top shelf that will slot into the runners left towards the top of the lockers.
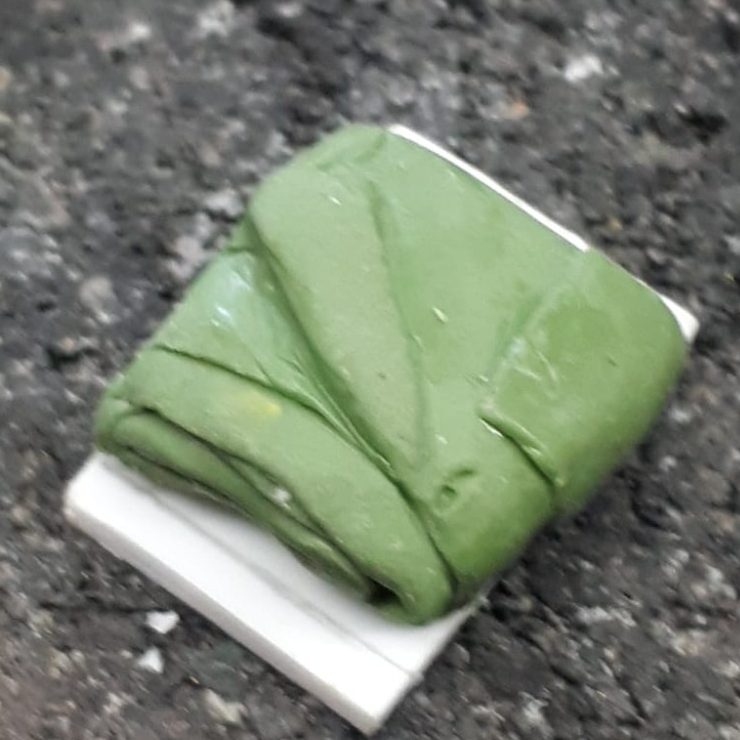
And photo #42 shows the clothes and overalls in place – these will be interchangeable castings, and also on the top shelves I’ve added some books / manuals and a very large pint pot for when it’s a brew break.
The lockers will be available as a set from Bash Models on the Ebay shop – search for seller ash0040 and you’ll find all sorts of useful diorama bits along with some kits as well.
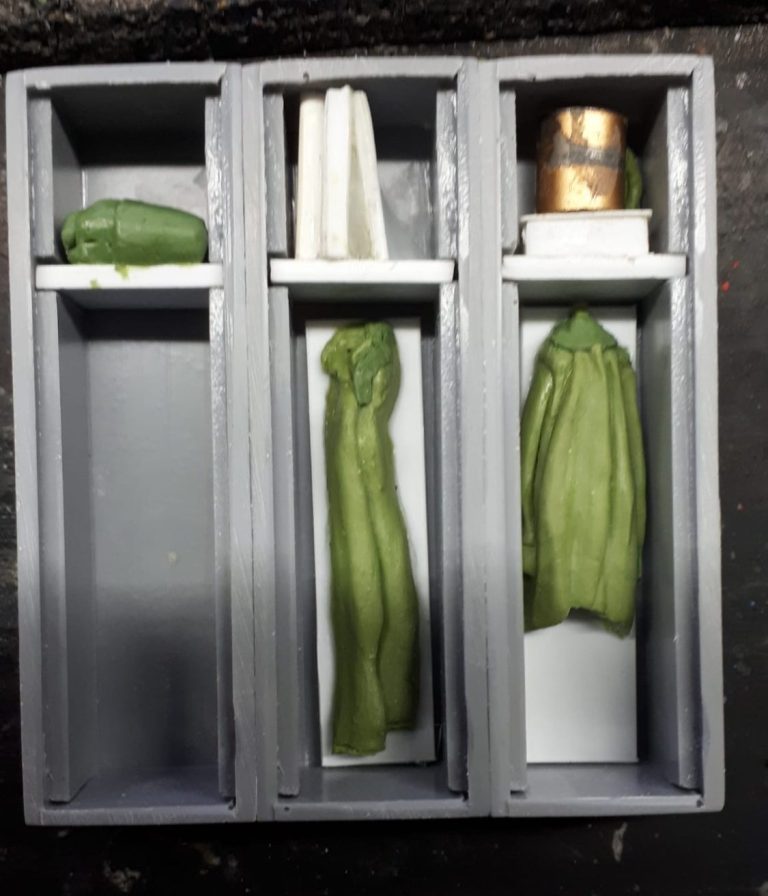
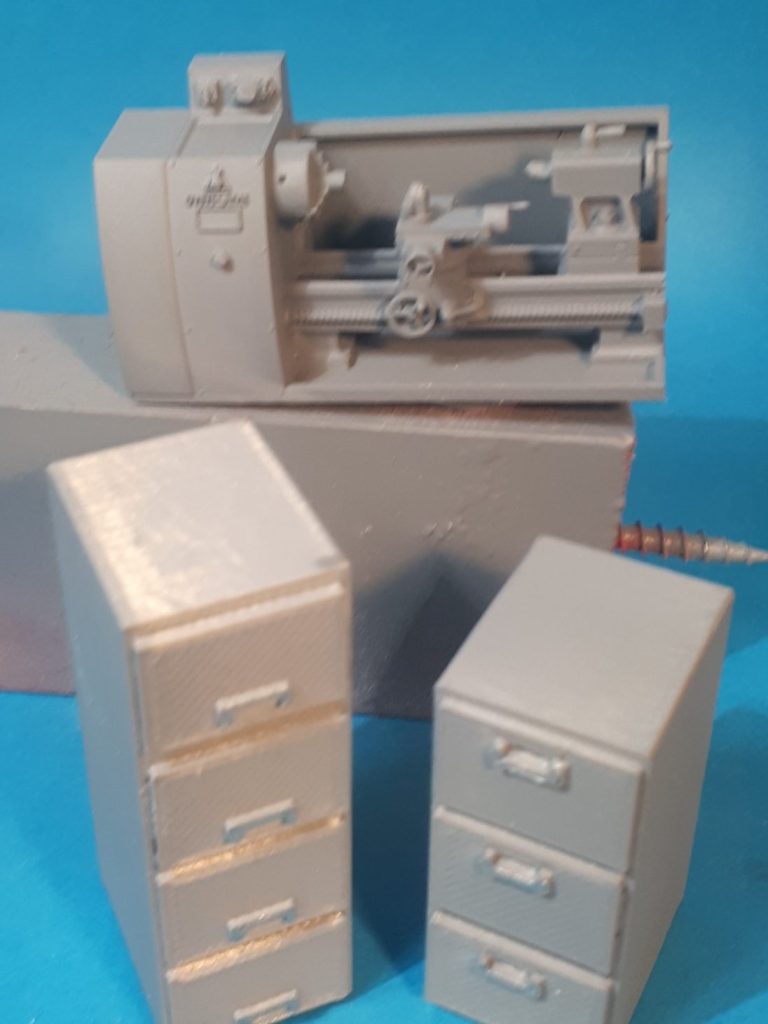
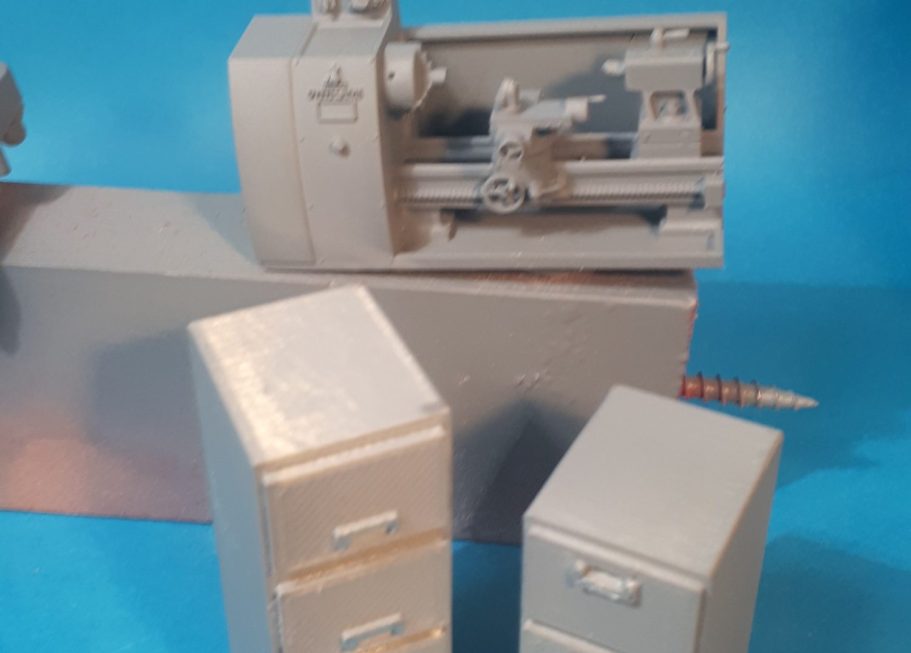
Photo #43 shows a superb lathe 3D designed and printed by John Vickers. I was going to put this in the garage setting, but to be absolutely honest, it’s too good to get lost in amongst all the other things in there. It deserves a base of it’s own with a single figure.
Also in the shot are two filing cabinets. Again, they were destined for in the garage somewhere, and they came sith a smaller two drawer cabinet which has been used in the office area, but I can’t fit these in, so they’ll get put in a spares drawer and used on another project.
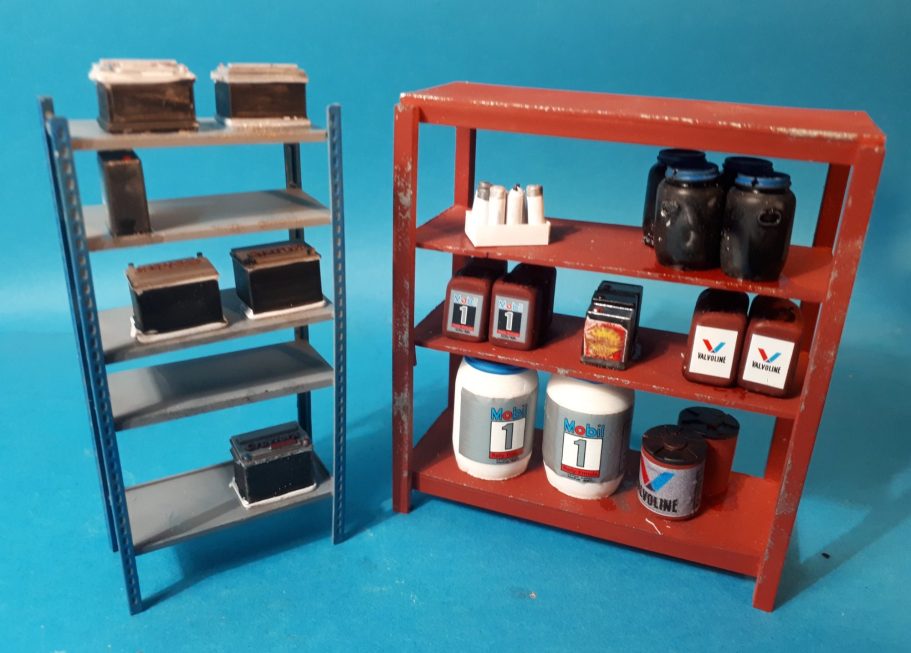
In photo #44 theres some stock been put on the shelves. Notice the scratching ane wear on the edges of the shelves – more treatment with Marmite to get the worn look. These are all oil cans from a 1/24th scale set from MIG Productions, the decals come in with the kit too, and once painted up and installed, they look the part. Incuded on the shelves are also some battery packs. These are again fantastic 3D prints from John Vickers, and he even went to the trouble of printing some with “Hopwood” and “Bash” on them – a really nice touch.
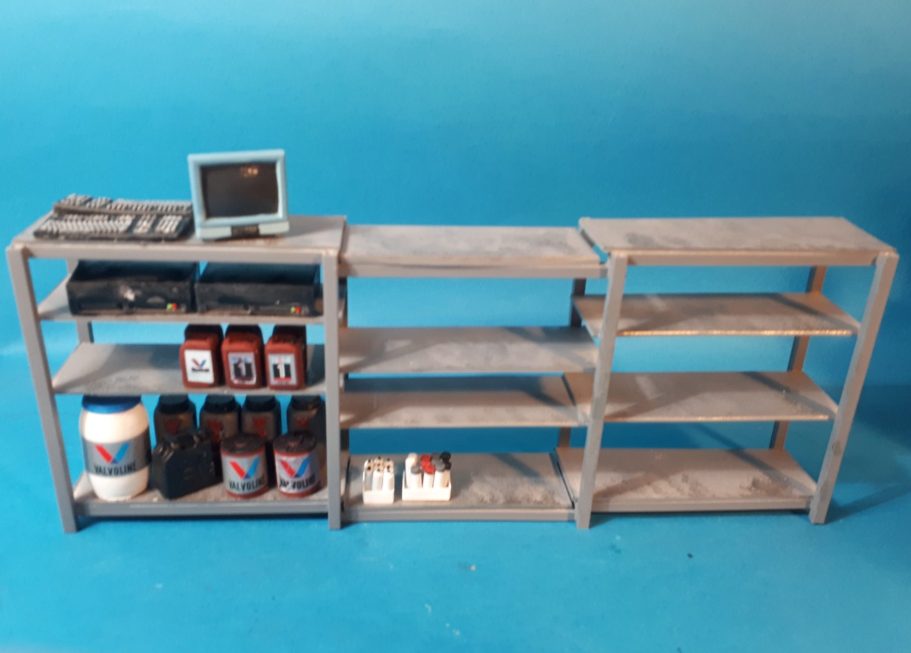
The longer shelf rack shown in photo #45 is one that will gradually be added to over time. I’vebegun the process, adding tubs of different oils, some aerosol cans ( 3D prints supplied by John Vickers – he’s a right proper good chap to know, you know ), some have lids on, some are opened, and of course what stock room would be complete without an old computer screen, some spare keyboards and base units that have been stored and are gradually being forgotten about ? These were all sourced from eBay, although I can’t remember who from.
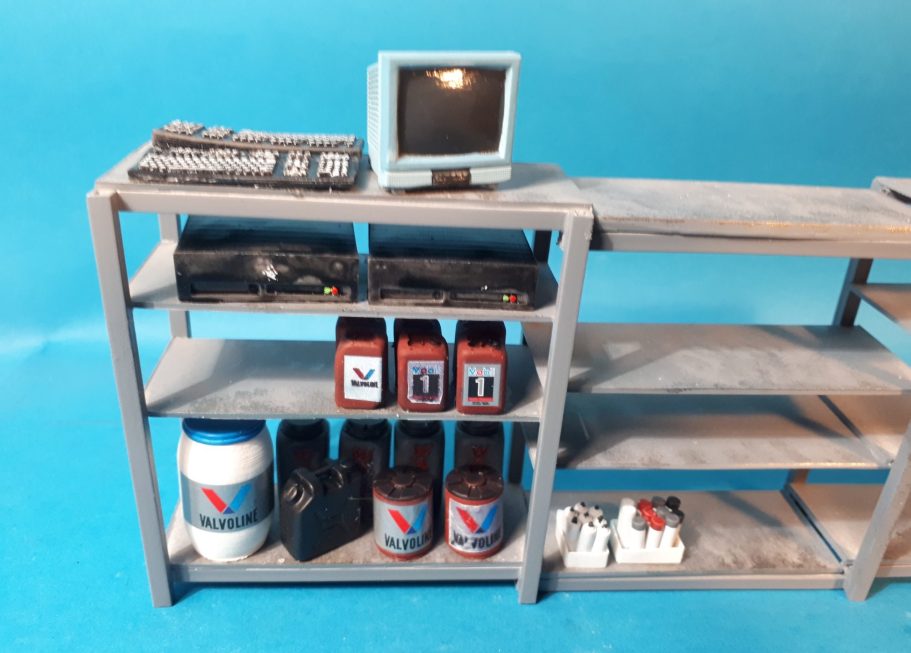
A close up of the stocked shelves, and there’s slightly less wear showing on the grey paint. I’ve added some scratching where tubs and other items have been slid off or onto the shelves – Memories of working in warehouses at various locations supplied good reference for this.
So it was getting to the time that the garage would be going to it’s first show. I know it’s not really complete, in fact I have already said that this would be something to add things to over the course of an extended period, however, having a couple of figures working on cars was the first priorith.
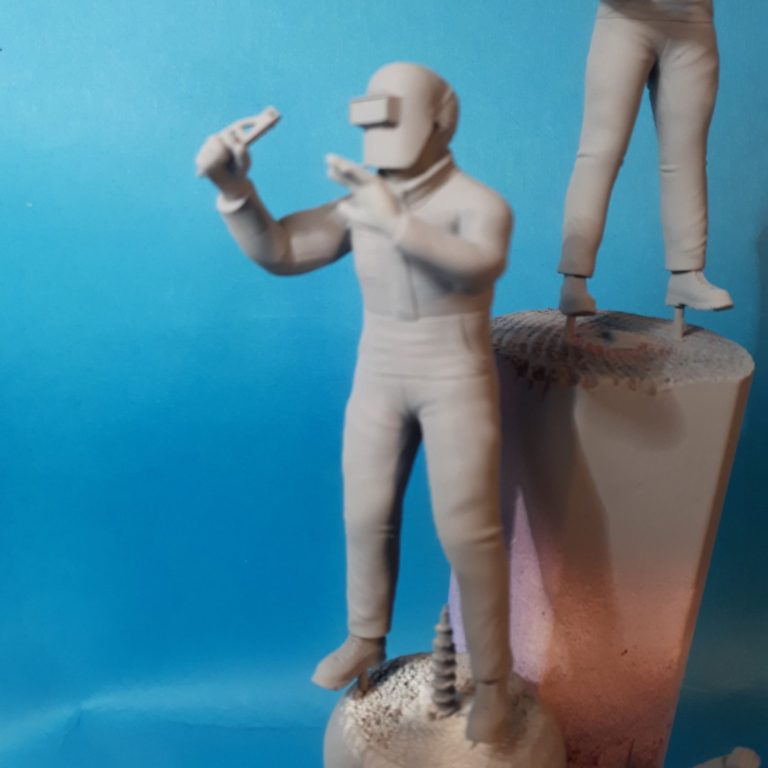
Again John Vickers came to my aid, supplying several mechanic figures that could be considered for use.
As I’ve got the welding lights working, I thought I’d best start with them, one shown in photo #47 is welding something high up, so he would be perfect for down in the inspection pit.
Photo #48 shows a second figure welding at a lower angle, this one would be used as though working at the bench under the stairs.
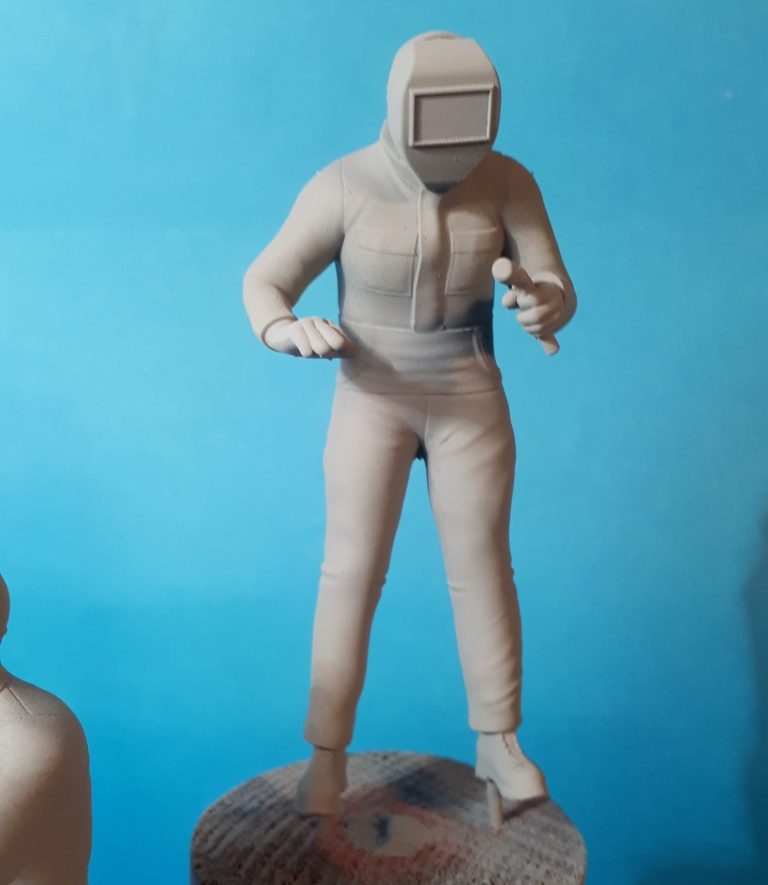
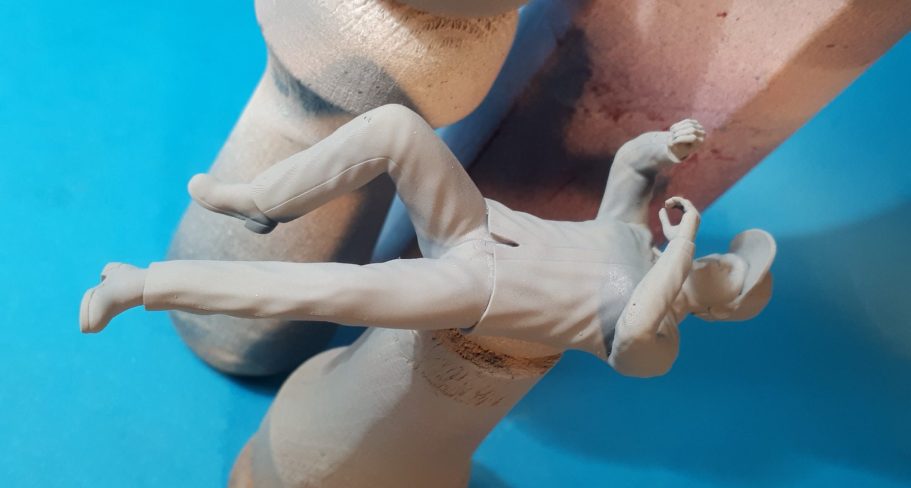
Photo #49 shows a prone figure, working underneath a vehicle. It’s one I decided to paint later, partly because of time constraints, and partly because he’s too bulky to be working beneath a car. I have a couple of truck models that may be short enough to be put in the garage ( or one of them at least ) and he’s about right to be working on one of those I think.
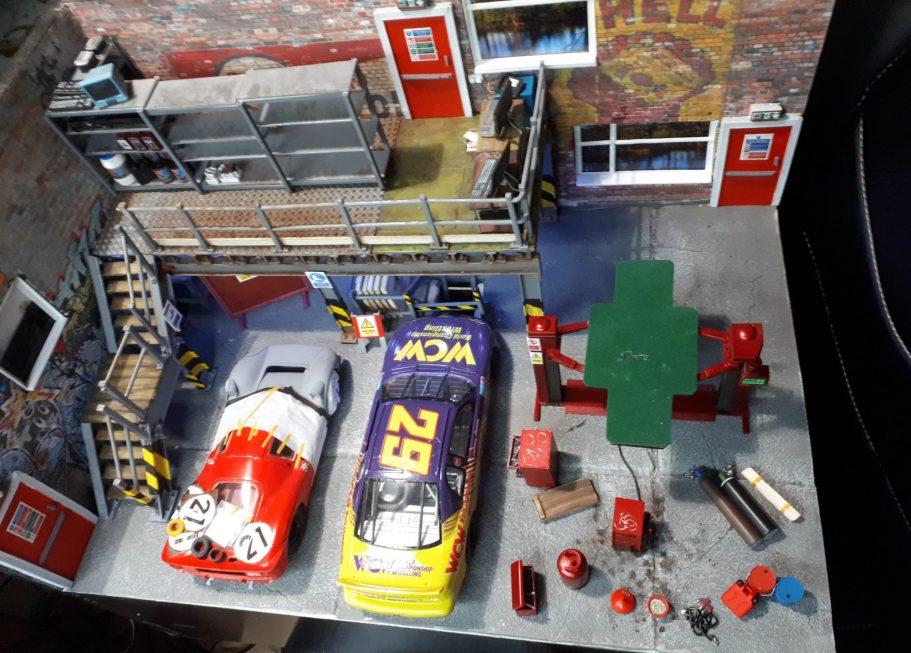
Photo #50 shows an overhead view of the garage with a couple of cars for scale and spacing. The car lift has a platform fastened to it with some green baize covering it. I added this so that any car could be put on the lift without having to mess about with the articulated arms, and trust that balancing a car up there would be safe. It’s fairly invisible once a car is placed on it, and even if the display table at a show gets knocked, I know that nothing’s going to fall off and get damaged.