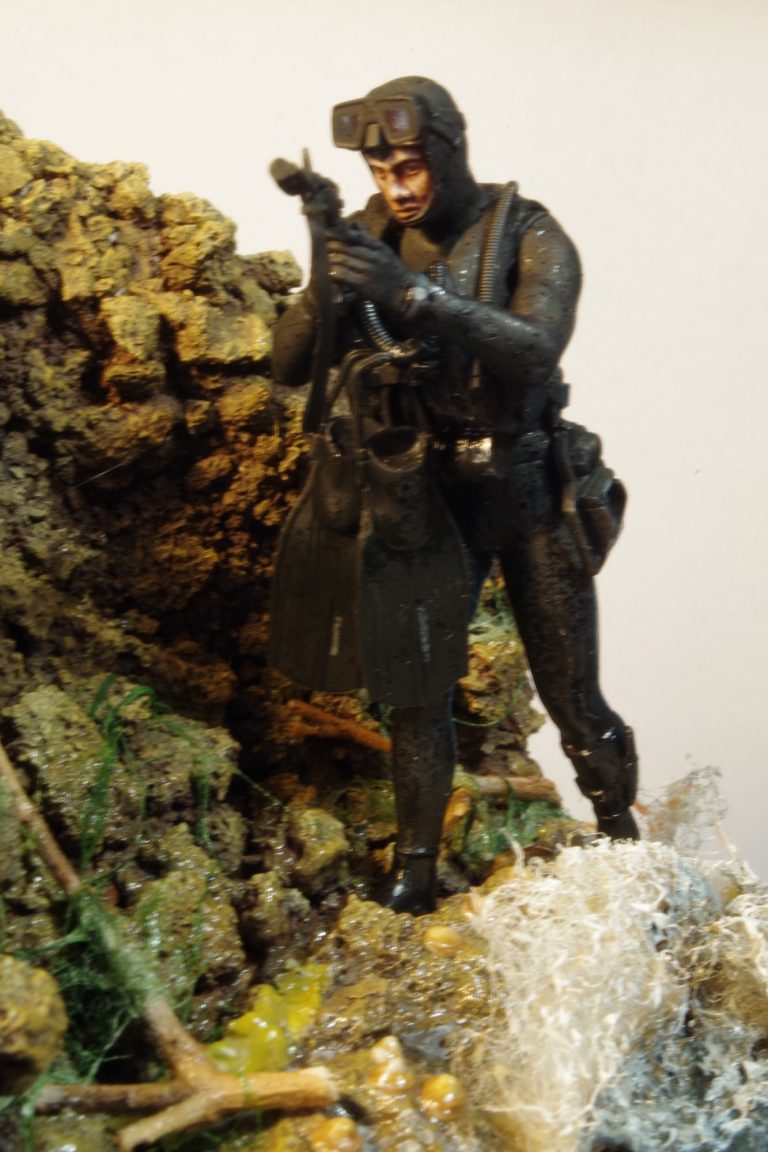
Worra Lorra Black !
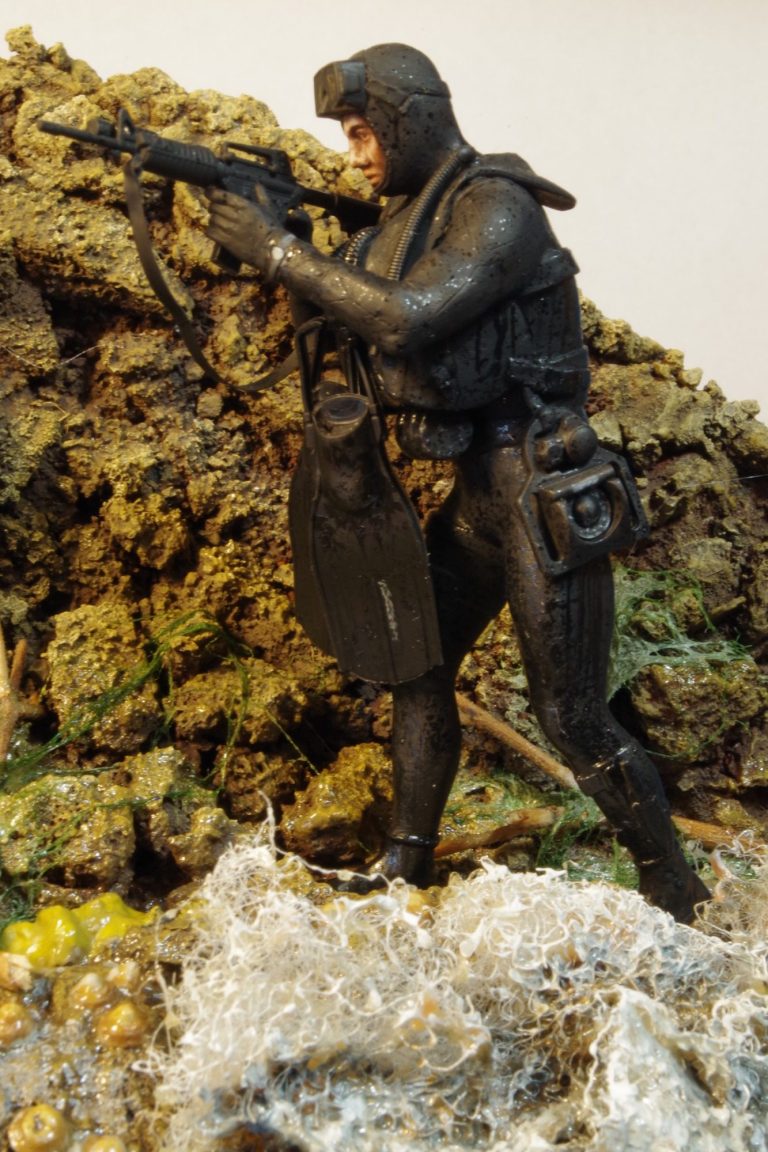
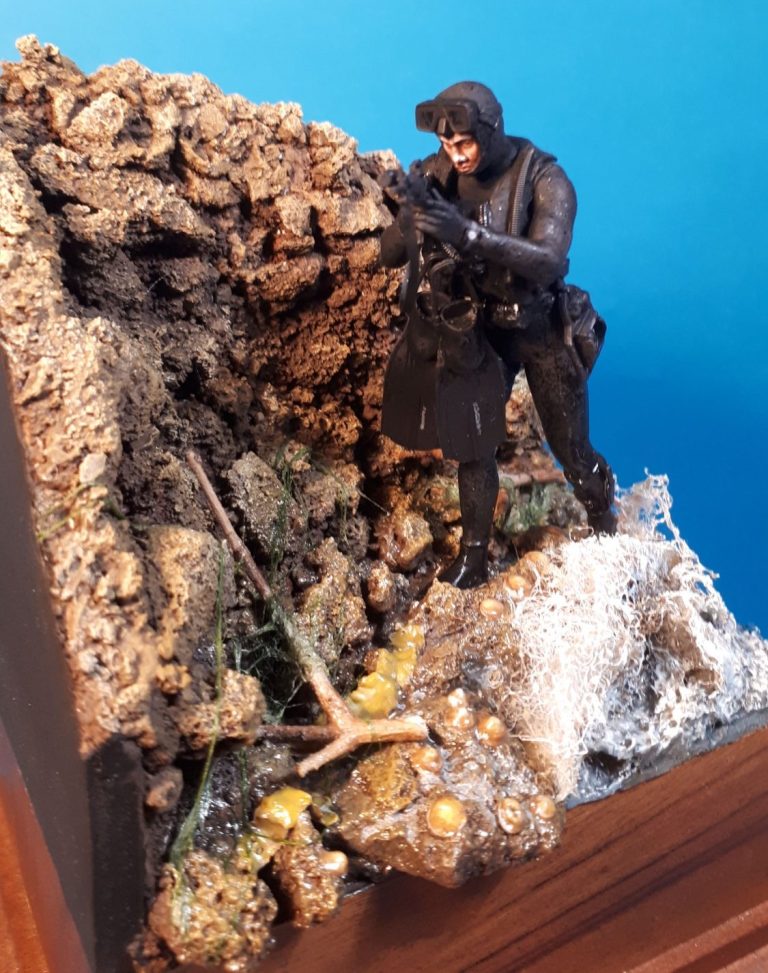
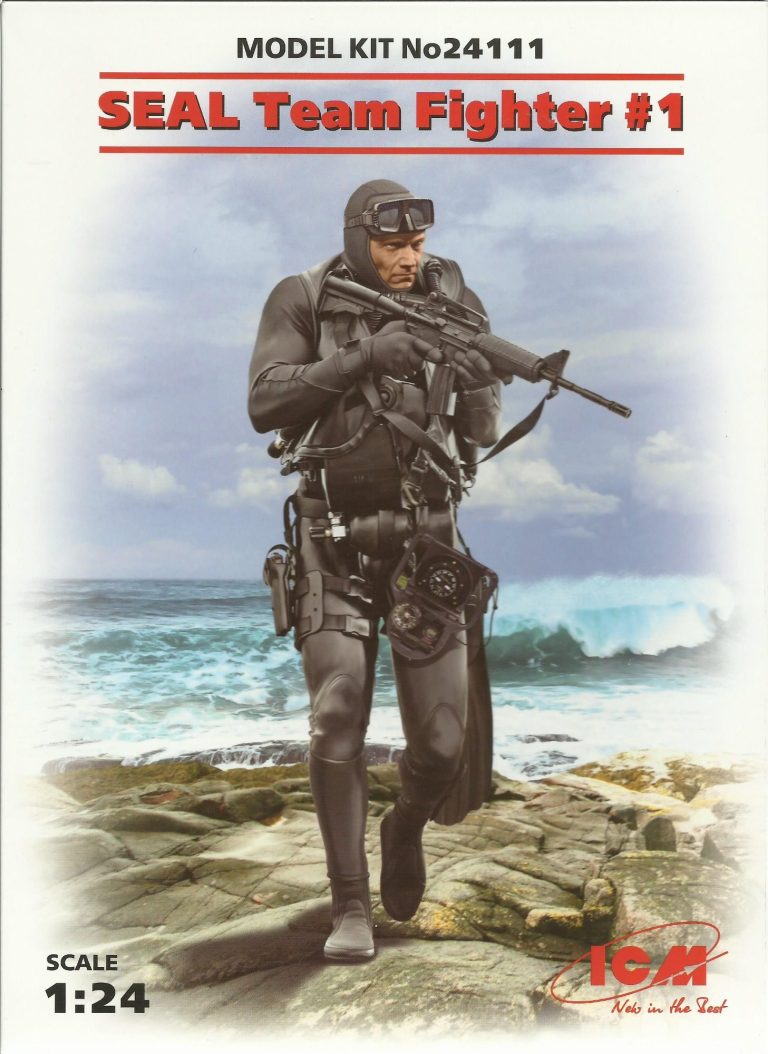
1/24th scale plastic kit from ICM of a US Navy Seal
Painted in 2019
Like the British SAS, the American Navy Seals ( Seals being an abbreviation for Sea, Air and Land ), had their origins WWII. They began as a scouts and raiders training group in 1942, the thought that a specialised force to operate on coastal and swamp areas with training to match would become necessary if Europe and the islands of Asia were to be invaded succesfully. They were very soon deployed to reconnoitre landing beaches and coastal defences, taking on missions to attach demolition explosives to enemy vessels.
Like all elite forces, admission to their ranks is achieved by only the most skilled and dedicated personnel, with training that goes far beyond that of regular military troops.
The kit.
So, it’s years since I put together a plastic figure. Resin and white metal is second nature, but injection moulded plastic.... ?
I do like a challenge though, and this was going to be one I decided once I opened the box.
Just before I begin looking at the kit, I’ve got to say that the box art is very nice, packaging is top notch too, and the whole thing looks very professional – photo #1
This is the first ICM kit I’ve had too, so a steep learning curve mainly because of the instructions. Yes, I know, it s a figure, feet and legs at the bottom, body and arms in the middle, head on top - what’s the problem ?
Well, there’s quite a few parts, all well moulded I might add, and split logically to allow for the maximum detail – all good stuff.
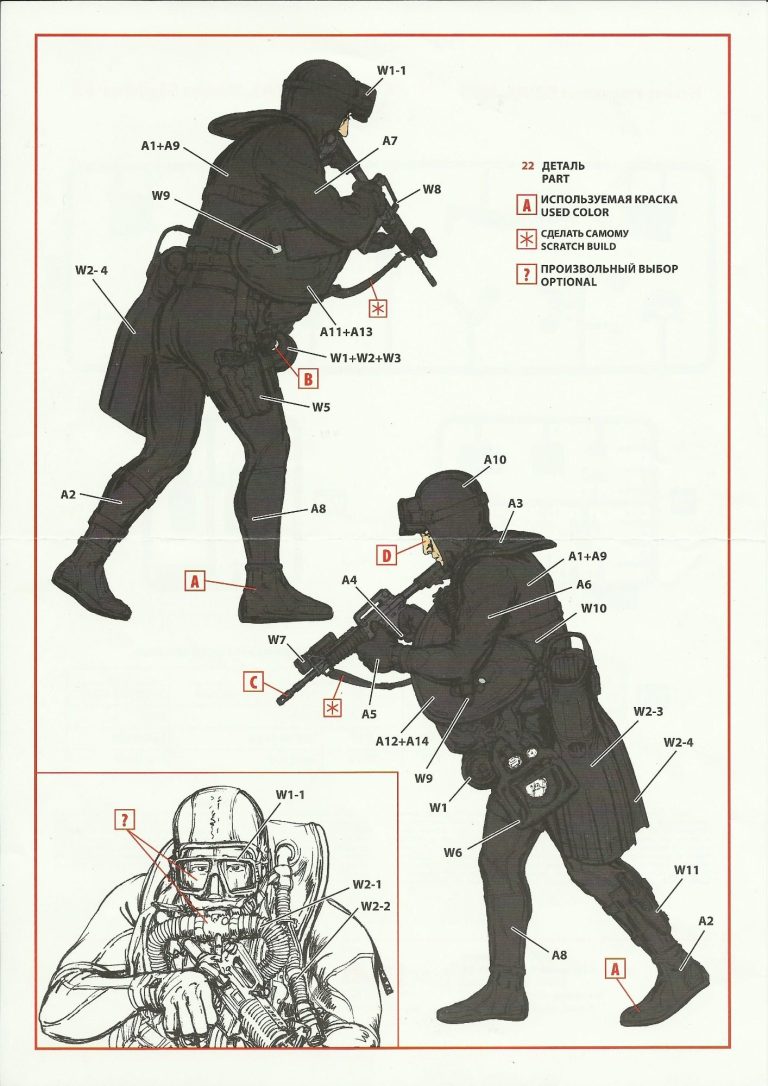
But the assembly drawings ( showing either side – see photo 2 ) are very dark grey with black lines. It doesn’t make it completely clear how some of the parts fit. I’d suggest the use of reference material to make sure things go in the right place.
Apart from that, assembly is a breeze, the sprues are shown minus the clear part for the mask in photo #3.
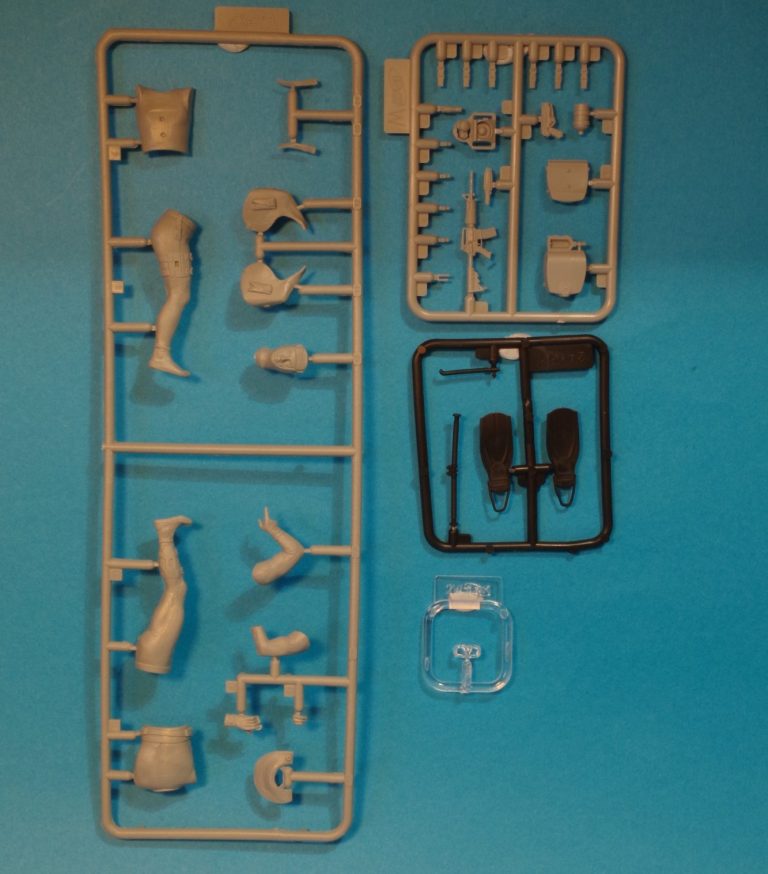
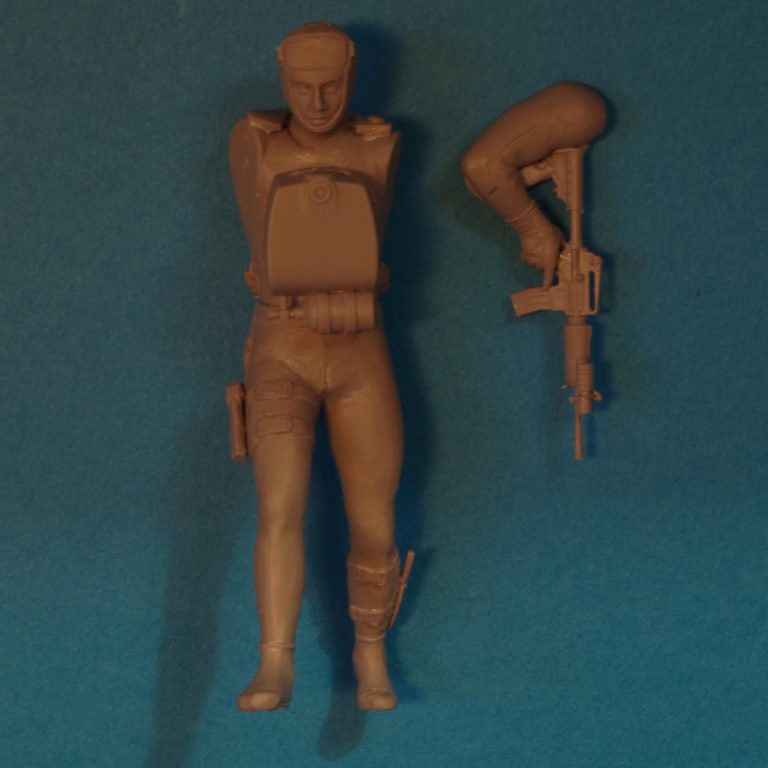
Beginning the assembly, I got the legs, body and head together and filled the slight gaps, then fastened the gun to the right hand / arm – see photo #4.
There are mould part lines around most of the parts, which is only to be expected with a plastic kit, but it’s easy to clean them off with a sharp scalpel and an emery board sander.
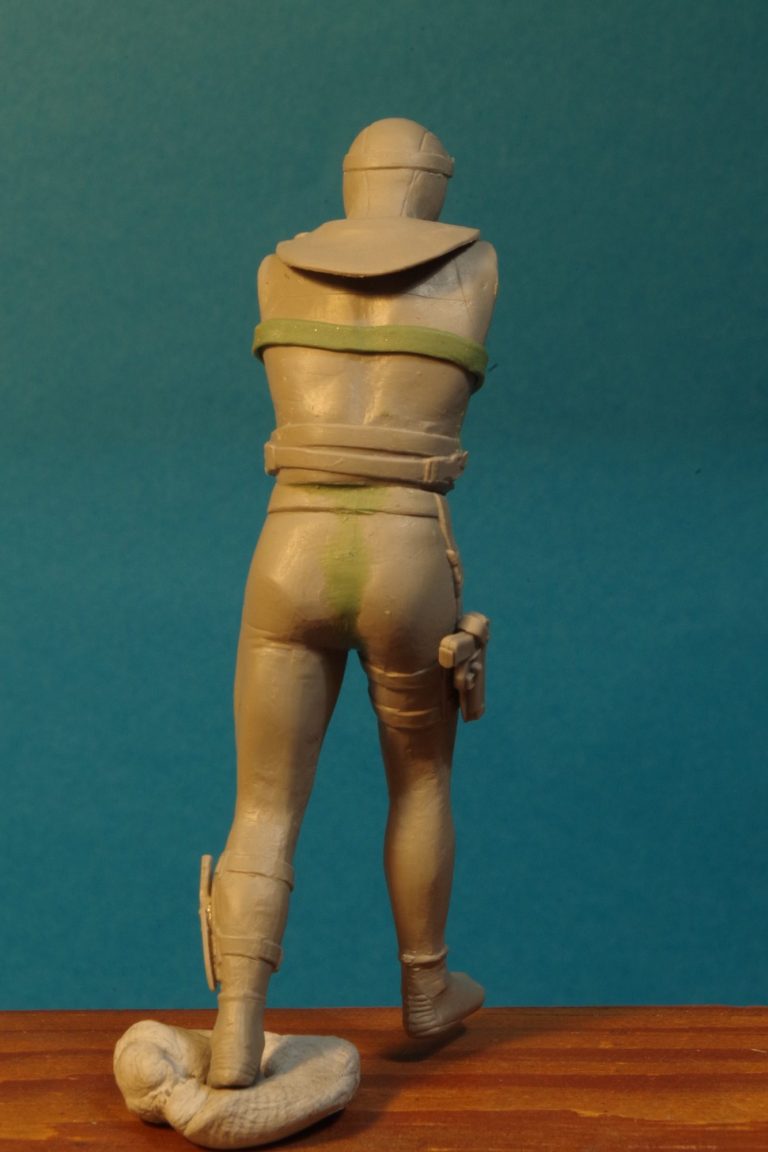
I did notice on the drawings that a belt / strap is missing from the upper back of the figure. Whilst I had some putty mixed up, I added this to the model – see photo #5
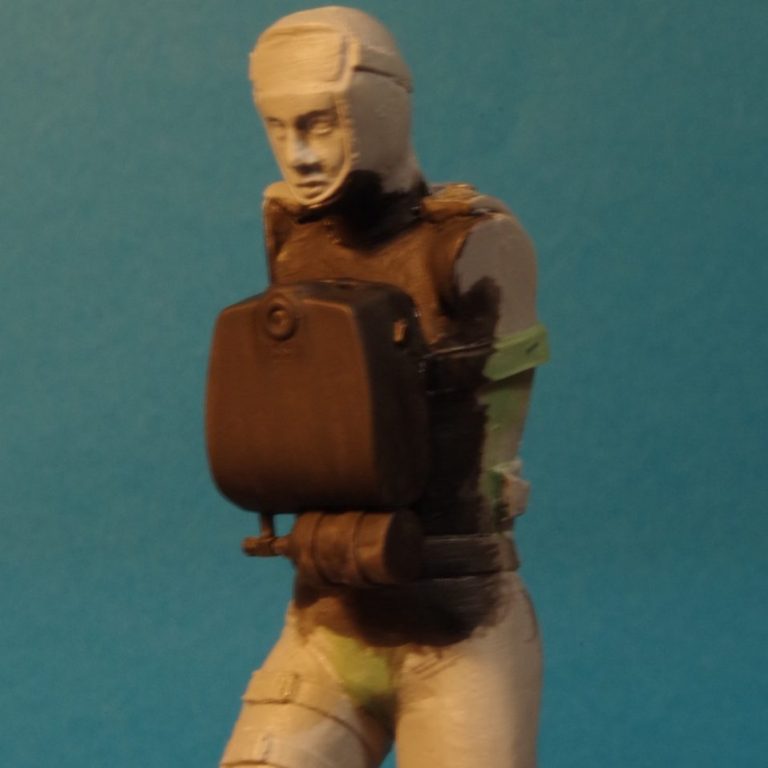
Test fitting things with any kit is always important, and at this point I found it would be best to paint the face and some of the recesses on the chest before any further assembly was done – see photo #6.
As with all models, a primer is necessary prior to adding the main colours of paint – I prefer a very thin mix of Isopropyl Alcohol with acrylic paint – in this case a flesh colour, the paint really only being there to show me which areas have been covered.
Then some thinned black acrylic is added to the areas of the suit and accessories that will be difficult to reach once the arms are in place.
Photos #7 shows the inflatable vest being added, although this will receive some amount of surgery to get those arms to fit in place later. The beginning of the face painting starts here with the undercoat of a mix of MP Tanned Flesh Colour and some Games Workshop Skull White. Once dry I began adding the oil paints – a simple enough method that uses just two colours – Mars Brown and Titanium White.
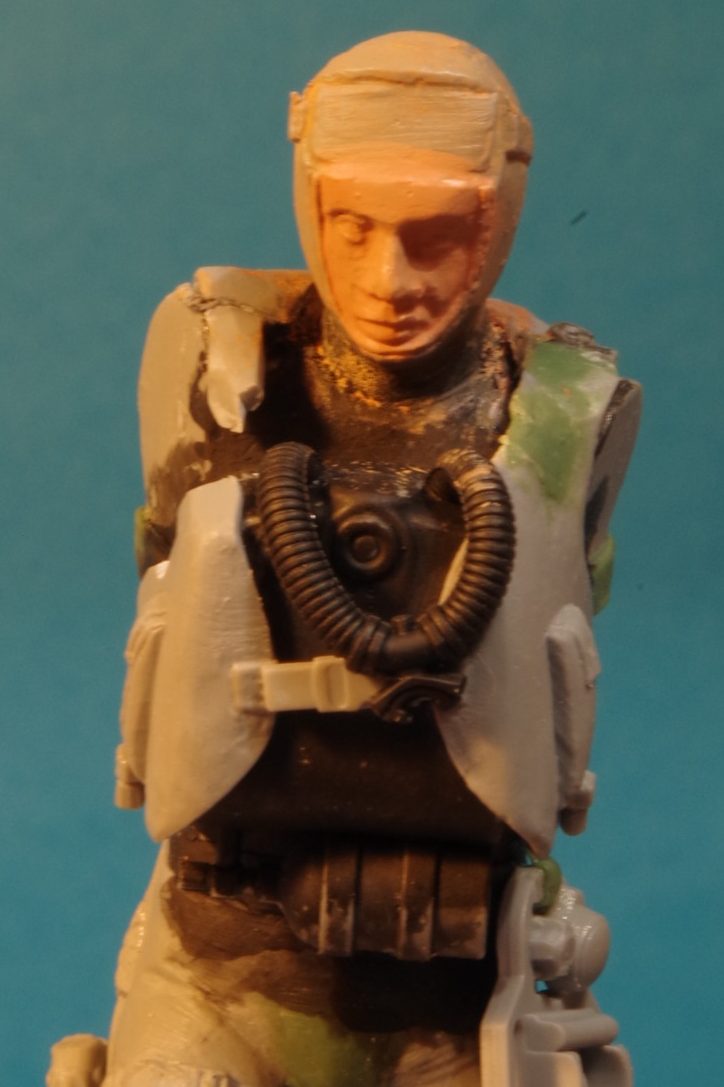
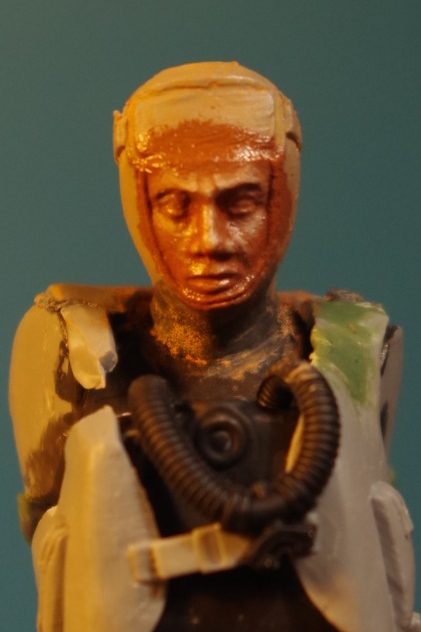
A dark flesh colour is mixed from these two colours and applied to the whole of the face ( photo #8 ) and then the area is stippled with a dry brush to remove the excess paint.
Then it’s simply a case of adding very small amounts of the Titanium White and blending this in to build up the highlights. I’ve done this to the figure’s left hand side of the face in photo #9, hopefully showing the difference between the two sides.
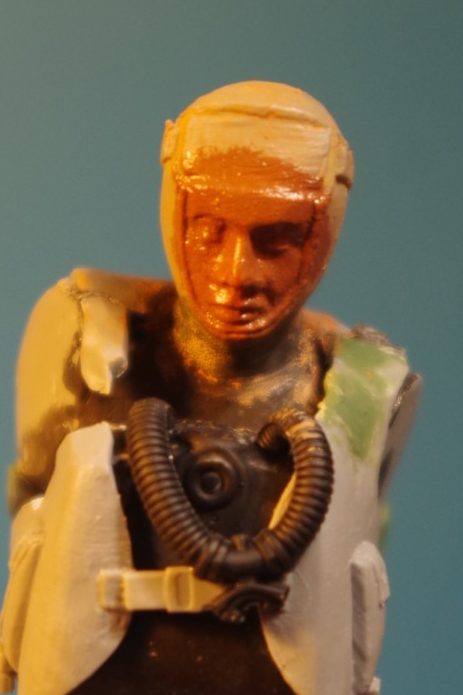
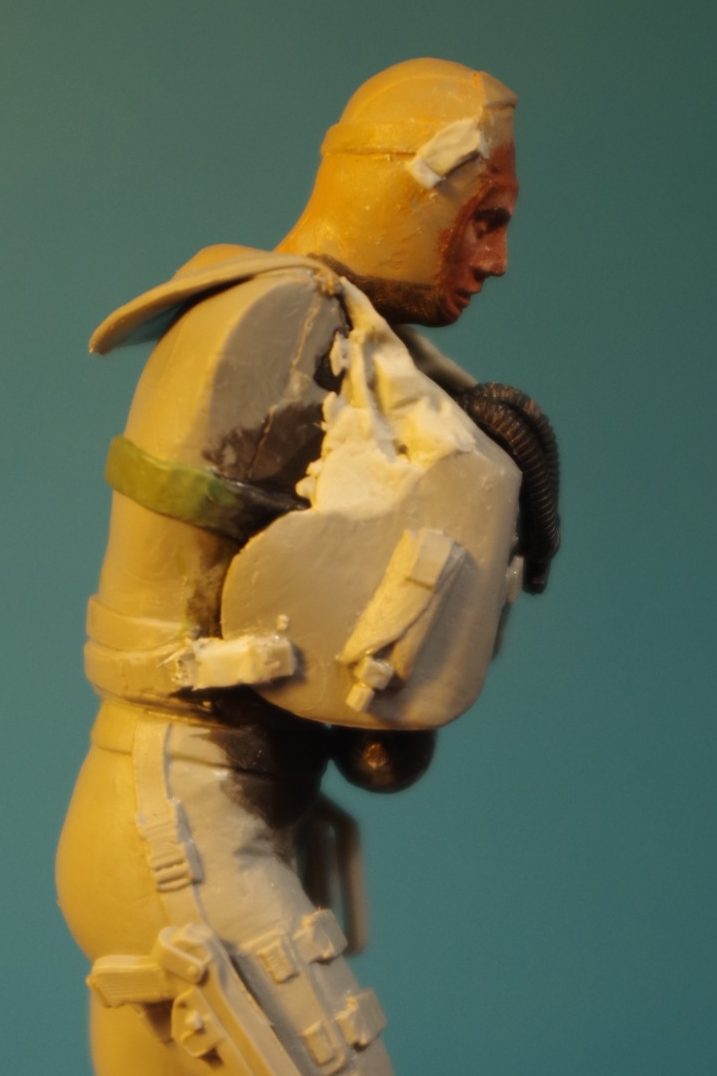
I wanted to alter the stance very slightly so that he’s sighting down the gun, and so a little filler was needed at the shoulders to take in the adjustment I’d made to arm position.
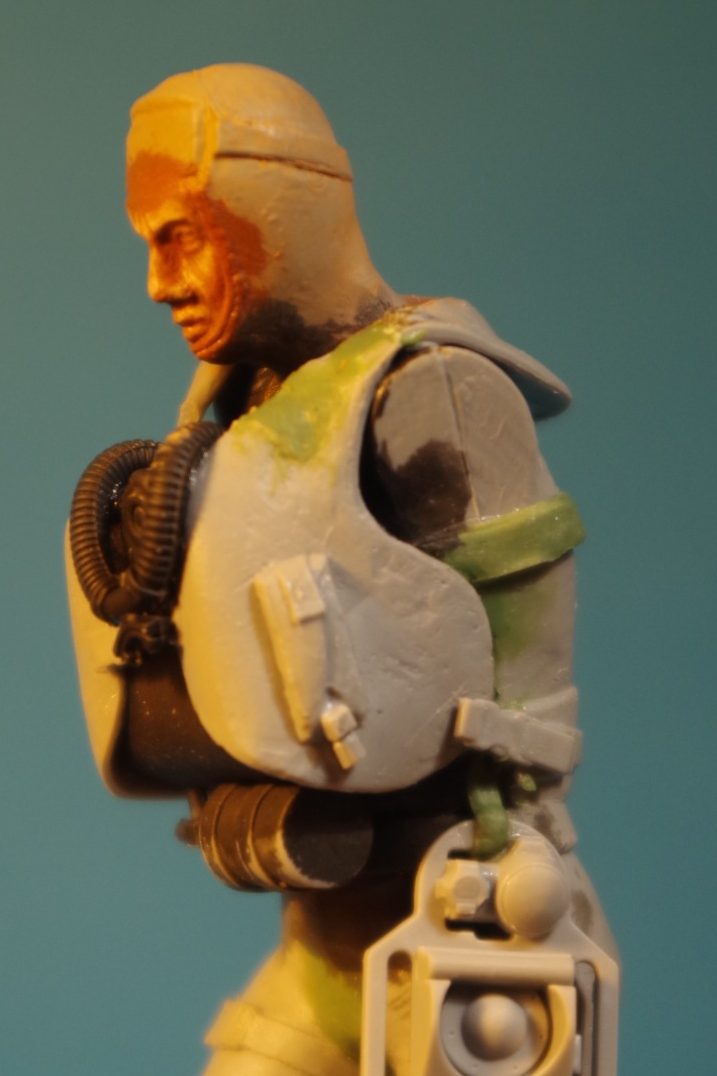
Photos #10 and #11 show side views, the latter with putty added to the section of the vest that I’d removed so that the butt of the gun will fit snugly in place. I also added a couple of strap ends to the headband of the mask.
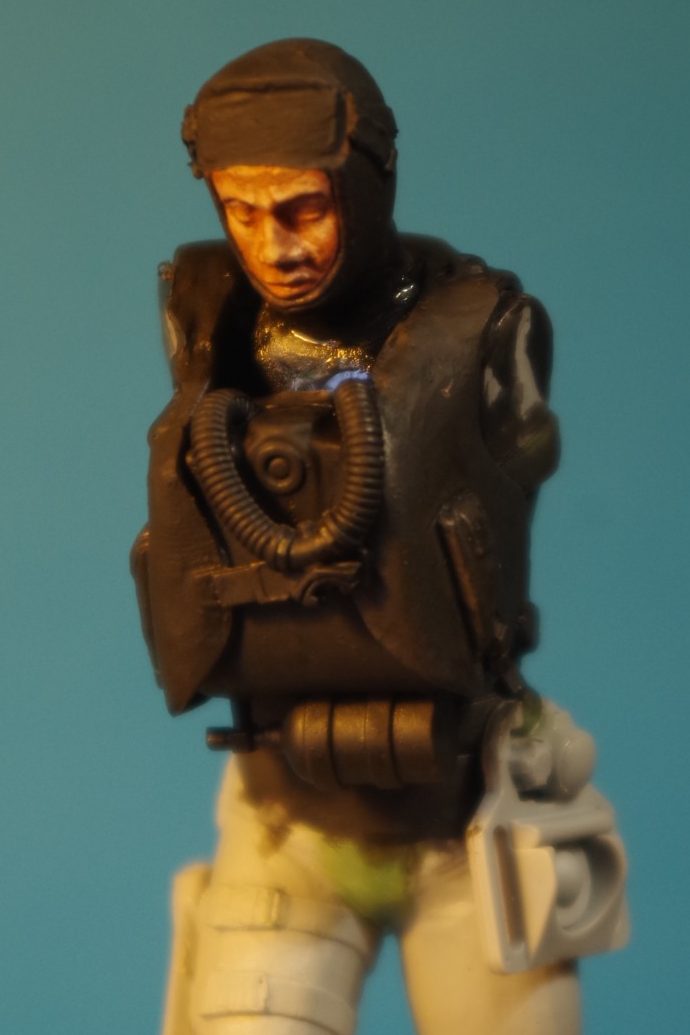
Although the face looked a bit washed out colour-wise, it comes to life once the black areas begin to be blocked in. Photo #12 shows this, and I used a mix of GW Chaos Black mixed with a spot of Tamiya Flat Base to give an absolute matt finish to the suit. I know that rubber isn’t absolutely matt, but I had plans.......
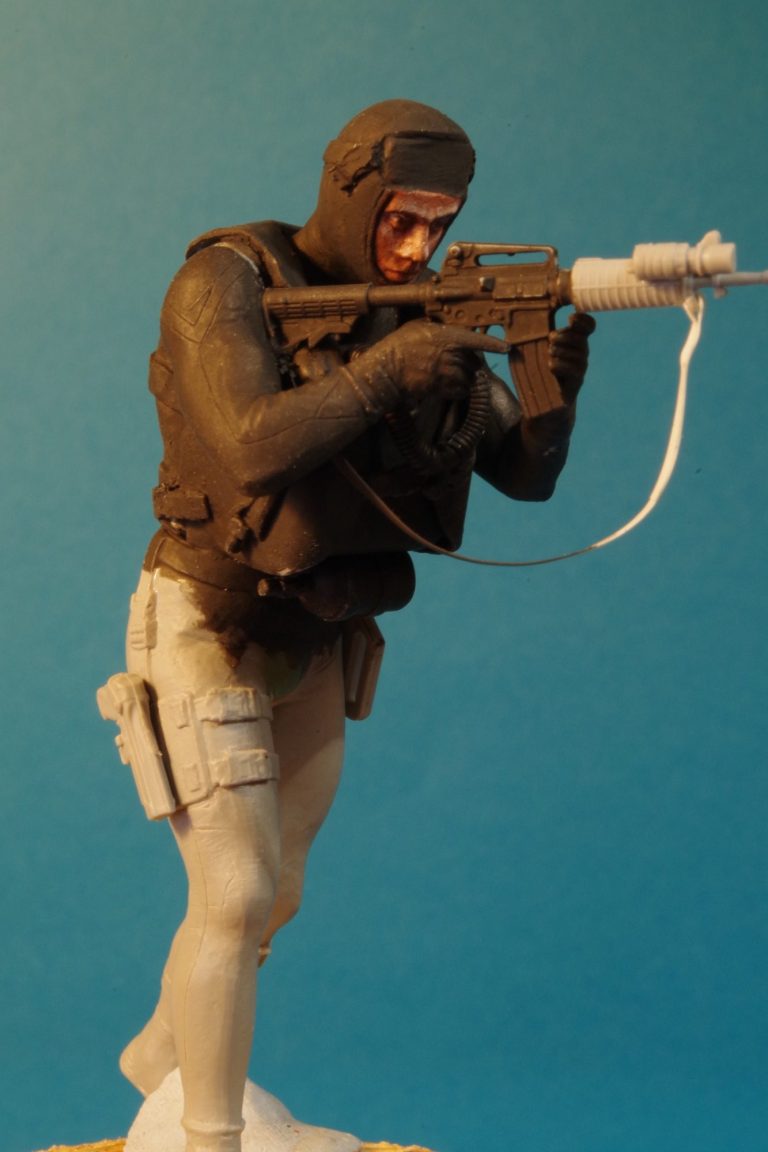
So, Matt Black added to the less accessible areas, and then the arms can be joined on. First the right arm, and then once the glue had cured, the left.
This is the only section I had to add wire pins to, because of the slight change in arm position I’d made and this was simply to space the wrist from the forearm and the shoulder from the body so that the left hand will grip the firearm.
It’s really only a very small shift, but the pins made the assembly and gluing so much easier. See photos #13 and #14, the latter showing the putty necessary to fill in the shift in the arm.
After this it’s just a case of more of the Black mix to the whole model, making sure that coats are built up carefully with no pooling of the paint.
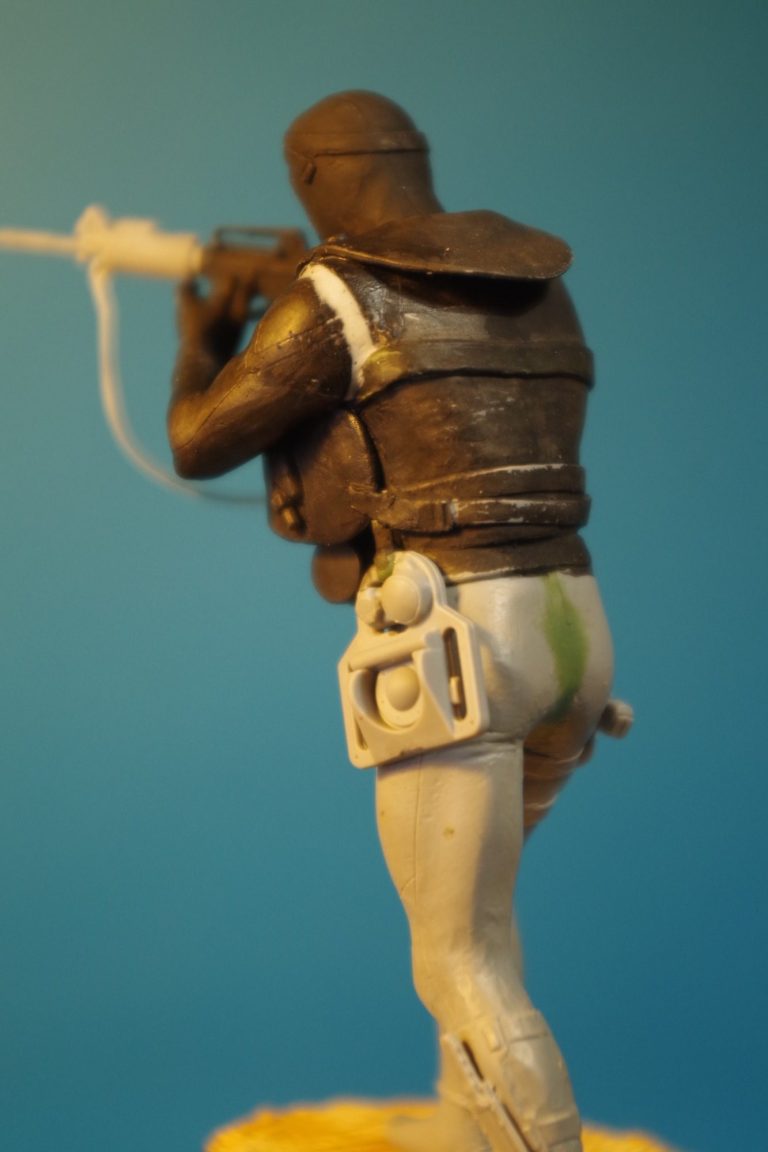
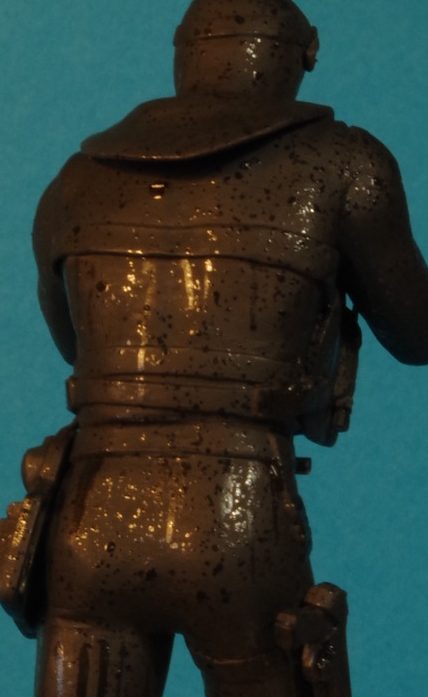
So why so matt ?
Well, I want him to look like he’s just come up a beach – so there needs to be droplets of water on the suit and lines of water where it’s draining off.
How, to do this though ?
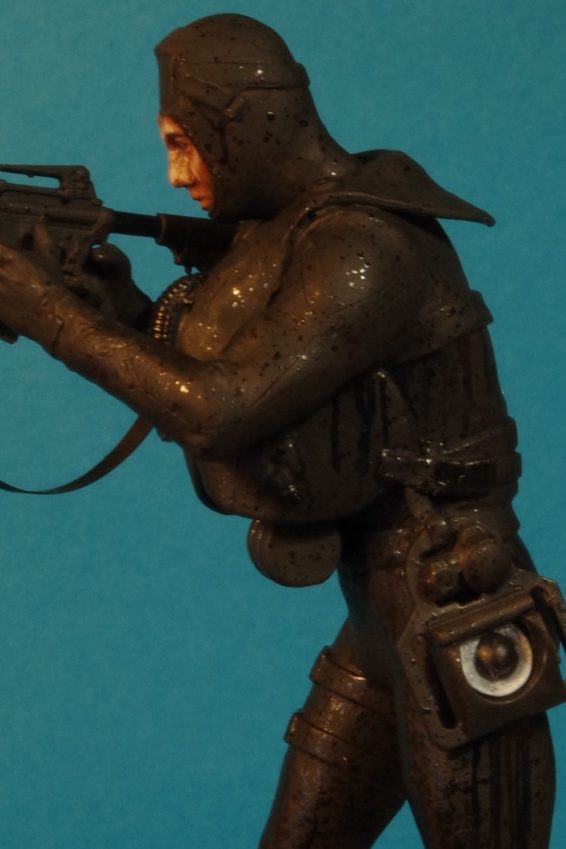
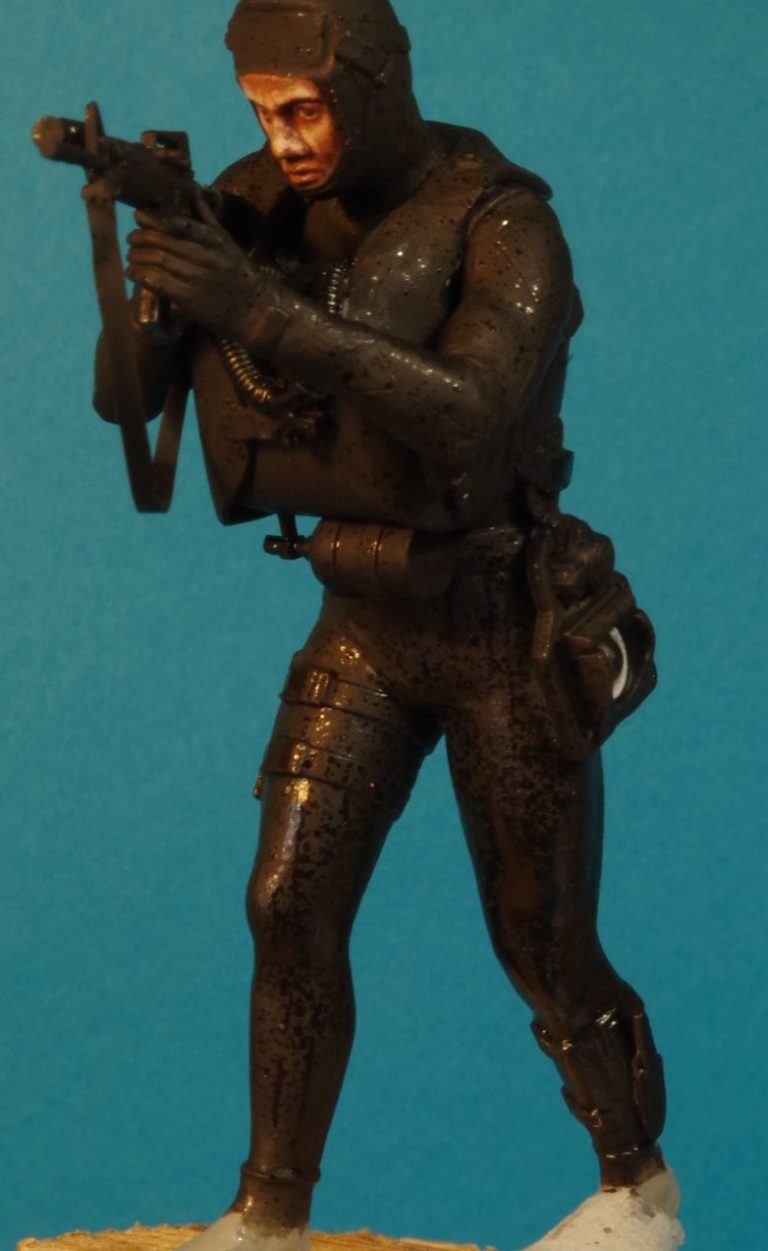
The simple solution – get an old toothbrush and some gloss varnish, add some thinners to the varnish and load up the toothbrush.
Use a brush handle to flick the toothbrush bristles to spray the model from several directions, add a few bits of varnish to areas that would be slightly glossy – clips and buckles, a slight seen to the air tank, and see what it looks like. Photo’s #16 through to #18 hopefully show this.
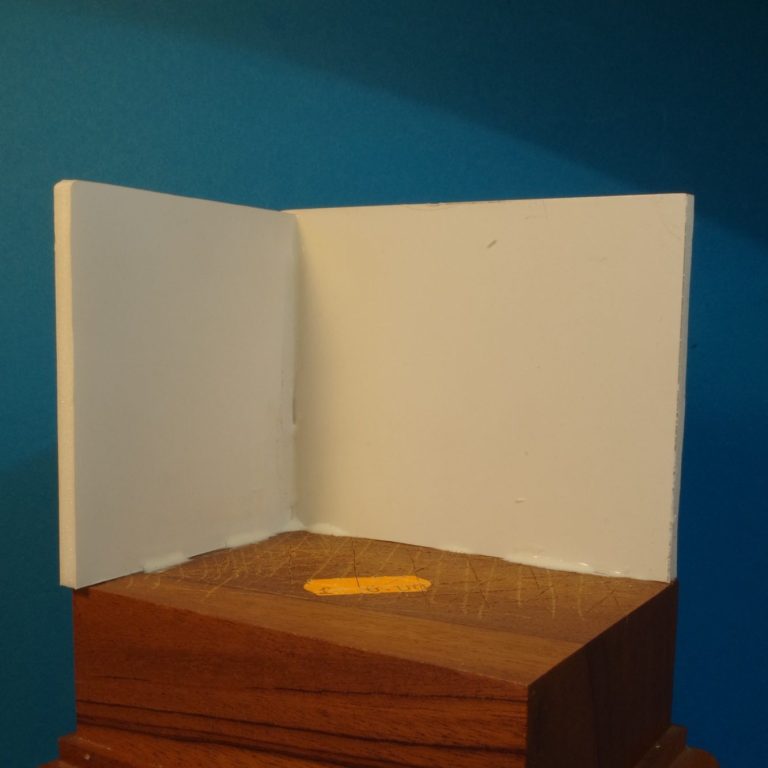
Whilst all this was drying I’d been working on the base. I wanted the figure to be positioned on a rocky beach, and with a bit a cliff base as a backdrop. The beginnings of this are shown in photo #19 with two walls made out of foam board fastened to a polished wood plinth.
To build up the cliff and rocky beach, I used a thick application of ready mixed wall filler – see photo #20, and to this whilst the filler was still wet I added a lot of crushed ceramic coals from a BBQ. This is porous enough to look like volcanic rock and light enough to stick to the filler.
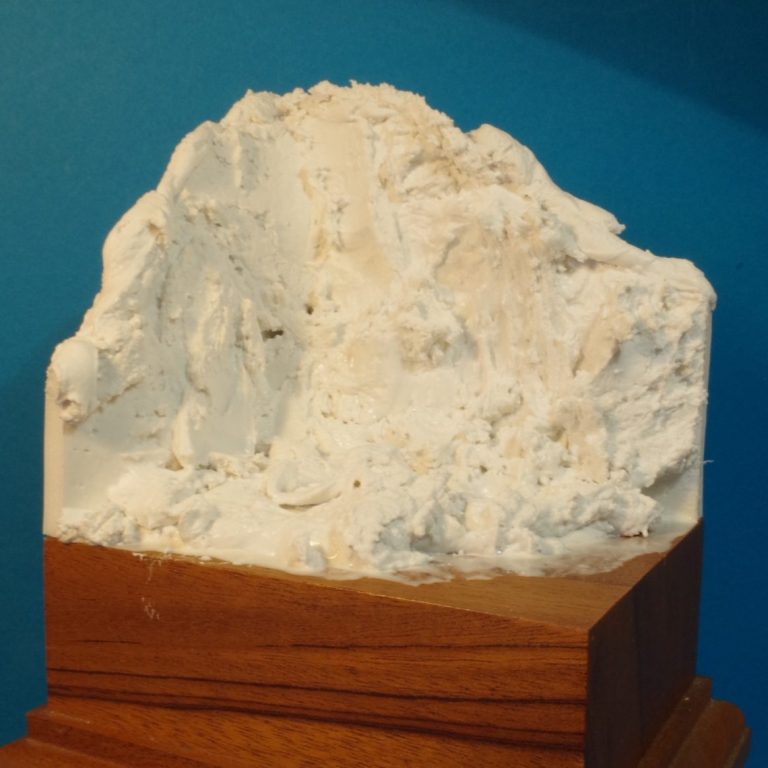
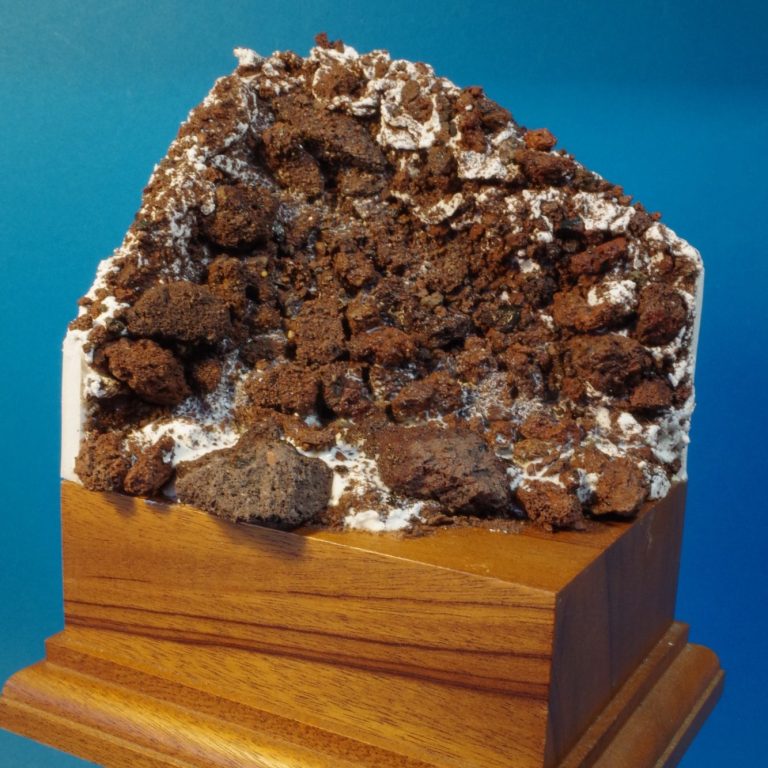
It looked OK, but the walls still had a distinct “L” shape when viewed from above. By adding wood glue mixed with some water to the ceramic rockwork I could add more of the miniature rocks to build out the corner.
The glue would also allow paint to adhere to the ceramic a bit better. I coated the bare section of wood of the plinth at the near corner with some wood glue as well as this would become part of a rock pool – see photo #21.
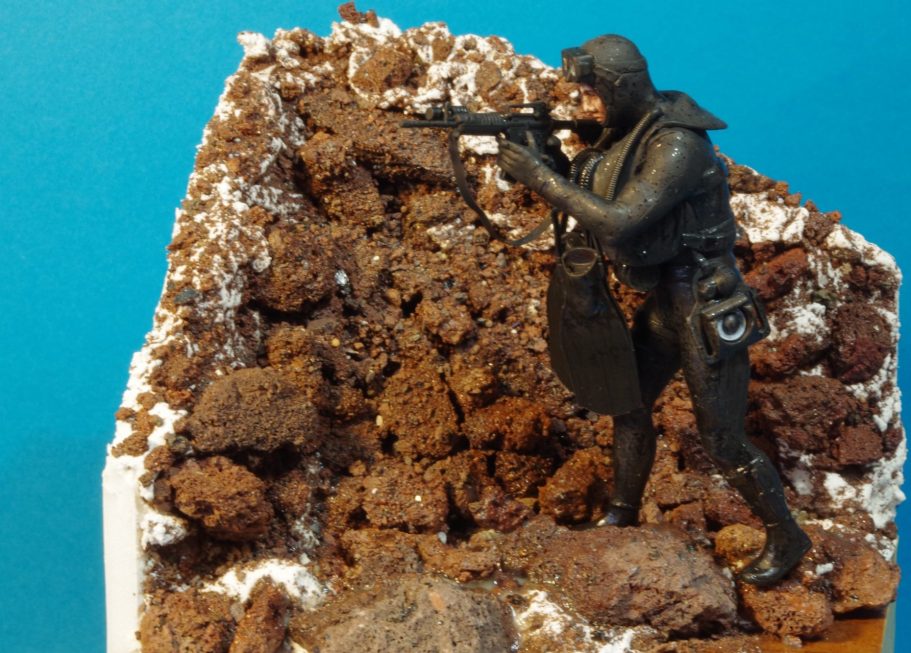
And #22 shows our heroic figure in place, testing out the fit and placing he’s going to be in...... Maybe if I felt adventurous I might even make it the edge of the sea by adding some waves...... Now just calm your excitement here ladies and gents !
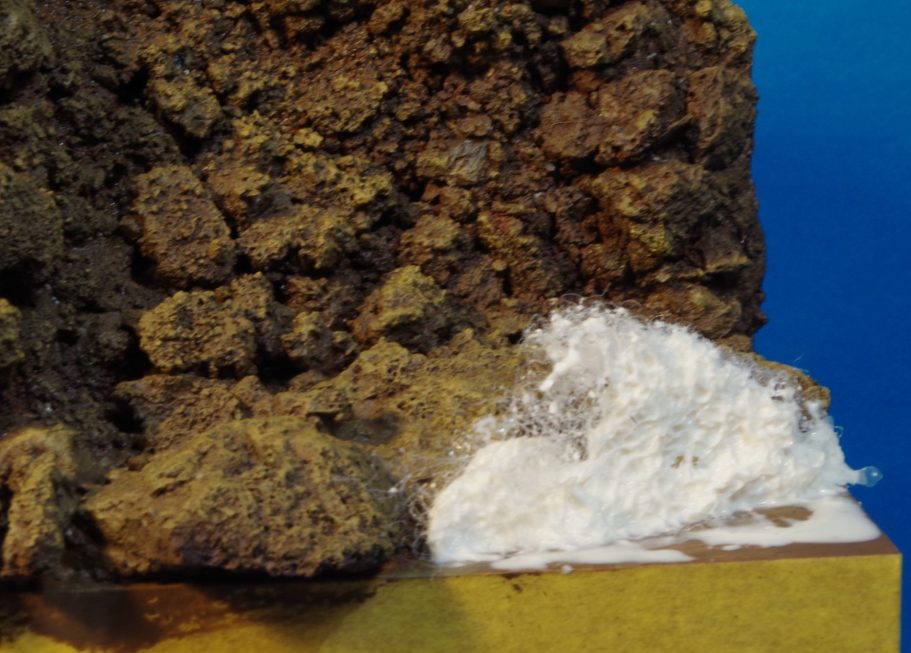
Waves..... Hmmm, seen it done with slow drying clear resin and cotton wool.
Unfortunately I didn’t have either of these within reach ( OK not at all actually ). I could try some fibrous white packing pads that Ruth had stated “More rubbish you’re keeping ?” when they disappeared into the hobby room along with some wood glue.
Photo #23 is the beginning of a risky enterprise that I had no idea if it would work. The fibrous material was torn from the main pad I’d saved and dipped in a pool of white wood glue, mashed about a bit and put onto the flat corner of the plinth. The edges were teased up a bit to make it look like a wave smashing into the rocks.
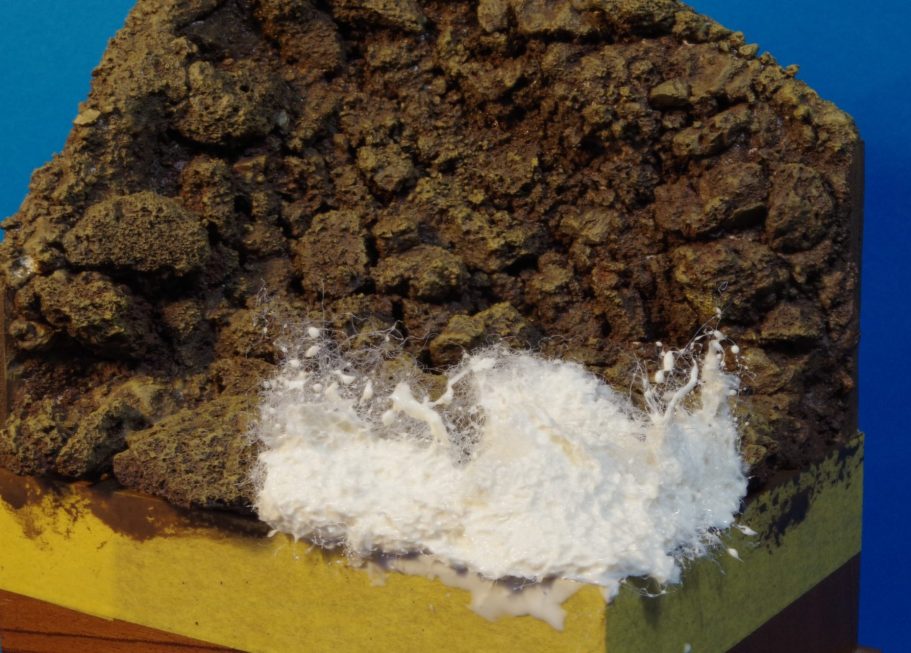
More of the same in photo #24, building a second smaller wave behind the first, the idea being to for the waves to overlap the wood plinth, and cut them back to size once everything was dry.
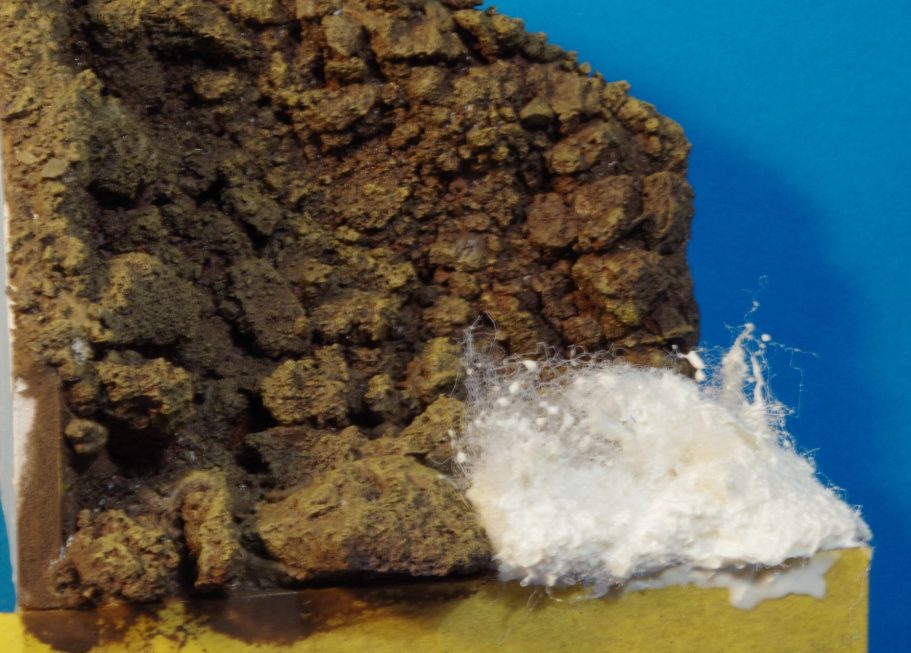
Photo #25 shows a side view with the camera really not coping well with the white areas, but you get the gist of it.
With the area dry, trimmed to shape and some paint added I could test the figure back in position – see photo #26. More white needed on the spray and wave crests, but getting there. Also need to paint in the watch face, put black in to the white disc on the equipment and add some text to the flippers.
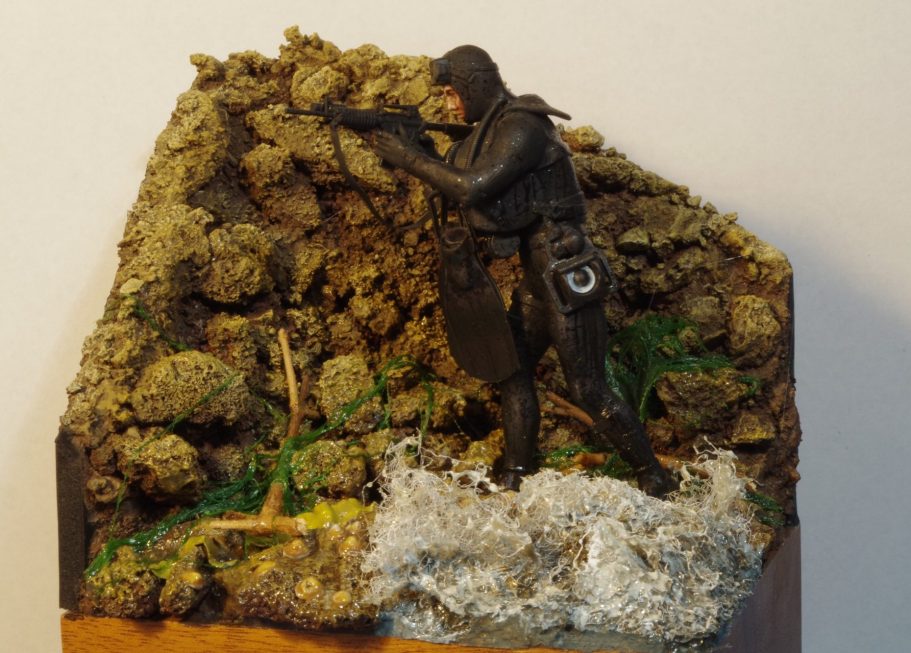
At this stage I’d added a couple of dried twigs as driftwood and some thread algae that was growing ( irritatingly ) in the stream I’d built for the garden pond.
Although admittedly it came in useful here. I’d also added some limpets to the rocks ( 3mm drill into the end of a piece of plastic rod and stamp balls of putty onto the rocks, then paint appropriately. )
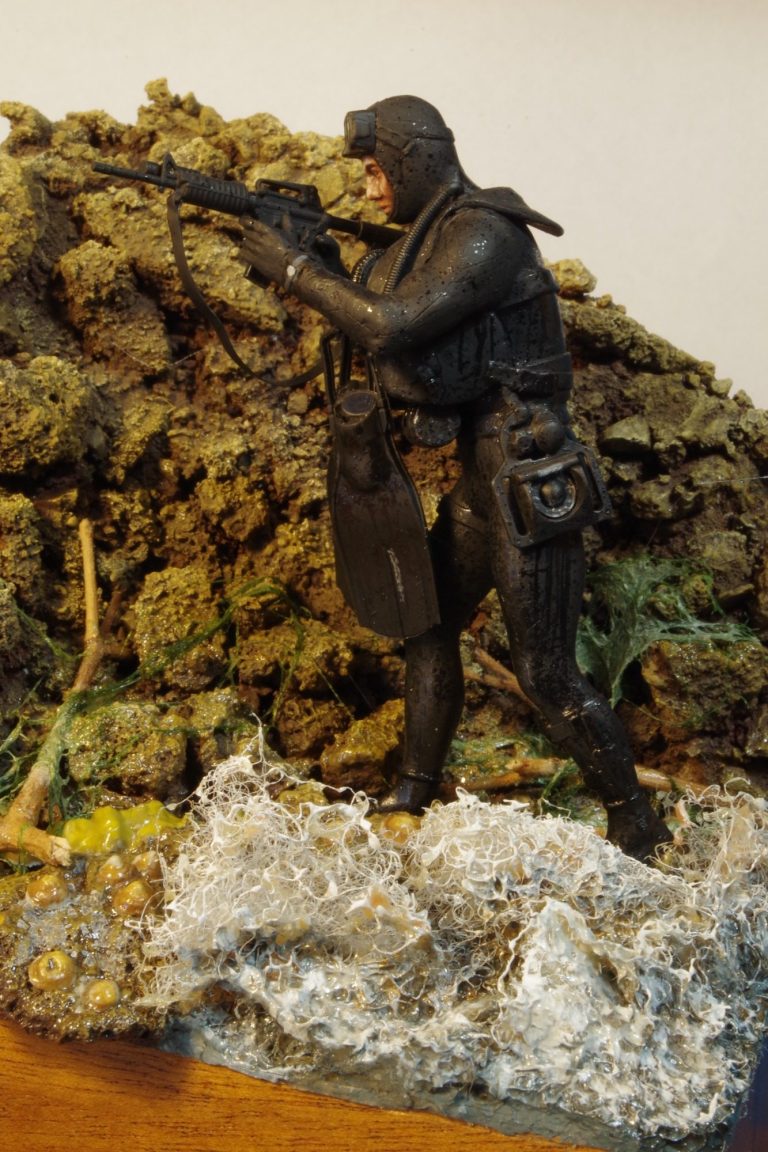
Wider “Kelp-like” seaweed made from thin sausages of Magic Sculpt putty, rolled flat and then use a brush handle to roll all the way along one edge about a third of the way in – it causes a thinner area to be formed and because it is longer than the thicker central area of putty, it crinkles like proper seaweed. Do this to both edges and you have lengths of useable weed that can be draped over rocks.
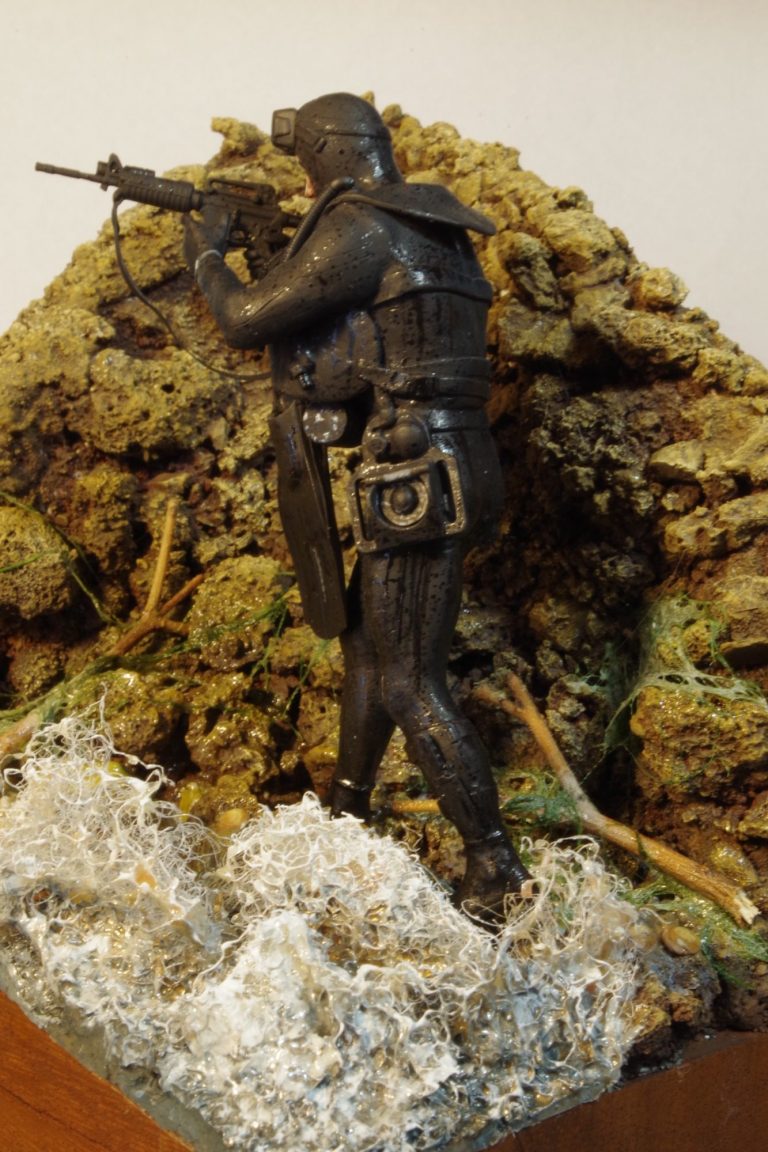
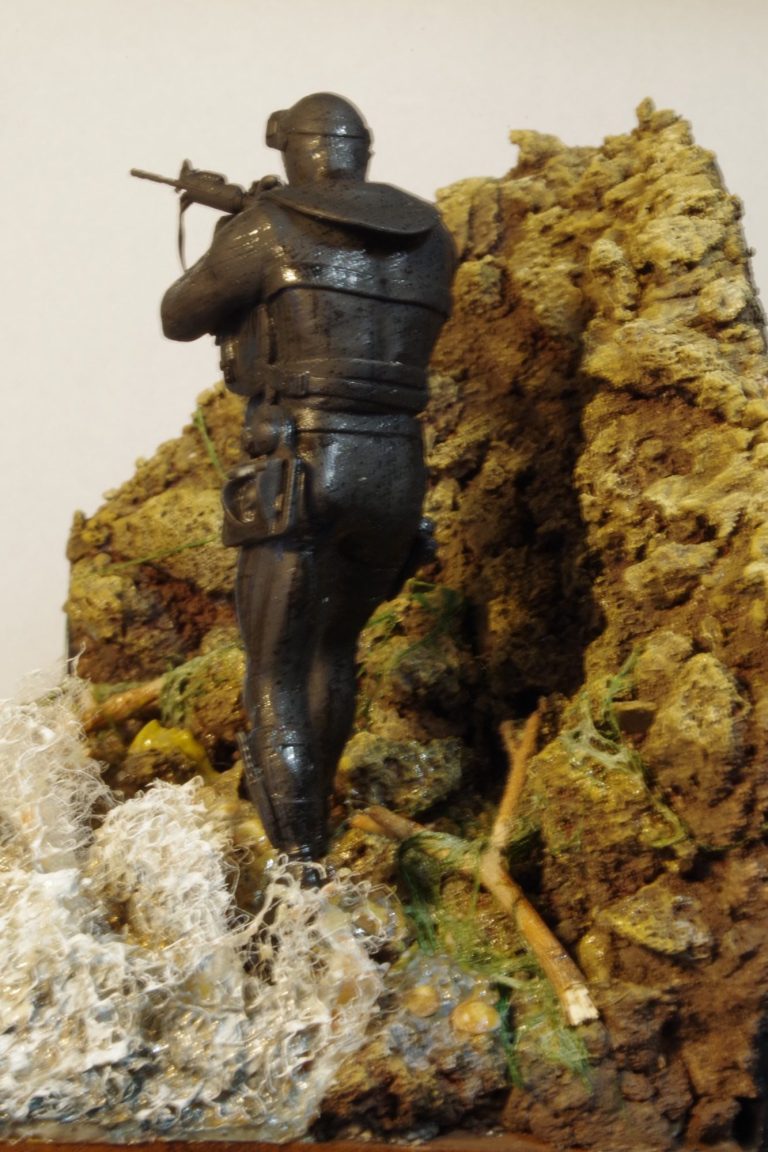
Finally, the figure was added into the scene for the last time, and a bit of varnish used on the lower part of the waves to make them look wet and the rocks nearest the waves to show that water had covered them from a previous wave.
Final words.
I was dubious as to whether injection moulded plastic would stand comparison to resin and white metal offerings, but have been suitably impressed. There is more work to clean up, but because the plastic is very easy to cut, the trade off is that there’s a lot of scope for easy adjustment or conversion of the model to different poses.
At at around £14 plus postage and packing (from Hannants ) it’s a nice little model with lots of potential.
The instructions aren’t the clearest, but backed up with some pictures off the internet you can’t really go wrong.