The Return of the Curtained Crusader
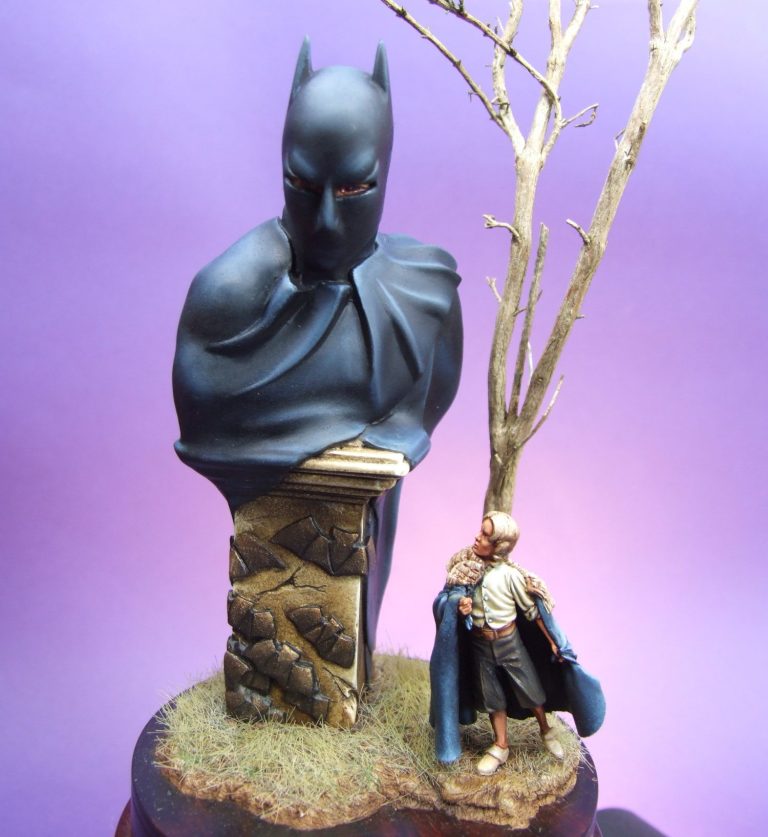
Combination of a Figuralia bust and an AndreA Miniatures 54mm figure
Painted in 2004
I can’t say that I was into comics as a child, my brother was, and I think he probably had most of the available Marvel stuff that was around, not to mention the Commando series, as he got older. But it never really attracted me.
My liking for superheroes was mainly through the medium of film and cinema; the original Batman series were brilliant – well for a kid of that time at least.
Then came the much darker Tim Burton films – the first two with Michael Keaton are my favourites, although the “Batman Begins” trilogy have returned to the dark and broody look that worked so well, in my opinion at least.
So I quite like Batman models. I am choosy though, and to date, have an astoundingly small collection of……um…..two.
And that includes this one !
Yeah, O.K. so I haven’t gone out and bought loads; but I would if I could.
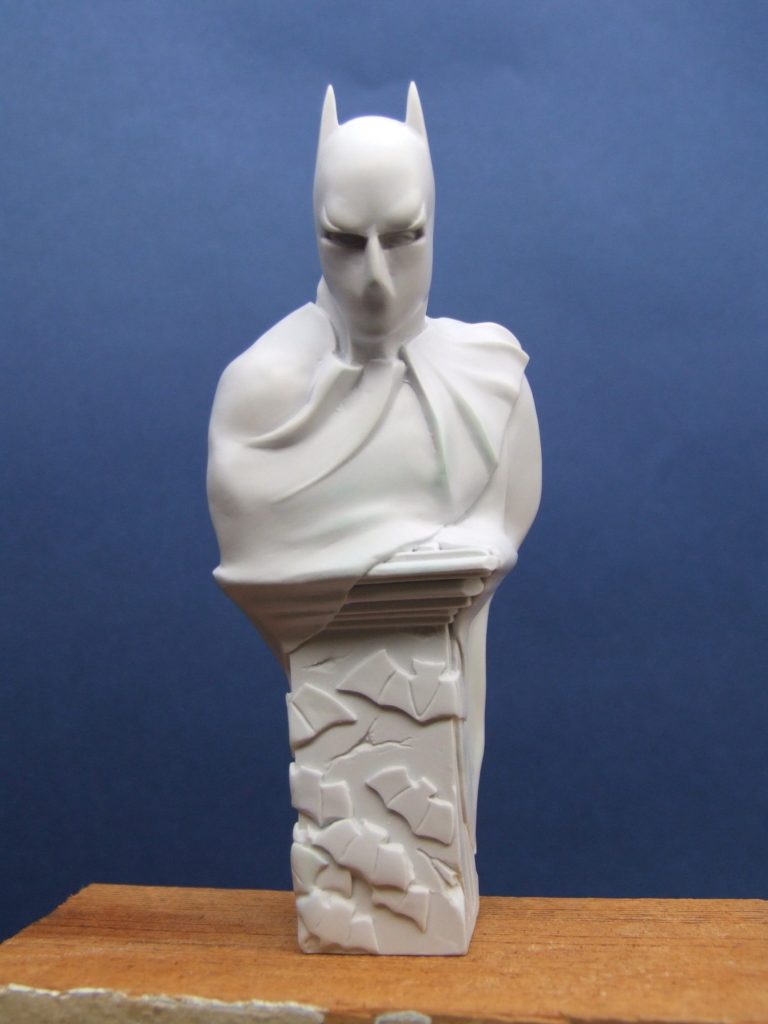
This one though really did grab me. I like the idea of a cross between “is it a bust, or is it a monument ?” idea.
I’d seen it on Planetfigure, being sculpted by Luca Piergentilli ( Calvin ), and via e-mail managed to get him to sell me one, which came through the post very quickly too. He’d told me that it was “ready to paint” but being the doubting fellow that I am, I still had a good look around it. Luca was right, and I do stand corrected – it is ready to paint. No cleaning, no scraping, filing, filling, nothing. The bottom of the piece has even been ground down to a flat finish……So the cleaning kit is quite redundant.
The once piece bust is shown in the first photo.
Painting.
Whilst Luca had one painted on his website ( http://www.figuralia.com/ ), I felt that I should try something a little bit different. I already have one Batman bust, and it’s painted with a very dark blue finish. As I like the way it looks, I thought I’d do this one in a similar colour.
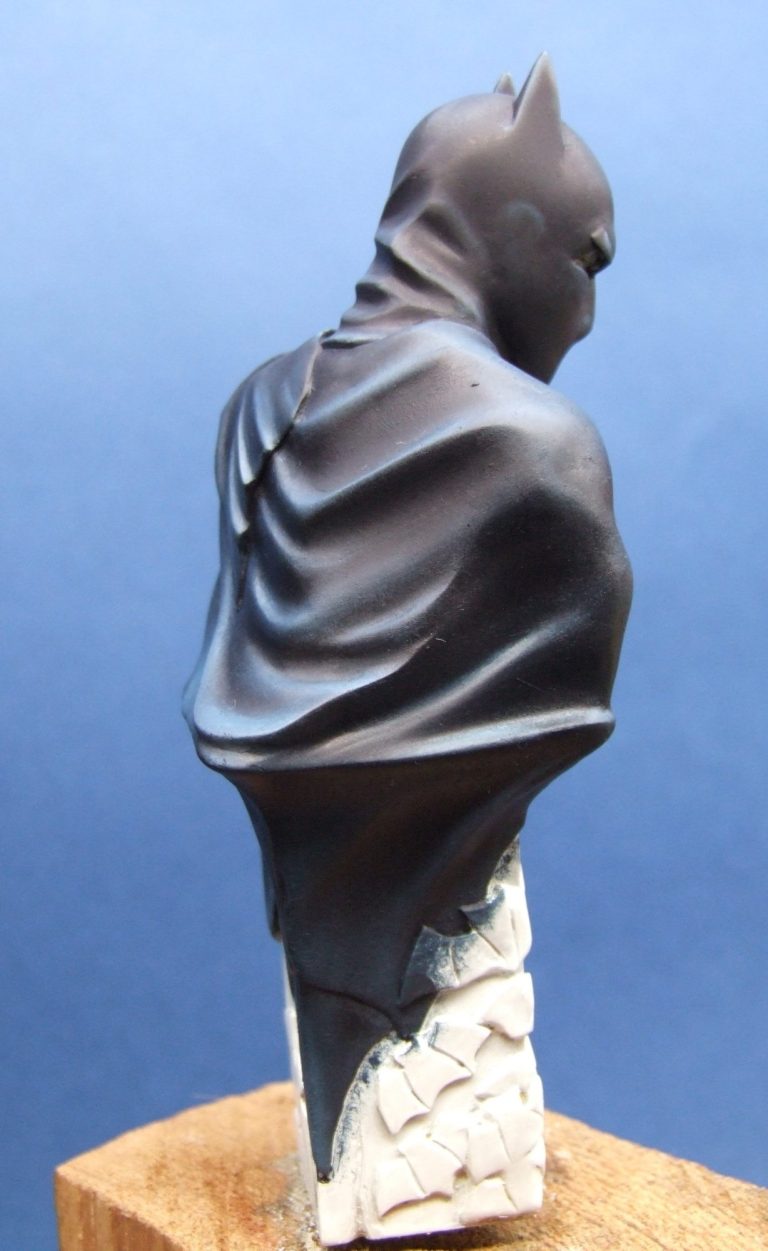
By undercoating the caped areas with GW Chaos Black acrylics, I already had a good dark base for the shadows to start from.
I then used a very dark mix of Prussian Blue and Mars Black oils to coat the same area, and by adding tiny amounts of Titanium White to the areas that I wanted as mid-tones and highlights, the initial black looking bust gradually lit up with some blue tones.
You can see the bust at this stage in photos #2 and #3. There’s lots of fold detail sculpted onto the bust, but I did take the liberty of hinting at ears creating highlights on the side of the head. It’s just a small curve of the white paint, then careful blending so as not to lose the shape whilst softening the edges.
I left this to dry for a couple of days in a drying cupboard and then moved on to the flesh tone and eyes.
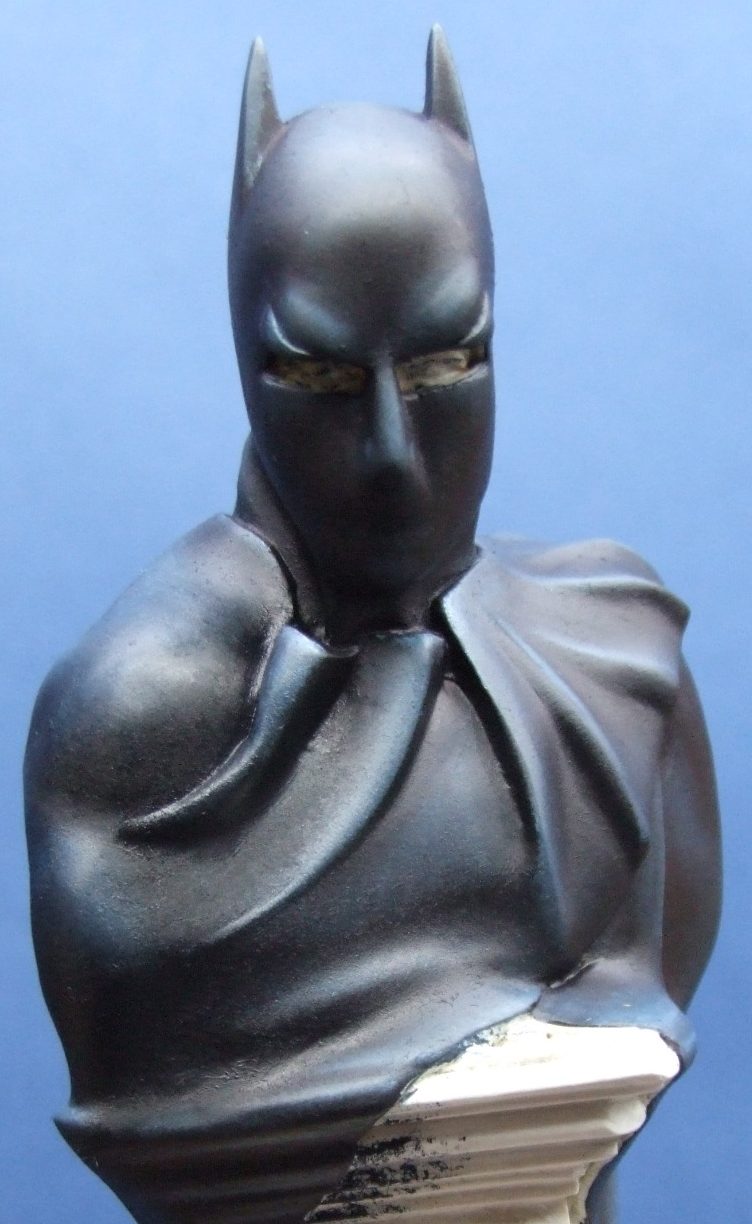
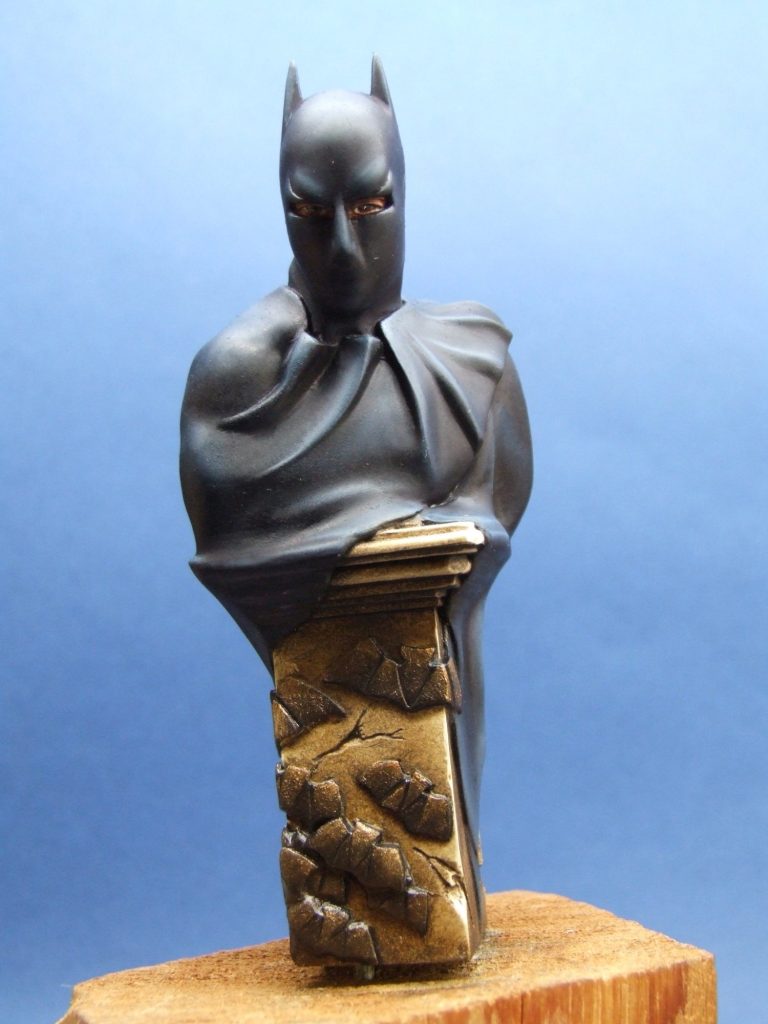
Now for anyone who doesn’t like doing flesh areas, this kit is a godsend, a little bit of Mars Brown worked into each of the eyeholes in the cloak, and then just dab it our with a clean soft brush. Add a little bit of mid-tone flesh colour on the easiest to reach bits – because this is where the light would get to, and then a tiny bit of Titanium White to pick out the highlights. Wait for that to dry, and then the eyes themselves.
I painted on the whites first, using some GW Skull White, with just a tiny spot of Crimson ( Humbrol acrylic ) and Moody Blue ( GW ) added to kill the starkness. This was painted on to the eyeball, and by building up four or five coats of paint, the white of the eye becomes solid in colour. Then some “U” shaped irises with Burnt Umber, a spot of Mars Brown to add a highlight to the lower edge of each iris, and then the black pupil at the centre. Finally a tiny catchlight of Titanium White offset just to the left ( as you look at the model ) of each iris. We’re up to photo #4 at this point.
Now have I mentioned that this bust is quite small ?
. No ?
Oh….Well…..
This bust is quite small, probably around 1/10th, maybe just a little smaller, and with the base plinth on it, I started having ideas that maybe I could do something a little different……..But whilst I was thinking, I continued painting.
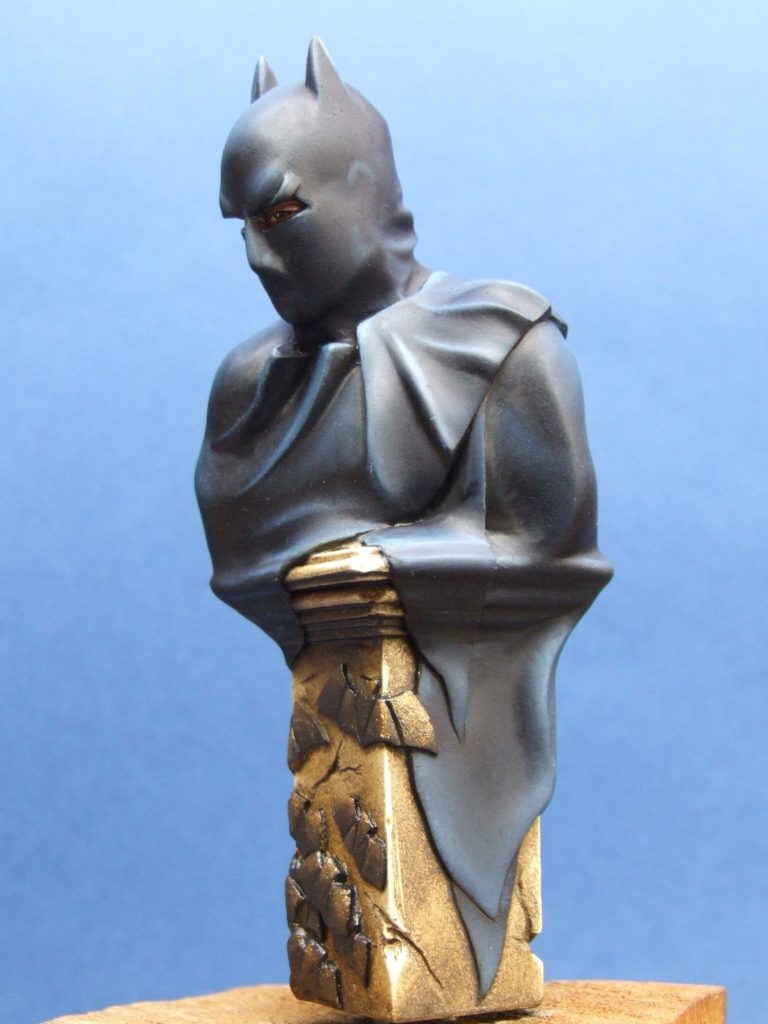
I carefully went around the lower edge of the cloak now with some GW Orc Brown, and then filled in the rest of the plinth with this colour. It took a couple or three coats to block out the overspill of blue / black oils, but once I’d done that, I then added a coat of Burnt Umber oils to the plinth, using this unthinned, and then wiping and dabbing the excess paint off until the details started to show through using an old T-shirt. Sometimes the weave of the shirt can be seen as the paint is being removes, and this dappled pattern looked good, so I left off removing too much of the paint, except around the corners and the top of the plinth.
Whilst the Burnt Umber was still wet, I added the Bronze oils onto the bat motifs that are sculpted onto the plinth. To highlight these I added some Gold oils, again blending this in to the darker colours, and allowed the whole thing another couple of days in the drying cabinet.
Once fully dry, I added some more of the gold to the bat motifs, just to give some bright highlights – as seen on photos #4 and #5
Hmmmm, finished ?
No, not quite.
Gino Poppe’s article had just appeared in Military Modelling, depicting a young boy with ideas of being a knight, complete with hobby horse, a wooden sword and shield. I liked the idea of the remembrance of youth, and wondered if I could bend this idea to use with the Bat bust.
How about a child pretending to be Batman – well most of us did it, lets be fair – and old tablecloth or bed-sheet, maybe a curtain – The Curtained Crusader !
That was it !
But I needed a model of a child.
I looked down the Andrea catalogue on the Historex site, then looked for pictures of the applicable figures. The one that Gino had used came as part of a £26.00 kit with a gunslinger. That would have been O.K. if I liked the Gunslinger figure, and therefore would be able to use him in another project. But I didn’t really like the pose, plus that would be copying Gino too much – not fair. So I looked further.
Now it’s a well known rule, that either the thing you search for is just out of production – in which case you’ll have no problem locating pictures of it, but not be able to get the kit,; or you’ll spend hours ( well actually three evenings ) trawling through websites, magazines and catalogues ) before coming across something that you’ve already got.
Of course, the latter option happened here.
I came across the figures of Long John Silver and Jack – produced by Andrea, and that has been on one of my kit shelves for ages.
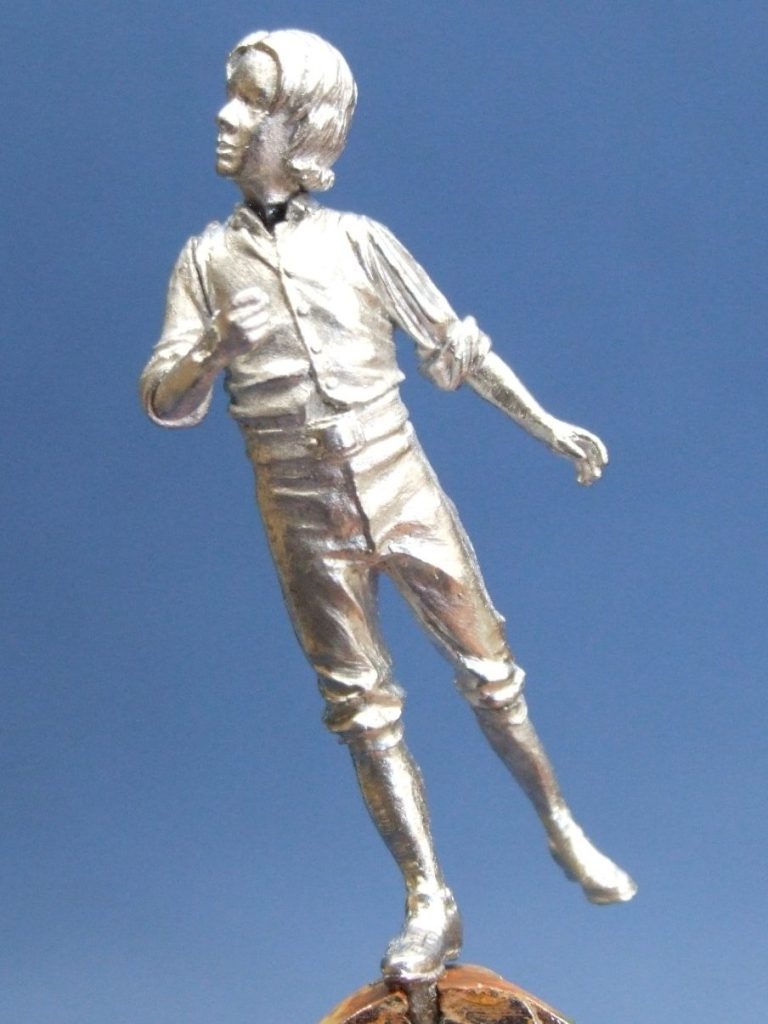
When I opened the box of this kit, I was pleased to see that the two figures were separate castings, and to help matters even more, the parrot on Jack’s arm is separate too. In fact the figure was just two parts, one for the head, and one for the rest of him. In photo #6 I’ve shown the figure, and I’ve altered the sit of the head so that he’s looking up towards the Bat monument, and also put a bit more of a bend in the right arm, so that he will appear to be dragging the curtain material around him.
In fact, the figure lends itself to the part, and I was most impressed with him.
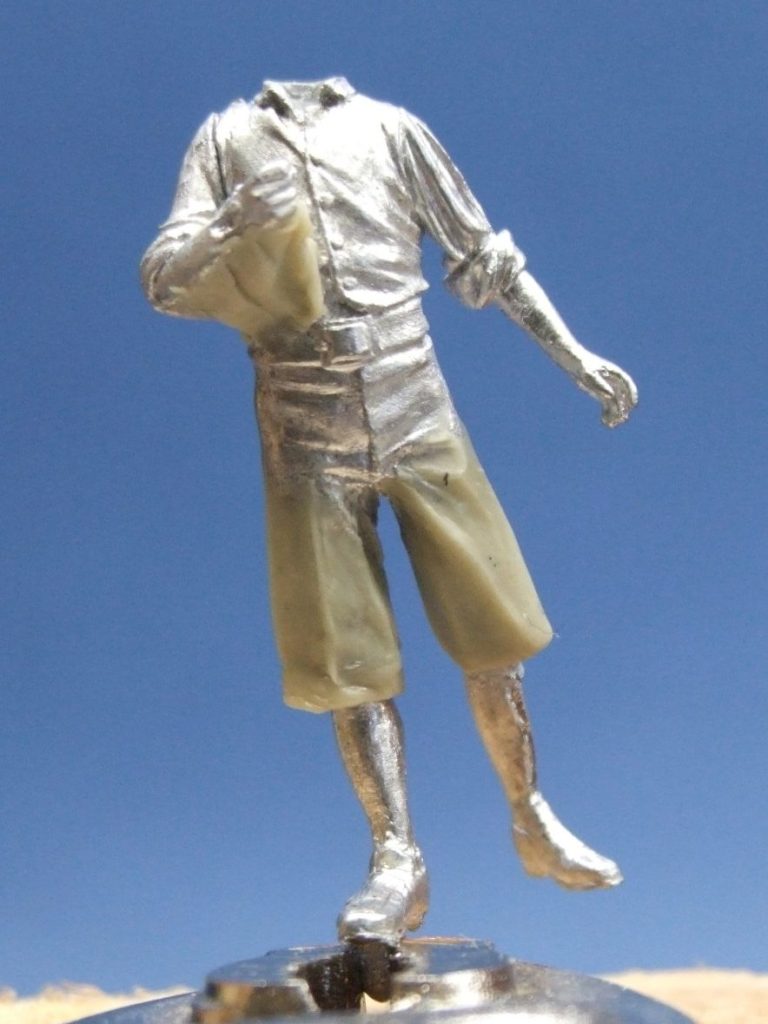
To make him more contemporary, I carved off the buckles on his shoes, and also sculpted in some new shorts – photo #7.
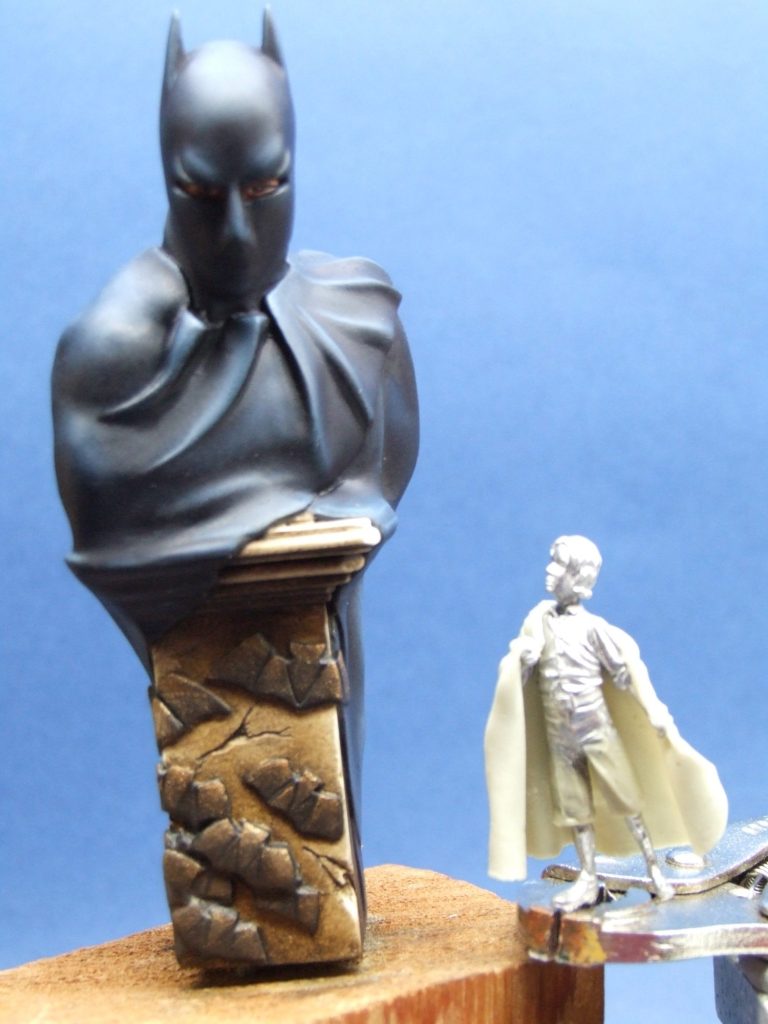
In photo #8 I’ve added the basic curtain / cloak, and am testing him for pose and size compared to the Batman Bust. There’s more work needed on the cloak, but the main form of the folds and how it will hang is roughed out here;
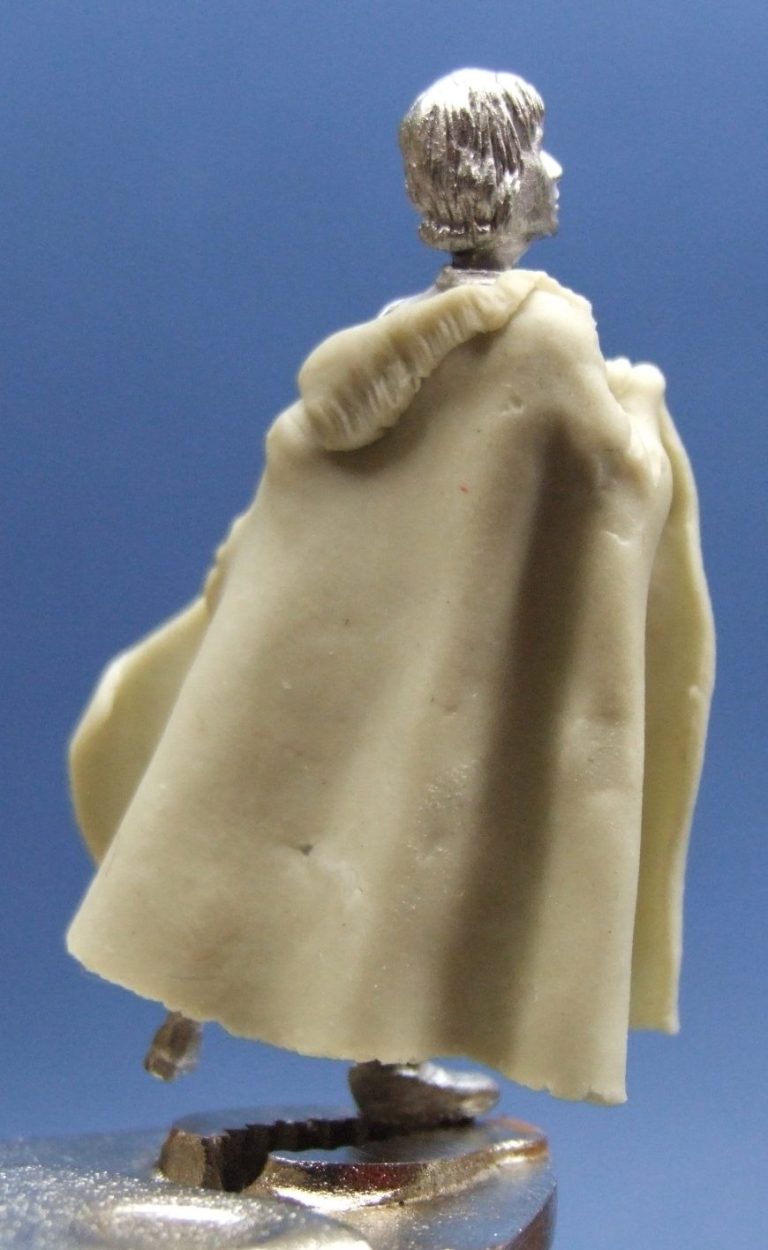
A close up in photo #9 to let you see this process more clearly, and in photo #10 you get to see the back.
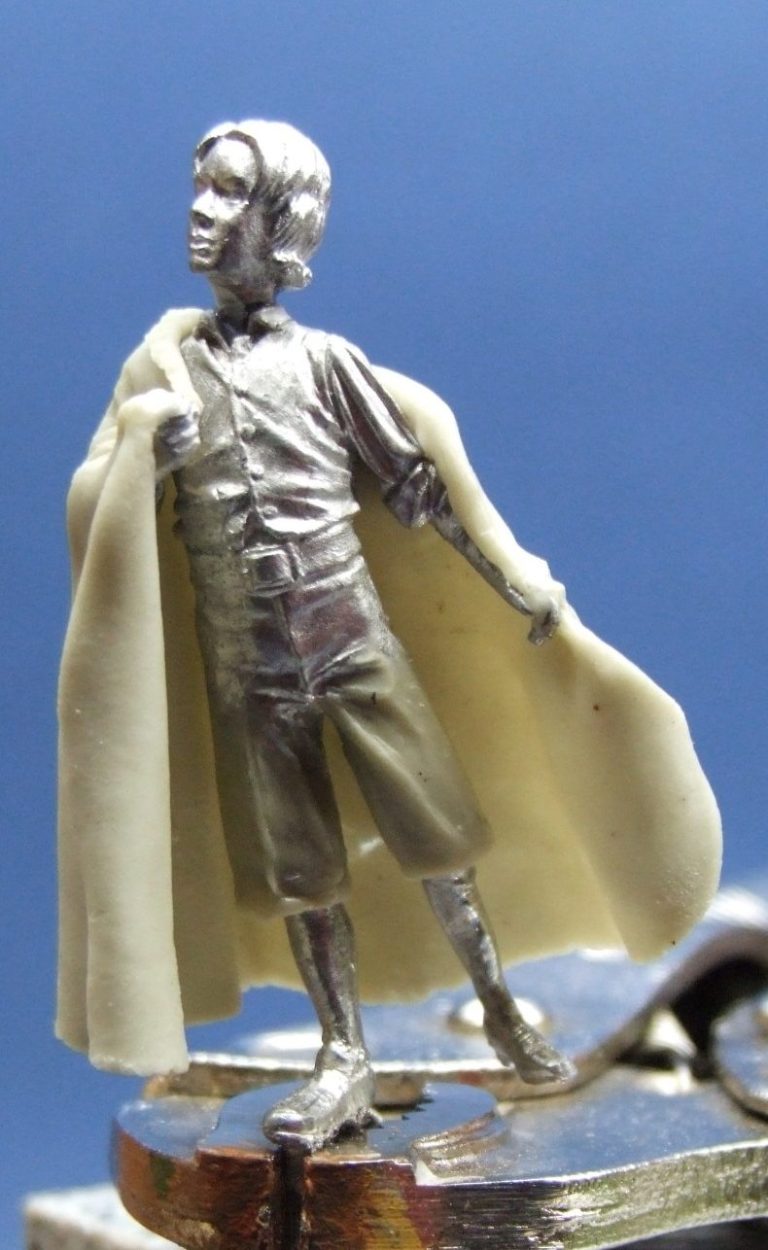
Moving to photo #11 I’ve worked on the collar of the curtain, trying to hint at the heavily pleated section at the top of the curtain where the material gathers together and the curtain hooks would be
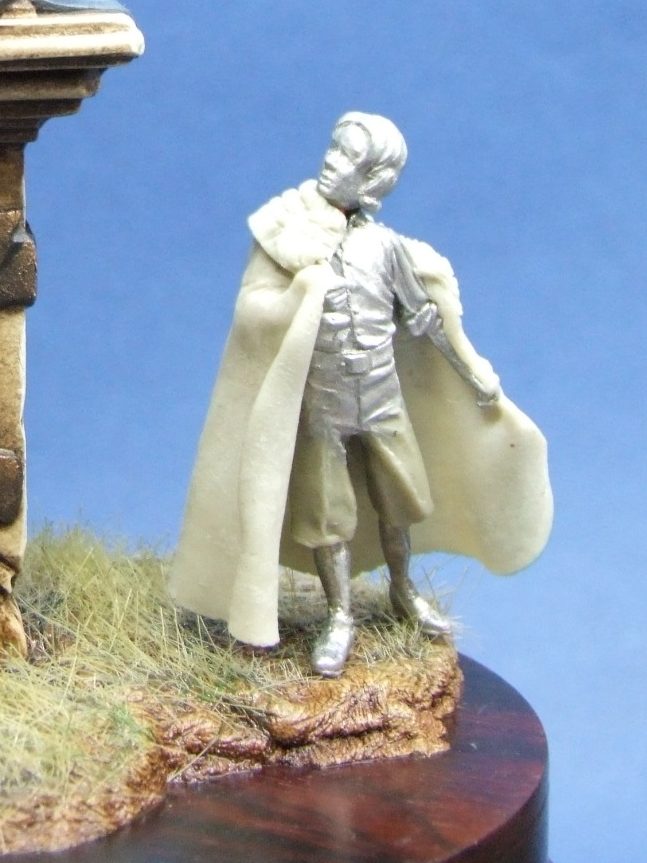
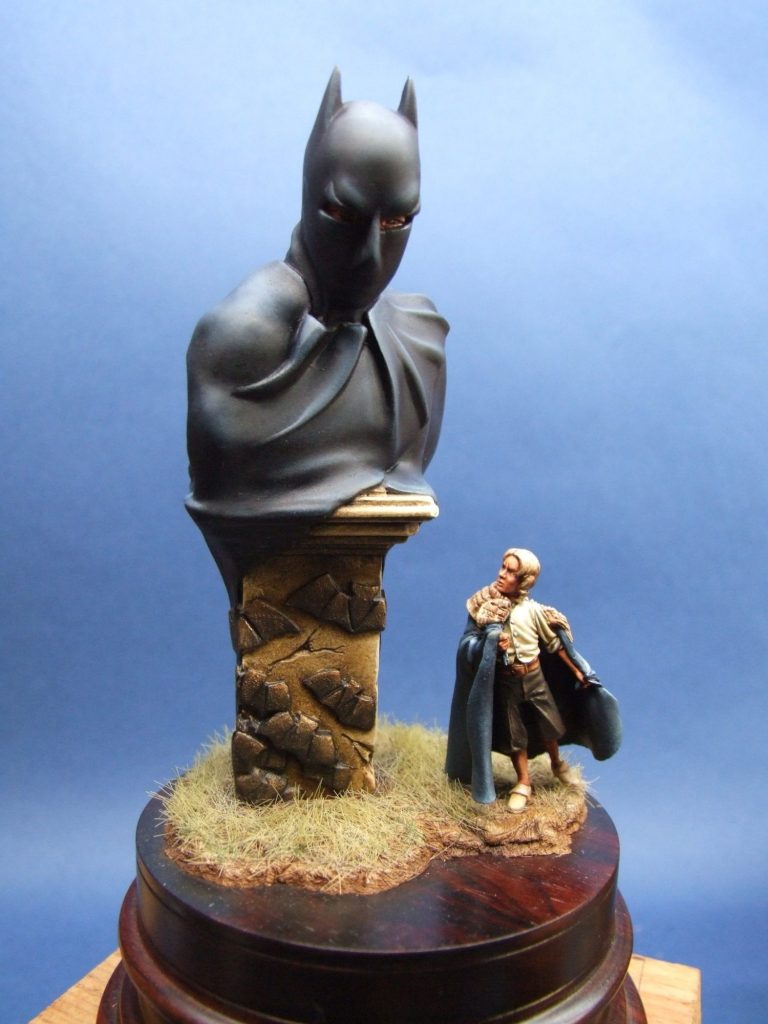
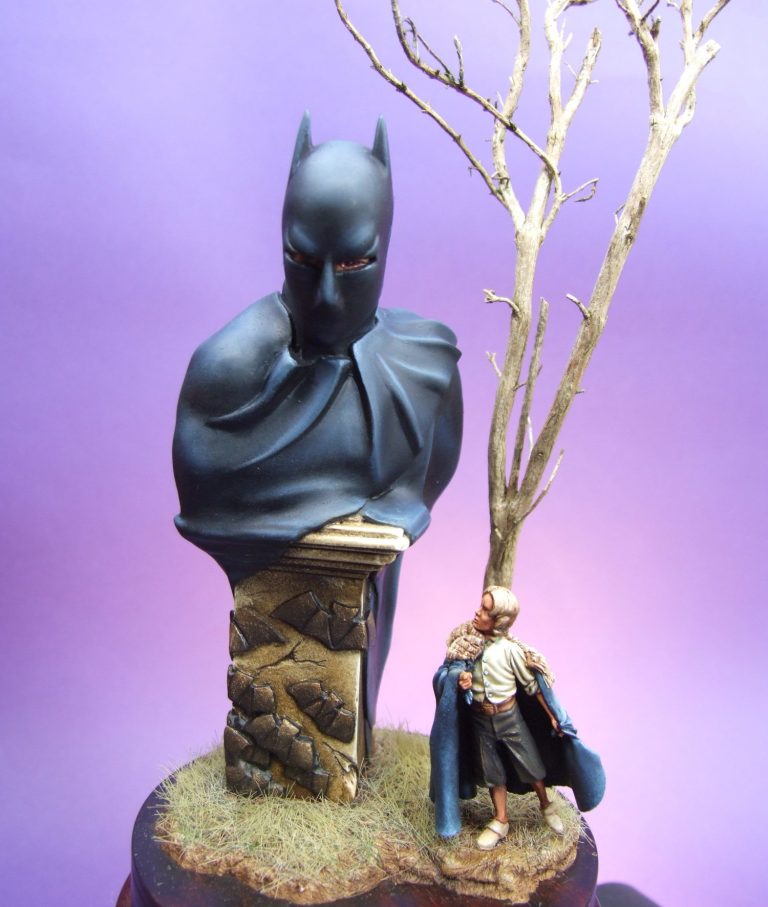
As if by magic, photo #12 sees the same pose, but with the boy in a painted state; I’ve used my usual trick of oils over acrylic undercoat, so I’ll not bore you with the in’s and out’s of all that here. Needless to say, the figure is in place temporarily, the Static Grass has been added and the groundwork painted too.
Looking at it though, I felt that there was something missing. It lacked height.
Photo #13 sees the addition of a fairly large twig. I wanted to hint at the starkness of a little boy playing the part of a ( perhaps dead ) hero, and the twisted and dead looking tree seemed to add to the feel of the piece.
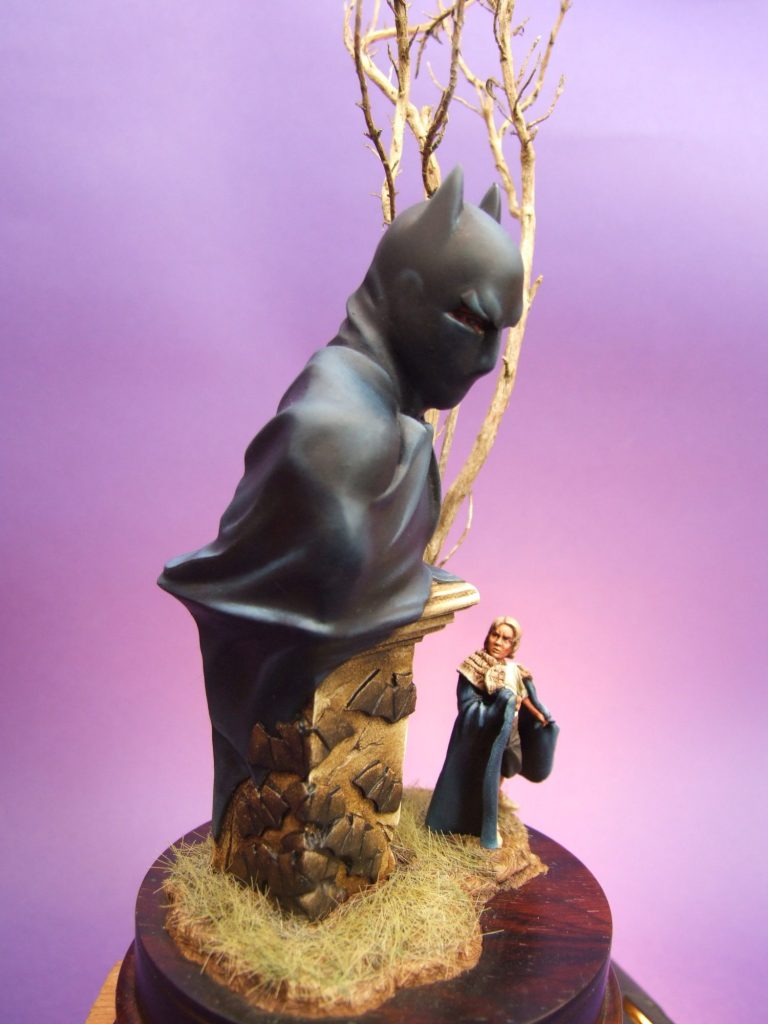
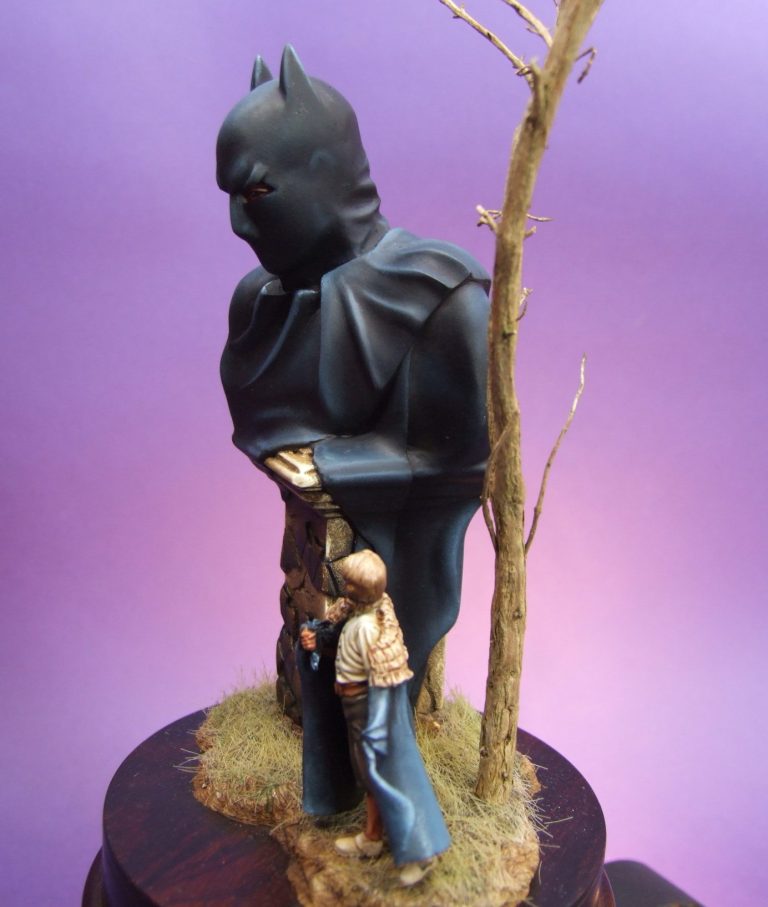
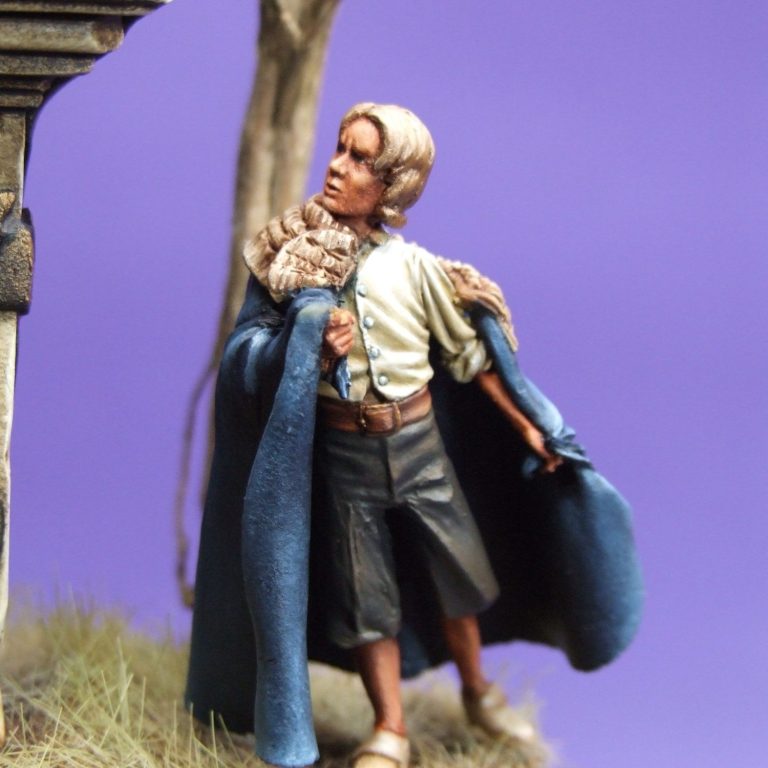
The other shots show different views around the model, plus a close up of the little boy too.
Final words.
Well, this all started because I liked the bust that Luca was sculpting, and I was glad that I got it off him. It’s a very nice model in itself, and really does come ready to paint. It’s one of those pieces that could be as easy, or hard, to paint as you wanted it to be; and as intricate I suppose, with the additional details of different stone effects you could paint on to the plinth.
I’ve tried to do something different, and whether that has worked is - as usual - left to you the onlooker to decide. For myself, I’m pleased to have attempted something new with the old concept of a bust, perhaps putting a new twist on it. The sculpting of the piece was certainly what made me enthusiastic enough to attempt this – it basically grabbed my imagination and gave a hefty twist !
Thanks to the guys on The Basement Forum for their helpful advice, which sometimes I took, and sometimes I didn’t ( the tree stays ! ); because they gave me the chance to see how other people would look at the piece and were honest enough to give me their thoughts – Thanks chaps !
Thanks to Luca for sending this so quickly too, it was a really fun piece to paint.