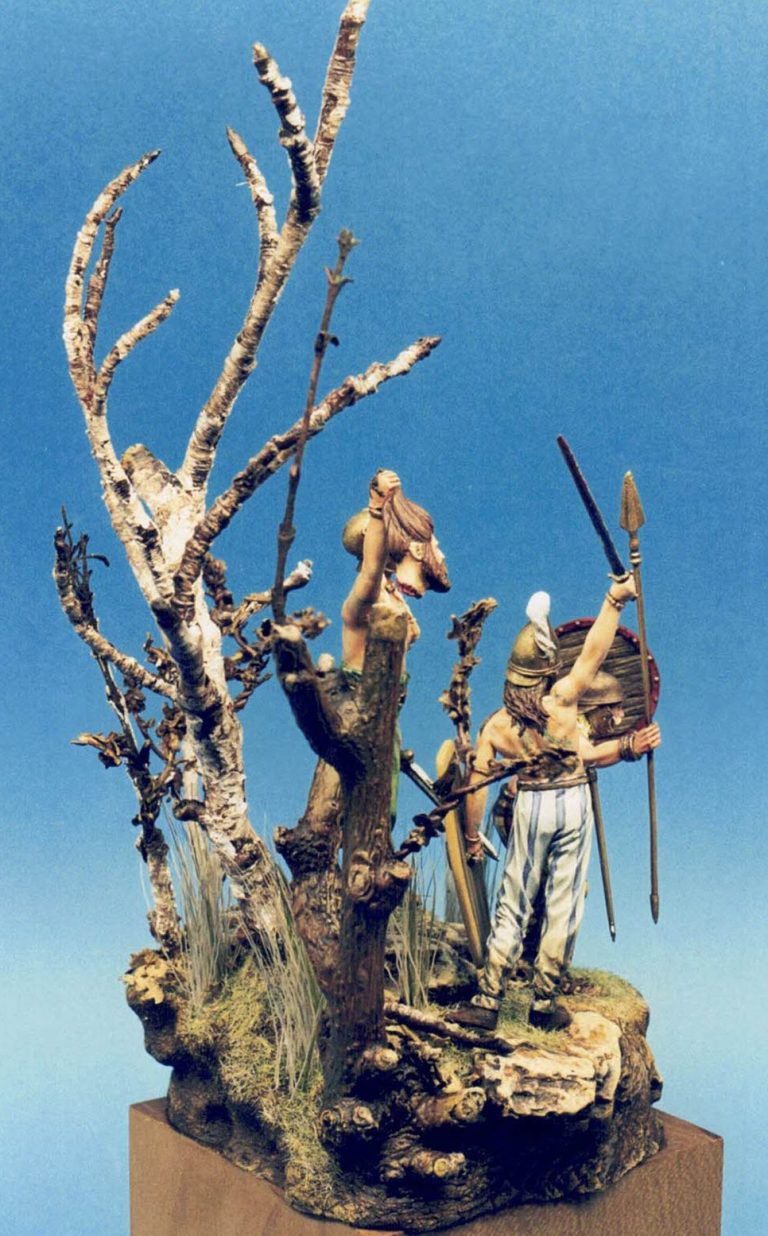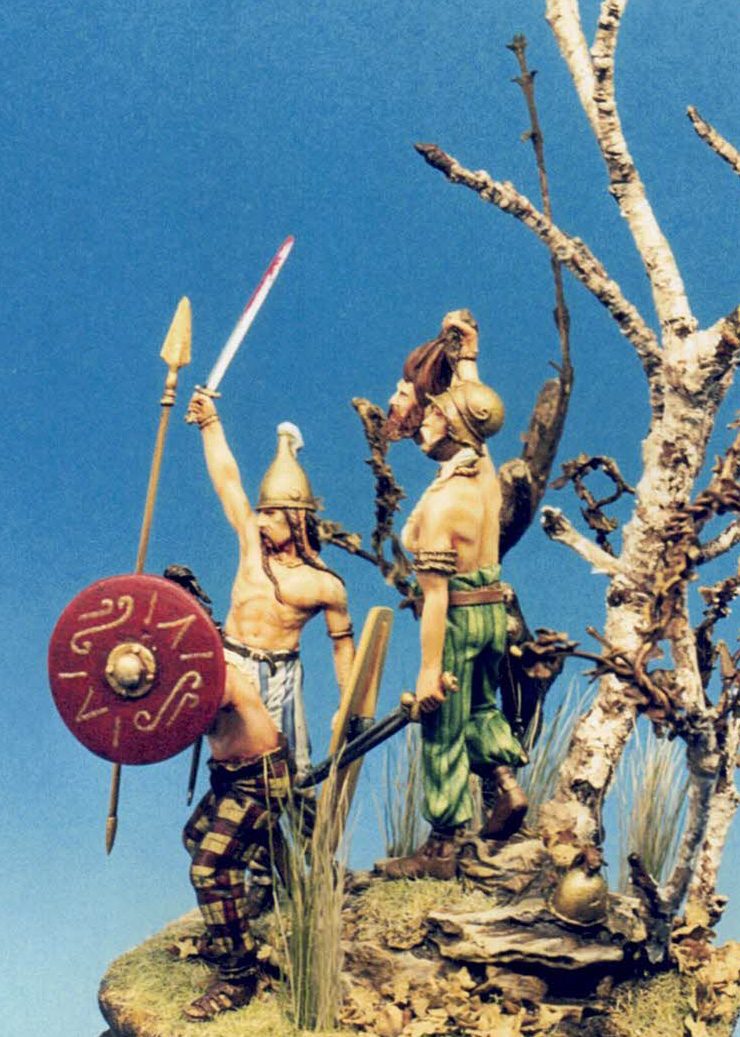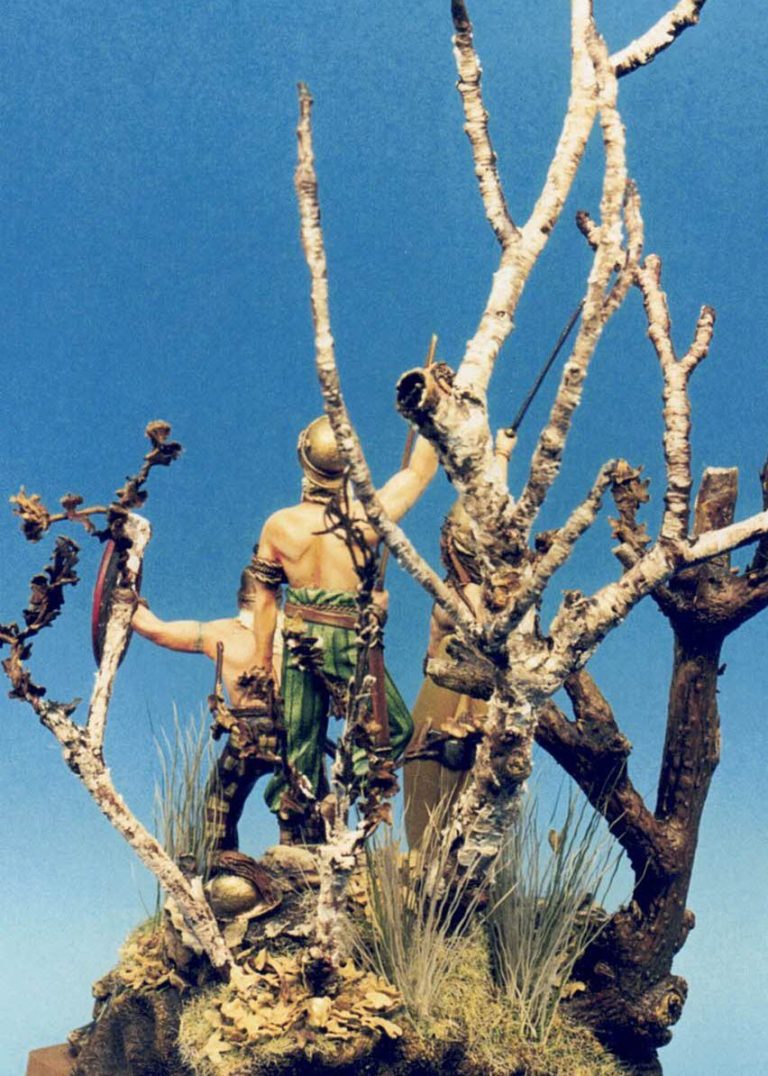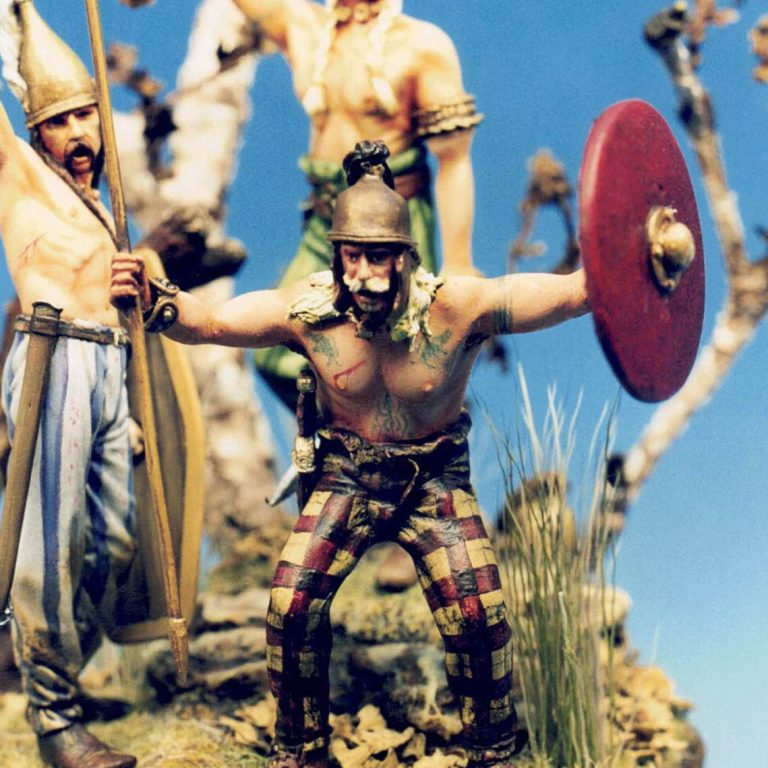
Celtic Tubthumping
54mm white metal figures from Time Machine and Latorre Miniatures
Converted and painted in 2003
There are a lot of different companies that say they produce “54mm” figures, and for years and years those companies had said that the reason that their figures are bigger is because they’re ( supposedly ) 54mm from the feet to the eyes….. Whish makes me about five foot nine if we’re starting measuring people’s height that way !
And to be honest it sometimes becomes difficult building any kind of vignette or diorama with companies from different suppliers, simply because of the notable difference in size between their figure offerings.
I know that everyone isn’t the same height, but combining figures needs to be carefully tested out, because it’s not simply height that comes into it, but body proportion too.
Two companies – sadly both long gone at the time of retyping this ( 2025 ) – that did true 54mm figures were Raul Latorre Miniatures and Time Machine, and to be honest, when you get kits from either company, they do look alarmingly small compared to say Pegaso or Andrea.
Having said that, they are really good sculptures and castings and worth giving consideration to if they come up second hand.
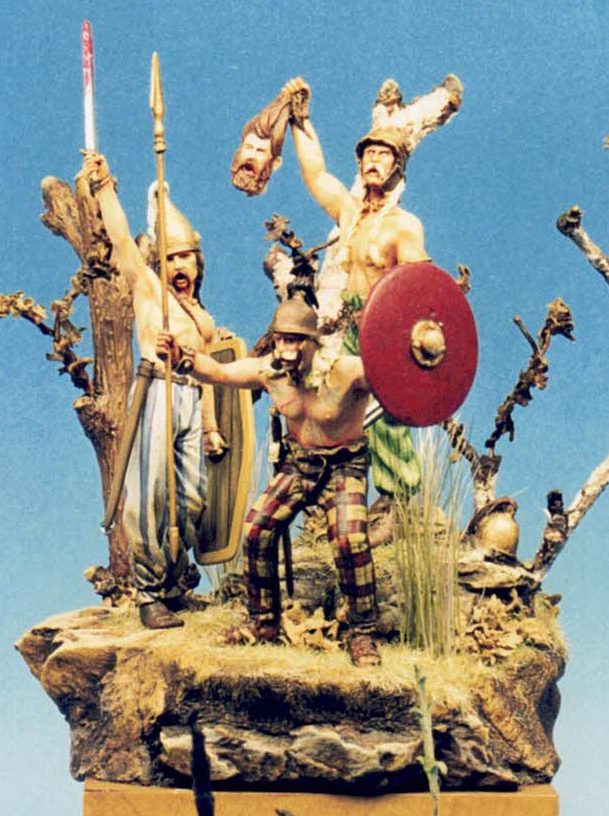
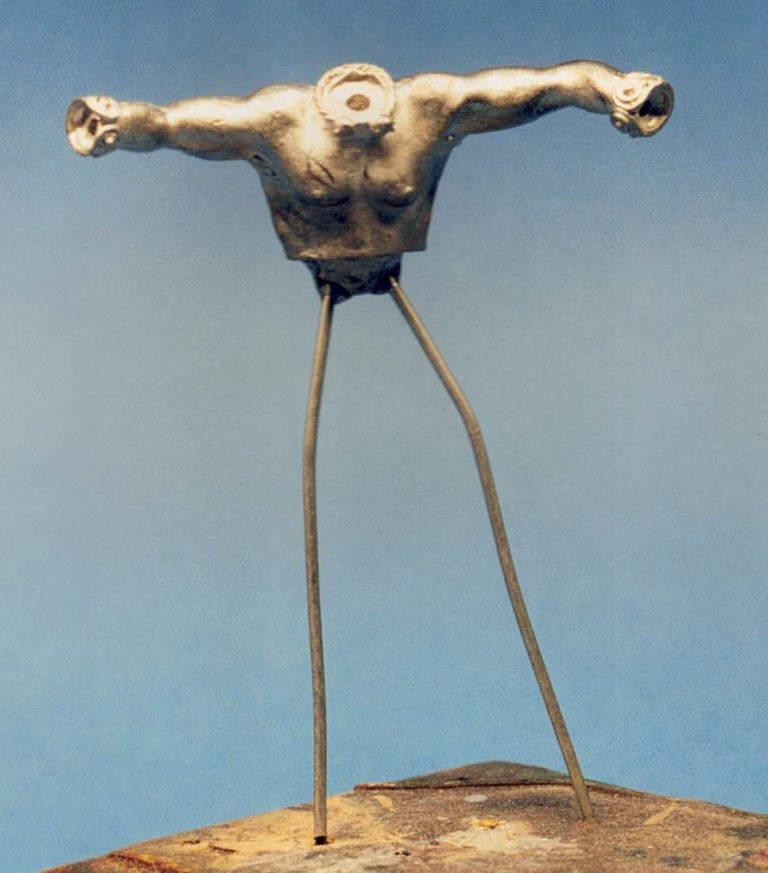
I wanted to produce a vignette with three figures, although there would be an amount of conversion of one of the figures, because whilst the Latorre piece and one of the Time Machine figures are in static poses, the second figure from Time Machine is running down a slope. I’d have to change his legs.
Which brings us to photo #1 where I’ve got the upper torso of that figure, drilled into it and inserted a couple of wires, and these will become the legs once I’ve found some putty.
Photo #2 shows the beginning of the process – I can’t say I was anything close to a top sculptor then, or now for that matter – but I don’t mind having a go. I’ve measured out how long each leg is and marked with a felt tip where the hips and knees should be. Then I’ve drilled though the heel of each foot from the original leg castings and through to the ankle so that each foot could be removed and can then be slipped onto the wires and glued in place.
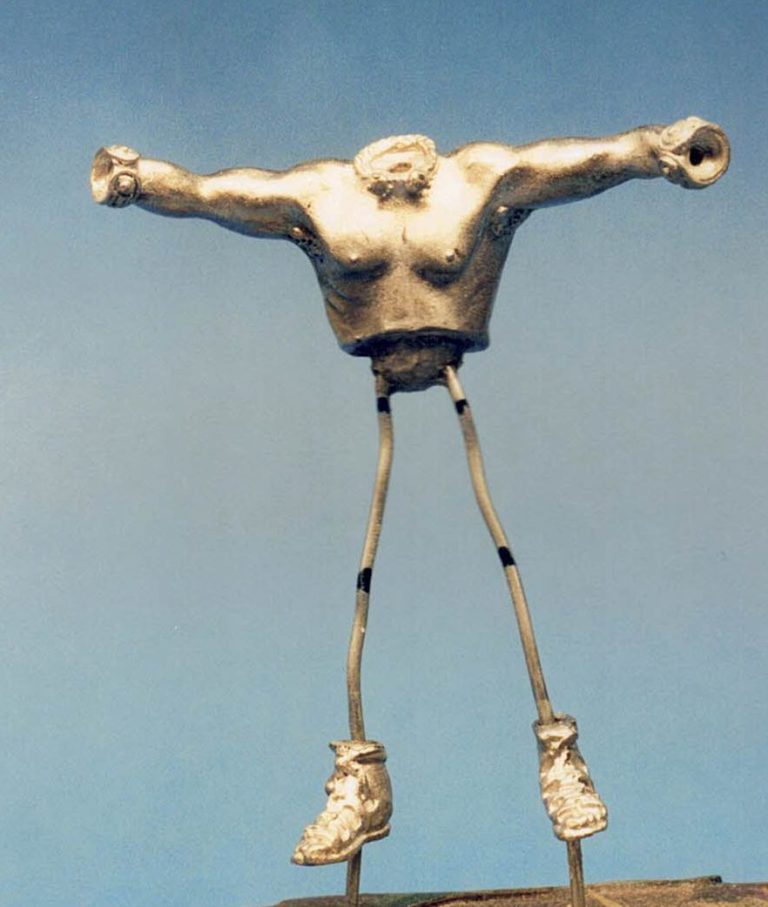
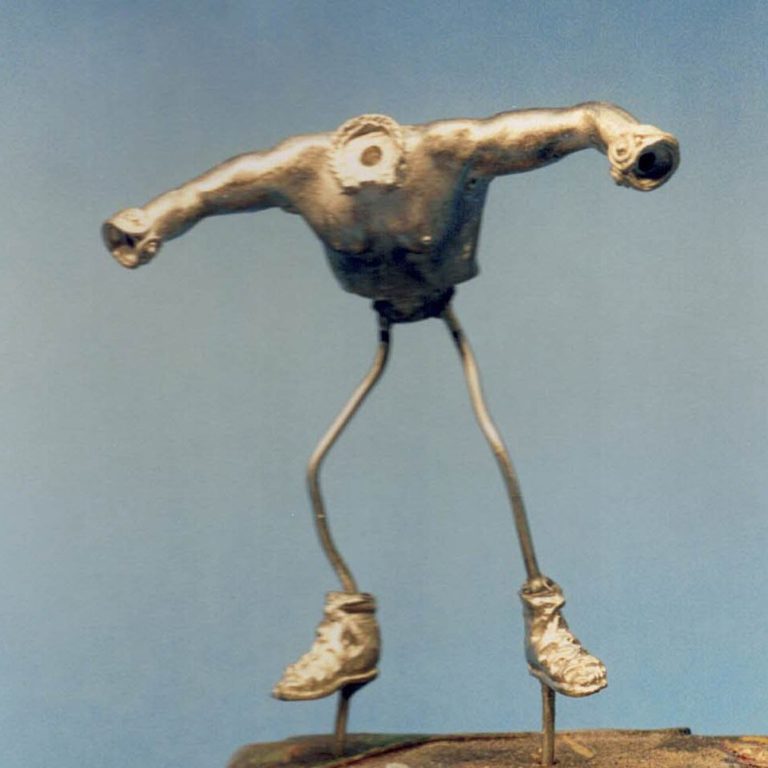
Photo #3 With the measurements checked, I’ve bent the wires to have him in the static and threatening pose that I wanted. The felt tip marks rubbed off with the handling, but they were only there as a guide to allow me to get this pose set.
Photo #4 I’ve then added some epoxy putty – Milliput – to rough out the shape of the legs. I’d learnt from the much larger Native American pieces that I converted from Harton Miniatures that the legs need to be thin and almost stick-like at this point, because otherwise, once the clothing is added, they become too “fat”.
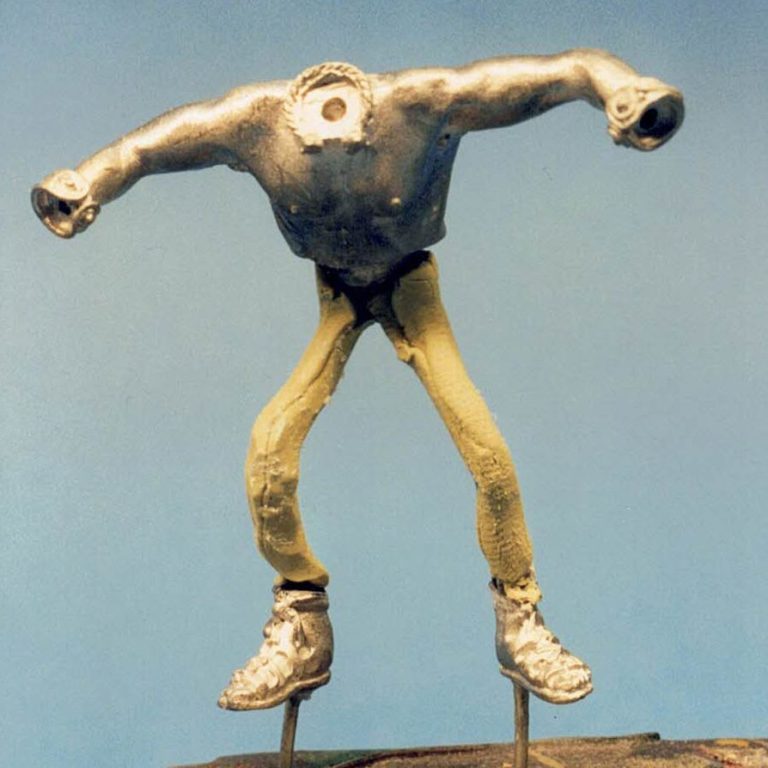
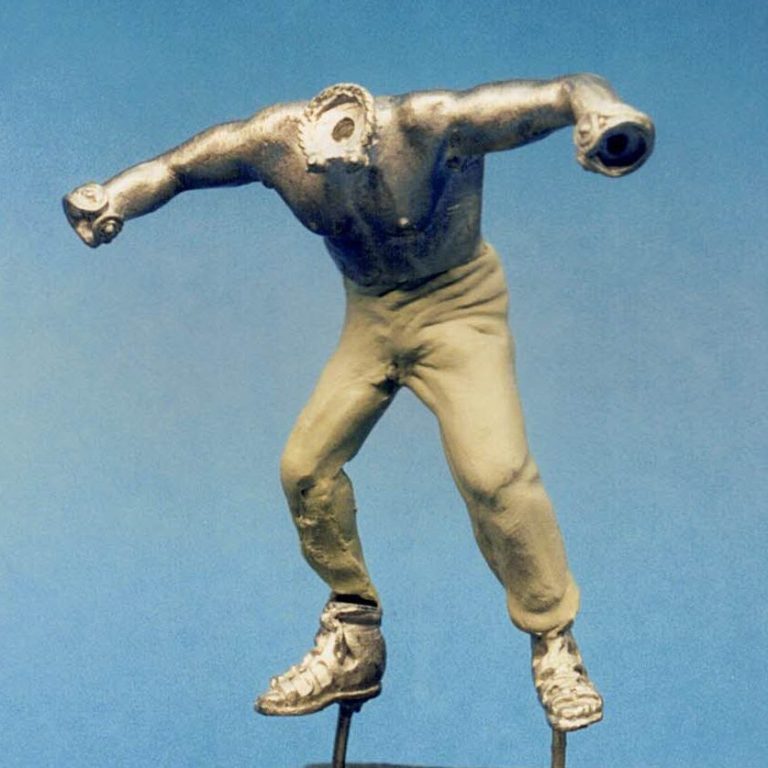
Photo #5 and I’ve added the trousers to the left leg, and you can see that because the putty needs to have a “thickness” in order for creases to be sculpted in, the initial leg needs to be a lot thinner than in real life.
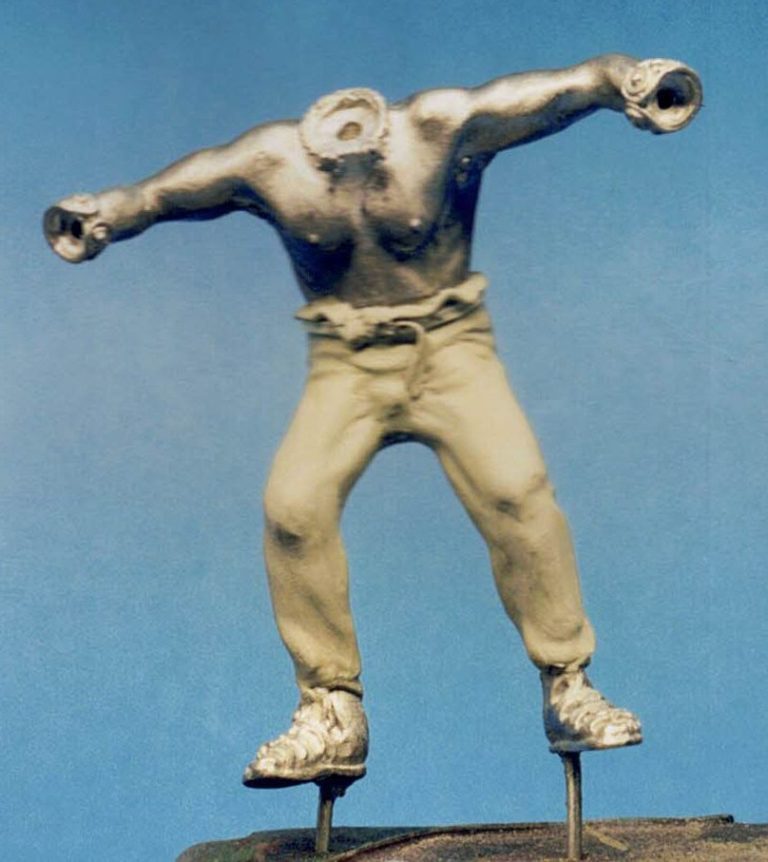
Photo #6 and the trousers are gone, with the material appearing to be tied at the waist and allowing a small amount of the material to fold over as it is supposed to be a soft woven cloth.
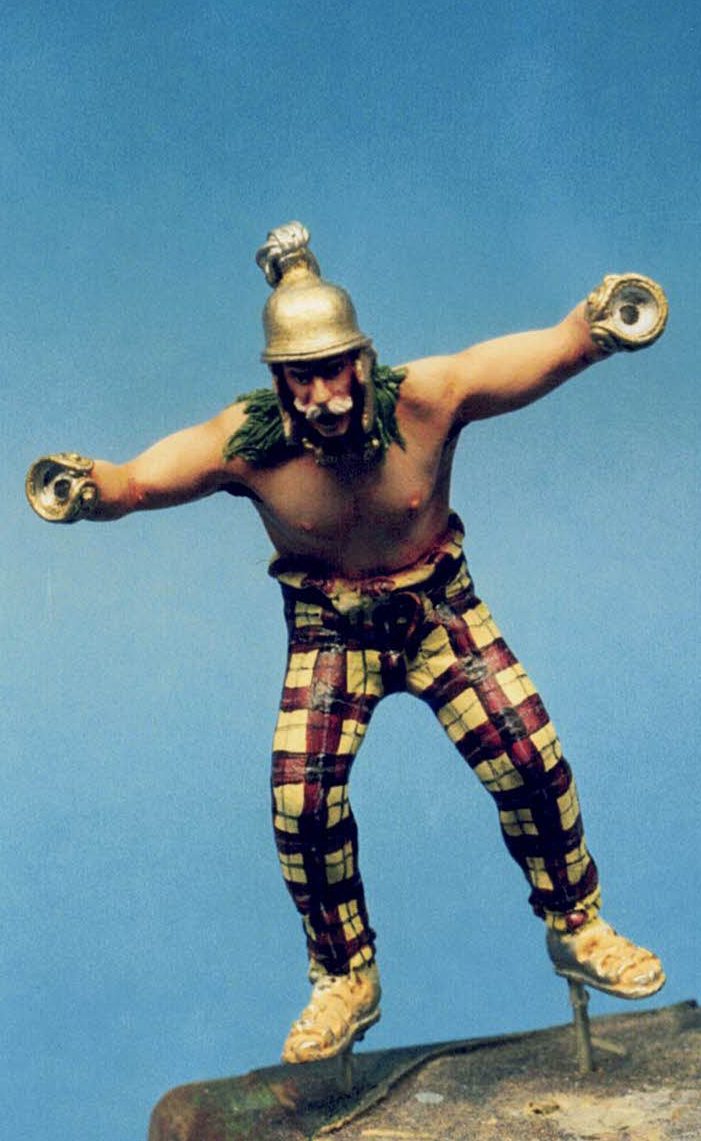
Photos #7 and #8 – with some paint on, the trousers look OK, if perhaps a little bright.
I’d been to the Jorvic Museum at York that summer and spent half an hour ( much to Frances’s rolling eyed boredom ) discussing with a very knowledgeable young lady the possibilities of colour dyes that were open to Vikings and possibly celts and Saxons.
Darker colours were possible, but would likely fade quite quickly if using plant based dyes, but when fresh, or redyed, then clothing could have been quite bright, and some colours would have relatively good light fasteness, possibly a lot better than we give credit for in this modern age.
So, maybe a bit bright, but I was learning, so lets move on.
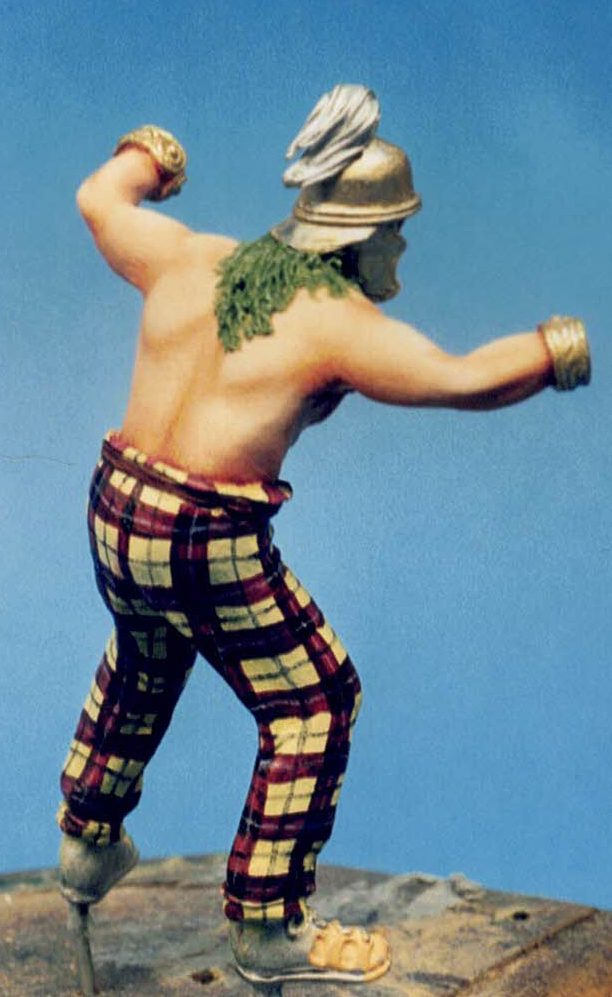
Photo #9 shows the second of the Time Machine figures, what could be called a static pose, but animated enough to look very good. He’s holding a severed head in his right hand and a sword in his left.
No alteration necessary and it’s a really nice figure both in regard to sculpting, casting and ease of painting.
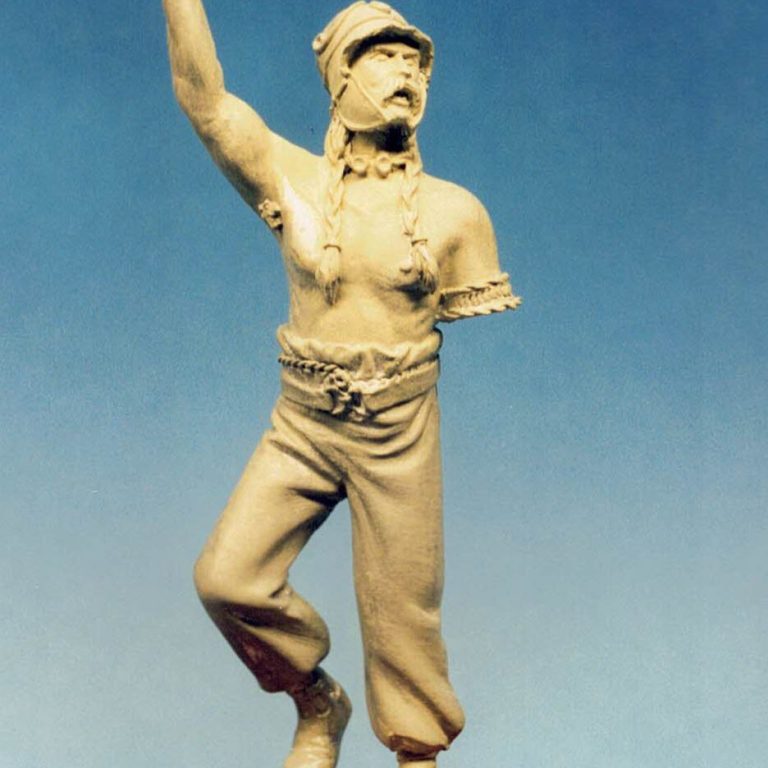
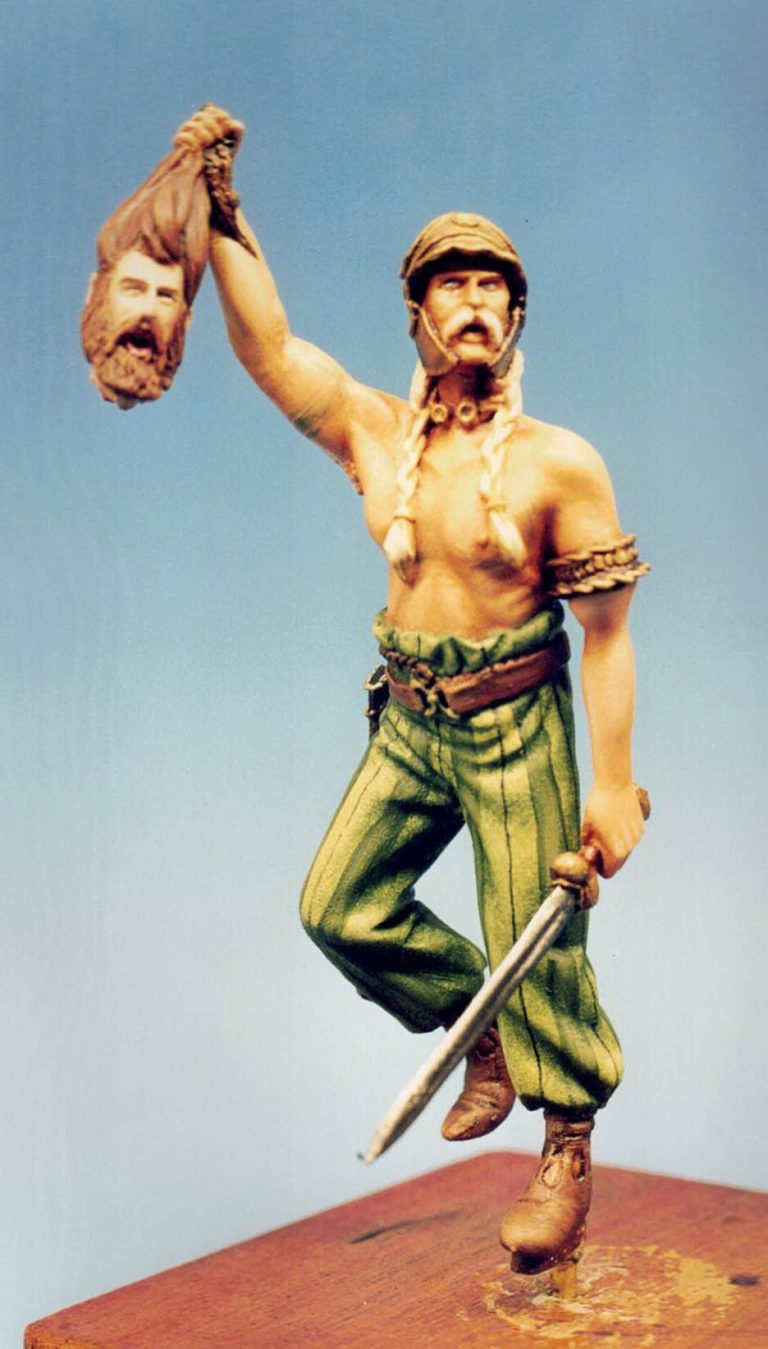
Photo #10 shows the finished figure, I did minimise the gore coming from the severed neck, and made the face on the head a bit paler than on the “live” Celts.
The only thing I can say about all three kits is how small the facial features are and how careful you have to be painting in the eyes etc.
Or just make sure no one else is in and swear a lot….. The choice is yours
Now to the third and to be honest, my favourite figure.
Photo #11 There’s something about Raul Latorre’s sculpting that attracts the eye, the anatomy looks “right”, the poses are usually animated enough to catch the eye and also the imagination, and if they’re painted half decently, they look incredibly real.
This picture shows the parts with the minimal clean-up done, although I wouldn’t be using the little circle of groundwork.
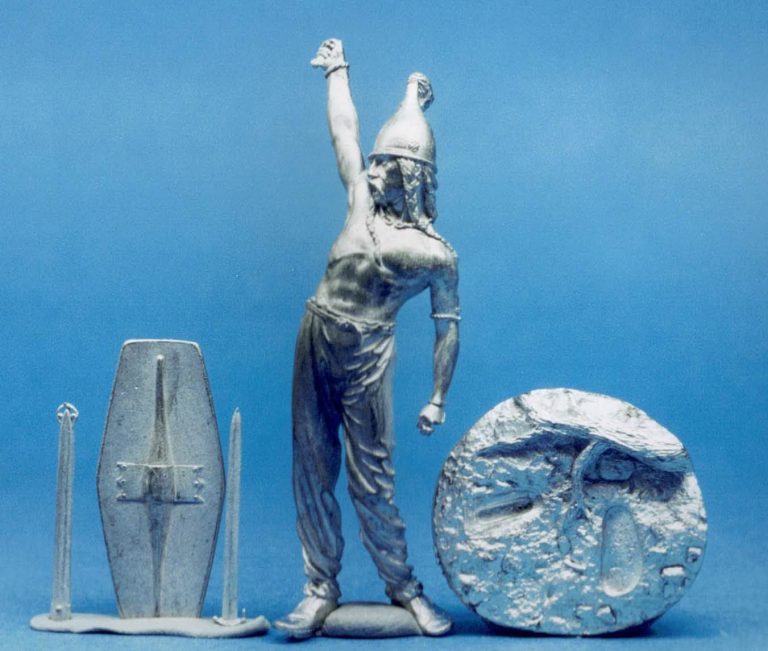
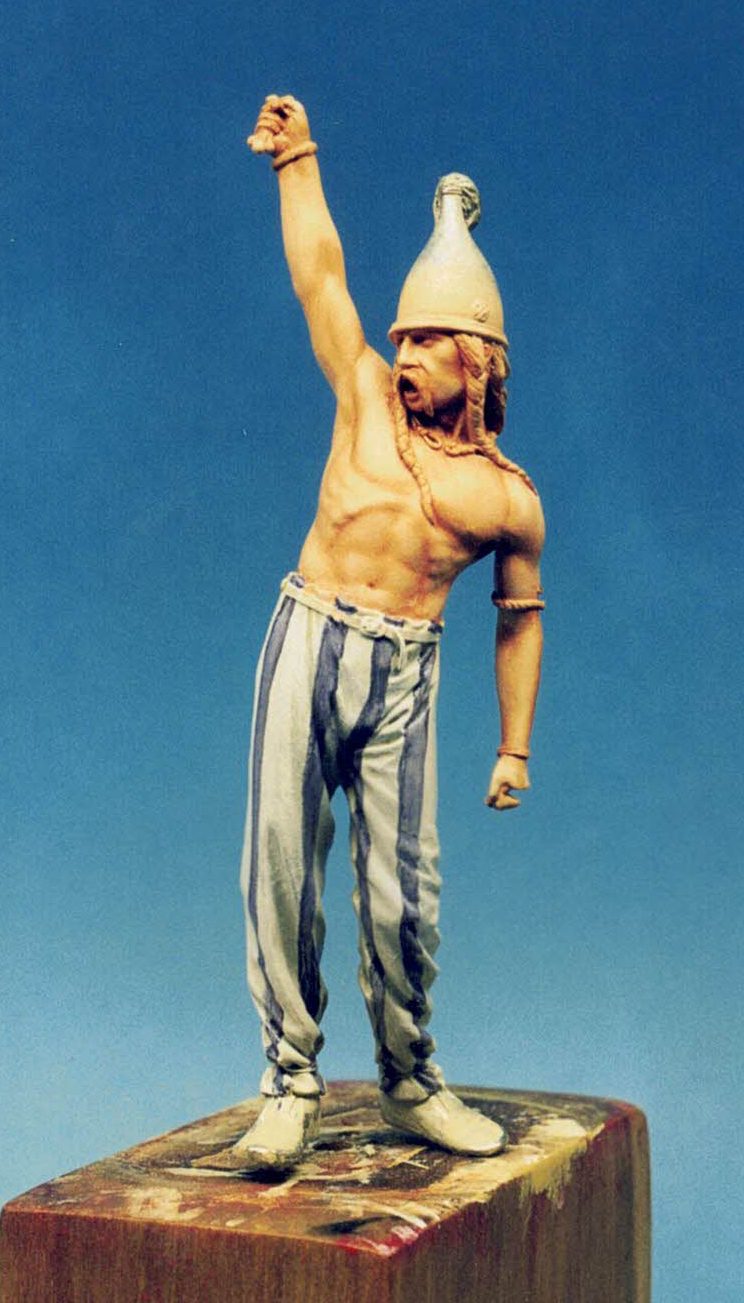
Photo #12 shows the flesh areas and the trousers having been painted, the white on the trousers is a very pale grey painted with acrylics, and adding some darker blue / grey to the shadows and only using pure white very sparingly on the areas that required the brightest highlights.
Notice the slot in the back of the left hand. The parts may be small, but this slot marries up to a tab in the shield and provides a really good joint that allows for a solid bond between the hand and the shield – no need to worry that it might need pinning, there’s enough surface area for the glue to grab onto.
Photo 13 and the figure is pretty much complete/ I’ve added some very pale blue tattoos to his back with oils and the metal areas are printers inks mixed with some Mars Black oils and dried in a cupboard with a 40w light bulb ( How times have changed, tungsten light bulbs are almost impossible to get now and I’ve swapped that idea out for a heating matt from a lizard vivarium )
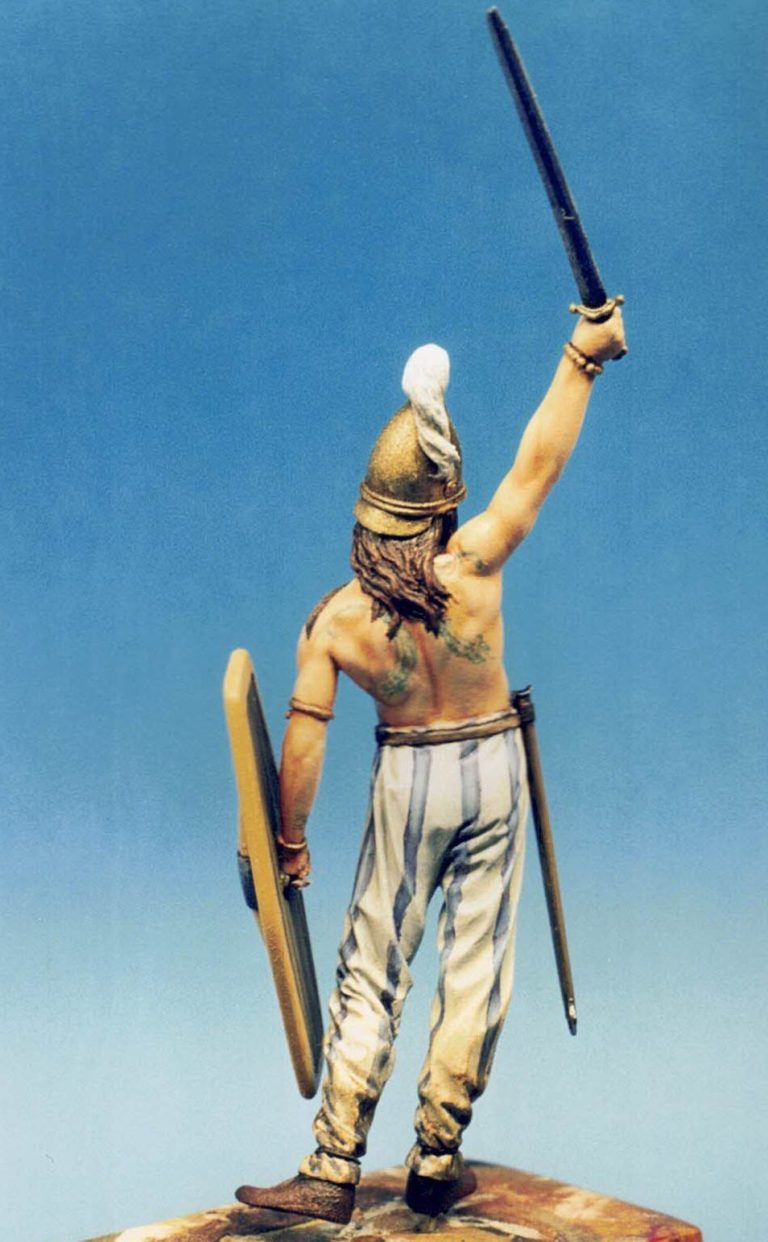
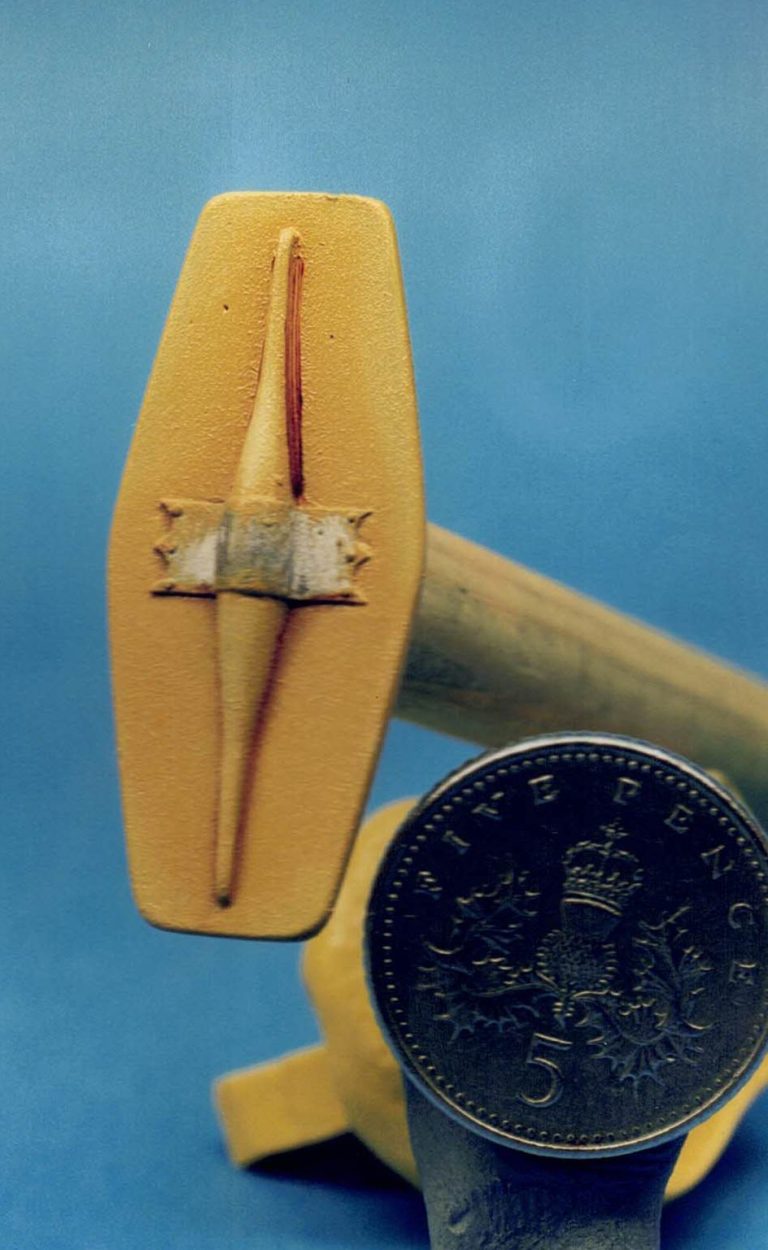
Photo #14 shows the painting of the shield.
An overall coat of acrylic sand colour, followed by a mix of Mars yellow and Titanium White and then adding Mars Brown around the long shield strengthener, the Mars Brown can still be seen next to the strengthener on the upper right hand side, whereas the rest of it has been blended in to the surrounding pale yellow.
Photo #15 shows the front of the figure, I’ve only pinned the right foot, and this gave me a few problems throughout the painting as he seemed to like to pirouette away from the brush at the most inopportune moments.
A blob of Blu-tac sorted the problem until I came to painting the shoes, at which point it had to be removed.
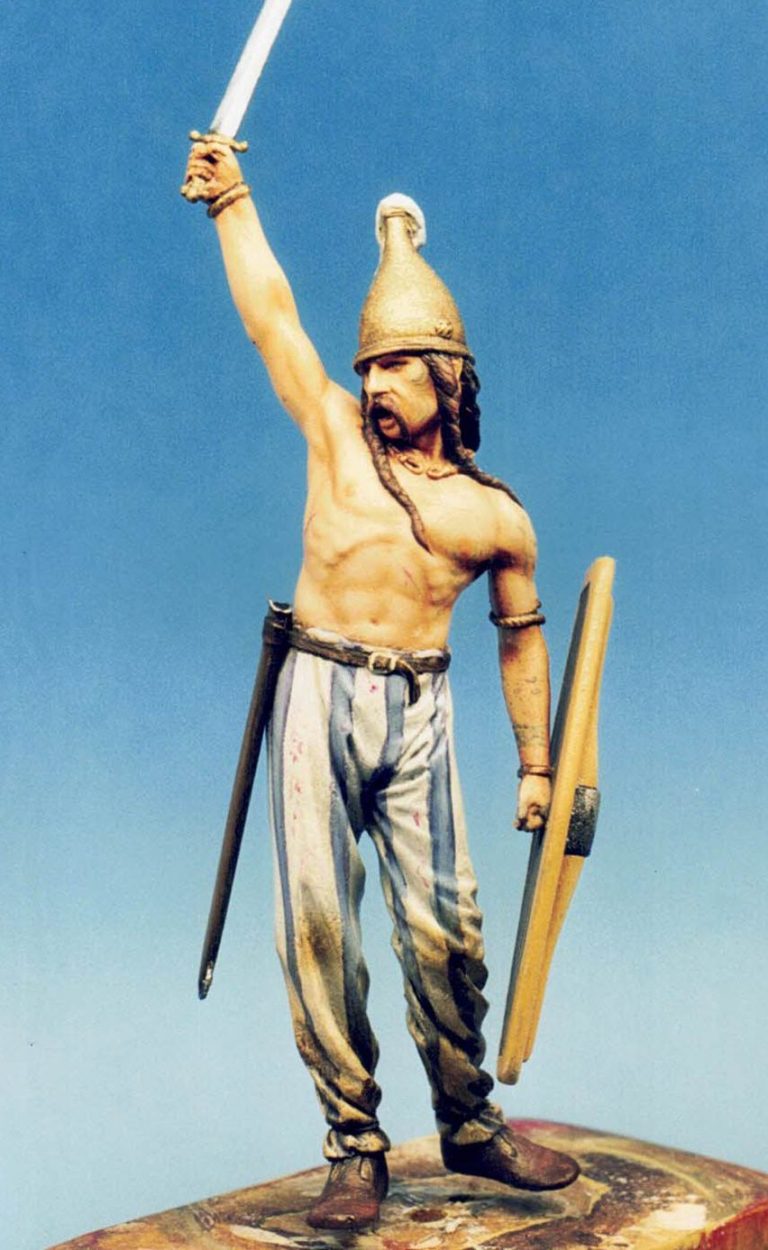
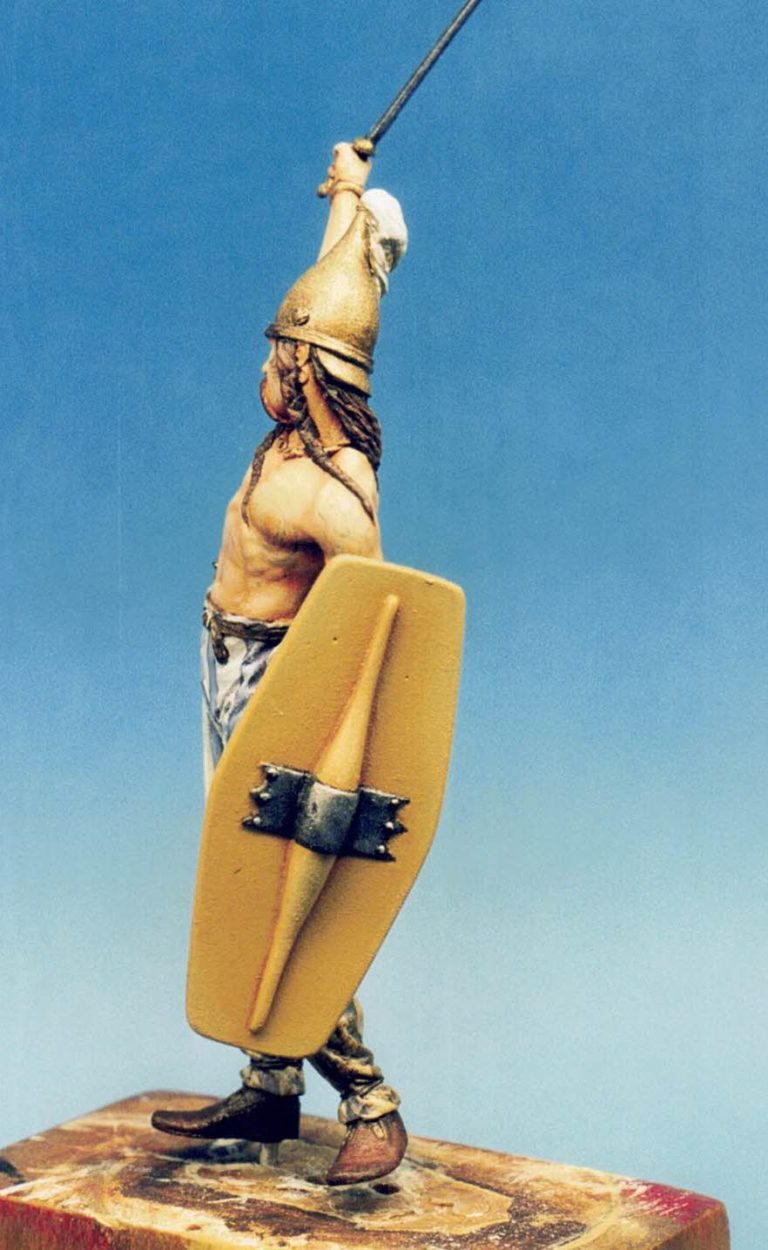
Photo #16 shows the shield in place and I can’t help but think that I missed out by not painting some sort of design on it.
Granted I know it would probably be pretty much hidden once all the figures were combined on the base, but still, it would have been a cool idea.
Photo #17 and a close up of the front of the figure. Bear in mind this is only 54mm ( 2 inches ) from foot to head, and the sculpting speaks for itself.
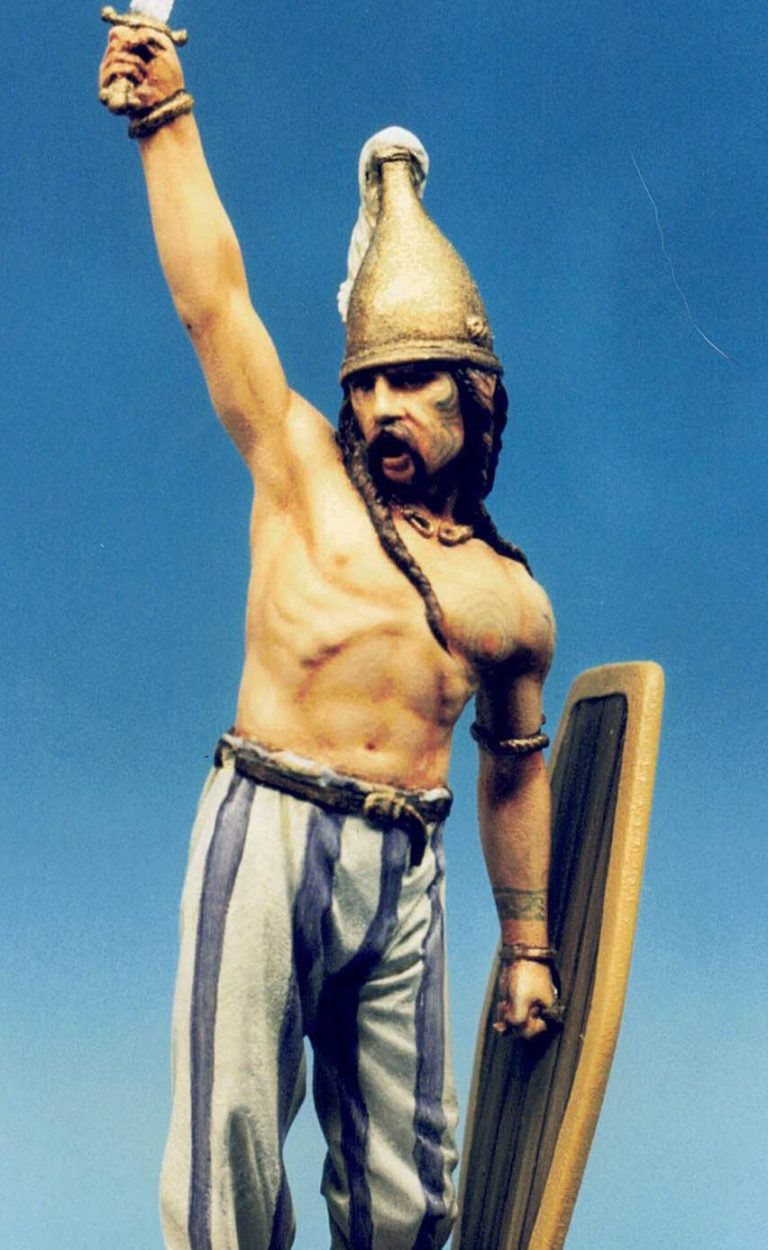
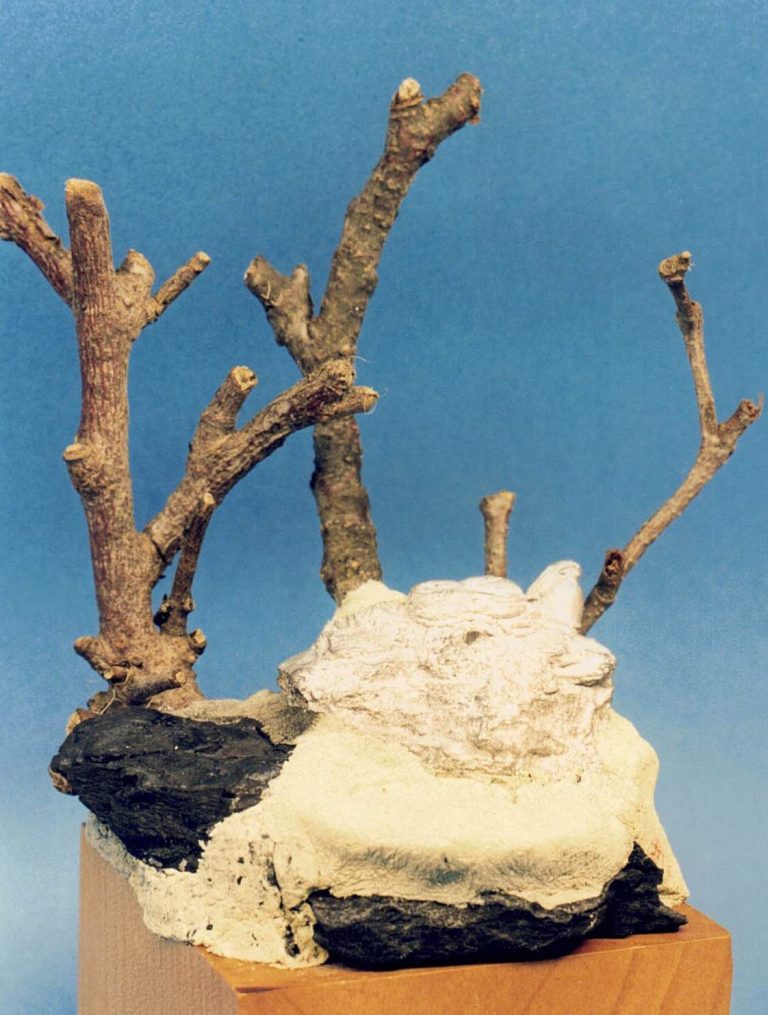
Photo #18 – the Base.
I chose a raised square plinth to se the vignette on, and added some pieces of coal, a lot of Milliput and some twigs , the latter to form a kind of background for the figures.
Why use coal ?
Well, it has a very fine grain detail and paints up to look like very rugged rocks. I’ve used it for years, and it’s pretty stable, only giving me problems once when I used a very large piece which cracked and split after about ten years.
I don’t know why it did that, and it was free standing as opposed to being supported or held together by any epoxy putty, but that’s one occasion in amongst many successful uses of it.
Photo #19 Whilst the putty was still soft, I positioned the figures and pressed them into the putty a little to provide positive locations and so that their feet didn’t end up hovering above the ground later on.
The Milliput was textured with a very old hobby brush and a small piece of coal.
Painted up and with some Static Grass added it looks a lot more realistic.
I added Birch Tree Seed Pods to some of the branches, although nowadays this looks less effective than it did back then.
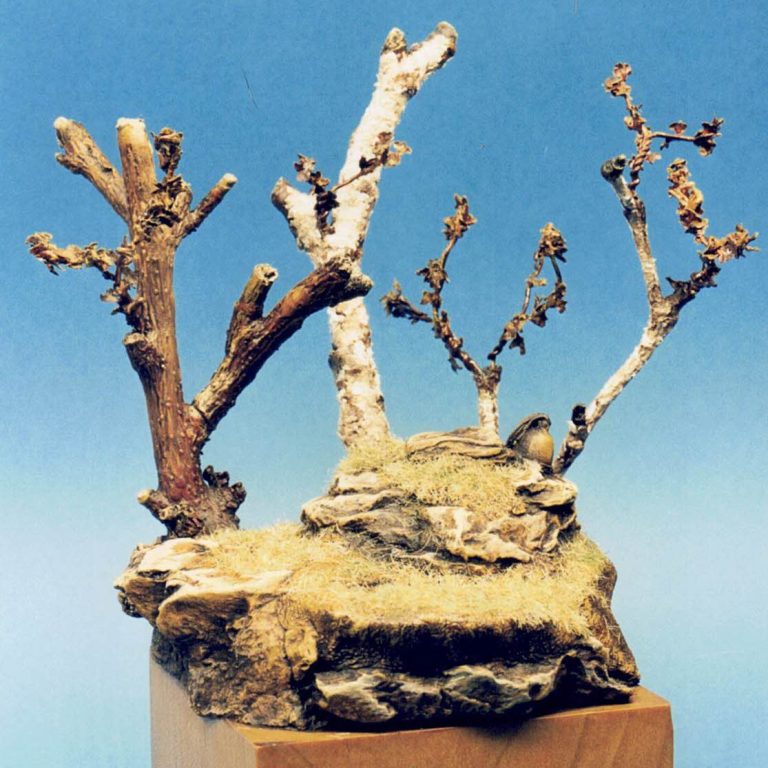
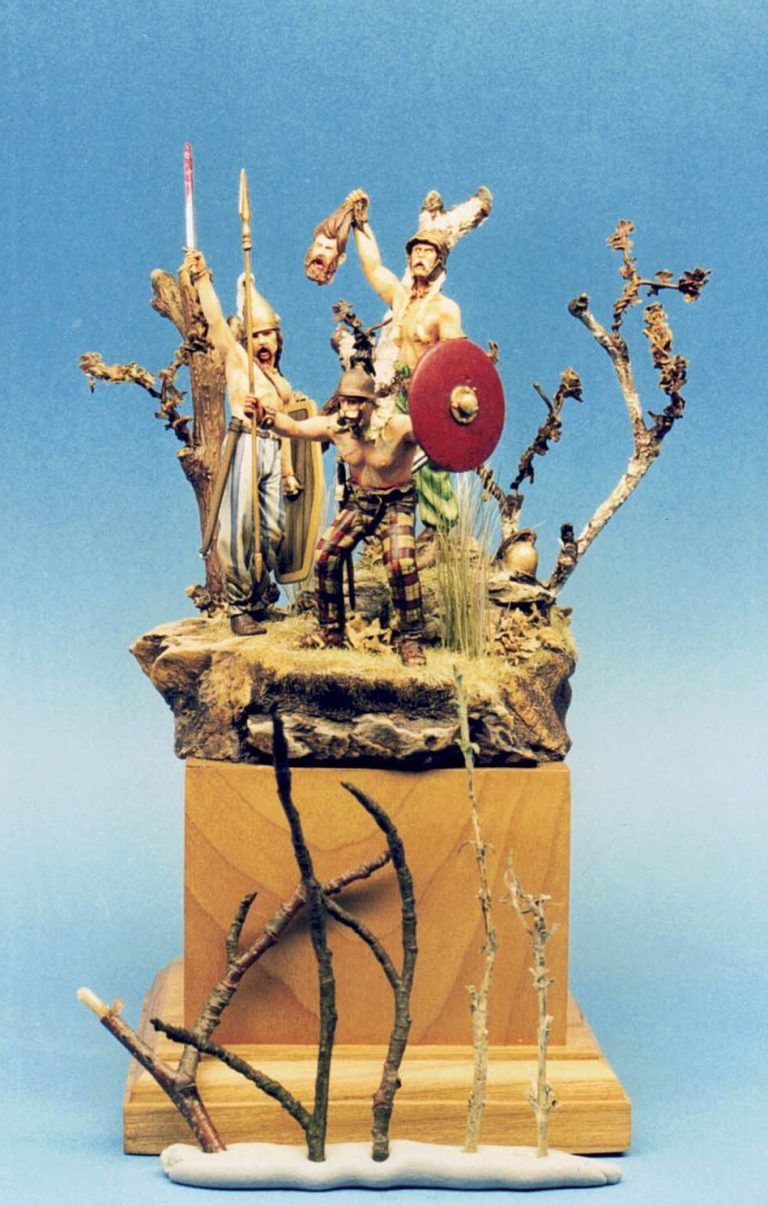
Photo #20 The figures have been added, but the tree “backing” isn’t really tall enough, so the smaller twigs at the front of the plinth were selected and fastene to the twigs that were already in place on the base to give extra height and painted in to match whichever “tree” they’d been added to.
Photo #21 That’s better, the trees now stand taller than the figures and work as a background much better.
The threatening and triumphant nature of the figures works well too, and I’m glad I altered the front figure as he fits in well now with the other two.
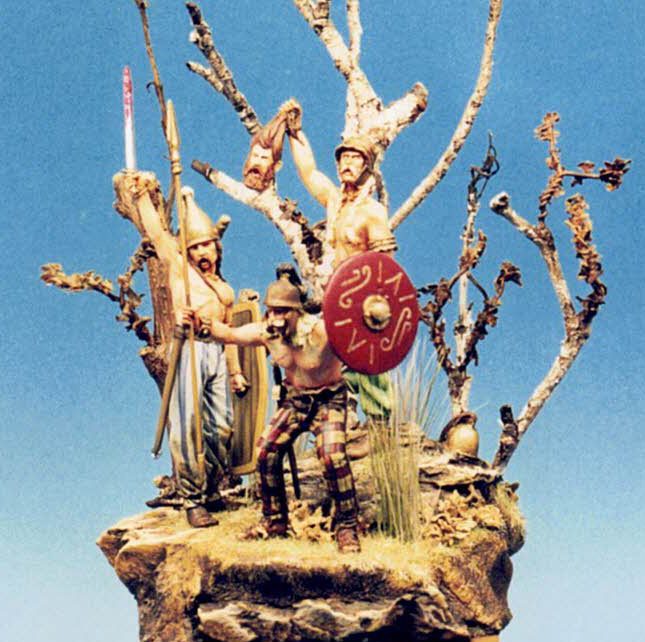
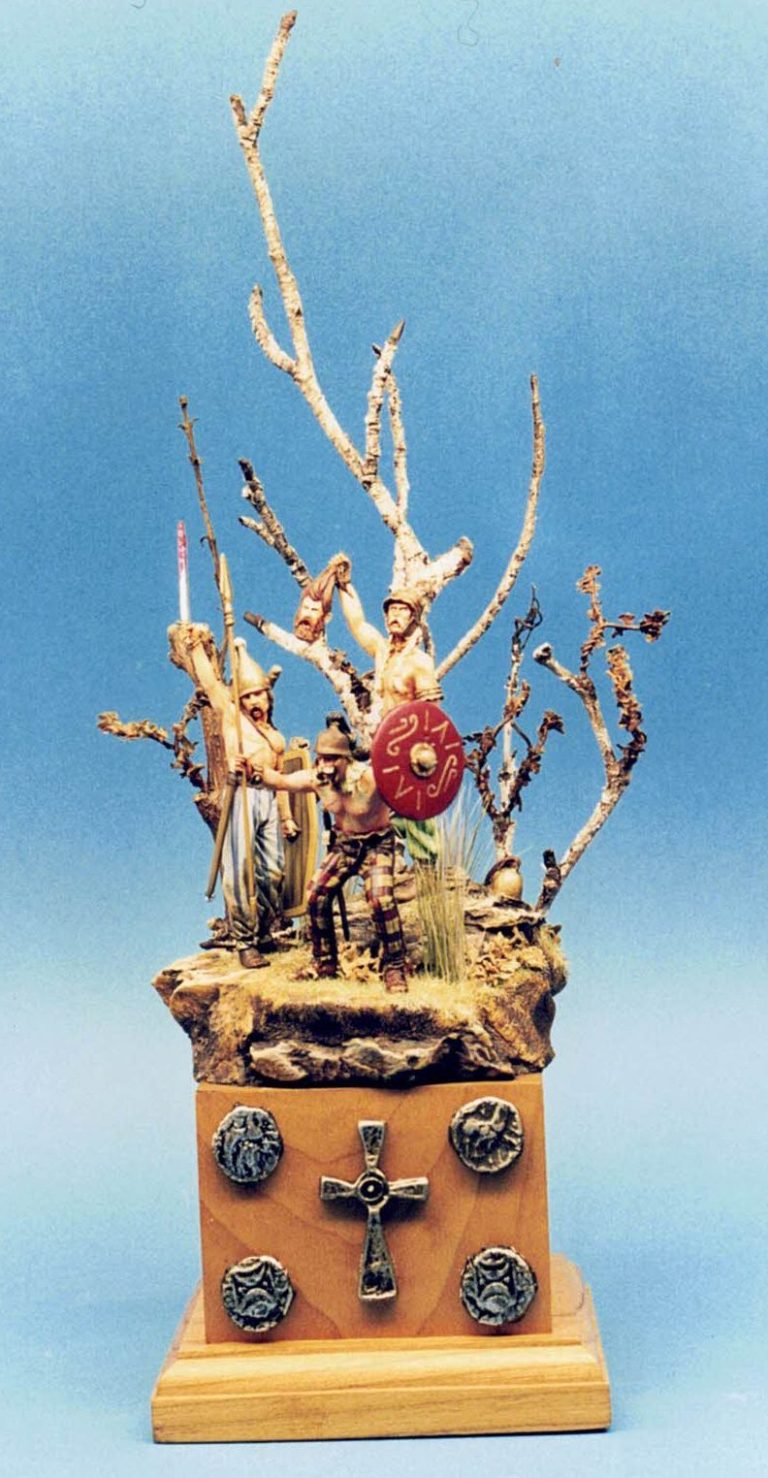
Photo #22 shows the base and the vignette and I’ve added a Celtic cross and some Iceni coins to the front rather than a nameplate.
Photo #23 a close up of the coins and cross. I didn’t use the originals of these, which were found by Gary Rayson and kindly given to me.
To produce coin and cross I was going to use on the base, I made some simple “puddle moulds” out of plasticine and cast them in a resin, covering them in a thin tin foil and then after trimming it back, painted over with some Mars Black oils, removing the excess paint with a soft cloth.
The reproductions were then glued in place on the plinth with superglue.
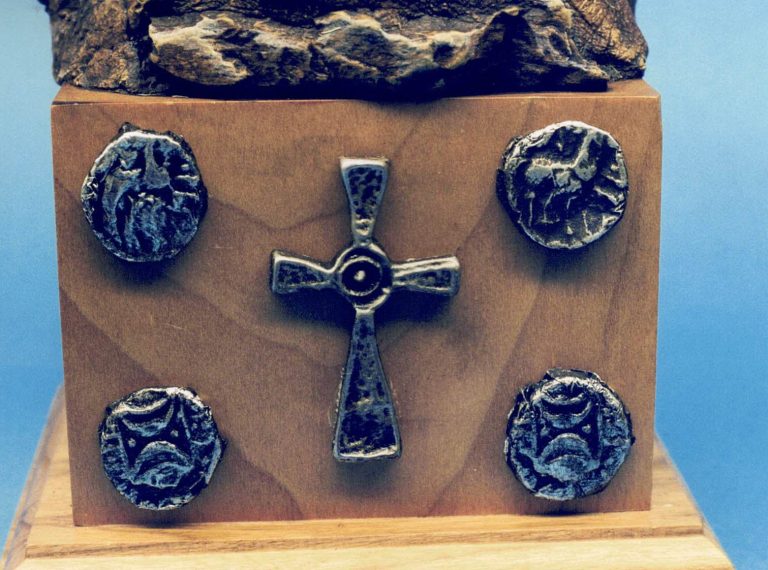
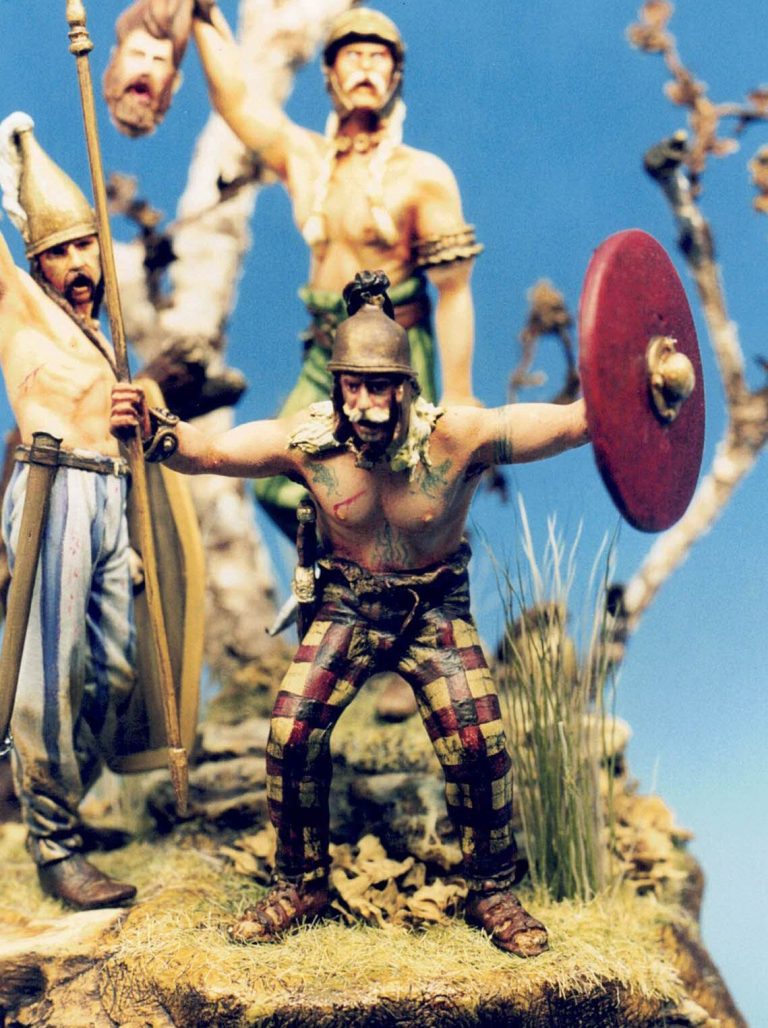
Photo #24 and a close-up of the front figure. There were a couple of additions made to him to finish him off, I painted on some tattoos and added a bleeding cut to his chest and on the final shots you can see that there is a basic design painted on the shield.
I’m always wary of these beautifully painted designs on shields when the figure is supposedly going into or has been in battle. Why – unless you’ve been ambushed – would you take a shield that you’ve spent ages adding a beautiful design to into a fight where it’s likely to get battered beyond recognition ?
Yes, you want your friends to know who you are, and a design on your shield will help immensely, but would you really take you’re pride and joy bit of painting along with you rather than a functional item with a basic and easily recognisable design….
I know which I’d take.
Final thoughts
Superb little figures, very nice to paint, and it’s a shame that neither company are still with us.
Picking them up second-hand is the only option, so if someone’s selling one, then grab it quick is my suggestion.
I think that some of the Latorre pieces might be available now via AK Interactive, although I’m not sure how many of the figures they’ve purchased the rights to reproduce.
I’d certainly be interested in getting another one of the Celt to paint, and I’ve been lucky enough to pick up the Knight figure that was produced too.
Thanks to Gary Rayson for the Celtic coin and cross, along with some Roman coins that he gave me too.